WB: Back to the GP7’s

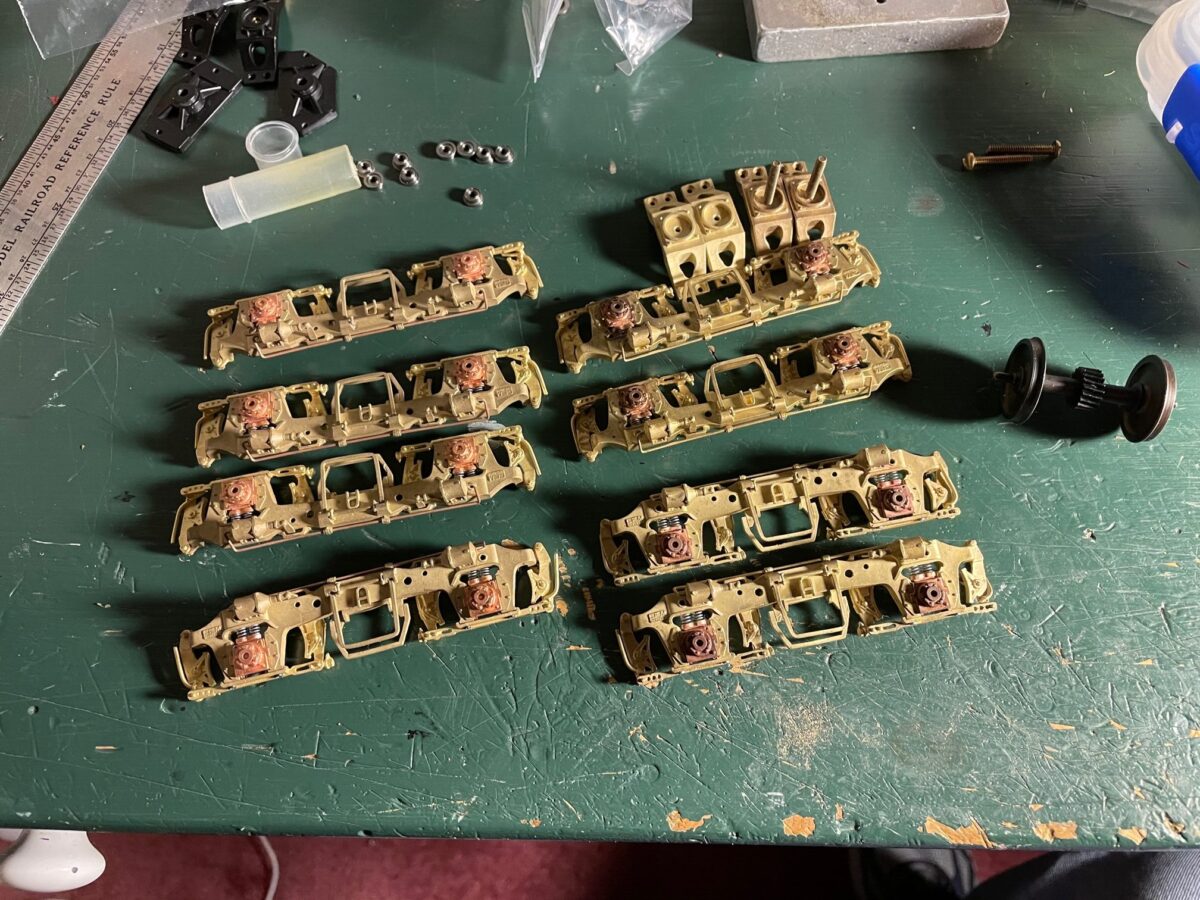
It’s took a while to get some paint of the trucks. Then it took a while longer to get them back in the work line. Some of those freight car projects just go so much faster that it feels like you have actually finished something.

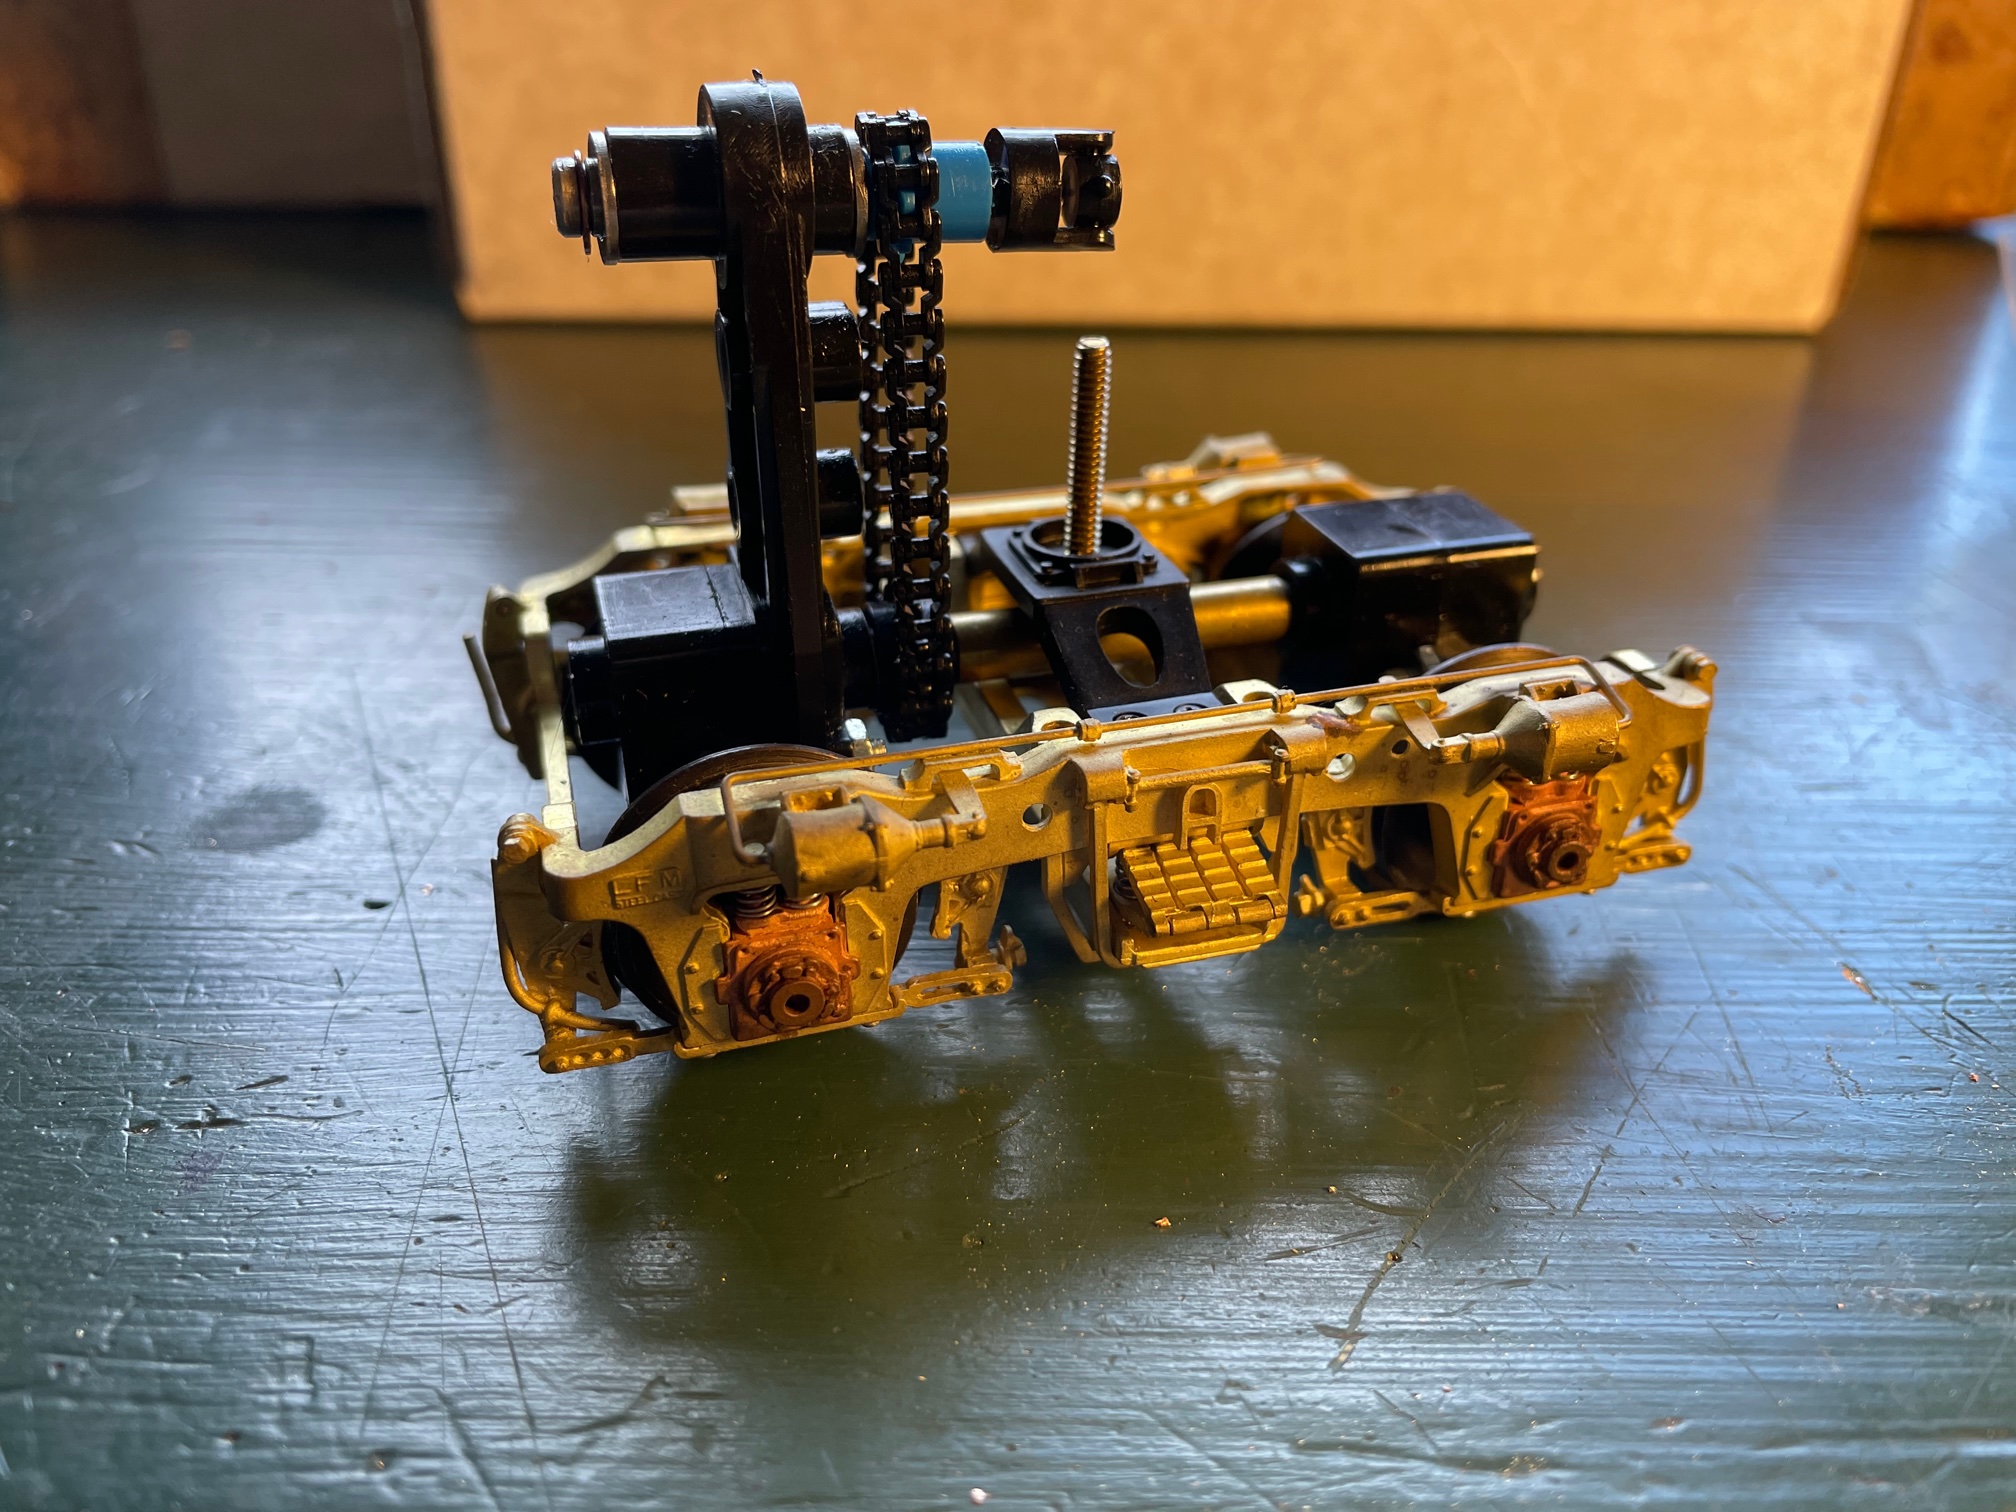
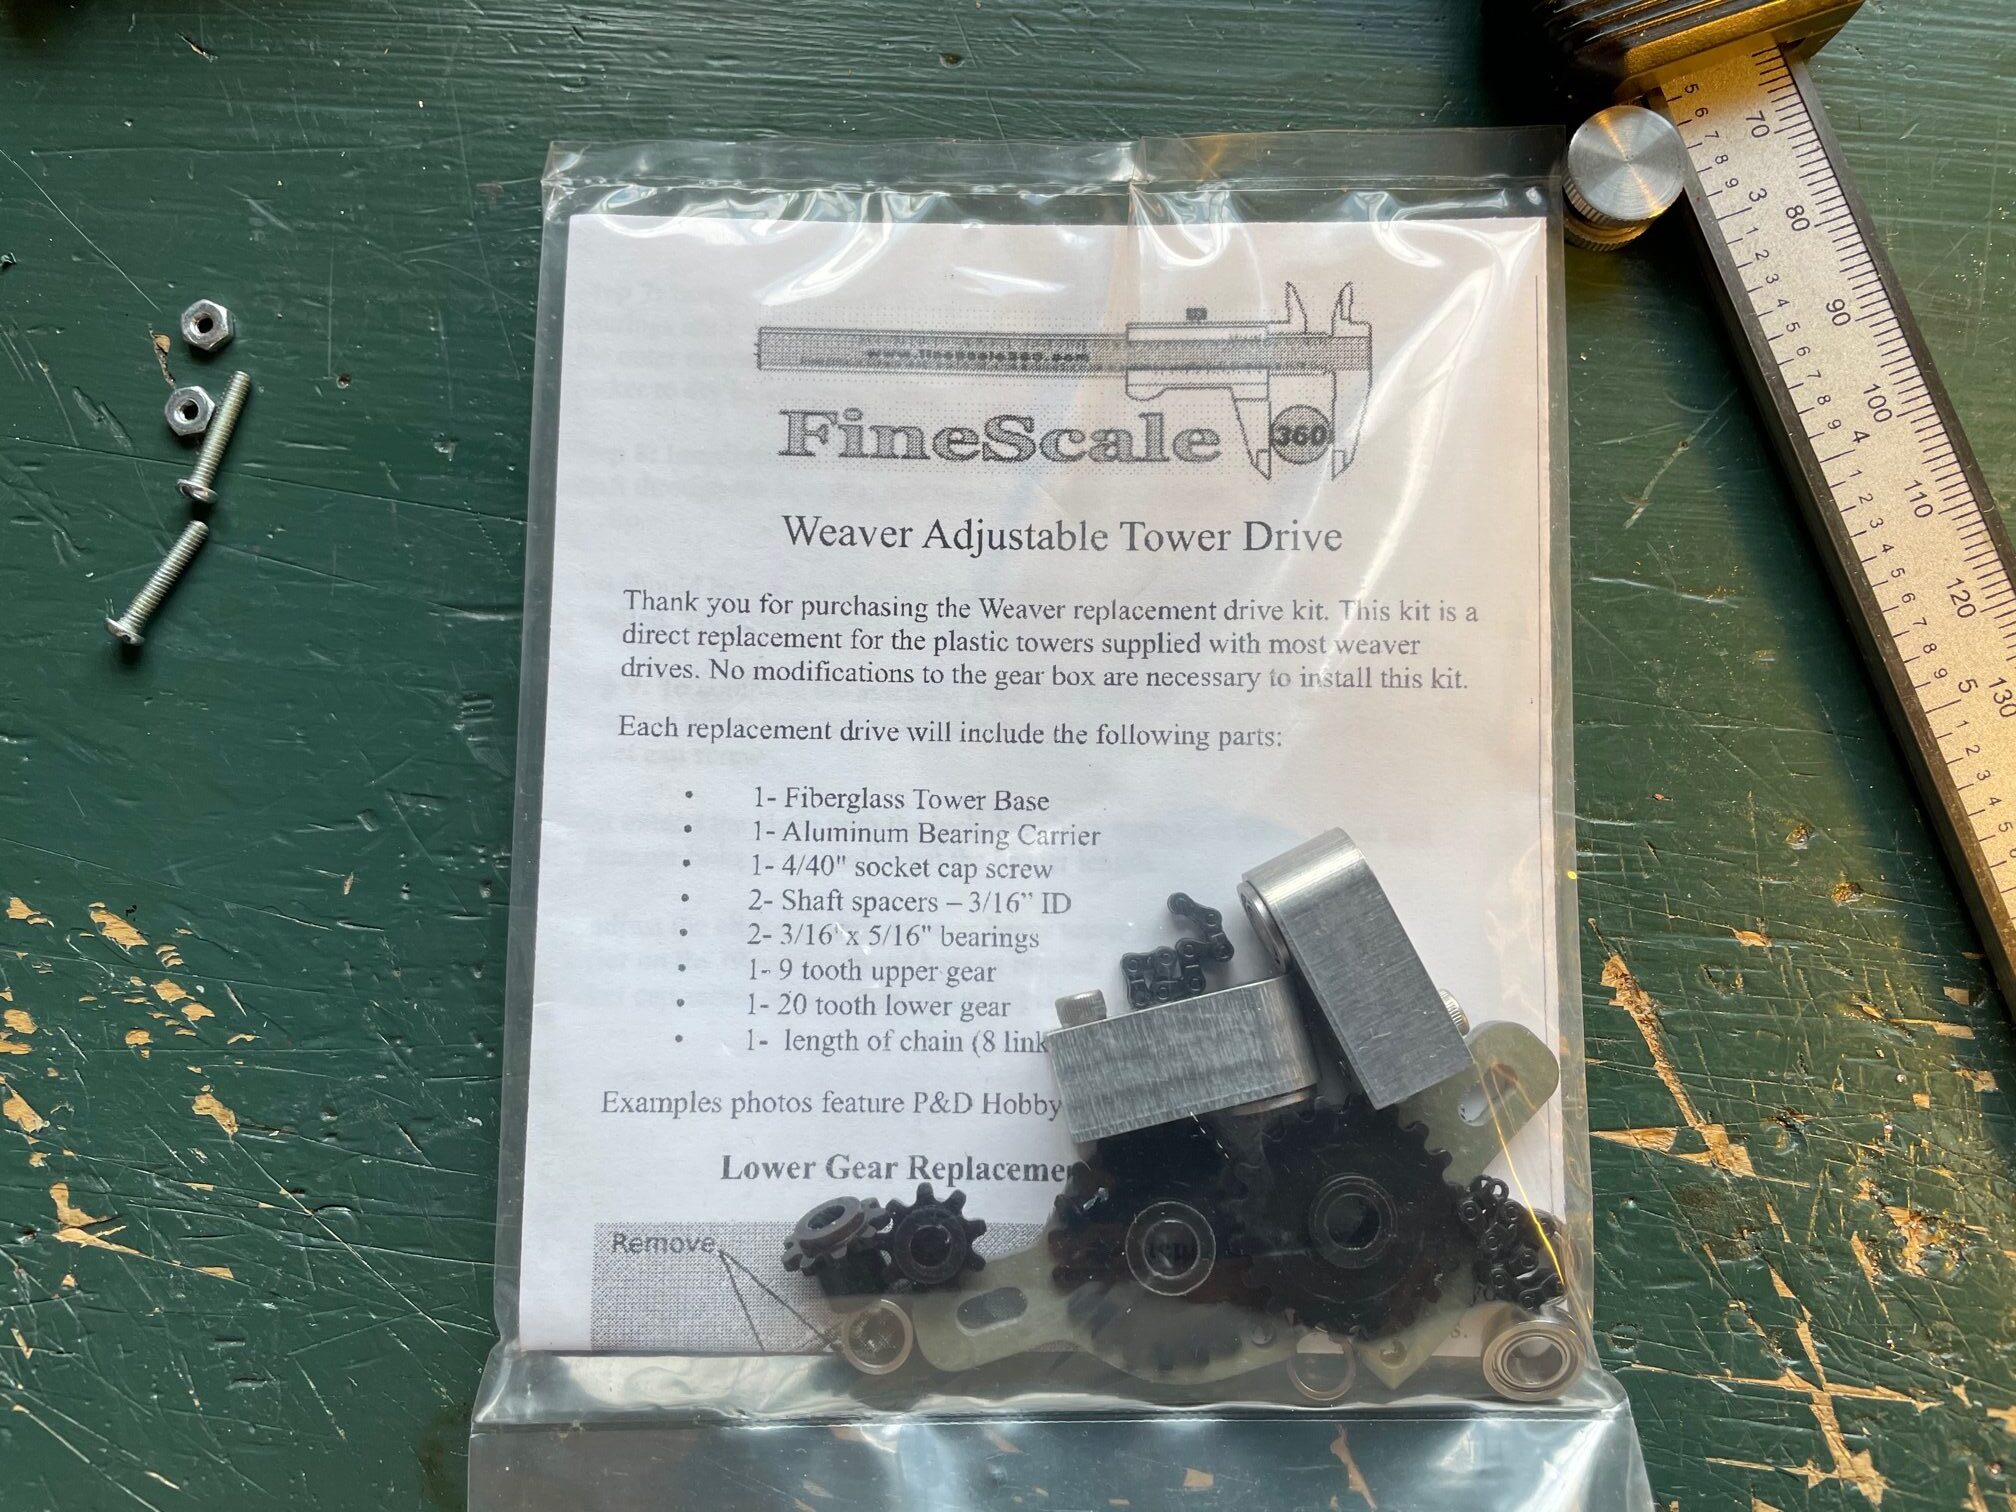
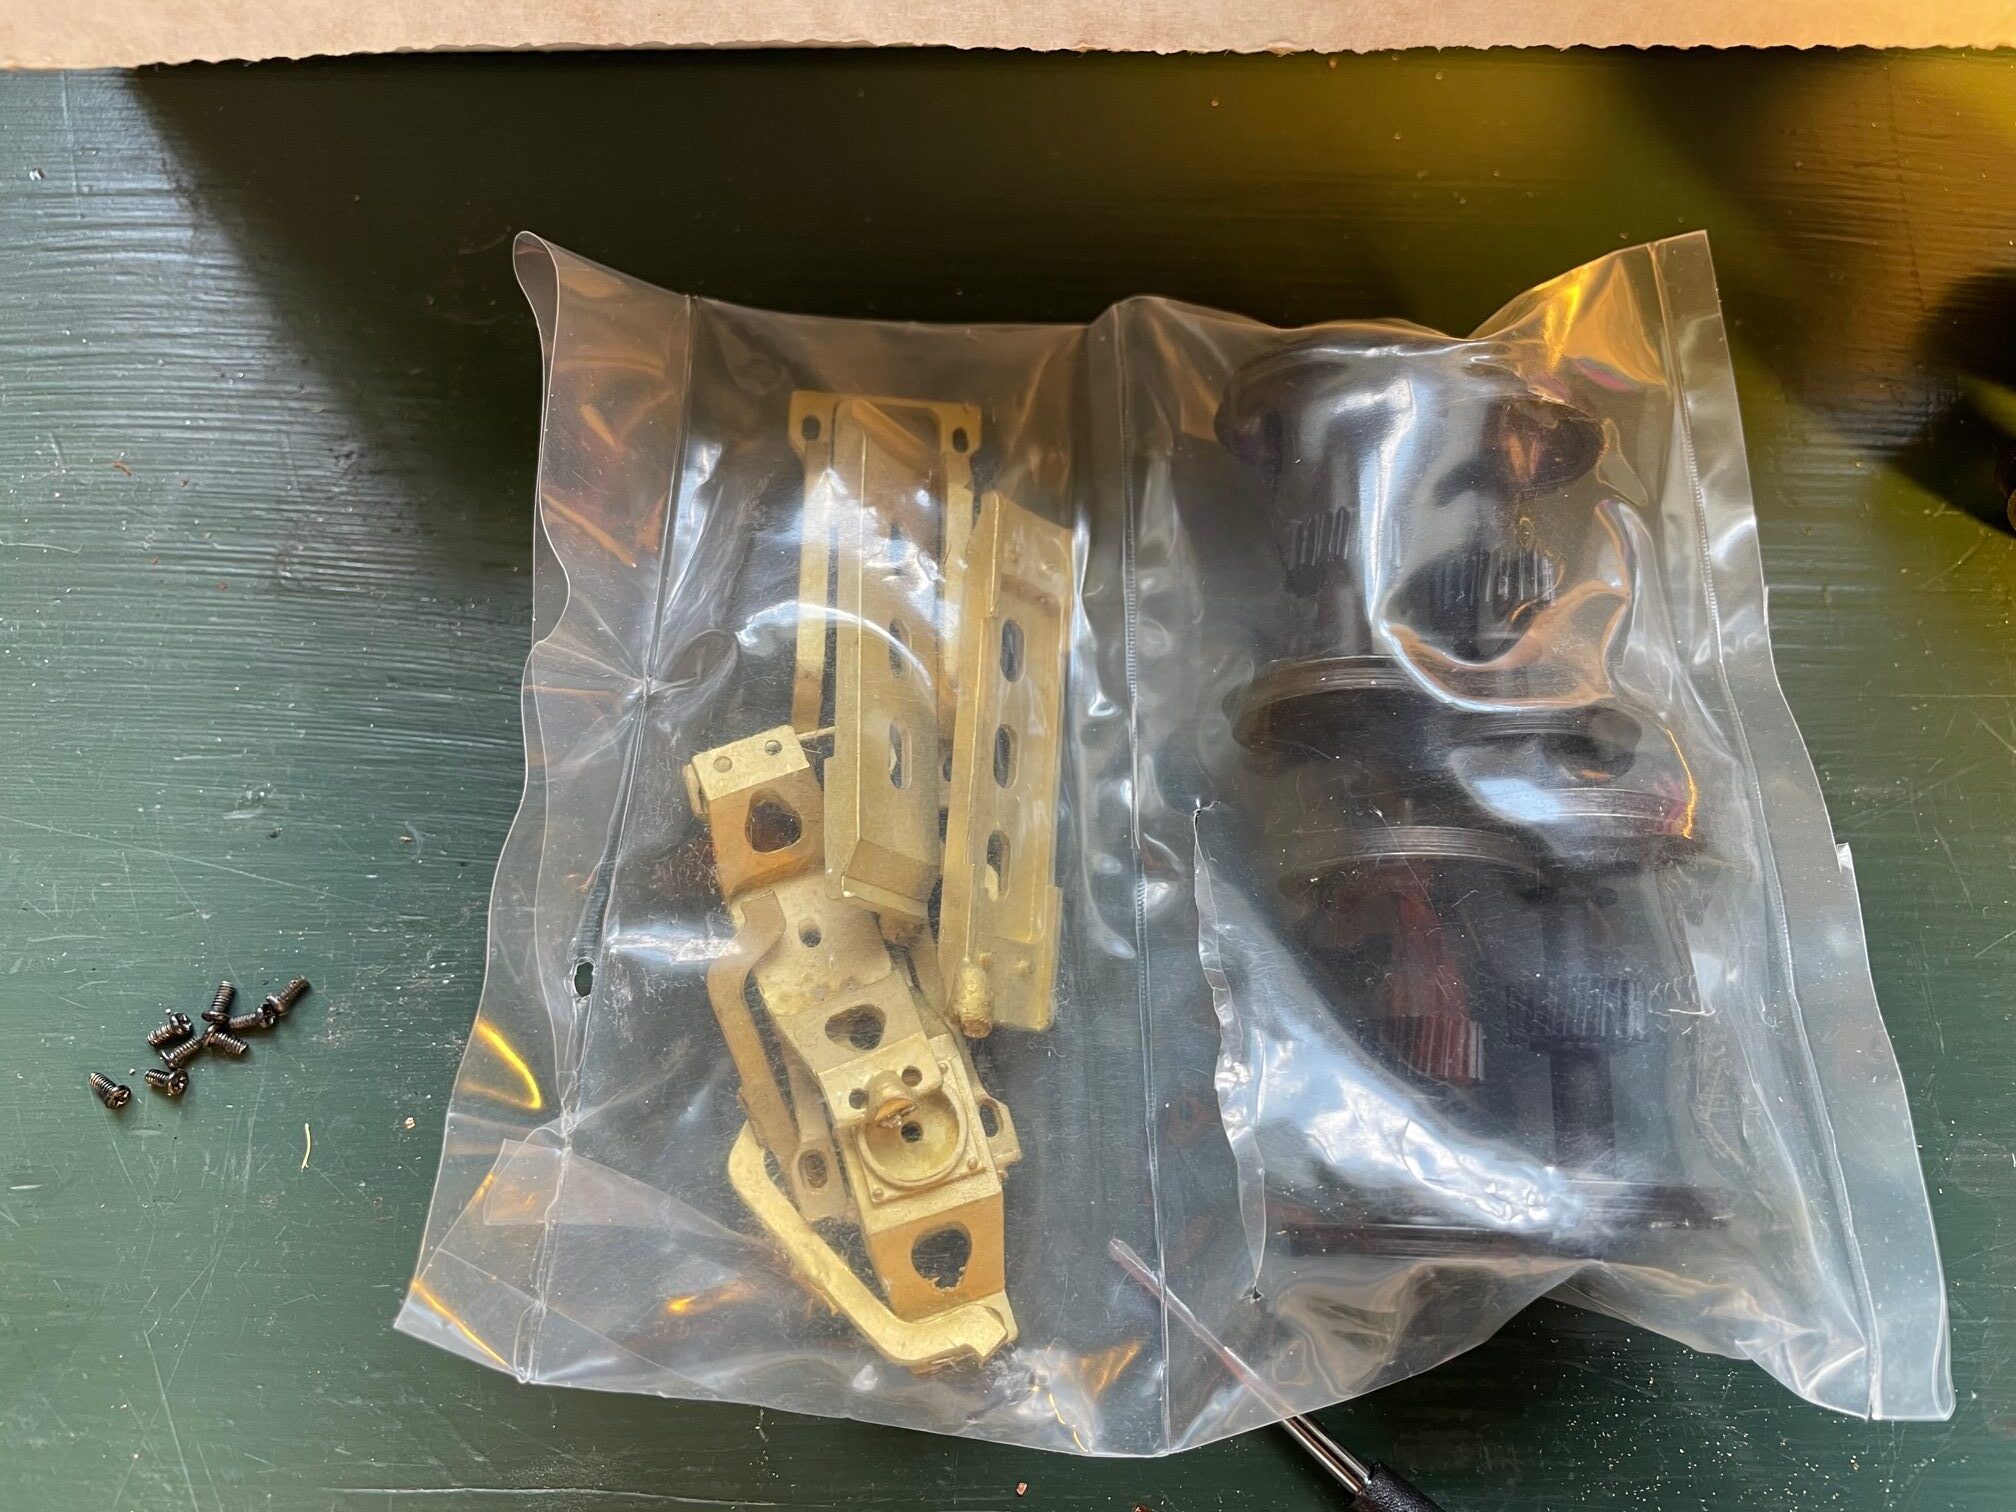
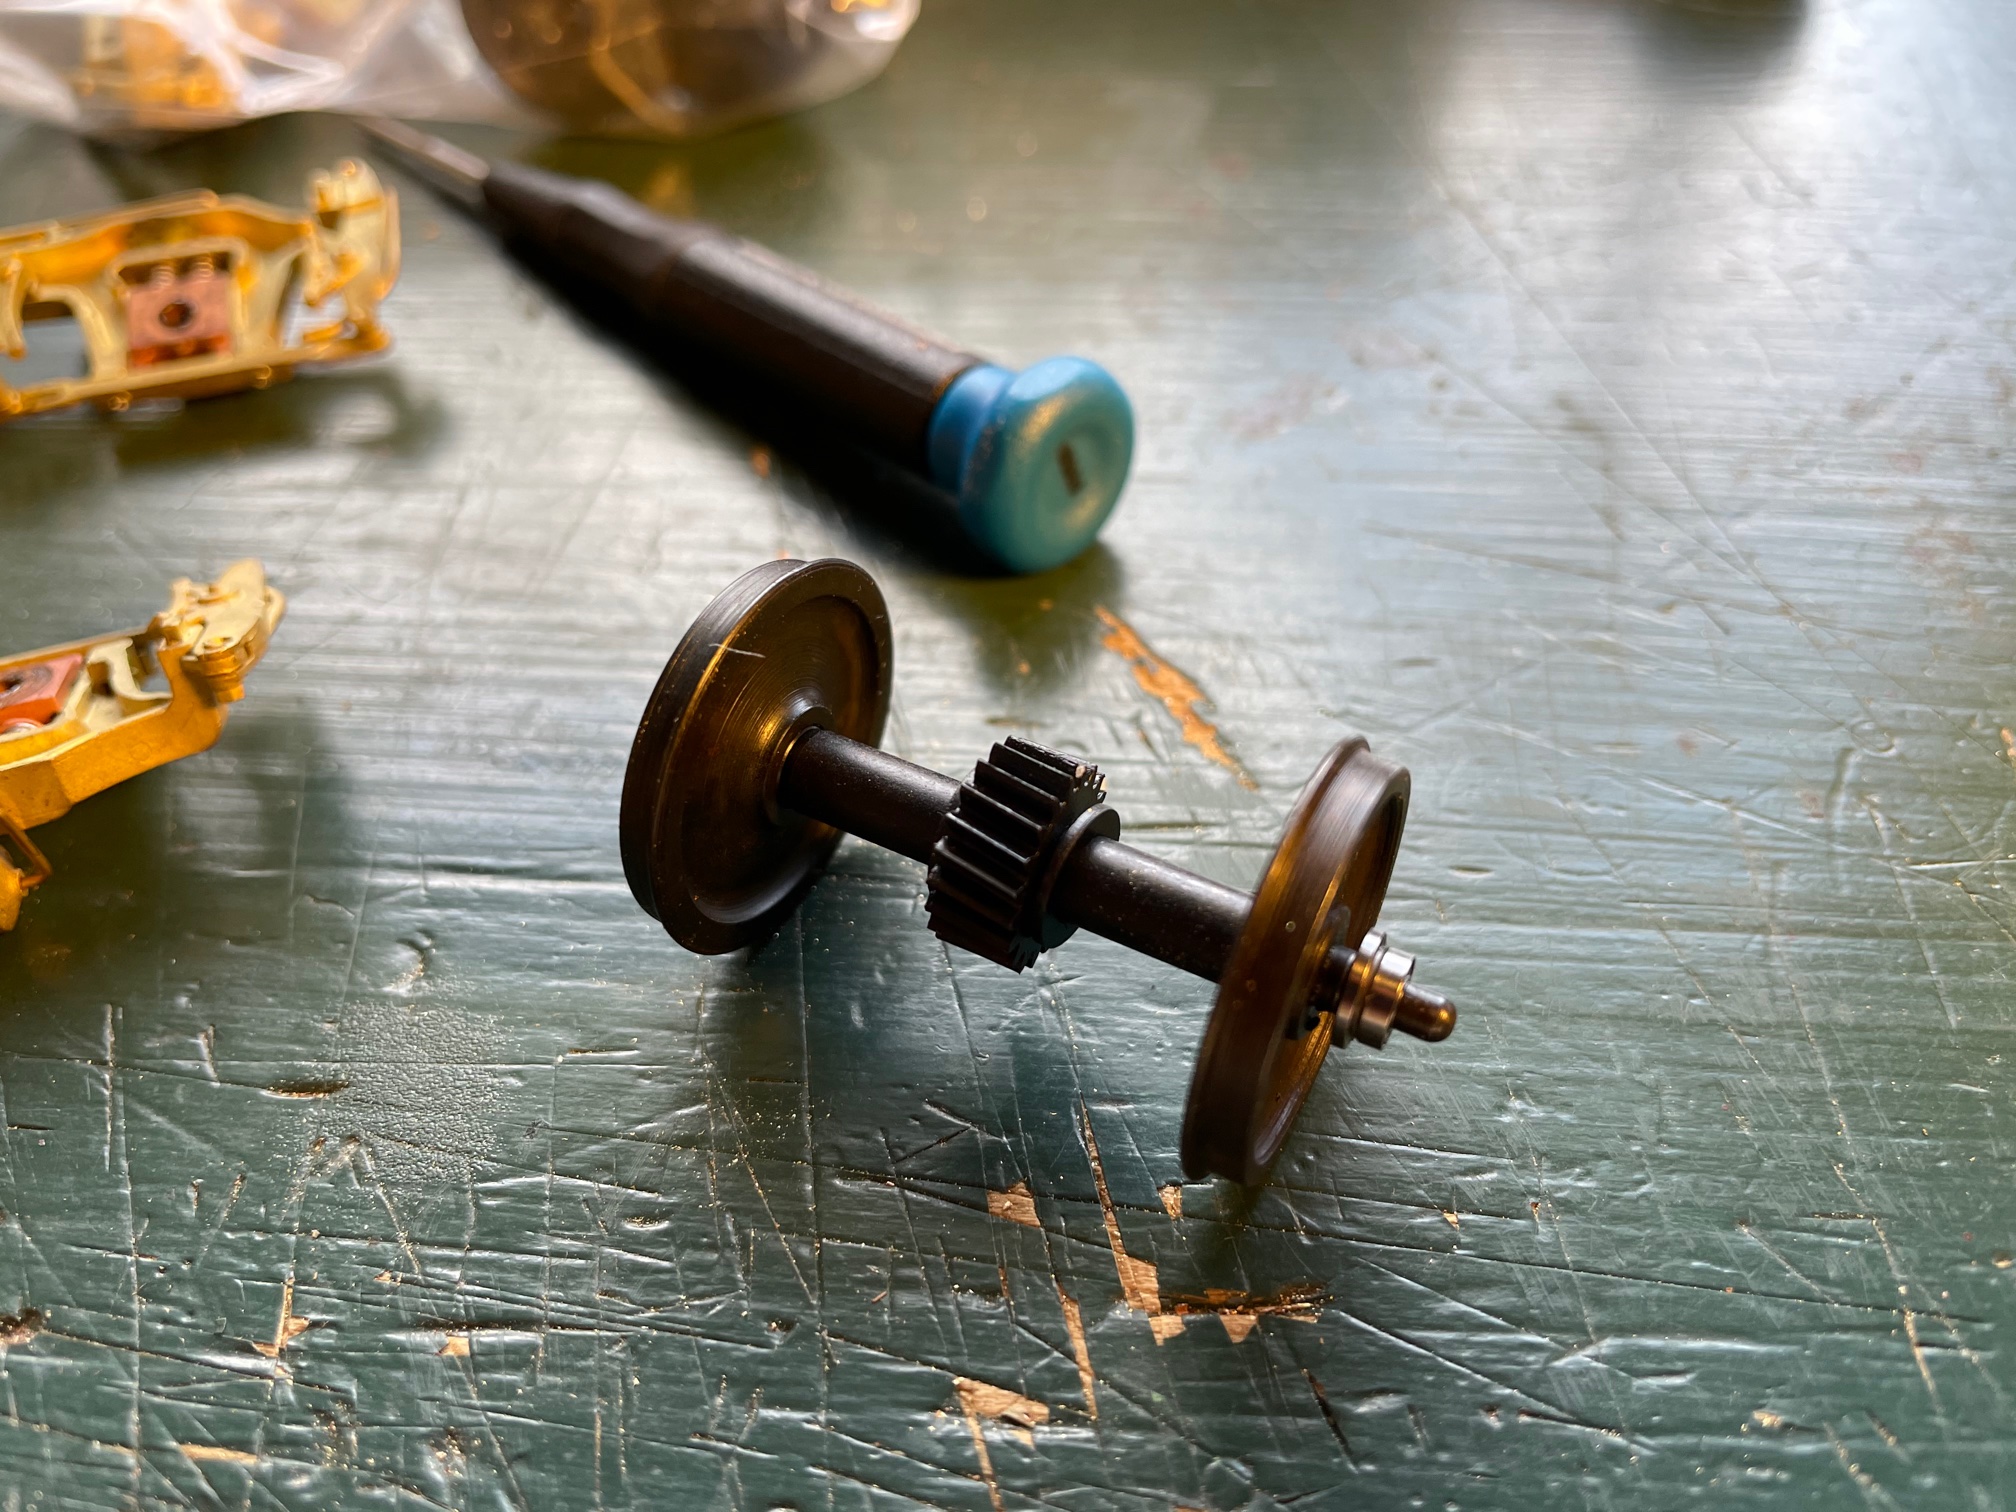
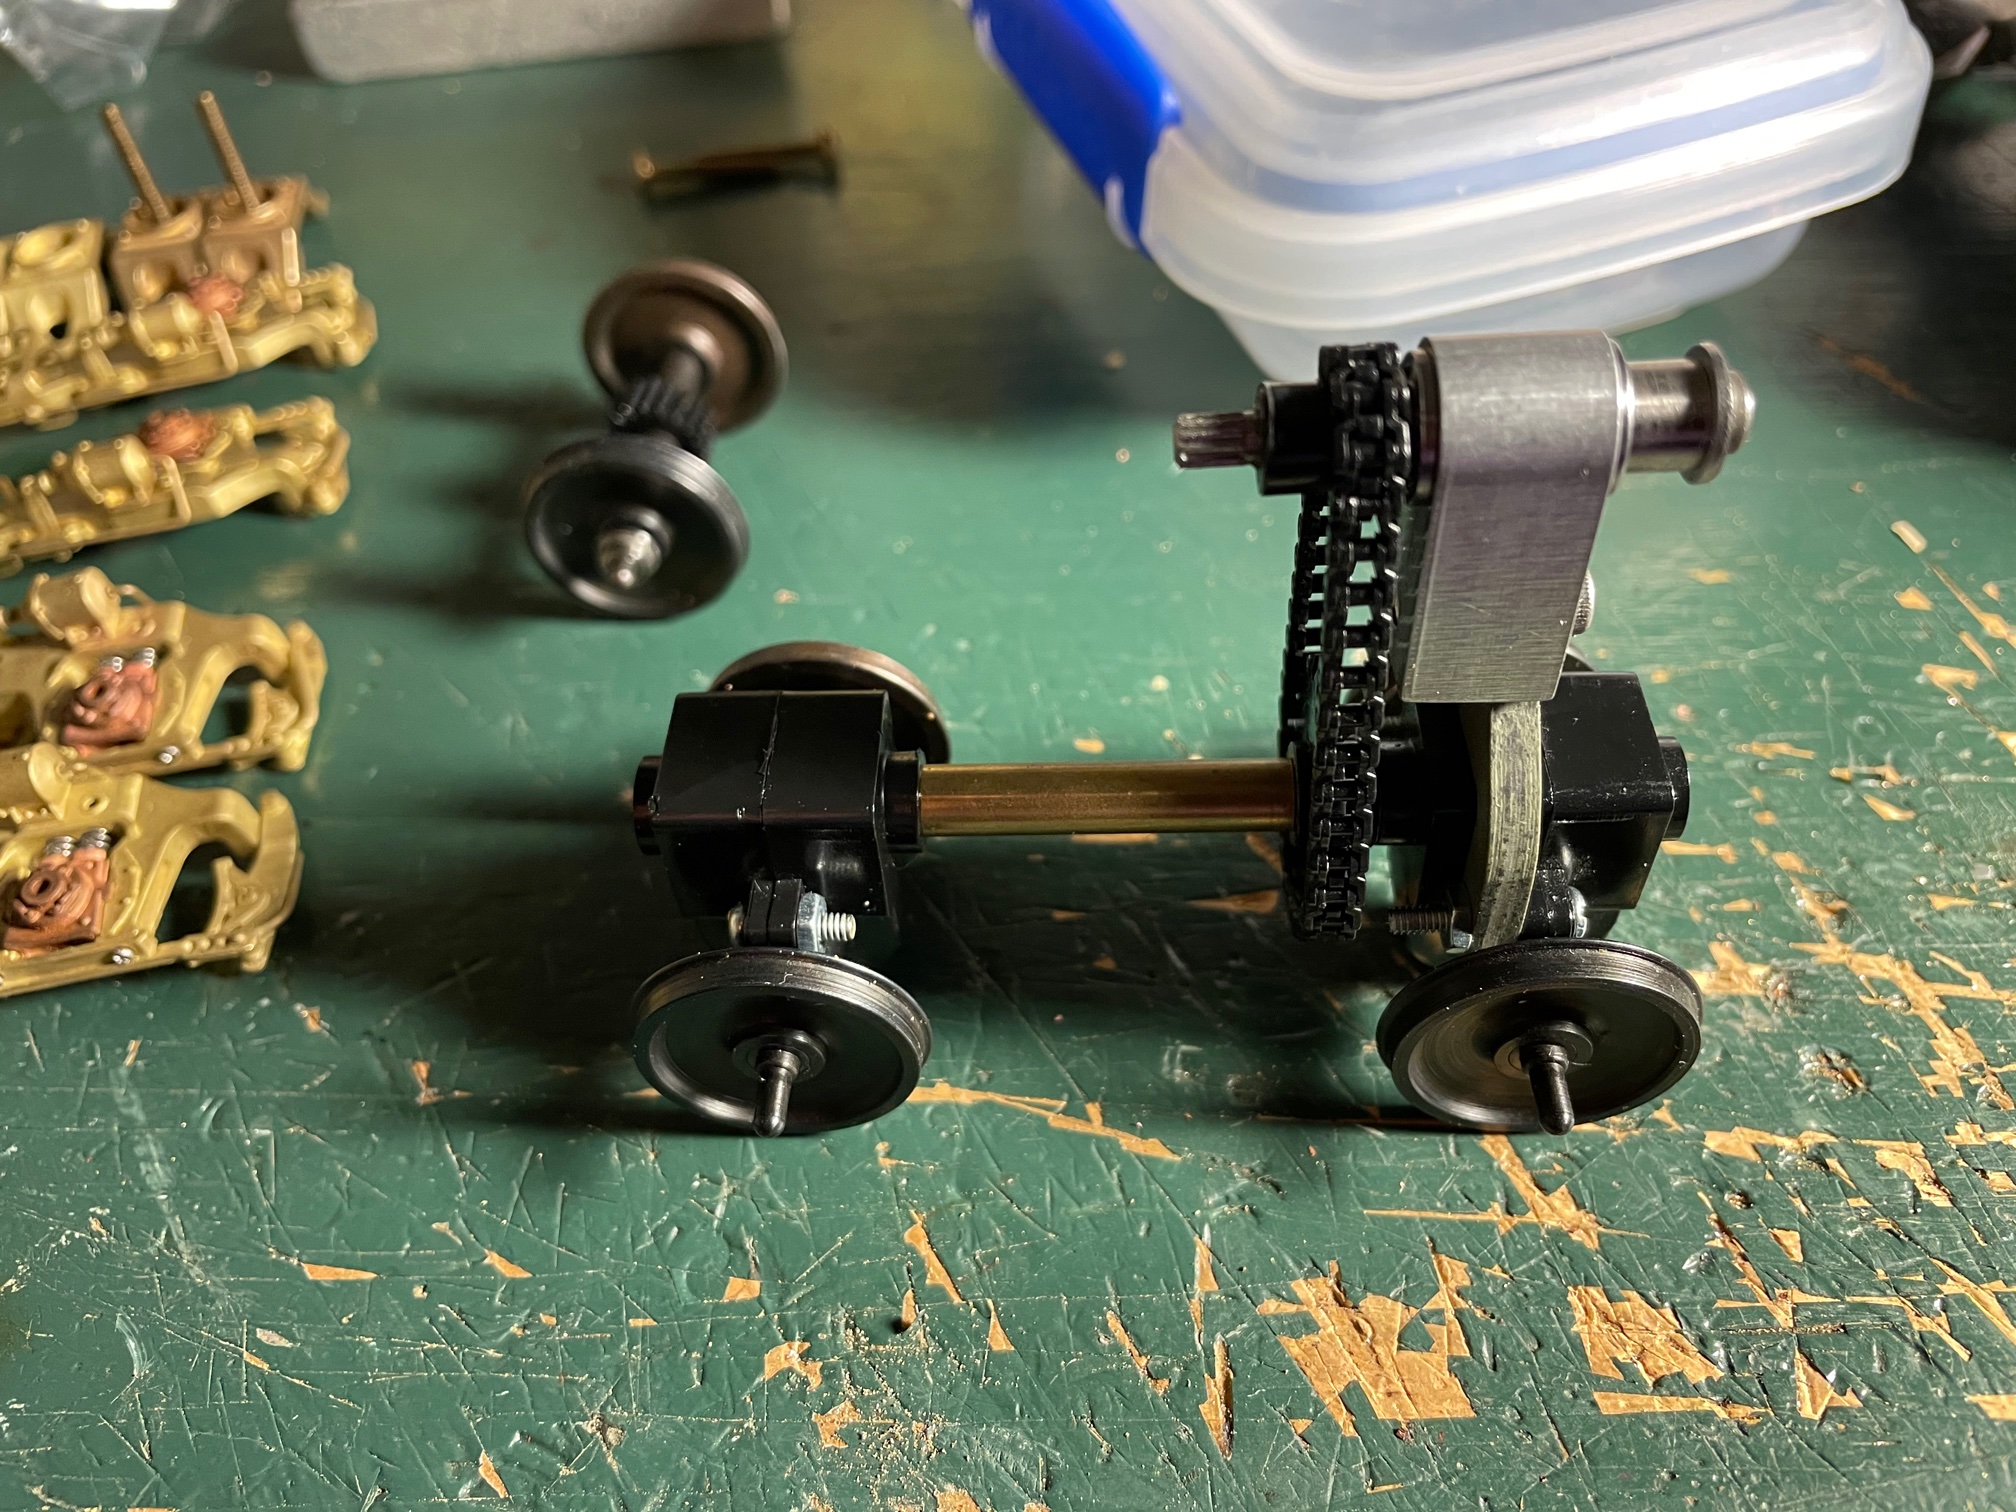
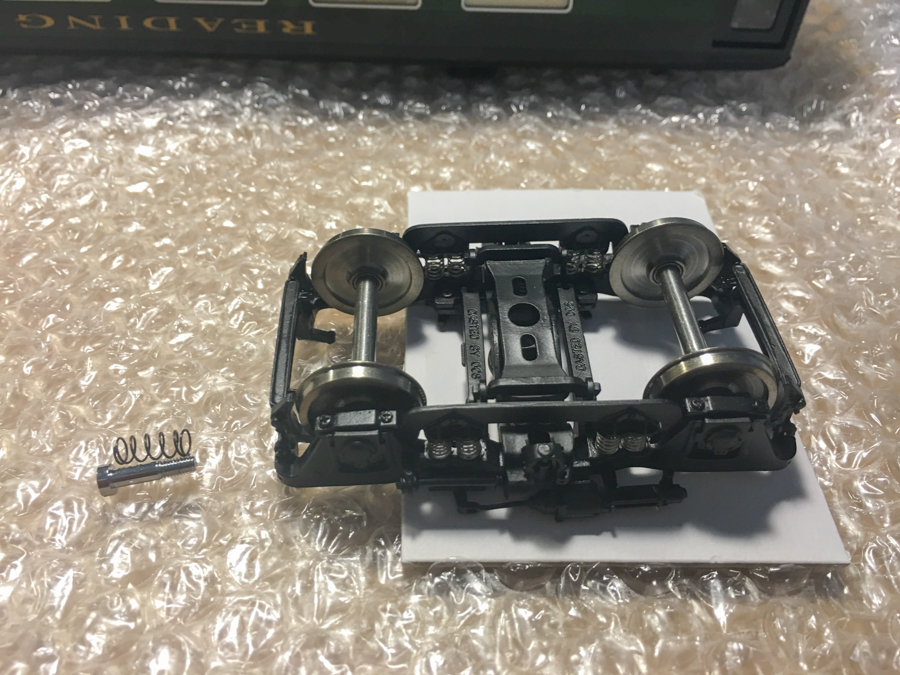
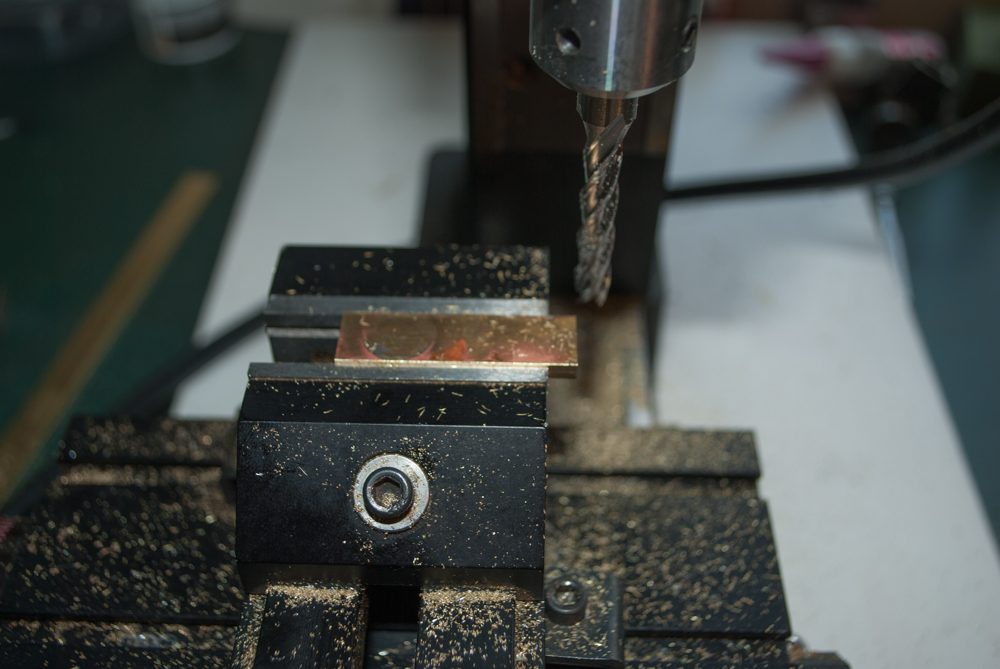
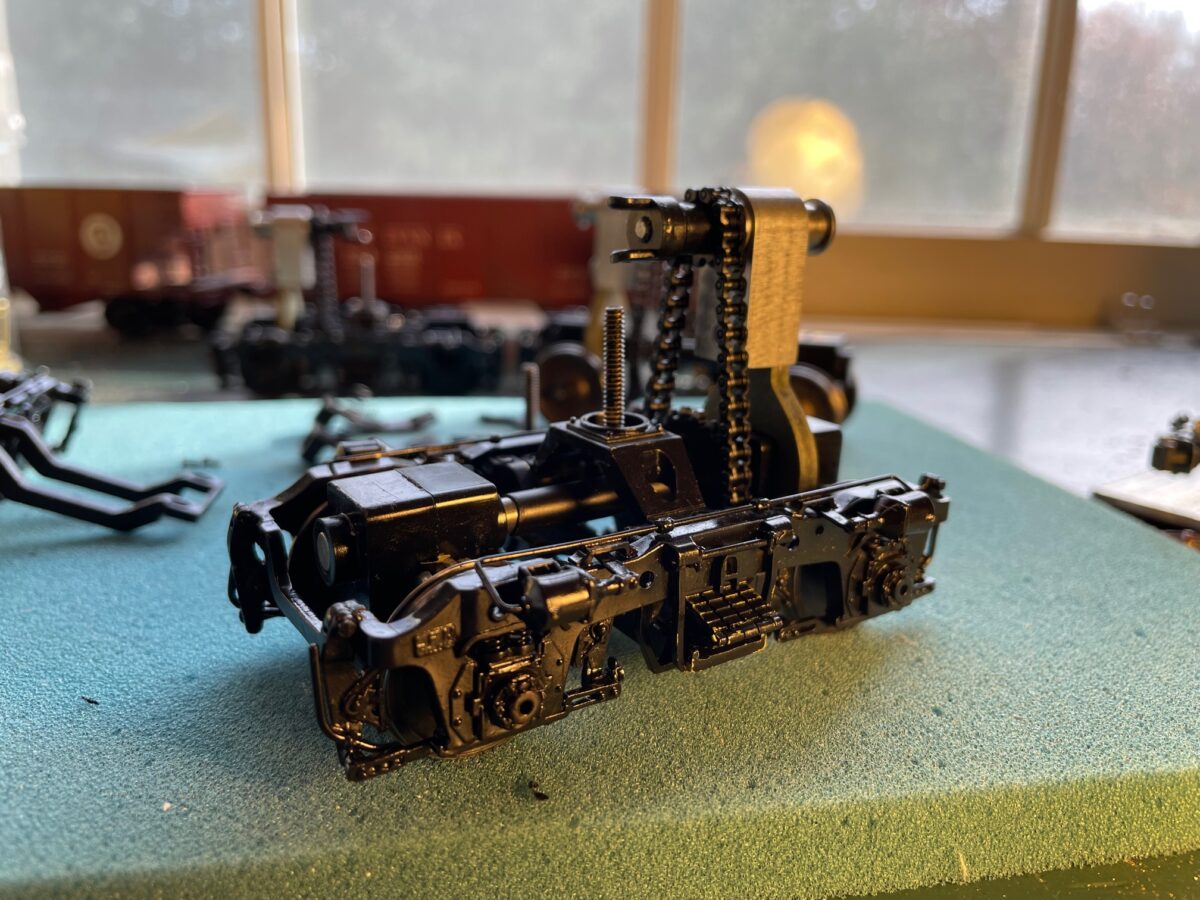
Anyway, these two pair of trucks have had new axels from Protocraft installed. Yes, they are now available from Right-O-Way but I’ve had mine on the shelf since they were a Protocraft product. I also installed ball bearing from Bearing Direct on the axels and also the FineScale 360 Weaver Chain Drive Replacement Kit.

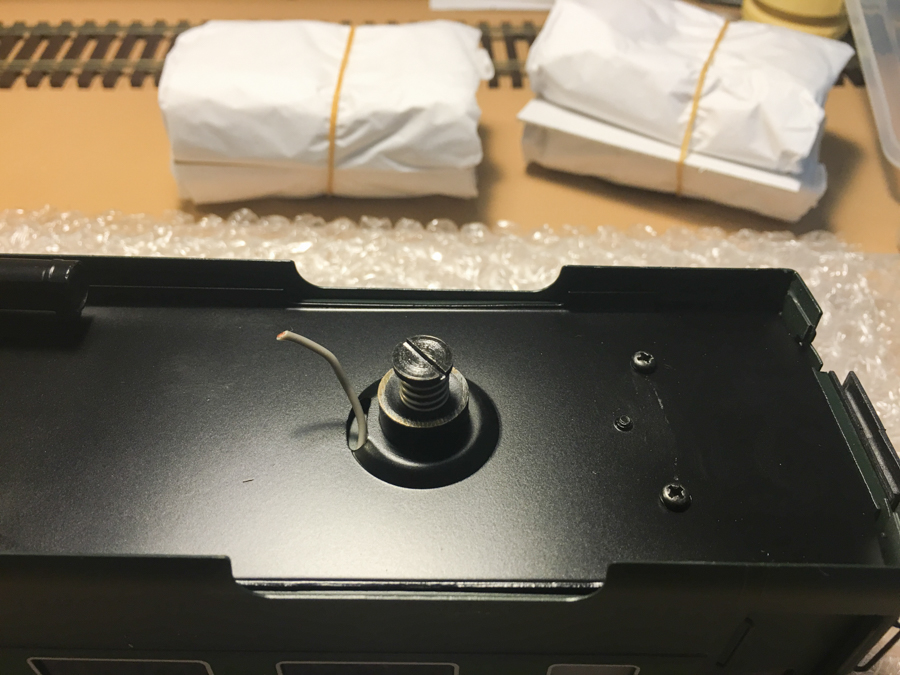
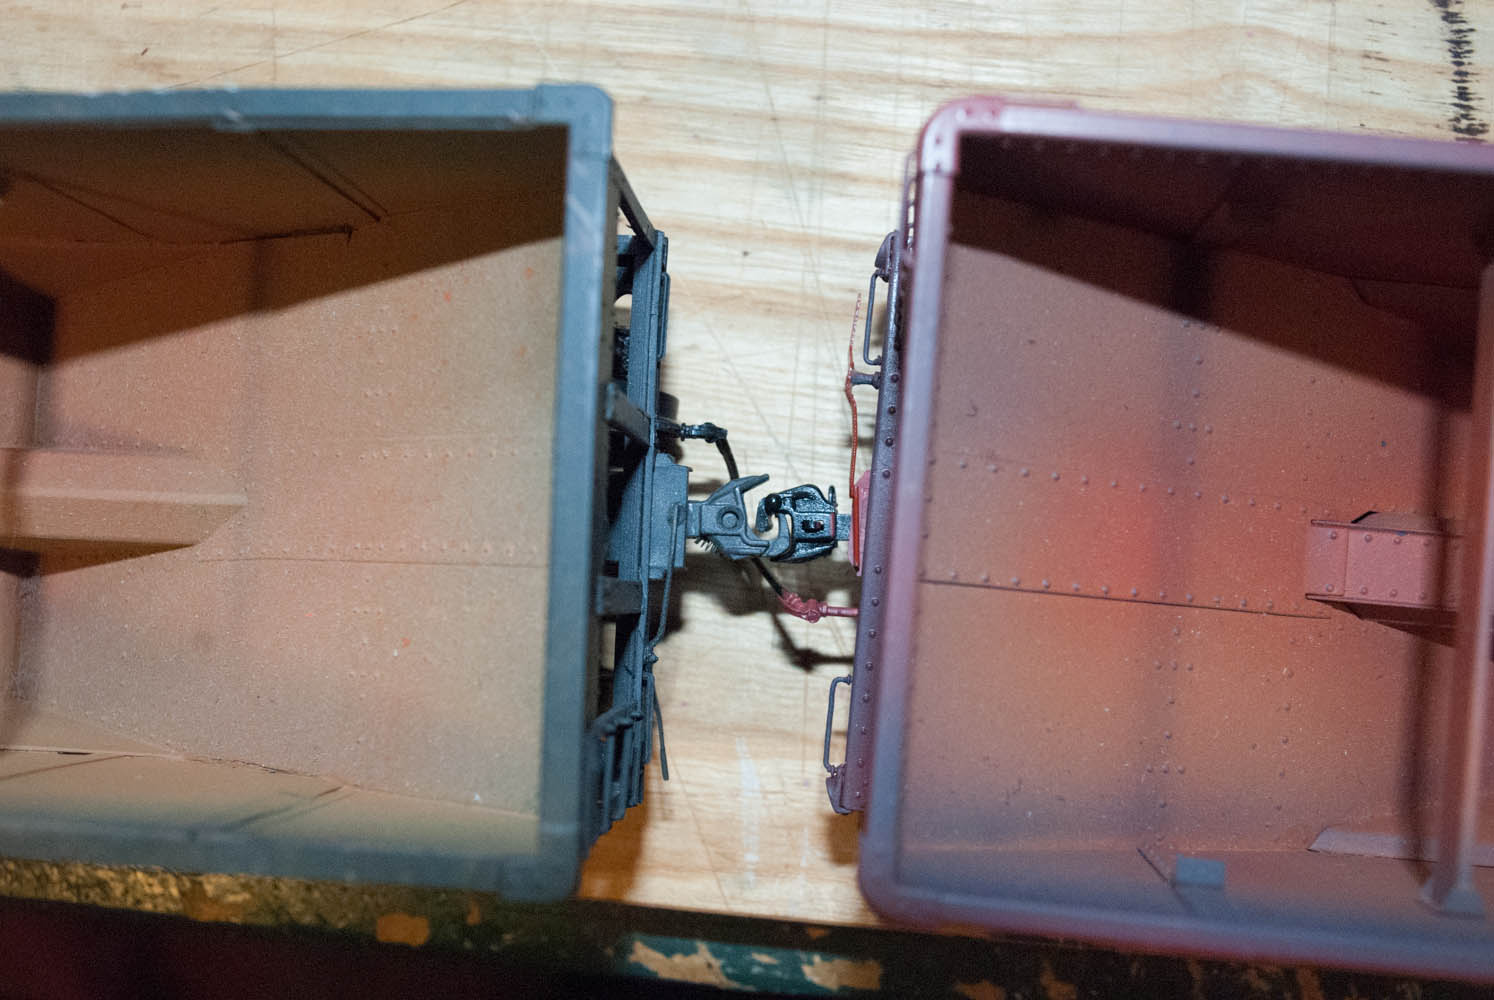
I have to say that these are a pain in the ass to reassemble. Things seem to be moving in so many directions at the same time. It’s difficult to get them all to fit together without something moving. They are taking longer than I thought they would to reassemble.

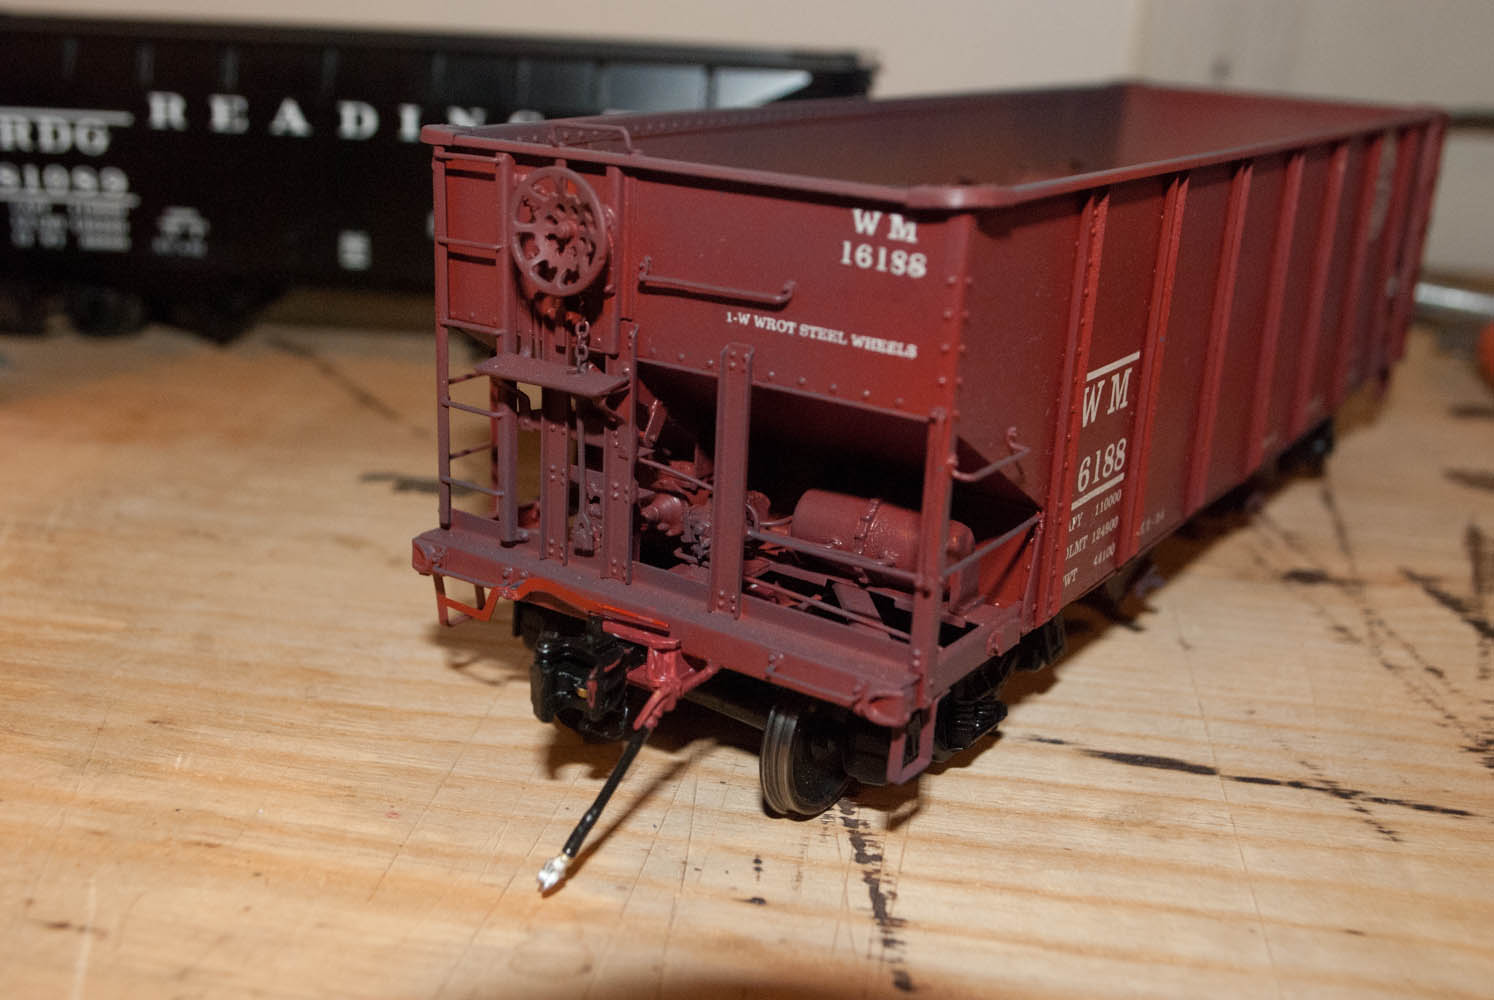
And for anybody that might be questioning why I have a nice shinny black on the trucks instead of all kinds of weathered blacks/grays/rust. For my modeling period, the Summer of 1952, these units are less than a month old. I don’t think the railroad would have been happy if they had been delivered with well worn trucks.

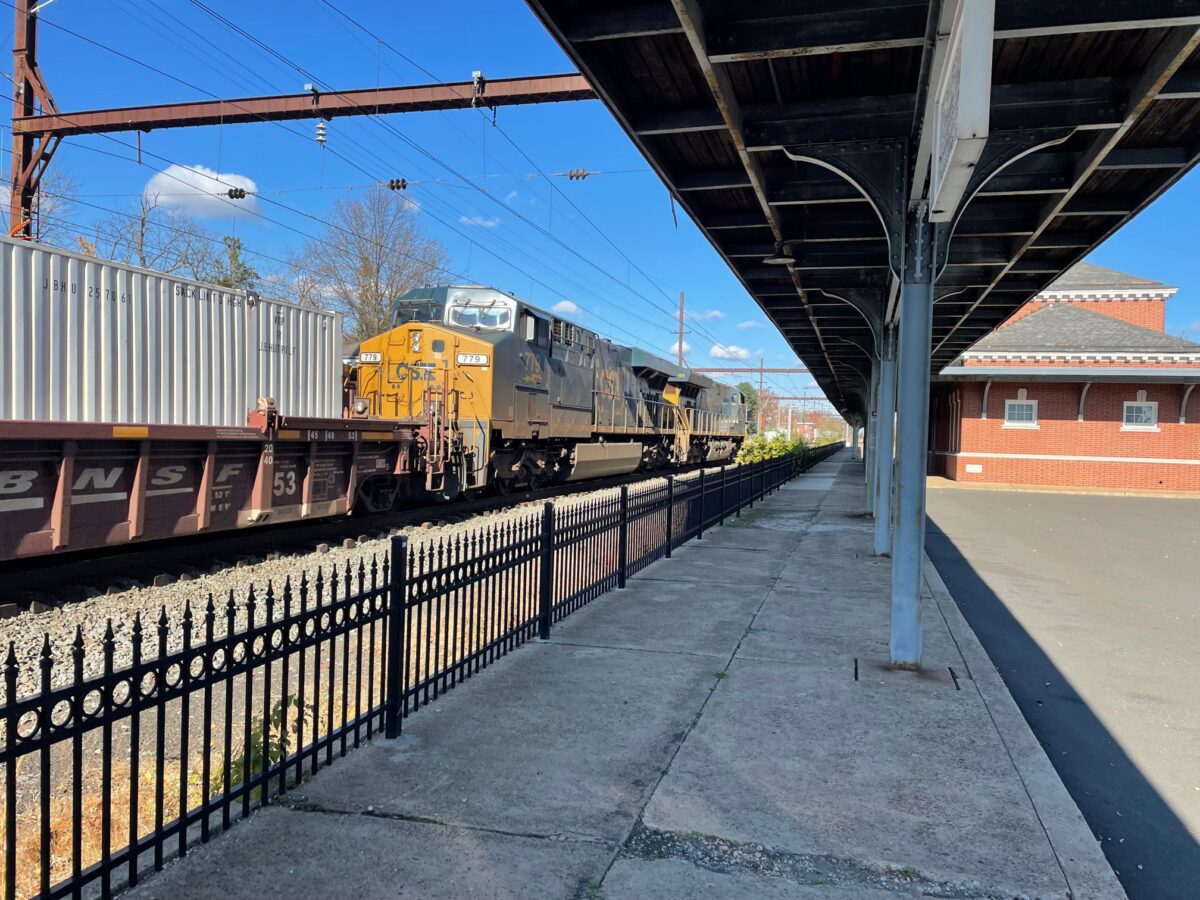
I am back at work a couple of days a week until the end of the month. This has meant getting out at lunchtime to West Trenton Station. This week I got to see a CSX stack train head North through the station.

WB: Something Old and New

Well I got the Locomotive Workshop Baldwin kit home and took a good look at it. It is mostly complete. You can’t see the parts bag behind the body etching. The nose casting are softer then I remember from other kits. They will require some work to fit the four pieces together.

I’ve built other LWS kits in the past, to say they are basic is an understament. I had a friend refer to them once as a scratch building project disguised as a kit.

I’ve wanted to build the CNJ DR 4-4-1500 “Baby Faced Freighters” for a long time. This would give me the two nose castings I would need for the project. I could just use them as is and build the freight units, but I still think I want to build the double ended passenger unit. So I’m planning build one nose up and have resin castings made for the project. At any rate, it’s not at the top of the project list right now. Back into the box to wait a little while before starting that project.

I’ve been working on pair of GP7’s recently. I’ve managed to find a pair of the Atlas O GP7 shells. I am replacing the long hood assembly of a Red Caboose GP9 with the Atlas O GP7 long hood to build my GP7’s.

I am working on the drives first. I’ve been acquiring the parts for this build for a while now. Even before I bought the Atlas O shells.

I started with the P&D replacement drives for the Red Caboose GP9. The two drives have been waiting their turn on the workbench for a while. Funny that when I examined the gear towers of the drives. The top gear of both towers in one drive had cracks. Not a problem as I had planned to replace the gear towers anyway.

I am using the FineScale 360 Gear Tower and also a set of Right-O-Way conversion wheels and truck castings for the P&D EMD Blomberg truck. This conversion set might go back to when these parts were sold be Protocraft.

Since you have to disassemble the truck to install the conversion parts, I thought it would also be a good time to install ball bearing on the axels. You can see one of the ball bearings on the axel below. I’m using a FR133-ZZ Flange Mini Ball Bearing from Bearings Direct.

The model’s bearing in side frame have been modified to fit the new ball bearings on the axel ends. Next step is to paint and reassemble the trucks.

Protocraft’s General Casting Corp Type 41-N passenger truck

SGL-Protocraft-trucks-8

The seven SGL cars after I installed the Protocraft trucks.

A couple of years ago I picked up a 3-rail seven car set of the SGL Reading coaches for a very good price. It turns out that Protocraft had imported a General Casting Corps 41-N passenger truck which is what is under them. So it looked like the conversion would be rather simple.

Well, nothing is ever as simple as it might first appear. I test fit one set of trucks under a car and thought the car might be sitting a little high. Thinking I had to modify the 3-rail bolsters under the cars the project ground to a screeching halt. The box with the seven pairs of trucks sat on a shelf right next to the cars for a while (it sat long enough for me to have to dust off their roofs as I worked on them).

I just finished a cleaning project in my train-room, well I’m still still cleaning some parts of the room. So lets just say I cleaned a spot to put my old drafting table back in the train-room. Now, I can work on projects on a much wider area. Feeling inspired, I pulled one of the cars down and set it on top of the trucks again. I never did actually attach the trucks to the car. My thought was that I would figure out how much I would have to mill the bolster down to bring the cars down.

I wasn’t exactly sure how much that was so, out came the books. First couple of images were close but it was hard to tell. So, I went through the images I had on the computer. Again the car looked like it did in the photos. Cool, maybe I didn’t have to mill the bolsters after all.

The Precision Scale Company bolster screws fit nicely into the SGL bolsters and they actually fit the Protocraft trucks also. So, it was a simple matter of attaching the trucks using the Precision bolster screws and springs.

Next up for these cars is fitting couplers onto them. Since, they started out as 3-rail cars they don’t have any coupler mounting pads on them.

SGL-Protocraft-trucks-4

The original 3-rail truck screws in the bolster boss.

SGL-Protocraft-trucks-3

Protocraft General Casting Corps 41-N passenger truck inverted next to the precision Scale truck bolster screw and spring.

SGL-Protocraft-trucks-2

Close up view to compare to the prototype photo below it.

rdg 2010

One of the prototype cars later in their service life in West Trenton, NJ.

Protocraft Couplers

RY Models WM Channel Side Hopper with Protocraft Couplers and magnetic air lines

I’ve been quiet lately here. I have been working on stuff, just not writing much. I’ve recently received and started to install the New Protocraft Symington-Gould “E” Type couplers some of my freight car models.

Most of the instalations have been easy. As simple as changing out the Kadee couple and box with the new Protocraft coupler box. Some have needed a little trimming of the coupler box.

They operate well, stay closed when they need to and open when you pass the magnetic wand over the top. They look fantastic!

The second photo shows them connected to a car with the Kadee couplers still. They did connect and stay coupled in my simple tests on the work bench.

DSC_1220

The biggest issue I see so far is one that the prototype also has. They have to be manually aligned to couple properly. On a small switching layout where everything is easy to see, that will just add another layer of realism. On a larger layout with staging tracks in bad places that could prove to be a problem. Imagine backing into a staging yard with close overhead clearances. You have to pick up a string of cars on track three of six, all adjacent tracks filled with cars. You can barely fit a hand over the cars, let alone see over them. And your couplers need to be aligned, you can’t see to connect to the cars.

As pretty and well functioning as these new couplers are They do present some problems that the current bench mark of the Kadee coupler does not.

The issue of their cost is also something to consider. At $59.95 for five par of couplers, that is $11.99 per car for those that didn’t do the math. I can hear some of the guys with 200 cars on a model railroad saying they would not spend to $2398 to change out all the cars on their railroad. But for the modeler with 40 cars, it would come in at $479.60. That is not bad at all.

The jury is out for me on these couplers, they do operate well and look great. What is holding me back right now is coupling in spaces with bad access to the cars. Kadee couplers just work better in those places.

SGL Reading G-3 Tender Conversion

Machining the two new bolsters which have been soldered together

Machining the two new bolsters which have been soldered together

I was able to line up a trade of some surplus PRR equipment for a SGL Reading G3 Pacific. These models came out in 2002. They are nice models but rather lightly detailed. The Reading Modeler dose not have a lot of choices in mass produced steam locomotive models like some other roads have.

I had earlier taken apart the tender trucks to check out their design. It used a flat brass stamping as the bolster attached by screws into cast brass truck side frames. I test fit a set of Protocraft 36 inch wheel sets into the side frames to see if the axle ends would fit into the journal tubes on the side frames. They fit nicely into the side frame but not while the stock bolsters were in place. I measured the distance between the side frames without a bolster in place to get the length of the new bolsters that had to be made.

I purchased some K&S stock at my LHS which was just about the correct width and the same thickness of the old bolster.

I started by cutting two pieces of brass from the stock a little longer than the old bolsters. I soldered them together so that they could be machined at the same time. I placed the two pieces now soldered together into my milling vise. First I squared up the sides and ends. Then I machined them to the correct width. I marked the location of the holes based on the old bolster locations. The holes were drilled and tapped for 2-56 screws.

After the conversion, the old bolster and one O scale wheelsets in front of the two trucks.

After the conversion, the old bolster and one O scale wheelsets in front of the two trucks.

Here we see the trucks reassembled. As I first stated these are a basic design. If a similar truck is ever produced in Proto48, I would love to an upgrade these trucks. Until then these will do.

Here is the Tender for the G3 after the conversion

Here is the Tender for the G3 after the conversion

The reassembled trucks were placed back under the tender using the original screws. Not that bad looking after they are placed under the tender. All in all not too rough to convert, next comes the locomotive.

Protocraft’s General Casting Corp’s 41-N passenger truck

Protocraft’s General Steel Casting 41-N Passenger Truck

Imported By: Protocraft
MSRP 07/2013 $109.95/pr.

Description:
I have to say that one of the highlights of the National was getting to see, in person, a pair of Protocraft’s 41-N passenger trucks. These are a work of art.

I talked to the man from Wasatch Model Company, who imported them for Protocraft. These trucks are made by the same builder that does the fine line of  Wasatch O scale trucks. I began to realize, I need to make the purchase of these trucks sooner than later. As with everything O scale, buy them when they are around, they may not be run again, and they almost always will never be the same price the next time around.

I have seven of the SGL cars, which I found at a very good price without a box about a year ago. Who needs the box anyway? They started out as a three rail cars, SGL imported both. From what I’ve read about the cars, the two version were the same except for the trucks and couplers.

So when I got home from the National, I ordered the seven pairs I needed to convert my cars. They arrived on Saturday. WOW!  This is the detail level that I got into O scale for back in the 80’s.

I set a pair under one of the passenger cars today and the car sat a little high. I think a little work to the bolster and they will sit exactly where the railroad wanted them too. Now I just have to dig out the Reading Company diagrams for these cars, to know the correct height they need to be at.

NMRA Proto48 Specification:
I measured the trucks and find that they are within NMRA spec. Here are the measurements and I’ve added their measurements to the NMRA S-4.1 Proto48 Wheel Standards

Check Gauge Back to Back Wheel Width Flange Width Flange Depth
Specification Range 1.124 1.134 1.100 1.112 0.115 0.120 0.024 0.028 0.022 0.026
Protocraft General Casting Corp’s 41-N
passenger truck, double insulated axles
1.132 1.108 0.115 0.024 0.022

Plus and Minus… Opinions: On the plus-side:

  • WOW! Lots of WOW factor!
  • They are a Museum level model all by themselves.
  • The trucks measured up fine against the NMRA Specification.
  • To say they roll well is a bit of an understatement.
  • The trucks do look very nice, they capture the look of the prototype based on the photos and drawings I’ve seen.

On the minus-side:

  • Some day I may think of a minus for these trucks….
  • Only thing I can say is that when they run out at Protocraft, Norm has stated that  they may not be run again. If they are, they will never be priced this low again.

Overall:
If you are running this style of Passenger truck on your equipment, buy these trucks. You will not be sorry.