A New O Scale Manufacturer

Photo from the Yarmouth Model Works Website

I can’t believe I actualy wrote that headline. It’s great news!

Yarmouth Model Works has released their first O Scale resin rfeight car kit. It is a model of a PRR X31f boxcar. Owner Pierre Oliver hinted about the kit last Spring and now it’s here.

The kit features a one-piece resin body casting, a 3D printed roof pattern, laser cut running boards and 3D printed details. The kit sells for $165.

For those that are not familiar with Yarmouth Model Works. They are an HO manufacturer of resin freight car kits and detail parts. I hope we might see some O Scale detail parts offered in the future also.

I’ll let you know more about this kit when it arrives here in South Jersey.

WB: Some New Stuff

Jon Cagle of Southern Car & Foundry has released a new freight car kit, a 1932 ARA Boxcar. This makes me excited on two levels, first I’m happy to see a freight car kit manufacturer back with a new release in O Scale. And second, this is an important car in freight car development.

If you have built one of SC&F’s kits in the past, you know they are the best kits being made today. The castings are out of this world.

The ladders and yard steps are etched metal.

The instructions are lengthy and well detailed. This should make for interesting reading tonight. I’m really impressed by this kit. Looking forward to building it.

On a different front, Pierre Oiliver of Yarmouth Model Works teased out an image of a PRR X31f O Scale body this past week. I reached out to Pierre and he confirmed that he will be releasing this as a kit later this Summer. I’m looking forward to that release and hope it is the first of many new O Scale kits to be produced from this established HO resin freight car kit manufacturer. This is very promising.

WB: A Model Returns

A strange thing happened to me at the Chicago Show in 2019, a PRR B6sb followed me home. First is was priced so well, I couldn’t pass it up. That was mostly because it had a very bad paint job.

After spending some time being converted to Proto48 by Carl Jackson, this fine looking model came home with me on Saturday. During the time the model was with Carl it had the chance to take a bath in his stripping tank. It needed it!

Now that all that ugly paint is gone, it revealed a couple of things the bad paint was hiding. It appears the previous owner had a mishap with the tender. The railings appear to have been damaged at one time. A repair attempt has resulted with too much heat being applied, which caused the rear tender deck to seperate from the side. There is also a little separation along the top rim of the coal bunker. So, I have some repair work to do before I can think about painting this model.

Next up was another model that came home from this past weekend’s show. It’s an RY Models Reading welded 55 ton twin hopper. It also is suffering from a case of bad paint. This time the issue was in the weathering attempt.

This is a good reason why you learn to paint and weather freight cars using a $20 Weaver car, not a brass model.

My first thought was to try to salvage the paint by just cleaning up the weathering. Better sense took over, rather than try to fix the bad weathering, I’ll just start over. So into the stripping tank for this one. I can say that with a little help from a toothbrush every few hours this model is now almost back to brass. I figure it will be done later today.

WB: A Visitor

I had a visitor to my workbench this week. My friend Michael Rahilly’s PRR SW-9 came in for some quick work. He wanted to change the wheelsets and it needed a repair to the footboards on the from pilot. These were the before images.

It happened that it was sharing time on the workbench with a couple of other SW9’s. That is former SW9/NW2 project looking more like a SW9 again on the left. The CNJ unit was getting the Right-O-Way retainer plates installed.

I started to go through the models that were painted, decaled but awaiting weathering. When I discovered that my H30 still needed trucks and couplers installed.

Bolsters added and painted. Couplers installed and checked with the height gauge. All is good with the world. These will be next in line when I get a chance to weather some models. Hopefully soon.

Workbench Wednesday

A clean workbench

I realize I haven’t posted much recently, it doesn’t mean I haven’t been working on anything. It really just means I haven’t had time to write about anything I’m working on.

Rather then just post images with no words, as some do very effectively. I thought I’d start a new on-going series about what’s on the workbench. I’ll try to write just a few words so there is a better chance of it getting me to post in a timely manor.

I’ll start this off with a simple image of the workbench today. It’s way too clean. I can guarantee it won’t stay this clean.

I have spent the last few days moving the desk, bookcases, drawing table and just about everything in my train room in an effort to make the space work better for me.

Just before I did start cleaning, I did manage to get some decals down on a PSC PRR H25. I had painted the car a long while back and it had sat on the shelf waiting to take the next step.

I used a set of Rich Yoder’s PRR H21a decals to letter the car. It still needs more work. The decals need to be over sprayed, air hoses attached and weathering done. But at least it’s no longer sitting with naked paint on the shelf. It most likely will be back here again as it progresses through the shop.

A Model I Once Owned

Above is one of the locomotives I sold off through my For Sale Page. Since I’m not modeling the PRR as my primary road any more, it became surplus. Along with over 24 other steam locomotives, and unique PRR equipment. Happily most have new homes now.

I sold this locomotive to a guy I never meet, only corresponded with him by emails. He then shipped it up to Forsyth Rail Services to let Matt Forsyth do his magic.

Today, Matt sent me a link the this video and as he said, “It’s been extensively rebuilt and accurately re-detailed.” Matt also installed newest QSI Q3 sound for steam. He says he still has yet to install the headlight lens and the coal load for the tender, then it will be shipped to it’s new home.

Here is what it looked like when I sold it.
I’d say Matt did a really fine job on this locomotive.

ush-prr-l1

Started Selling My PRR Models Today, and It’s not an April Fool’s Joke!


PRR M1b One of the models looking for a new home.

PRR M1b One of the models looking for a new home.

The first of my O scale PRR models sold today and it’s not an April Fool’s day joke.

I have always thought of myself as a PRR modeler. I’ve been building and collecting O scale models of PRR equipment for over twenty-five years. About five years ago I began to focus my model building on a particular branch and a fixed period in time, The PRR Elmira Branch in 1956. This caused a refinement/thinning of the collection. Models that did not fit the time frame or location were sold off and appropriate models were bought.

I did well at the last National selling/trading off surplus models and aquiring models for the Elmira Branch. Since the National I have on a number of occasions talked about one Reading Caboose that I thought about buying but didn’t. I didn’t talk about the two Steam Locomotives that joined the roster, I talked about the one caboose that wasn’t even needed for the proposed railroad.

I have struggled with a layout design for the last two years. I have been trying to find a way to fit in more Reading models into the layout. Thinking maybe the interchange at Williamsport might be enough. It wasn’t enough.

So, I started to look at the PRR Shamokin Branch. Plenty of I1sa running, lots of hopper cars moving, so it looked like a good fit. But as I explored the branch more and learned more about it. I started to shift my focus/research from PRR as main modeling interest to the Reading as the main modeling interest.

Actually, I’ve had more fun researching the Reading these last three months since shifting to the Shamokin area then the last 15 years worth of modeling the PRR. So now I have to think of myself as a Reading Modeler.

“SRF” ? doesn’t sound right….

Layout Visit: Roy Dietz, 2009 PRR in Harrisburg and West

Roy Dietz operating the M1 making setouts.

Roy Dietz’s layout was on the 2009 National tour, I had planned to visit it on the ride North after the National. Just as I was approaching the area to get off of 95 a rather large thunder storm began. I really did not want to follow a bad map in the storm, so I stayed on 95 and figured I’d see the layout some other time.

About three months passed and I was over buying from an estate in Delaware and guess who was also in the basement that night, Roy Dietz. After I was introduced, I told him the story about not getting to see the layout because of the storm. He was nice enough to invite me over. But he said rather than just, see the layout like you would have after the National, why not come over and operate the layout?

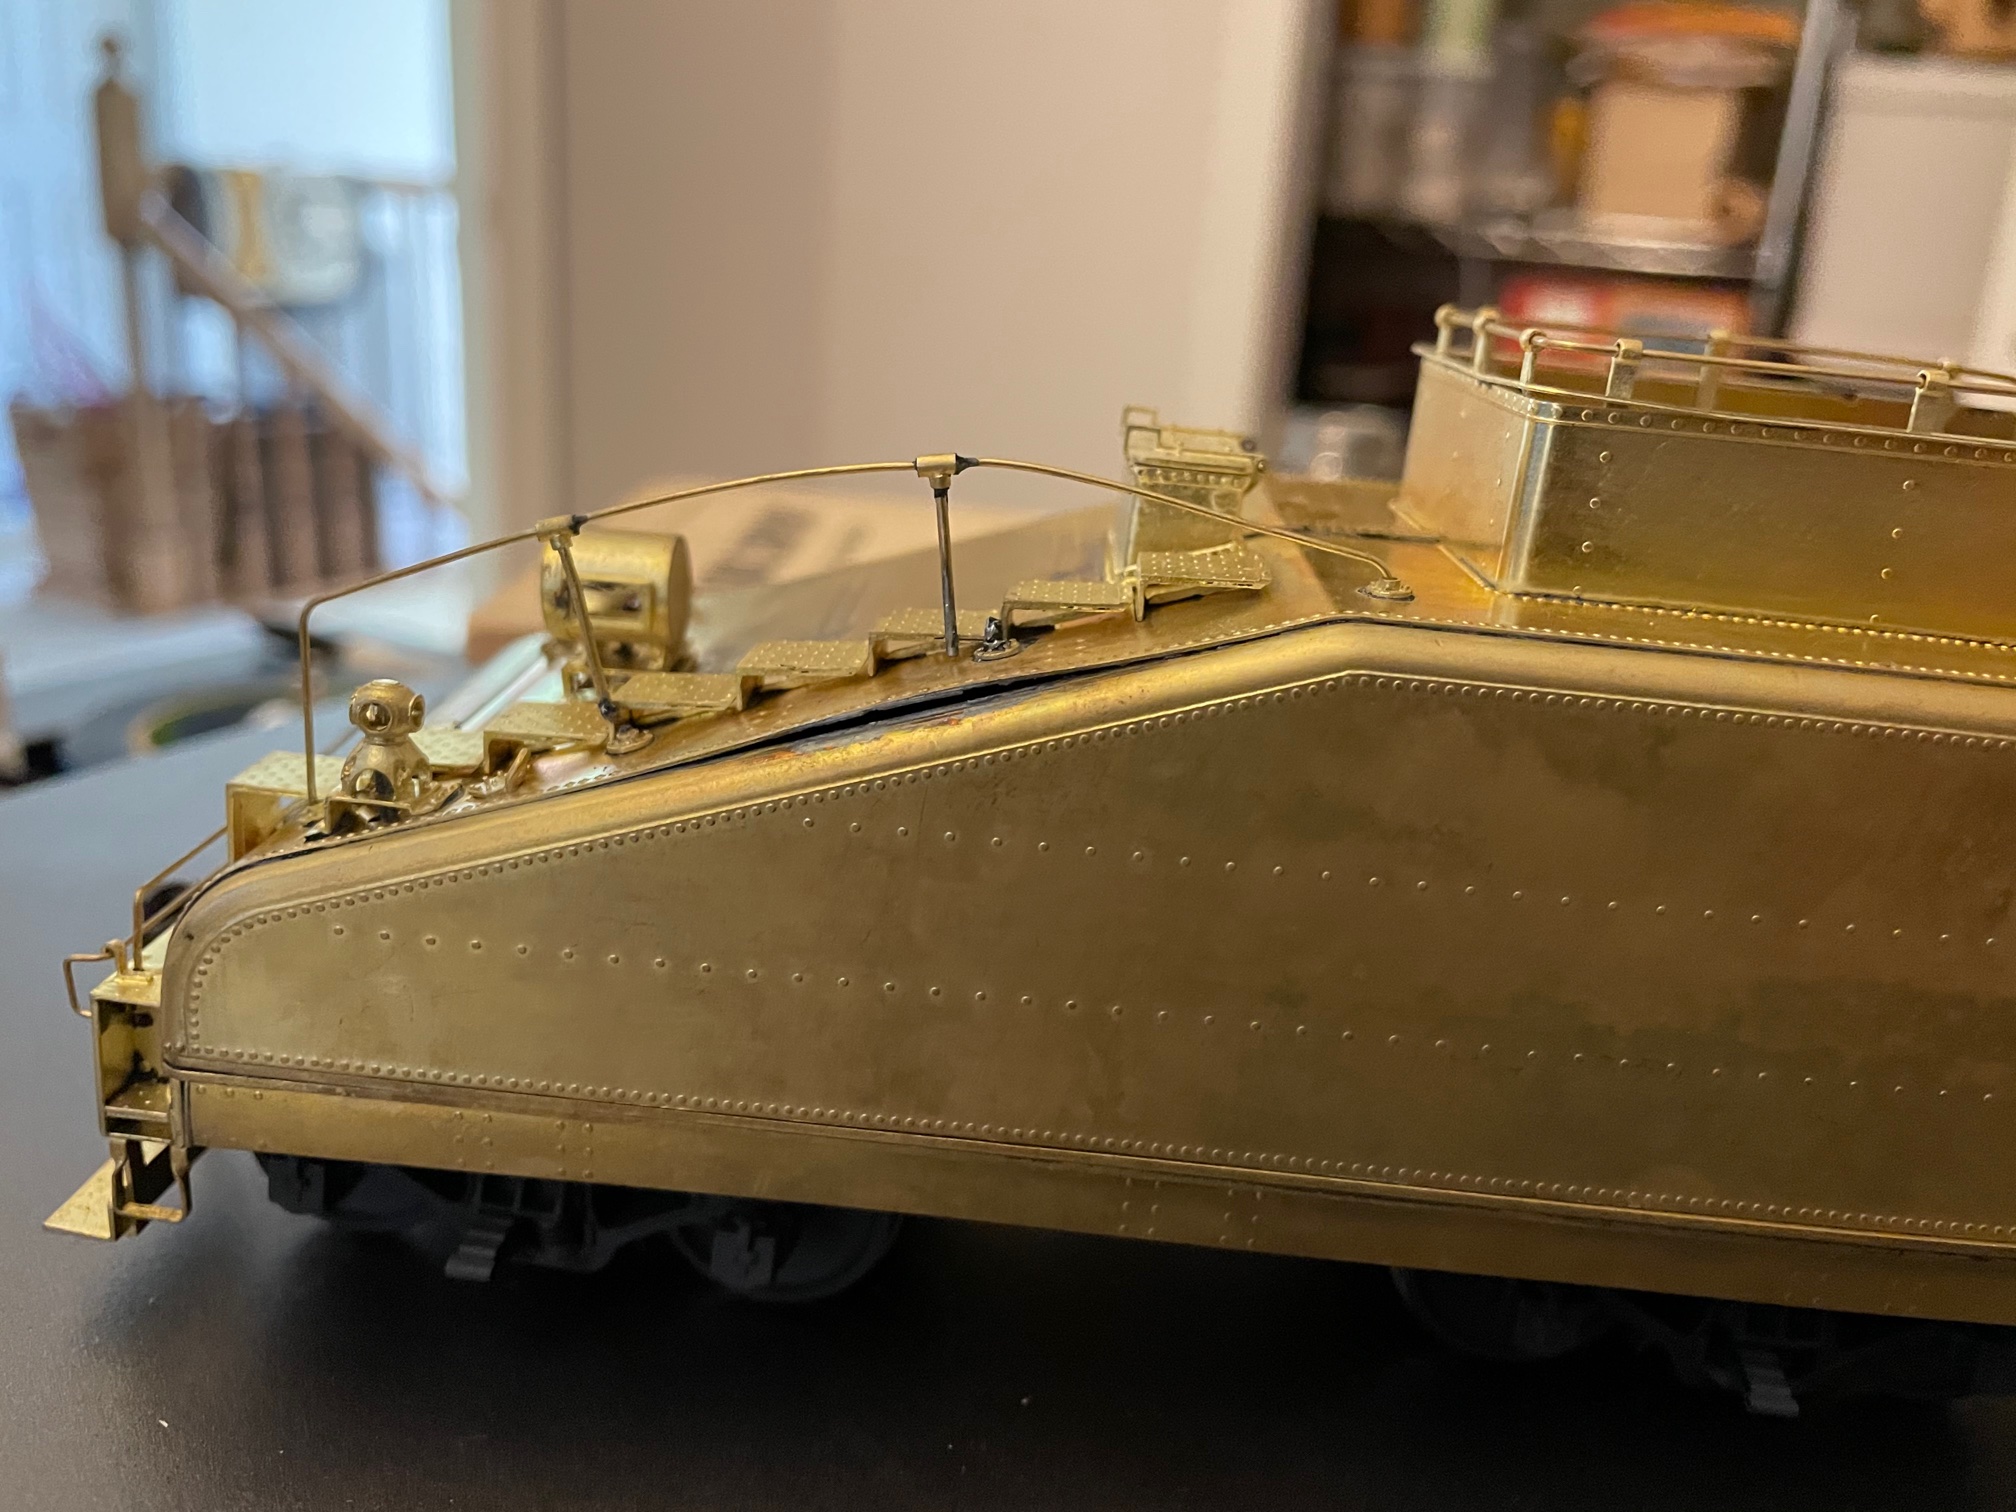
I tried to round up a few folks to go with me but only one brave sole that day Matt Forsyth. We drove down to Maryland and found the home that housed the railroad. Roy had moved into the house just a couple of years before and built this new railroad. As you descend into the room the first scene you are confronted with is Harrisburg Passenger station. He has modeled the exchange of power at Harrisburg, which is the furthest point West that the electrics worked on the PRR. There is also a couple of smaller rural towns modeled which allow for the bulk of the freight operations.

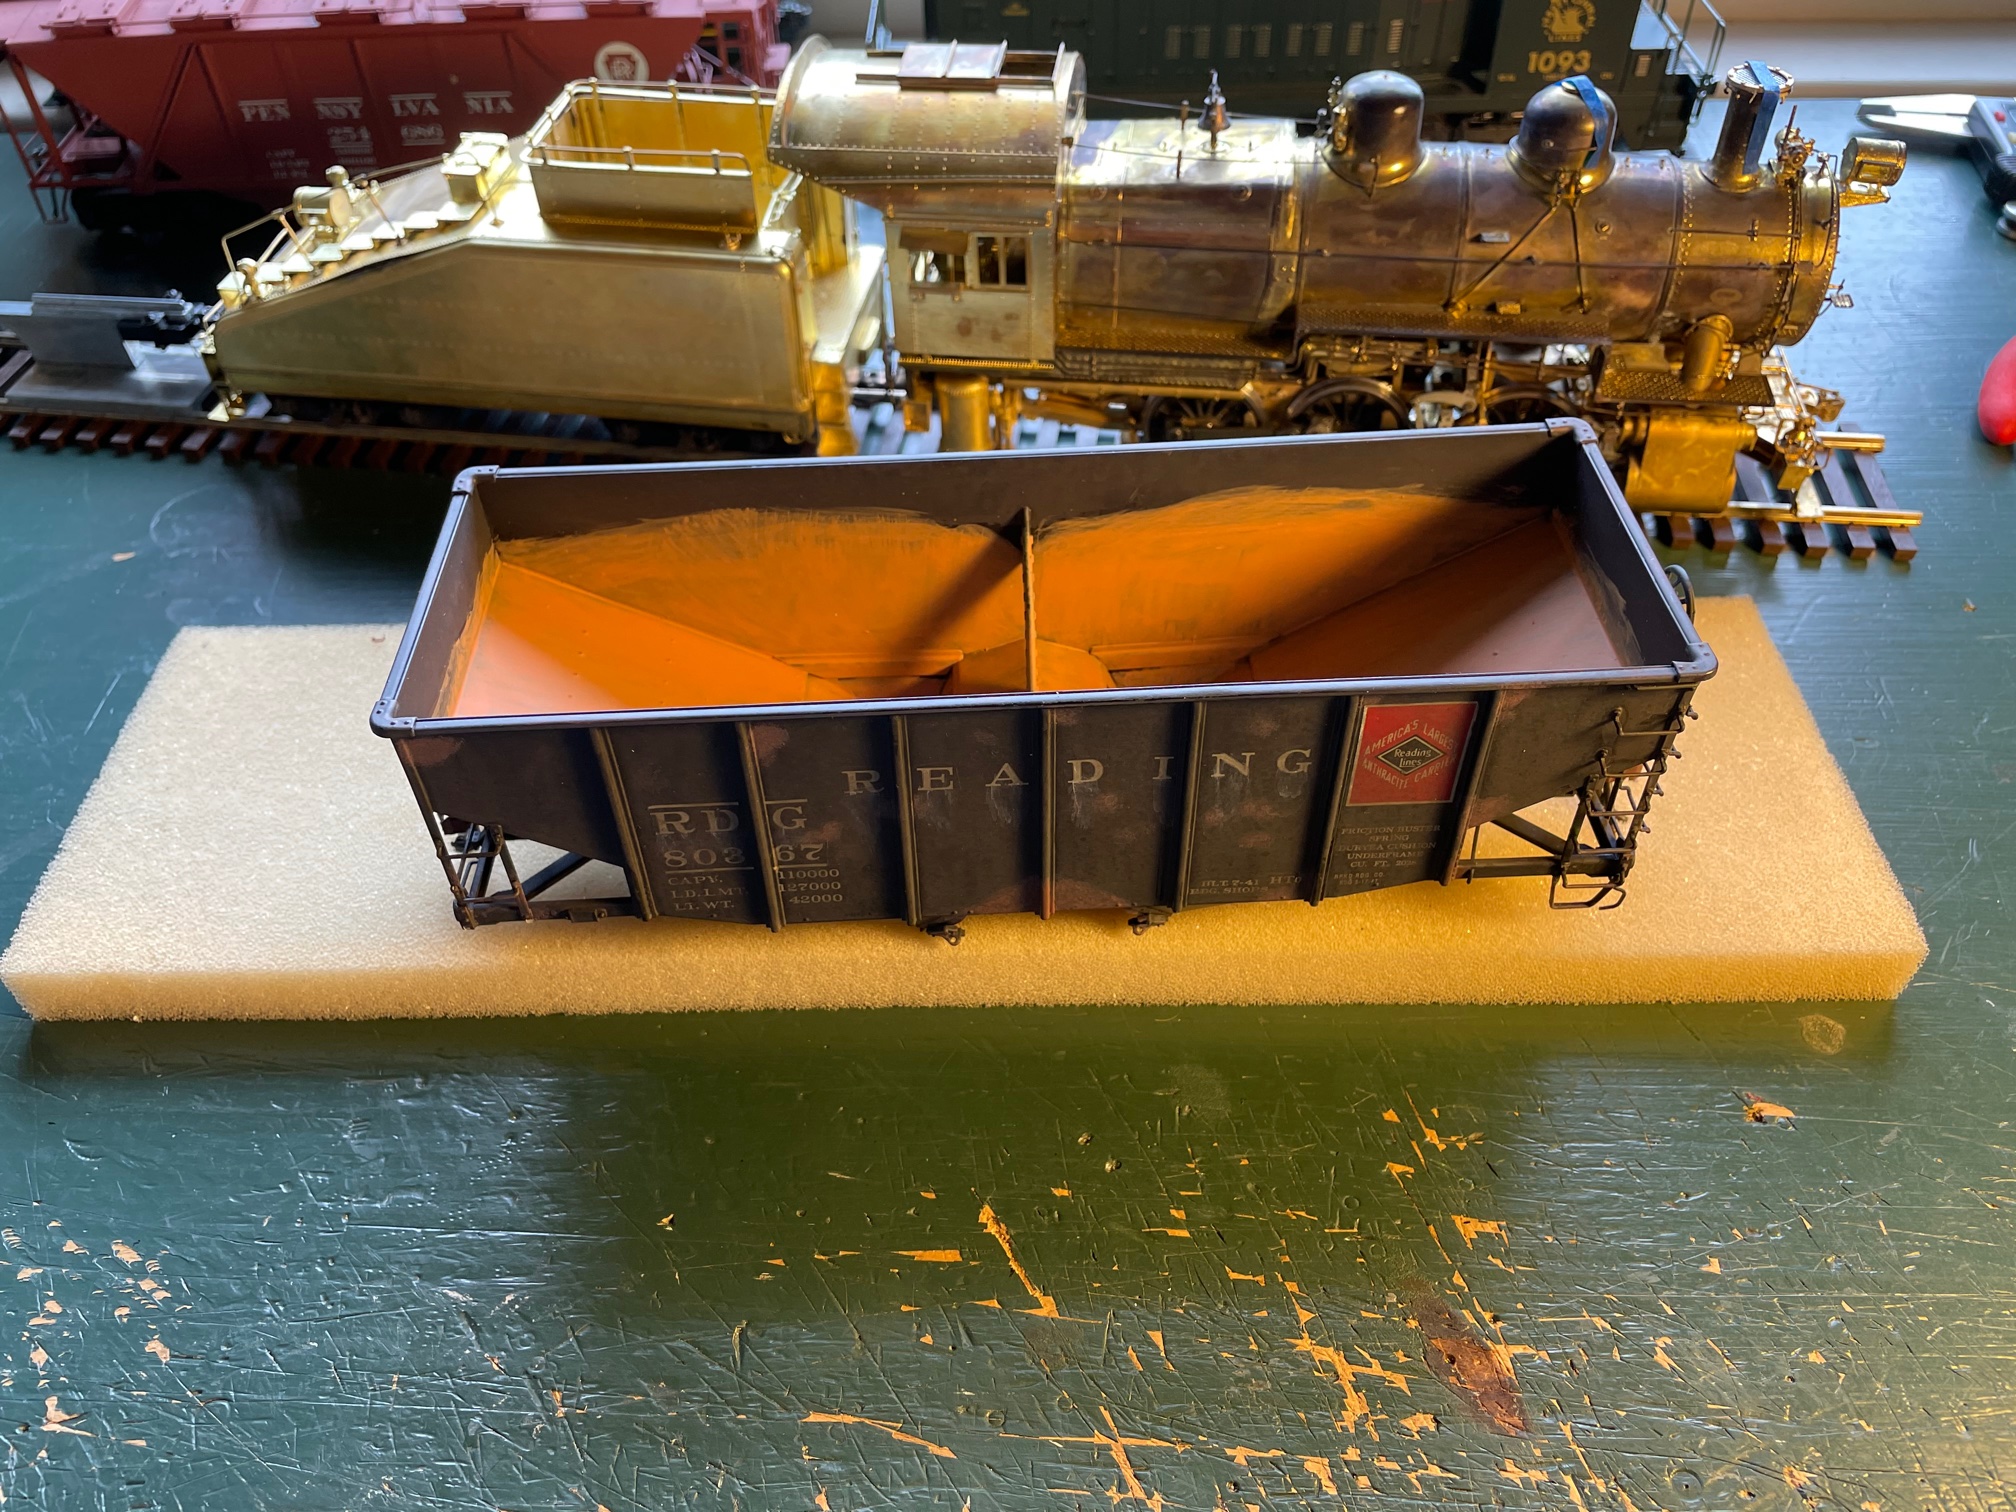
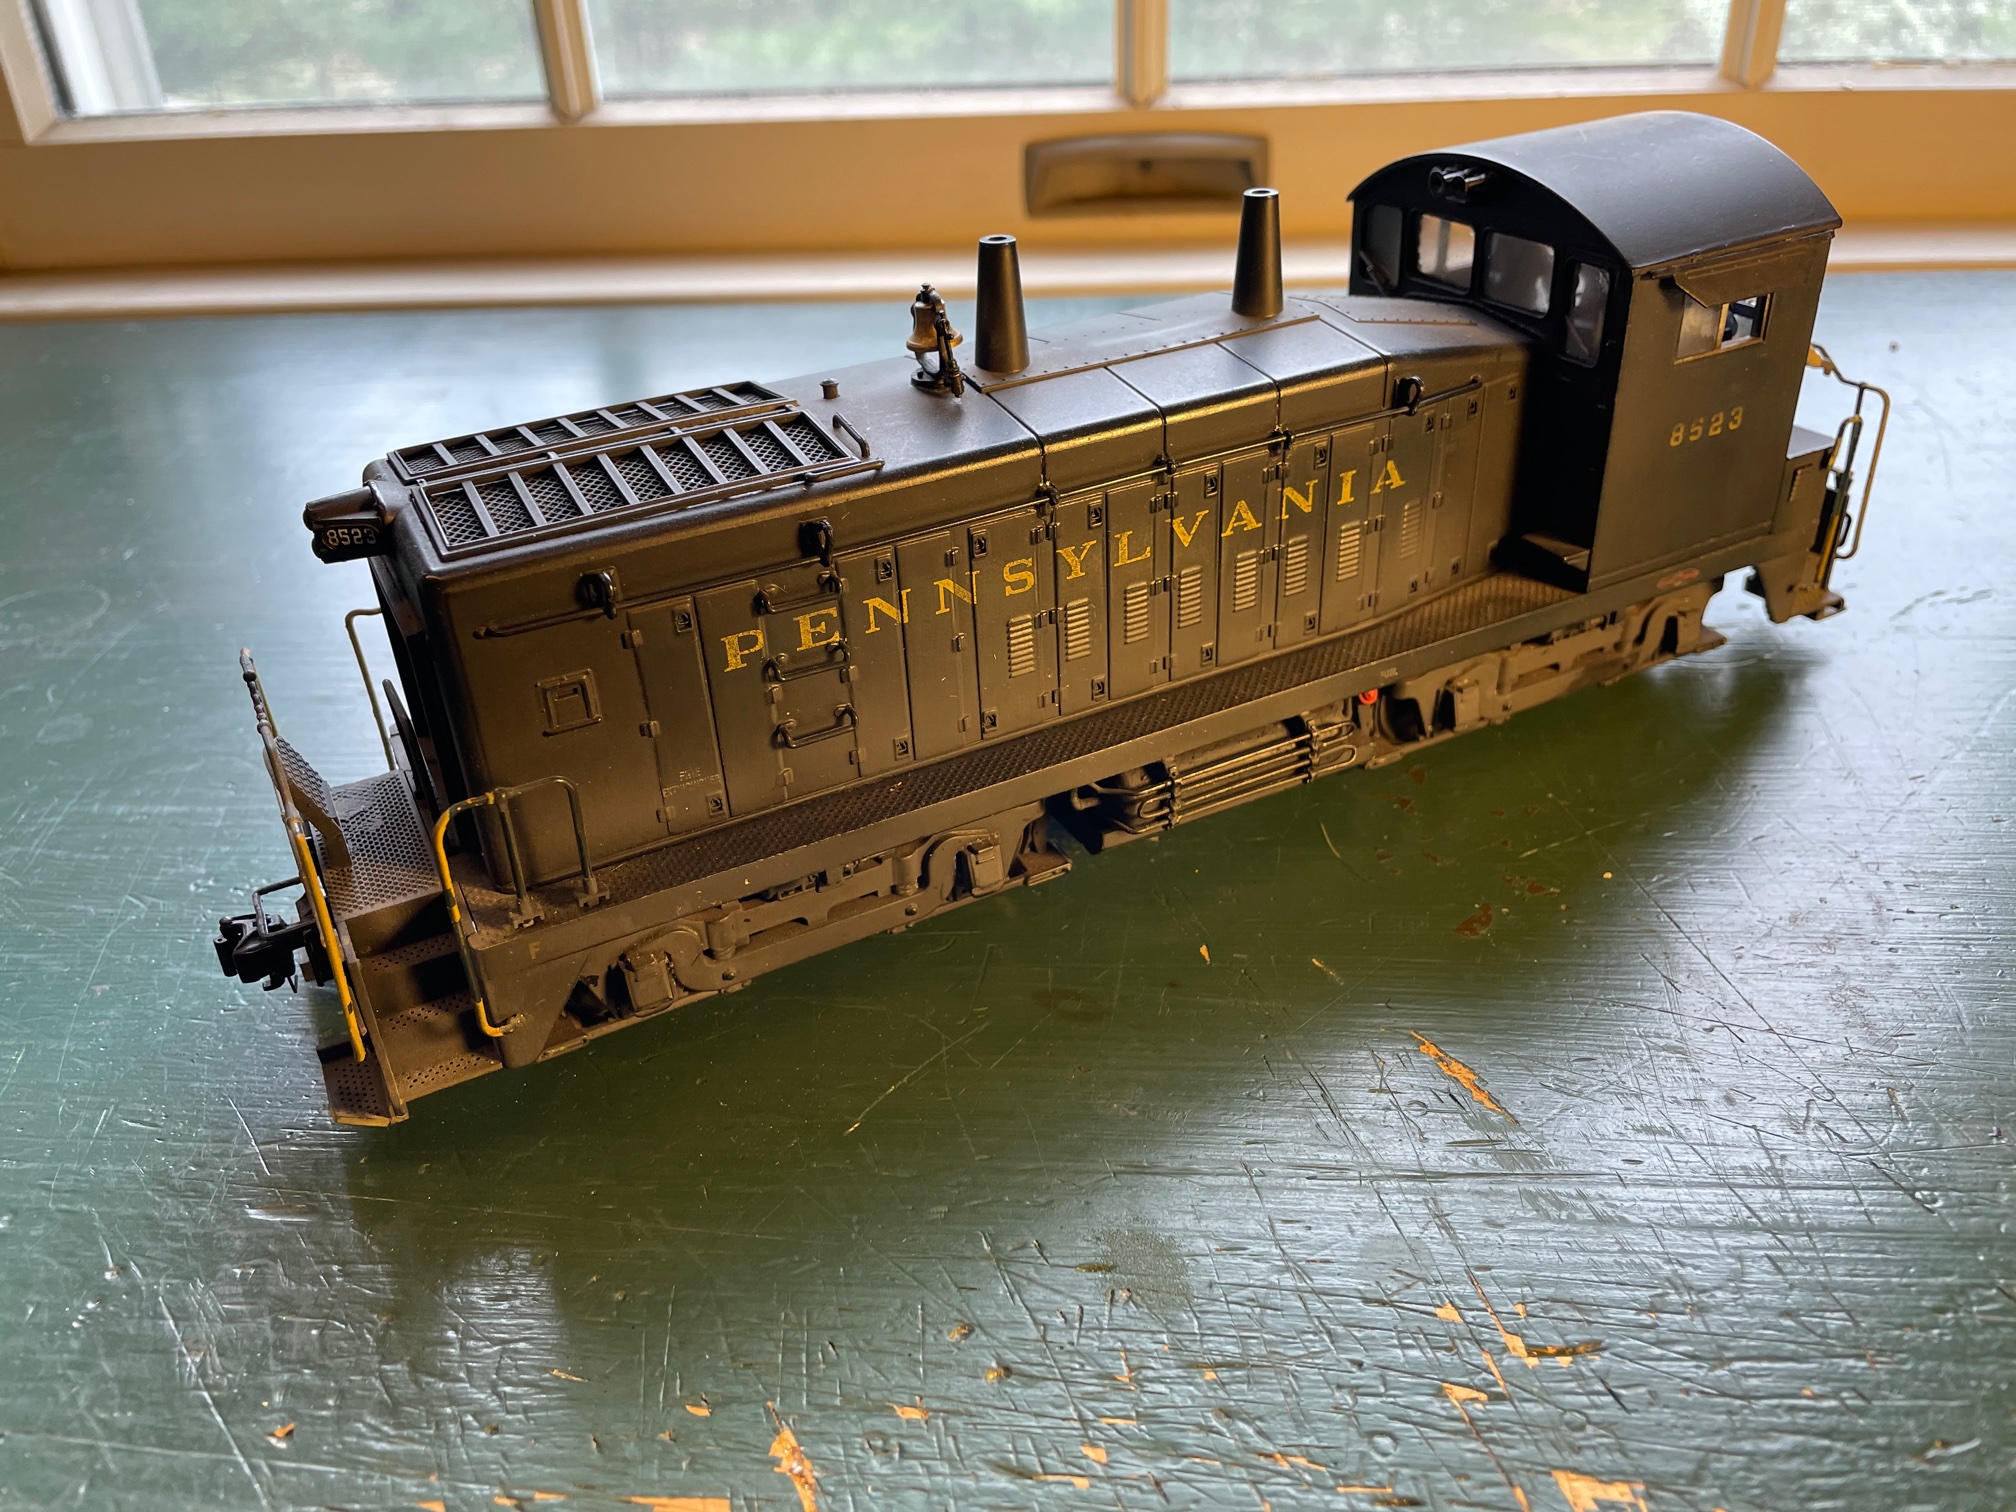
Yes, I did say operations. We operated a PRR RS-3 switcher pulling cars out of sidings placing car out for interchange and setting new cars back into the industries. I have to say that afternoon moved me. I had more fun with a simple switcher shifting cars around then I ever did while a member of a club. Trains are not meant to run in circles they are meant to deliver goods to and from industries.

This has caused me to rethink a lot of what I was planning.

Setouts dropped, now picking up cars.

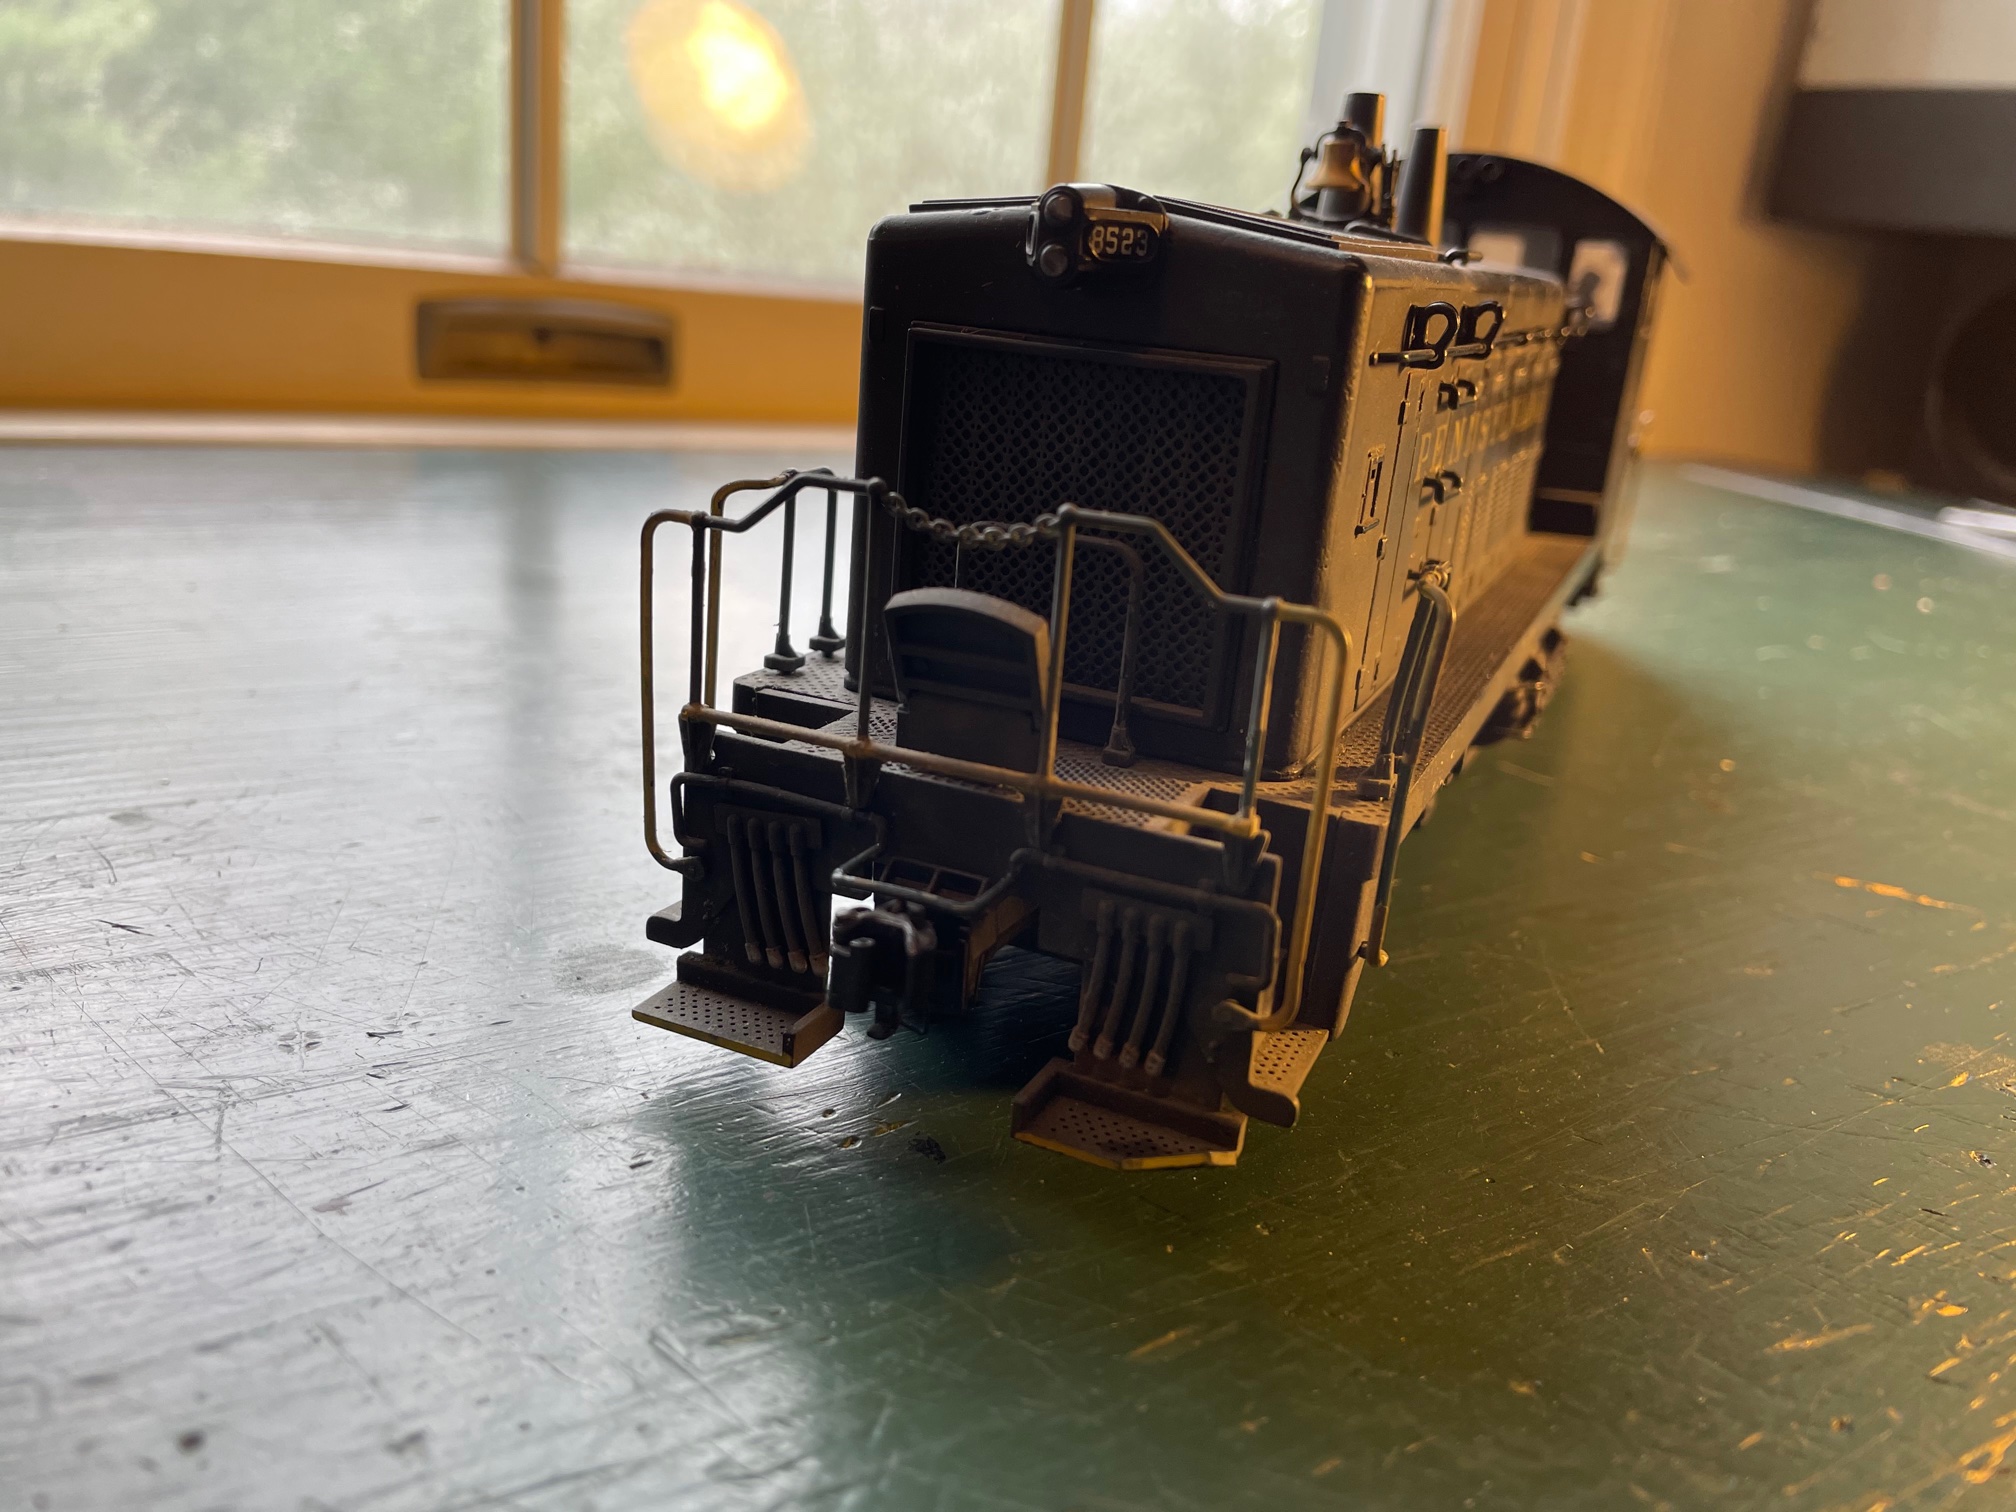
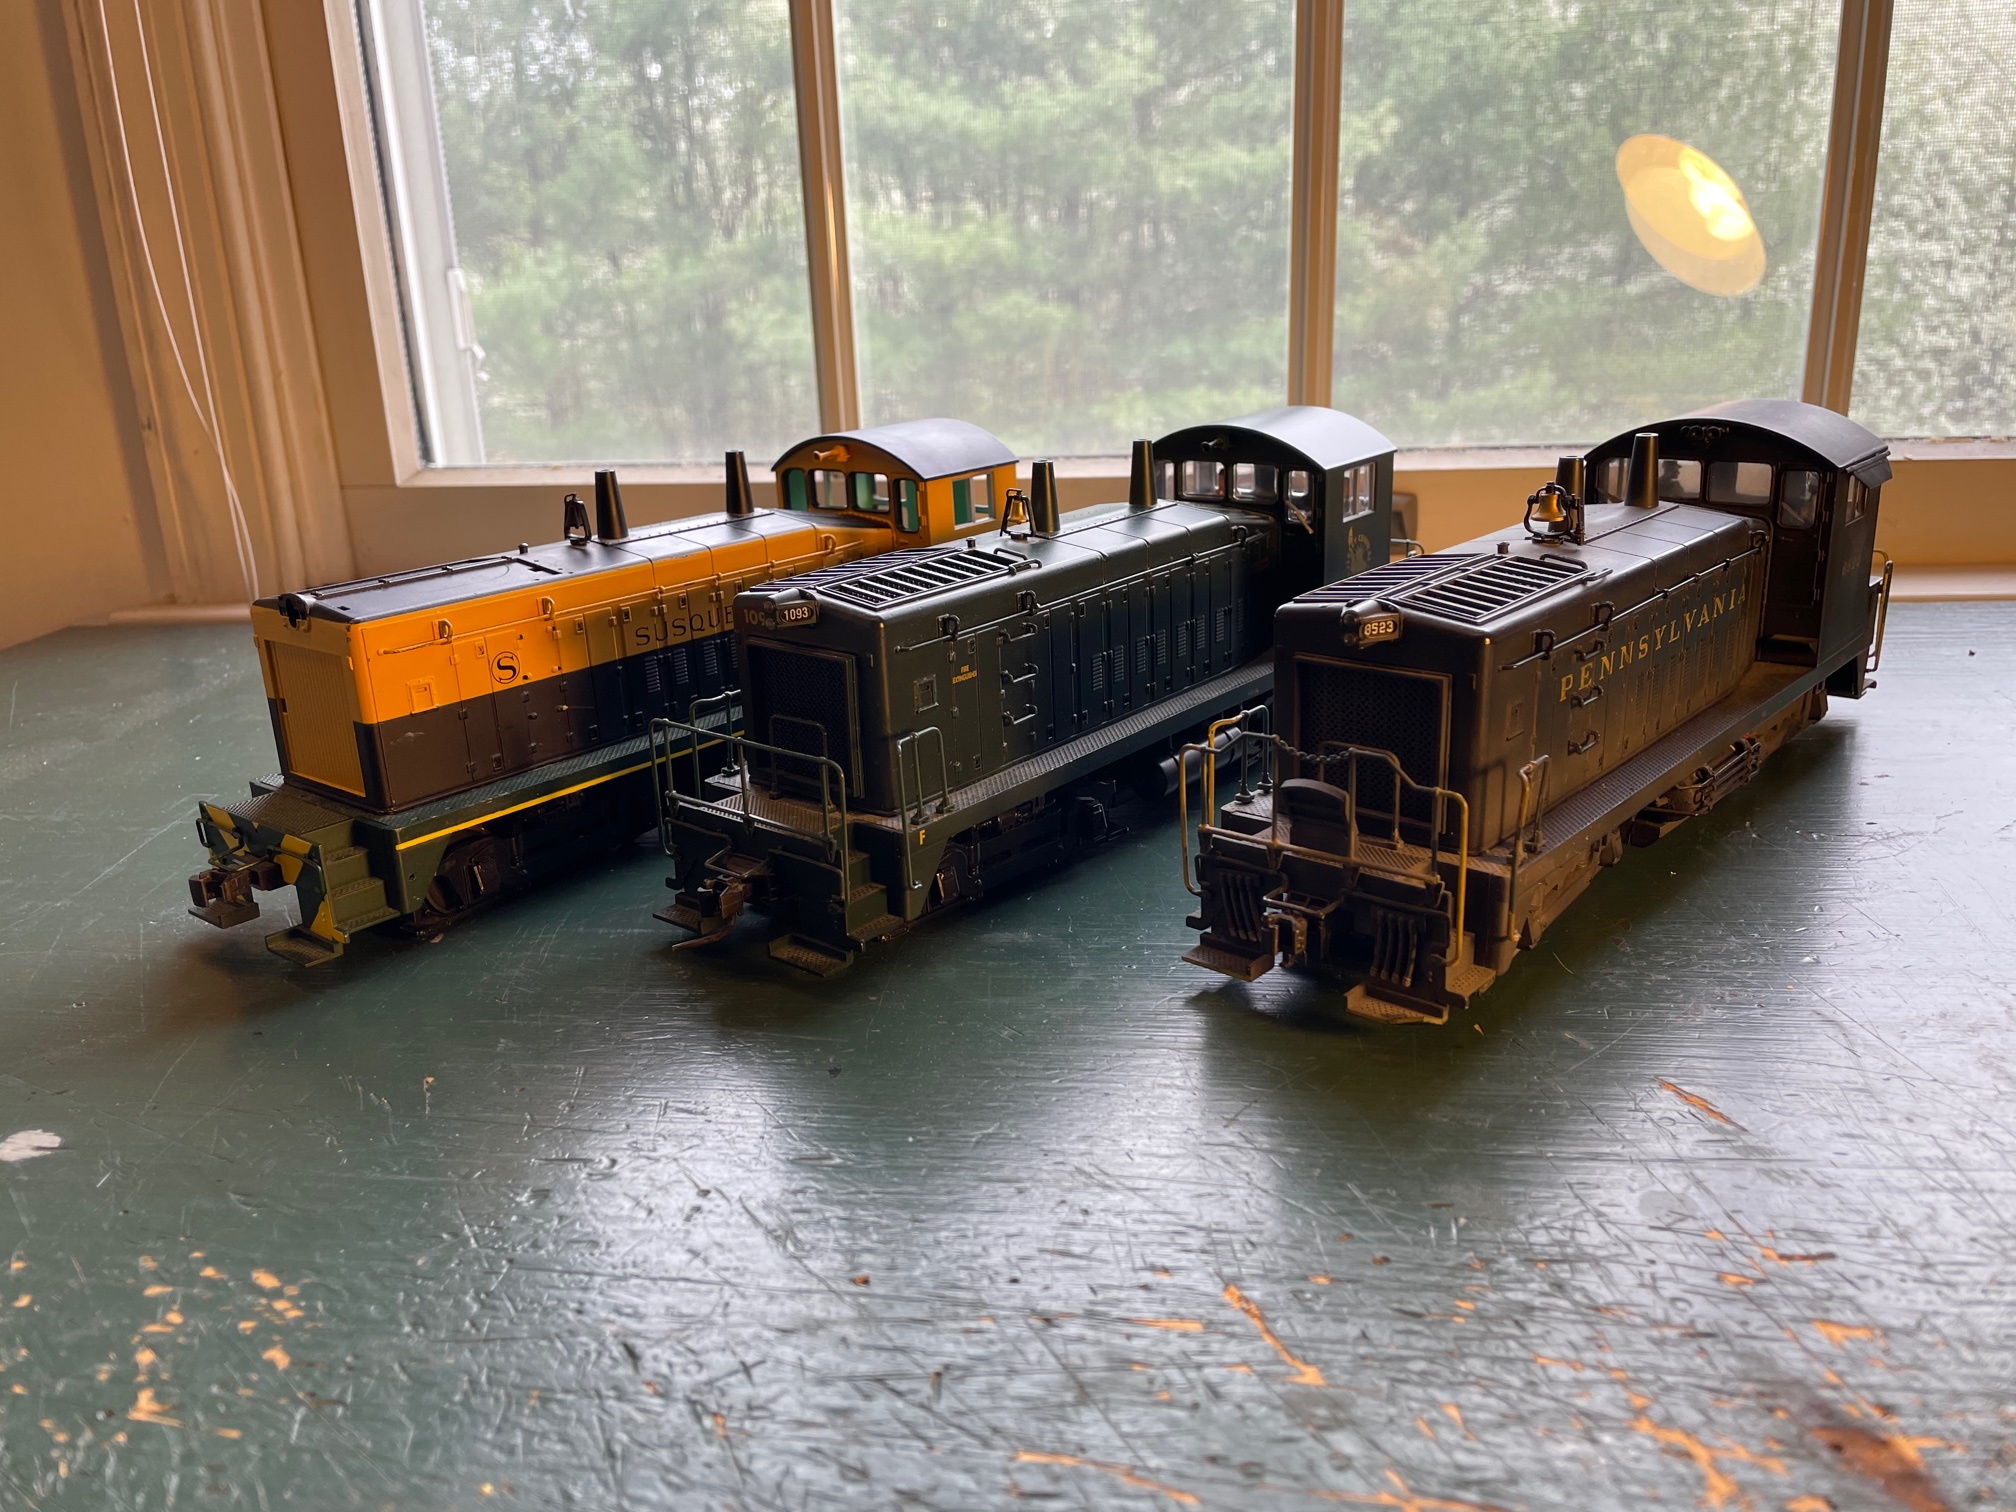
The Simple Weaver Switcher that caused all the FUN!

Another industry to switch. the other side of the industries

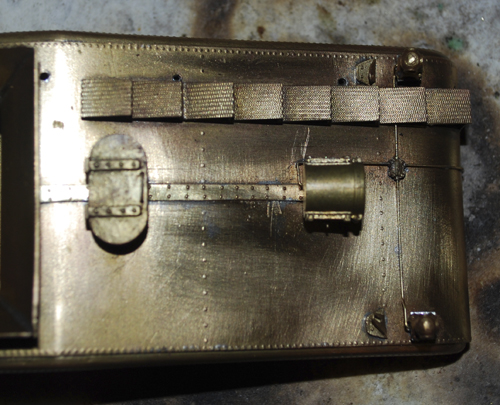
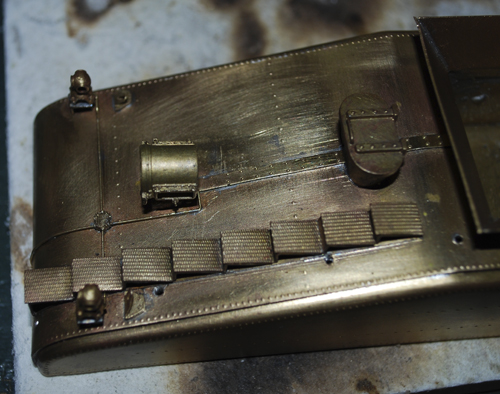
Roy’s switch point design.

A GG1 brings a passenger train into Harrisburg

Roy cuts off the GG1 and moves it out of position

A pair of E7a’s move to couple up to the train.

The E7’s take the train West.

The train headed west

Gem PRR B6sb Tender

Rear View of Gem B6sb Tender

Top View of Gem B6sb Tender

Side View of Gem B6sb Tender

Here is a quick look at what I have on my workbench. It’s a Gem PRR B6sb tender.

I started by removing the marker castings, handrails, and rear headlight.

I made up the missing rivet strip for the middle of the tender by punching rivets in a piece of sheet brass and cutting out the strip. This was not as easy as working with styrene, although similar it had a very different feel to the process. Once it was made, it was soldered in place. The rivet strip in the photo was actually my second attempt. The first one looked OK until I asked myself a question, “If this were a styrene model instead of brass would I keep it?” The answer was no, so out came the torch and off it went. It only added an extra half hour to make the new part and solder it in place and it was time well spent.

Next came the new markers from Precision Scale (PSC) . My friend Matt Forsyth suggested placing a small square of brass under the markers feet since they did not sit well on the Gem brackets. That worked out great. It was tough trying to hold them while soldering them in place they tended to want to walk, but I applied pressure from the top to try to minimize this movement and was able to get them soldered on.

I next added the lifting brackets and a new headlight from Trackside Specialties. The headlight bracket was a pain because of the tiny feet on the casting. I left the mold spur at the bottom of the casting and alloud it to go through the bottom of the headlight platform on the tender. This allowed another surface to be soldered and gave the whole assembly some added strength.

Tonight, I added the conduit for the markers and headlight. I formed brass wire for one side of the conduit based on photo of the rear of the tender. This was fed through the casting for the junction box. The second side had to be formed with the casting on the wire. after that was soldered in place the two vertical conduits were formed and soldered in place.

Still to go is the remake of the handrails for the back of the tender and a little more clean up on the coal bunker.

Hidding in the Background

PRR B6sb 721 in Camden 1953

Here is a nice photograph of PRR 721 switching in Camden, NJ in 1953. The Campbell Soup Building is in the background with it’s signature soup can water towers.

Also in the background is a PRR H21a, just a normal run-of-the-mill H21a, only it’s not. If you look closely you can see that the car has been spot re-painted. This was one of the cars that were leased to the N&W and now has returned to the PRR.

This Photo was also published in the Morning Sun Book – Pennsy Steam Years 1