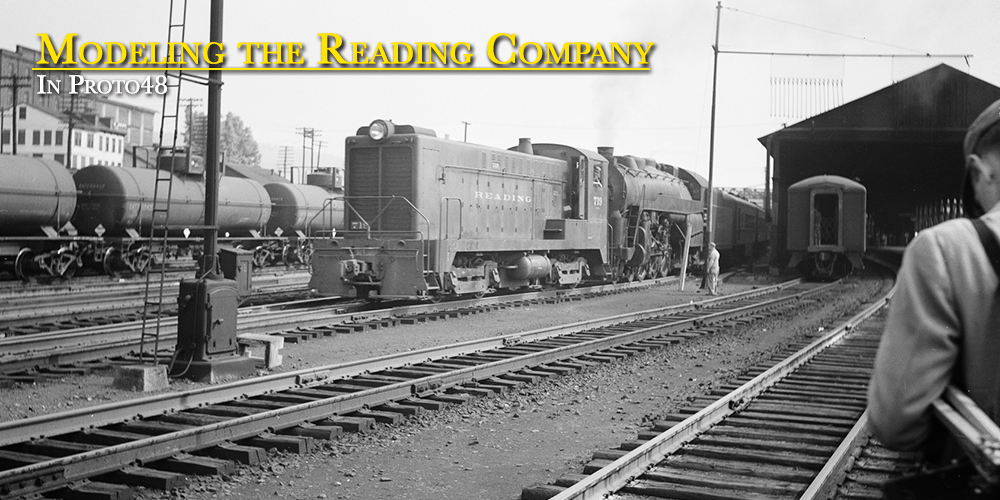
Here is a quick photo-show of last weekend’s work making of the tailbeam. The work was done under the guidence of Matt Forsyth. I can’t thank him enough for making the machine work seem easy.
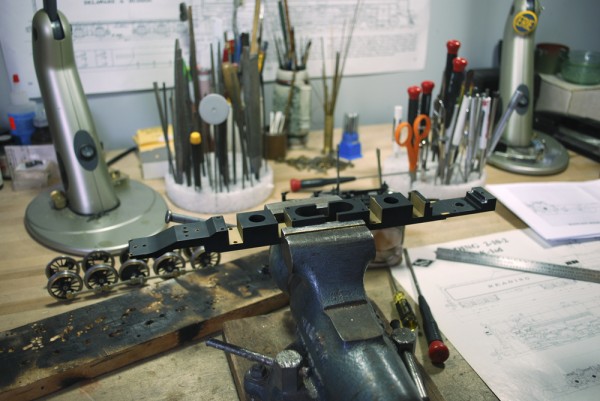
Sunset Frame in the vise, the two tail pieces have been heated and removed.
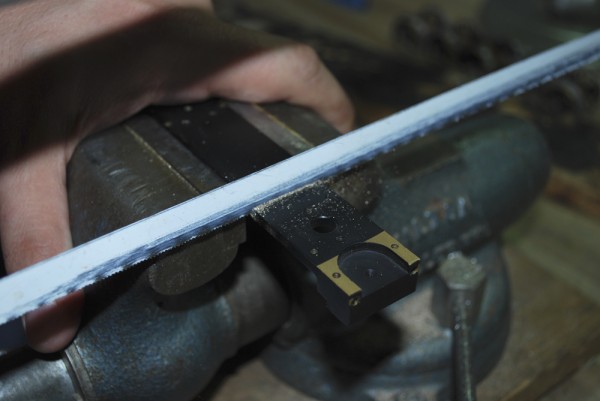
The toughest part of the operation. Putting a hack saw on the models frame.
With the tail section removed the hack saw cut is trued up in the milling machine.
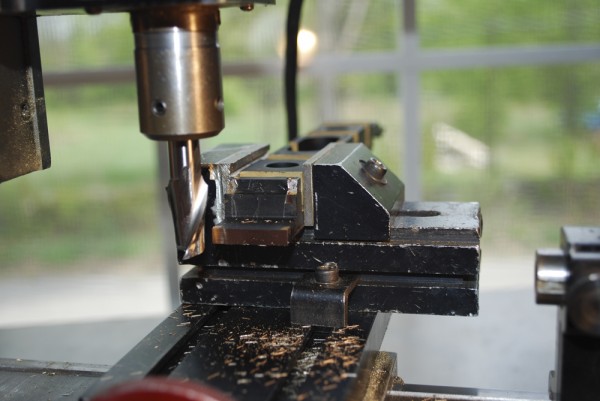
Milling the step in the rear of the frame.
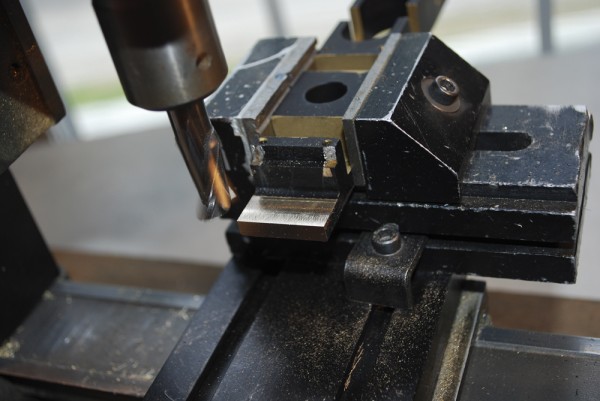
Cutting in two directions now. Milling the step and the face at the same time. You can still see some of the solder that held on the tail sections of the Sunset frame.
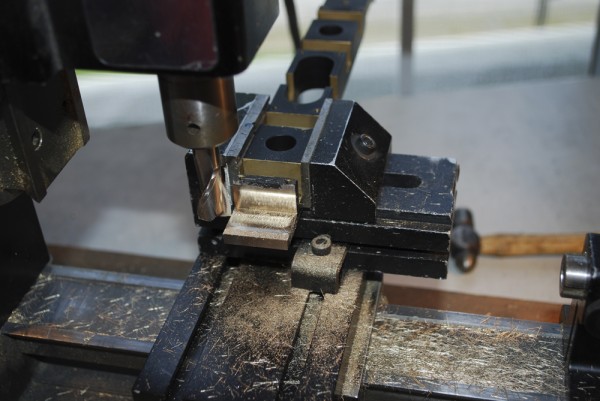
Continuing to cut the step back until the paint that was at the top of the step is removed.
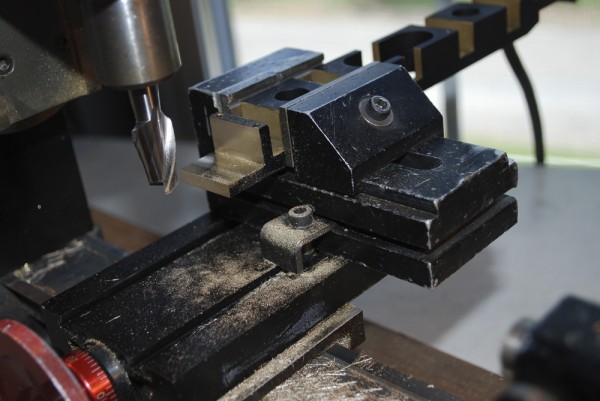
Milling the step into the block.
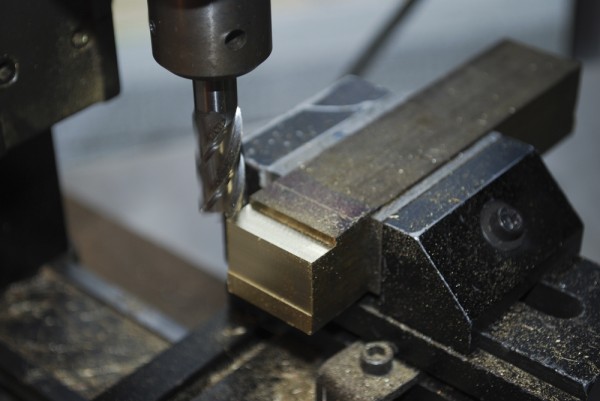
Testing the fit of the frame into the step.
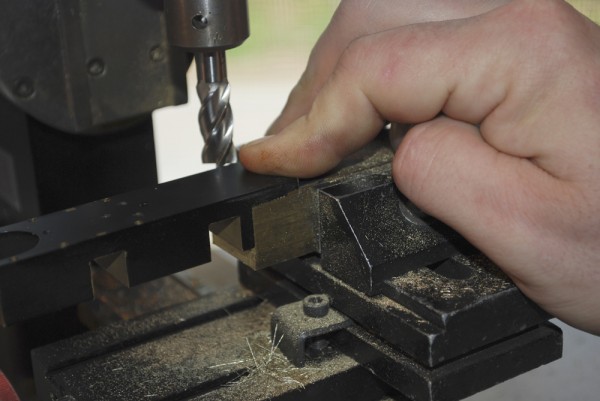
Starting the fly cut to thin down the block. I will remove the material down to the scribed line.
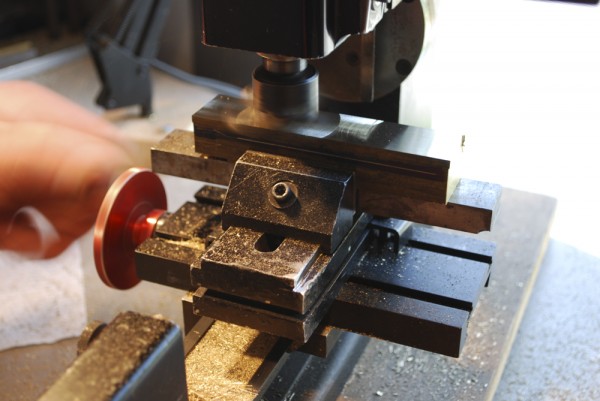
Still flycutting the block. You can see we are getting closer to the line on the block.
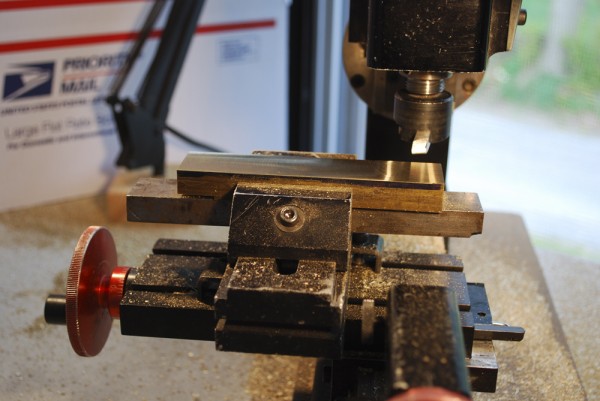
Milling the center slot in the tailbeam.
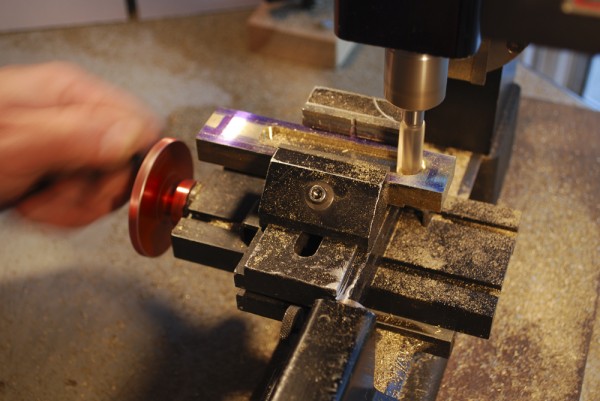
Tailbeam and frame are set together. The template for the side holes is in front. The shapes will be transfered to the tailbeam.
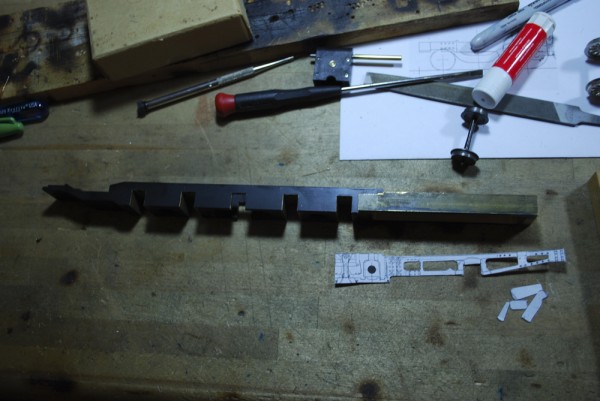
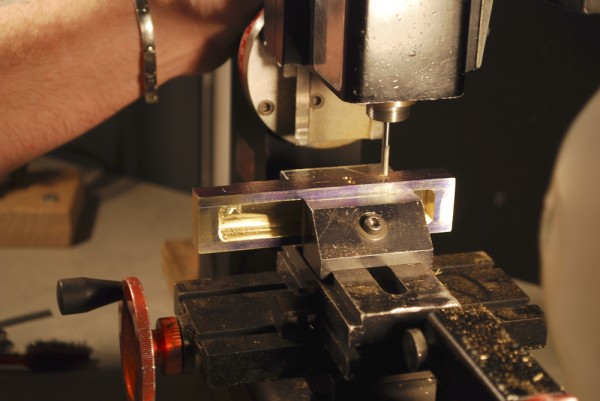
Back in the milling machine the corners of the holes are being plunge-cut. You can see the layout lines scribed on the side.
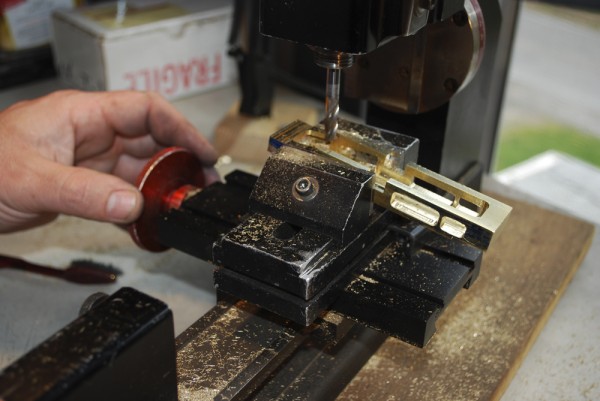
After all the side holes are opened up the angle cut is being done to the tailbeam.
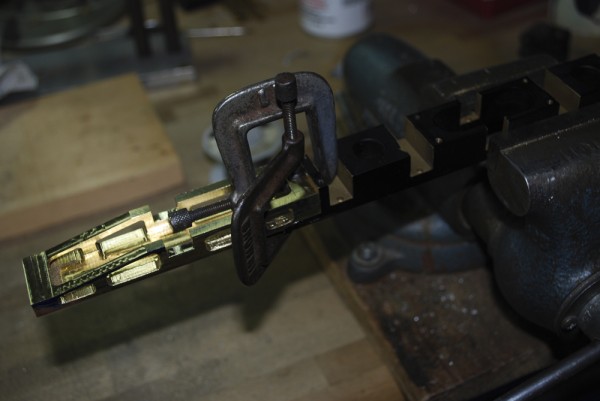
The tailbeam and frame are clamped together and checked for alignment. Once straight, they were turned upright and soldered together.
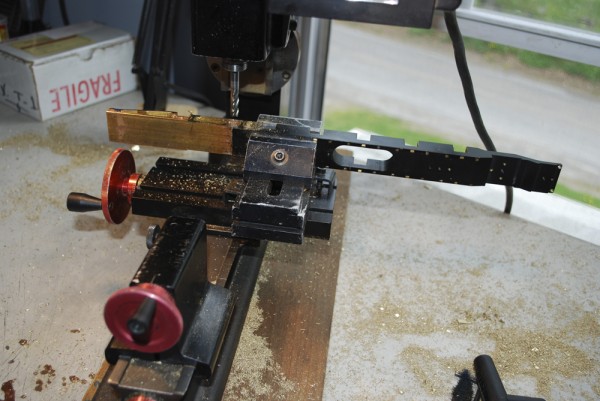
After soldering the two together the tailbeam is machined to the finish size of the sunset frame.
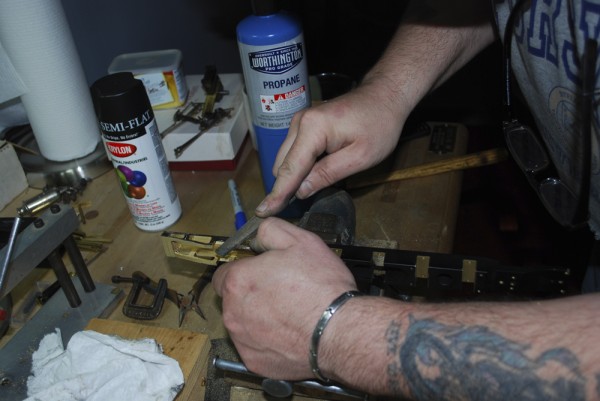
Here Matt is finishing up the side of the frame with a file.
Just think only four more frames to go……
