Layout Visit: Roy Dietz, 2009 PRR in Harrisburg and West

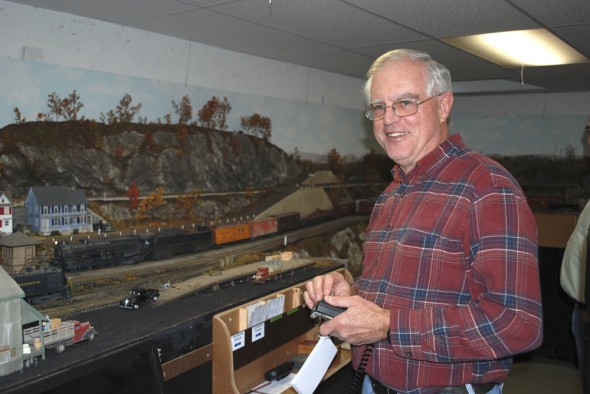
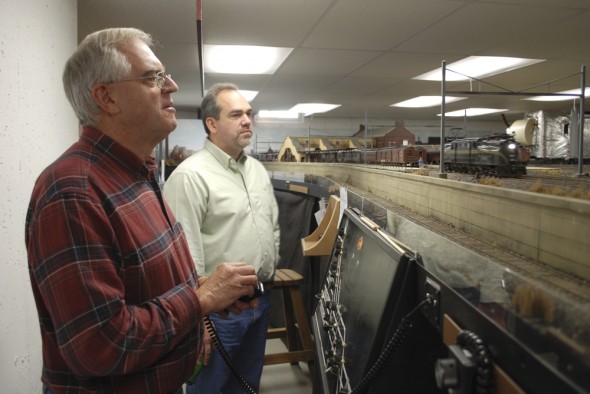
Roy Dietz operating the M1 making setouts.

Roy Dietz’s layout was on the 2009 National tour, I had planned to visit it on the ride North after the National. Just as I was approaching the area to get off of 95 a rather large thunder storm began. I really did not want to follow a bad map in the storm, so I stayed on 95 and figured I’d see the layout some other time.

About three months passed and I was over buying from an estate in Delaware and guess who was also in the basement that night, Roy Dietz. After I was introduced, I told him the story about not getting to see the layout because of the storm. He was nice enough to invite me over. But he said rather than just, see the layout like you would have after the National, why not come over and operate the layout?

I tried to round up a few folks to go with me but only one brave sole that day Matt Forsyth. We drove down to Maryland and found the home that housed the railroad. Roy had moved into the house just a couple of years before and built this new railroad. As you descend into the room the first scene you are confronted with is Harrisburg Passenger station. He has modeled the exchange of power at Harrisburg, which is the furthest point West that the electrics worked on the PRR. There is also a couple of smaller rural towns modeled which allow for the bulk of the freight operations.

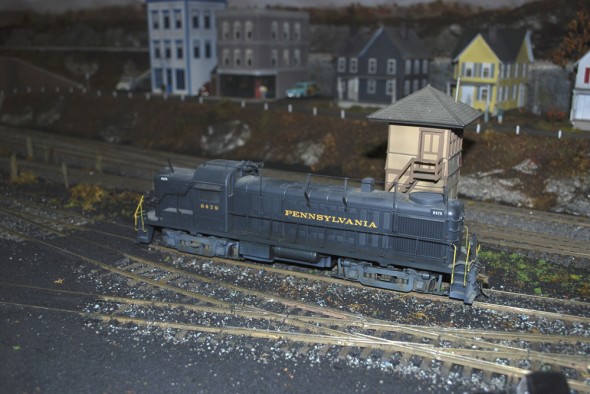
Yes, I did say operations. We operated a PRR RS-3 switcher pulling cars out of sidings placing car out for interchange and setting new cars back into the industries. I have to say that afternoon moved me. I had more fun with a simple switcher shifting cars around then I ever did while a member of a club. Trains are not meant to run in circles they are meant to deliver goods to and from industries.

This has caused me to rethink a lot of what I was planning.
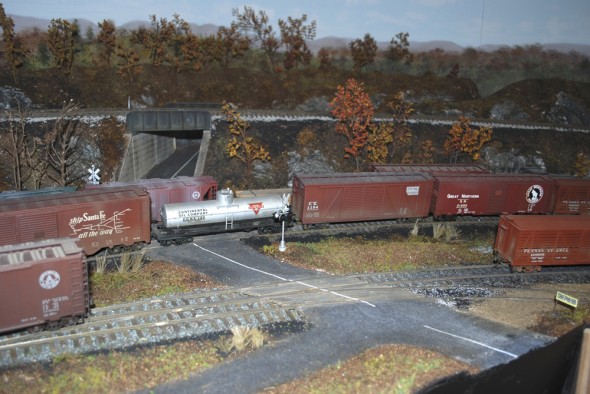
Setouts dropped, now picking up cars.

The Simple Weaver Switcher that caused all the FUN!

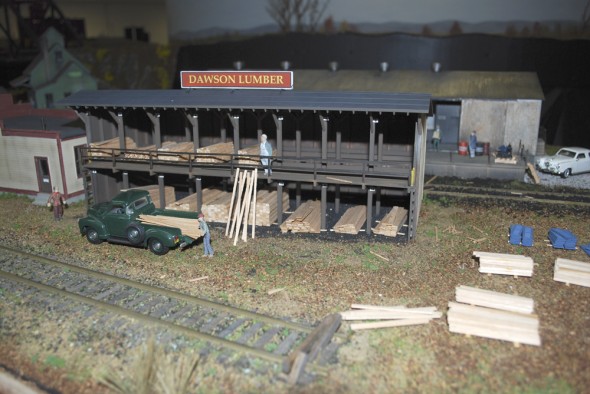
Another industry to switch. the other side of the industries

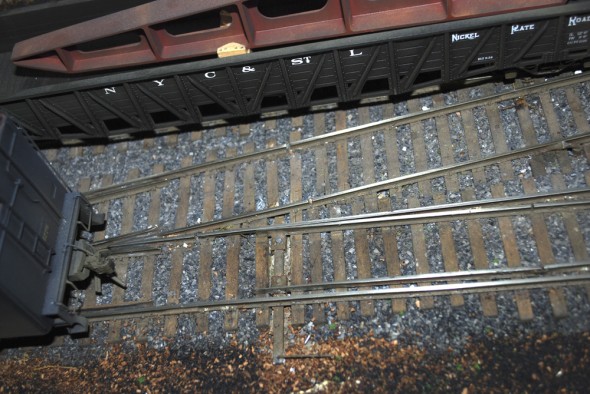
Roy’s switch point design.

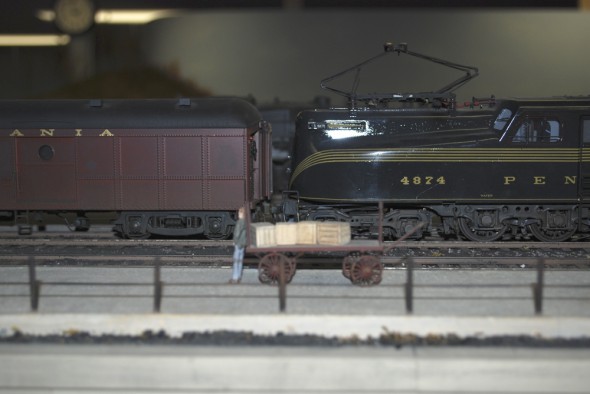
A GG1 brings a passenger train into Harrisburg

Roy cuts off the GG1 and moves it out of position

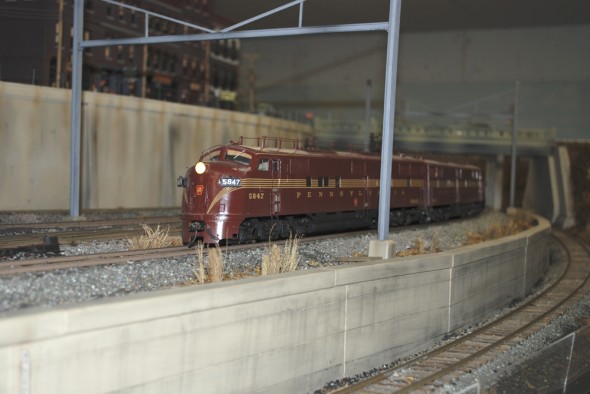
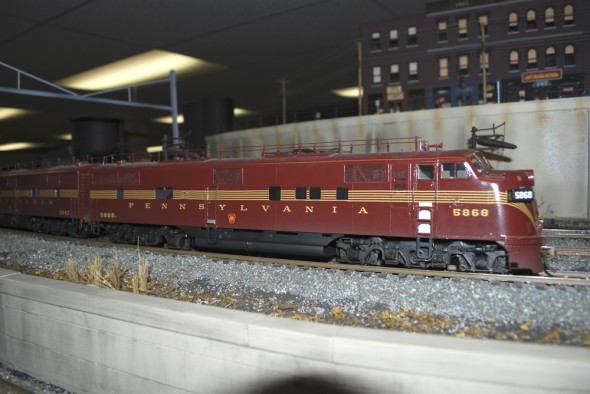
A pair of E7a’s move to couple up to the train.

The E7’s take the train West.

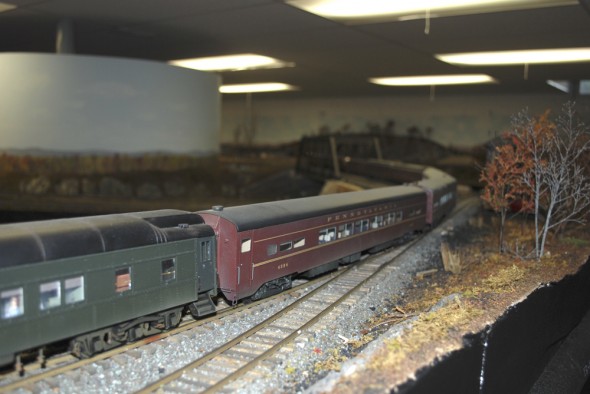
The train headed west

Gem PRR B6sb Tender

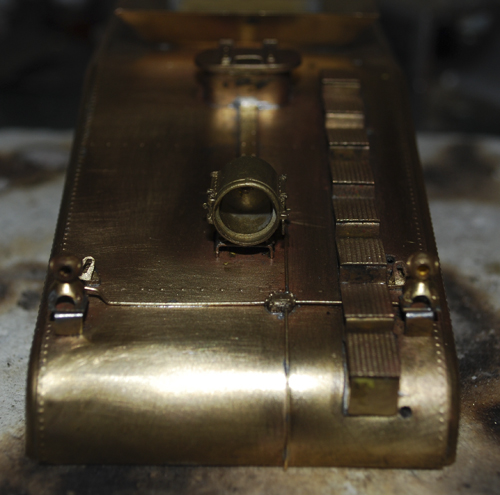
Rear View of Gem B6sb Tender

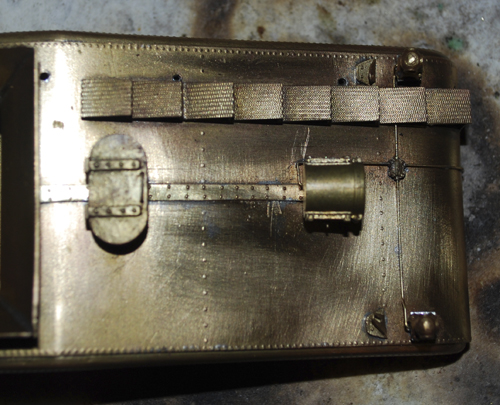
Top View of Gem B6sb Tender

Side View of Gem B6sb Tender

Here is a quick look at what I have on my workbench. It’s a Gem PRR B6sb tender.

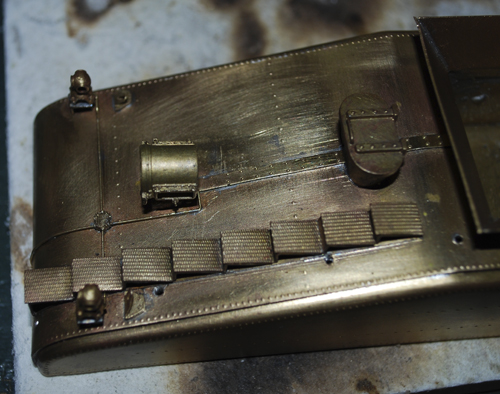
I started by removing the marker castings, handrails, and rear headlight.

I made up the missing rivet strip for the middle of the tender by punching rivets in a piece of sheet brass and cutting out the strip. This was not as easy as working with styrene, although similar it had a very different feel to the process. Once it was made, it was soldered in place. The rivet strip in the photo was actually my second attempt. The first one looked OK until I asked myself a question, “If this were a styrene model instead of brass would I keep it?” The answer was no, so out came the torch and off it went. It only added an extra half hour to make the new part and solder it in place and it was time well spent.

Next came the new markers from Precision Scale (PSC) . My friend Matt Forsyth suggested placing a small square of brass under the markers feet since they did not sit well on the Gem brackets. That worked out great. It was tough trying to hold them while soldering them in place they tended to want to walk, but I applied pressure from the top to try to minimize this movement and was able to get them soldered on.

I next added the lifting brackets and a new headlight from Trackside Specialties. The headlight bracket was a pain because of the tiny feet on the casting. I left the mold spur at the bottom of the casting and alloud it to go through the bottom of the headlight platform on the tender. This allowed another surface to be soldered and gave the whole assembly some added strength.

Tonight, I added the conduit for the markers and headlight. I formed brass wire for one side of the conduit based on photo of the rear of the tender. This was fed through the casting for the junction box. The second side had to be formed with the casting on the wire. after that was soldered in place the two vertical conduits were formed and soldered in place.

Still to go is the remake of the handrails for the back of the tender and a little more clean up on the coal bunker.