Well over the last year or two I have mostly worked on simple projects, changing out trucks on a cars, converting 3-rail bolsters or painting/lettering projects. I think that has been because it is hard to focus on a longer term project with all that has been going on with work, life and the world.
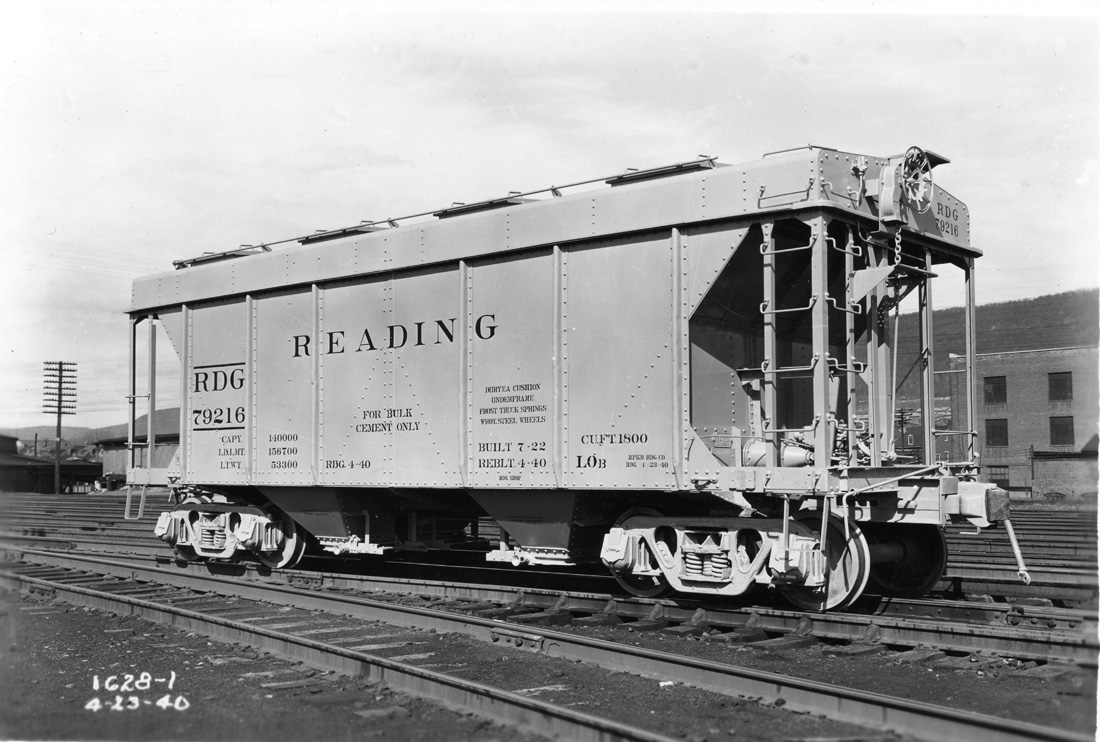
This past weekend, I was looking through different scans for a photo and I found this scan of a diagram the Reading Company had prepared comparing the Class LOb the an ACF car built for the LNE. It should be noted that the drawing is dated November 25, 1939 and the RDG Lob builder’s photo shows a date of April 23, 1940.
The drawing clearly shows the two cars are very close in major dimensions and locations of major components. They ocupy mostly the same space.
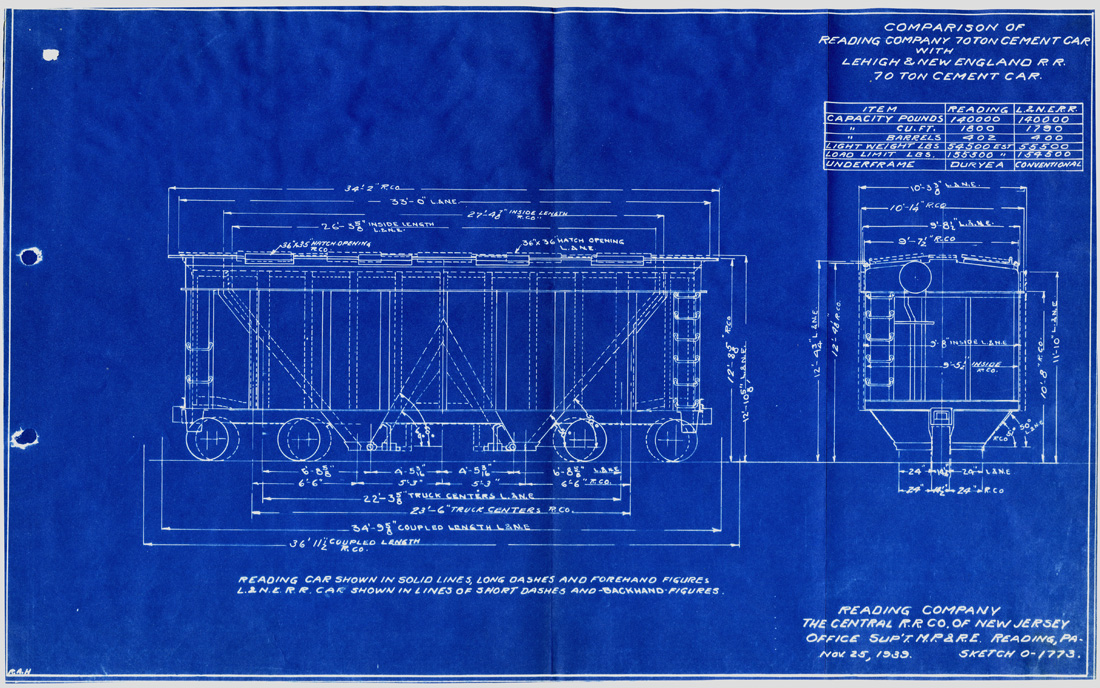
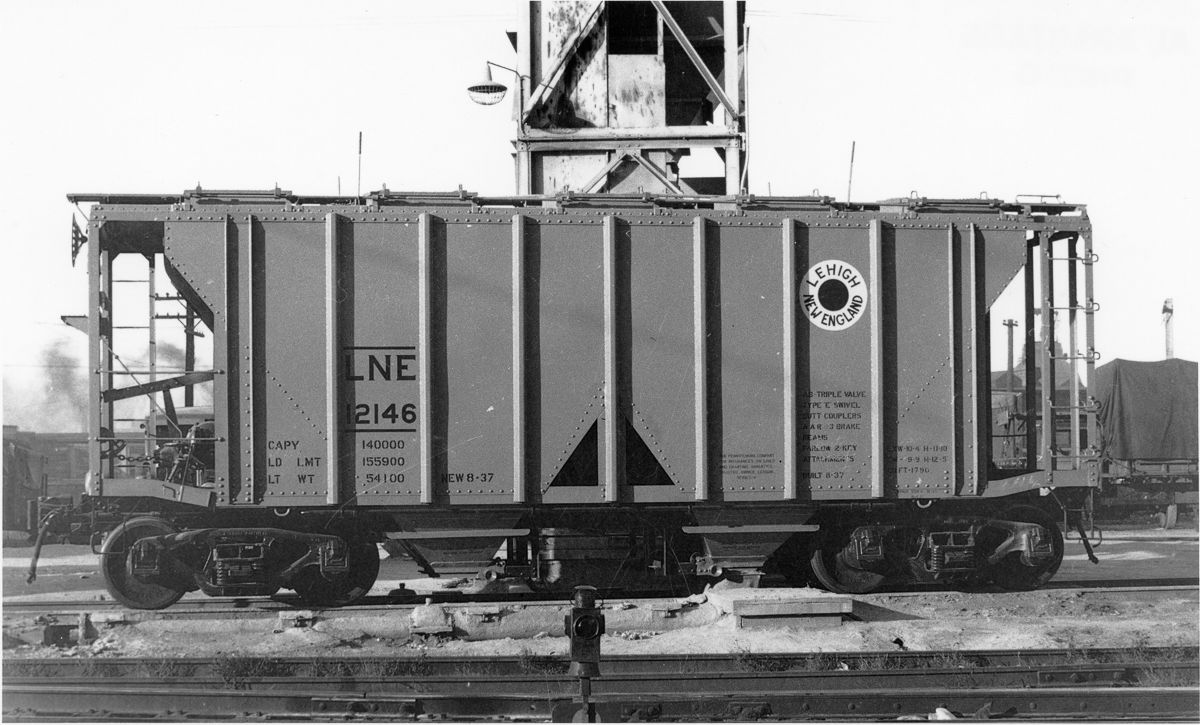
Photo Bob Losse collection
Long ago I had thought that the weaver car had a lot of similarities to the Reading car but beyond having to remove ribs it also required a number of other adjustments to the car body. I dismissed that as an option but thought the concept a good approach, I just wanted a better starting point.
This got me thinking, Atlas O made an ACF 70 ton covered hopper that is a later design, more of a late ’40’s early ’50’s car. The idea is to remove the ribs and add a wrapper around the shell.
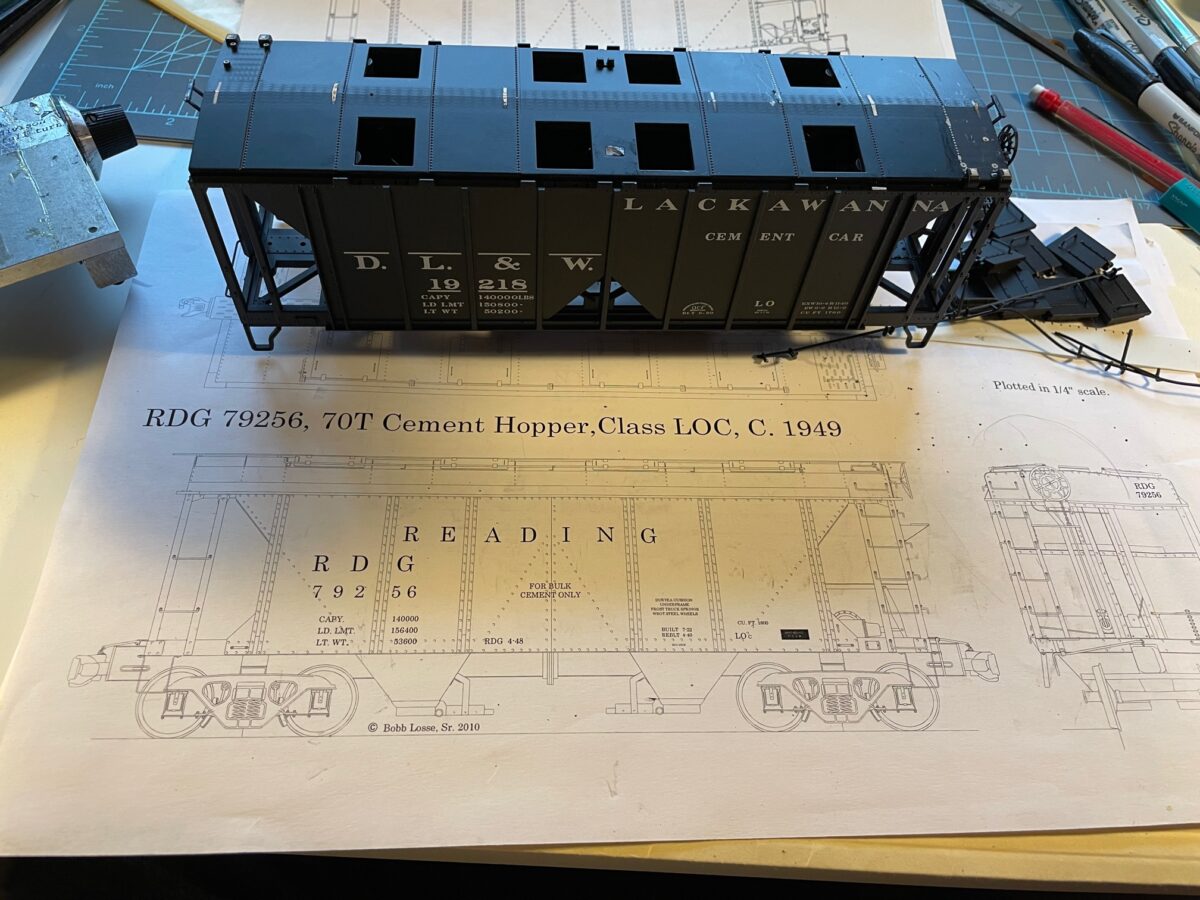
My drawings for this car appeared in RMC back in the 1980’s. I also had an updated set of drawings that my brother Bob had drawn and plotted in O scale for me. I compared the Atlas car to the drawings. The Atlas car is a more modern car and the car body is about scale 18 inches longer but the height and shape of the car is about right.
I started prepping the shell by removing the details. The grab irons on the side and the hatches on the roof. I did disassemble the car but ended up putting it back together because I felt the weight being inside would help stiffen the plastic car body while sanding the ribs down.
I took my time and slowly removed the ribs. I tried to be careful with the sanding to remove the details at the same rate overall to try to keep from sanding the body out of square.
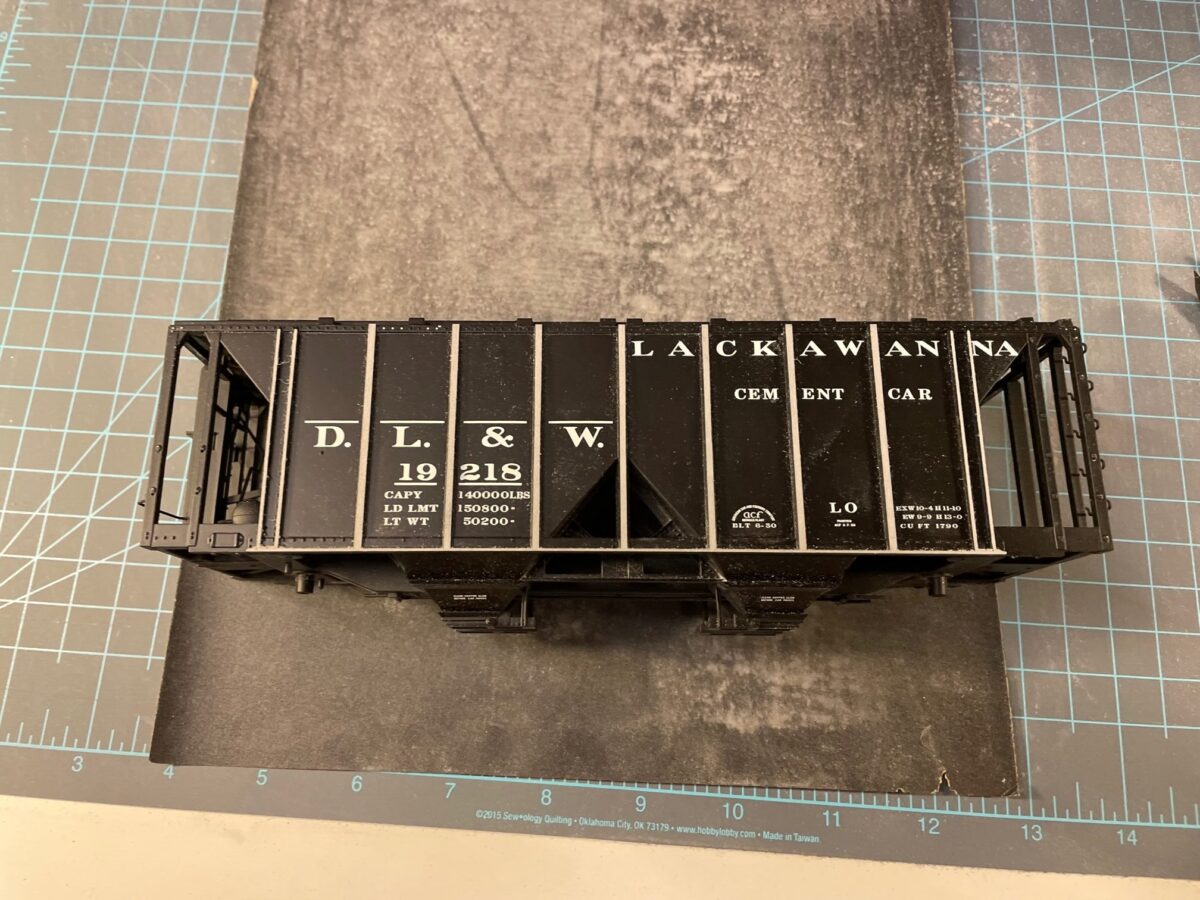
You can see that different details begin to get sanded as you get down further on the the side.
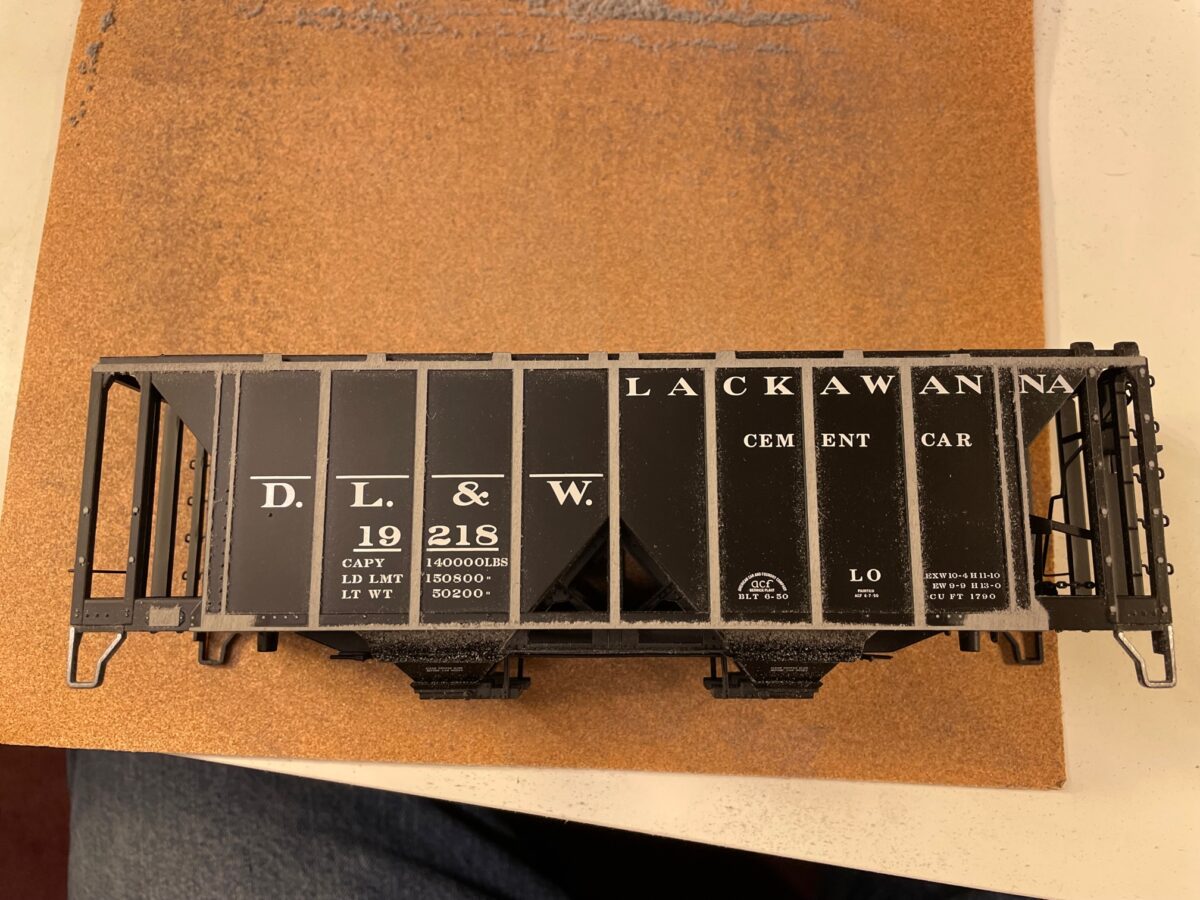
Some people might ask why I didn’t remove the paint first before working on the shell. I found it was useful to keep me sanding evenly. If you are applying to much pressure in one direction you can see if the detail which are at the same height on the car side come off at the same time. If you are uneven they show.
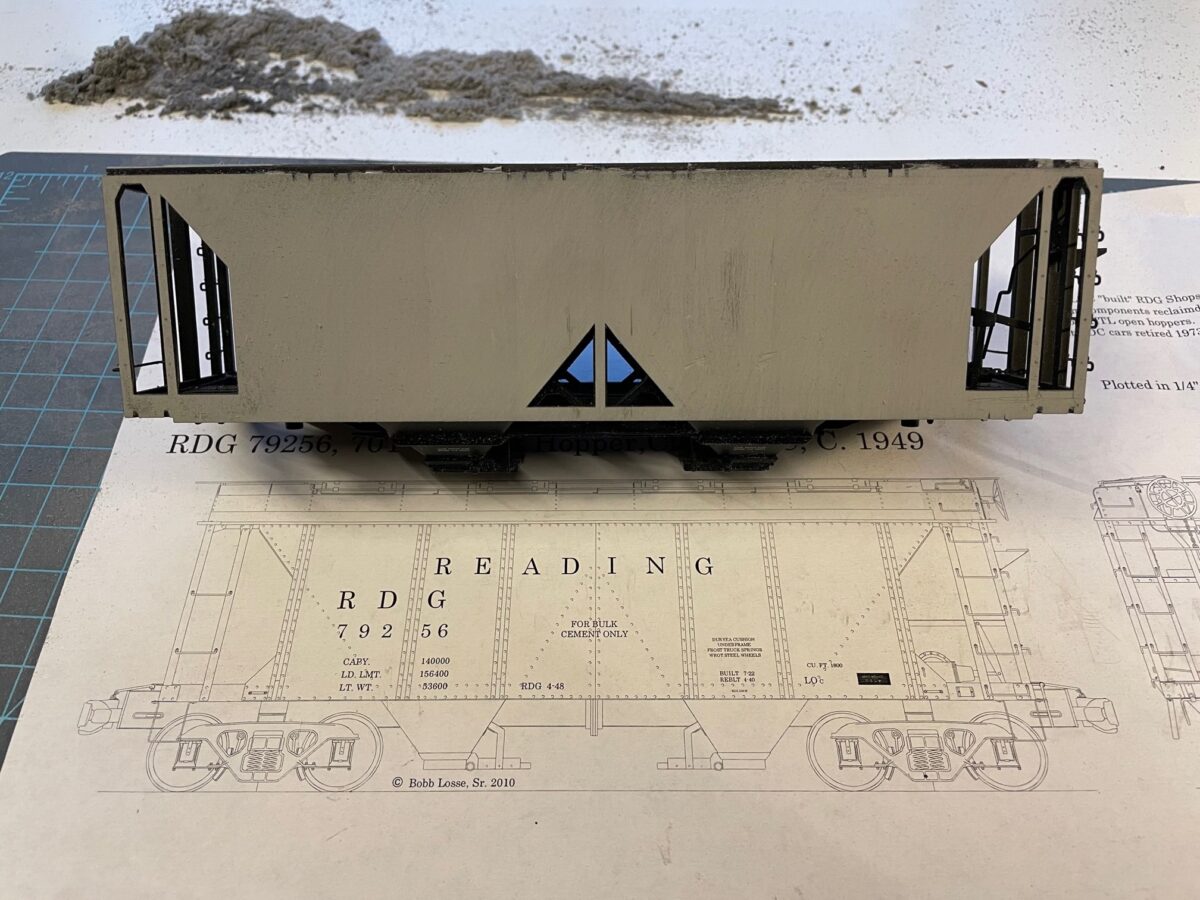
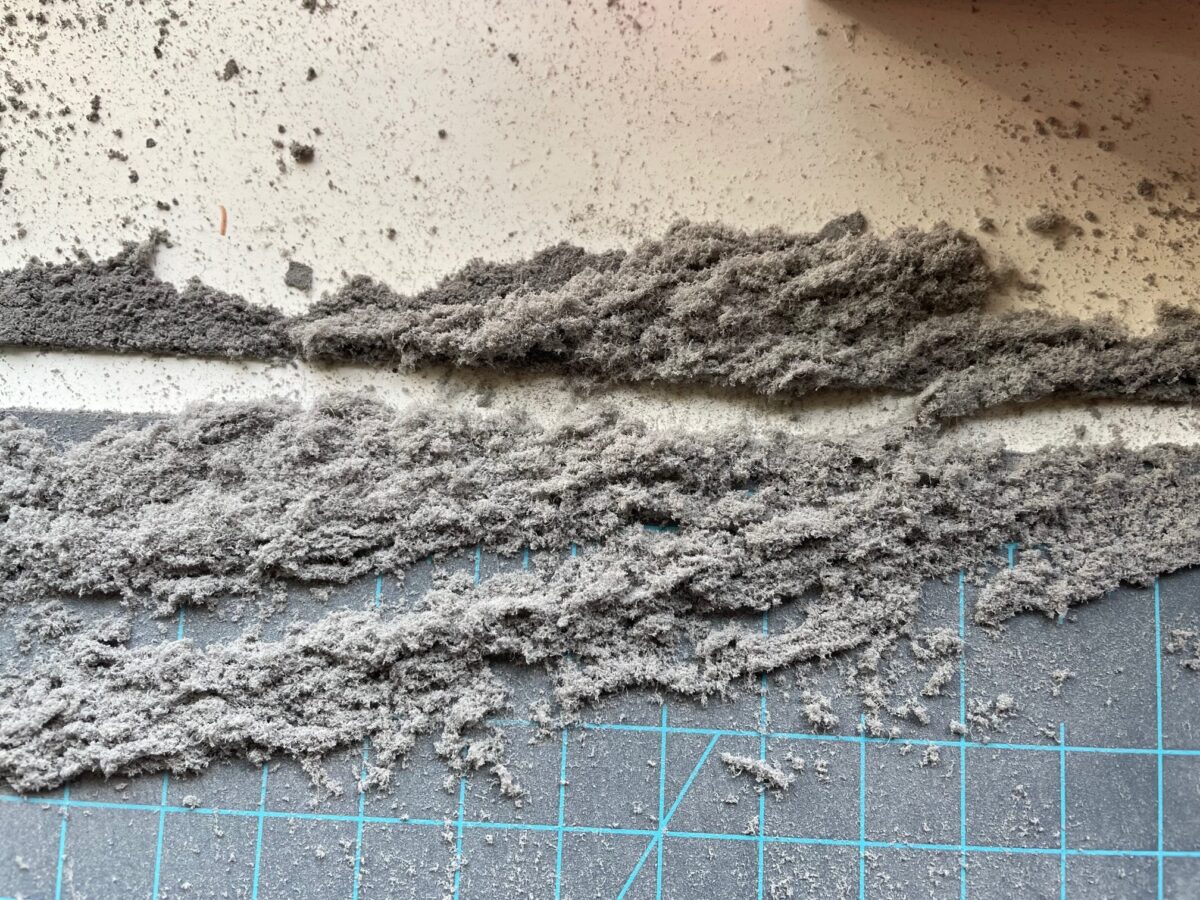
Car sides here show all the detail removed. It doesn’t take that long to sand down the car sides. You just need go slow and keep the car level as you sand. But it does create a mess of the plastic you sand off.
Next time, I need to mark the shell for where I plan to cut it to remove the 18 inches out of the center of the car. Then I’ll add a wrapper and begin to built up the car sides. Stay tuned that will be the next post.
