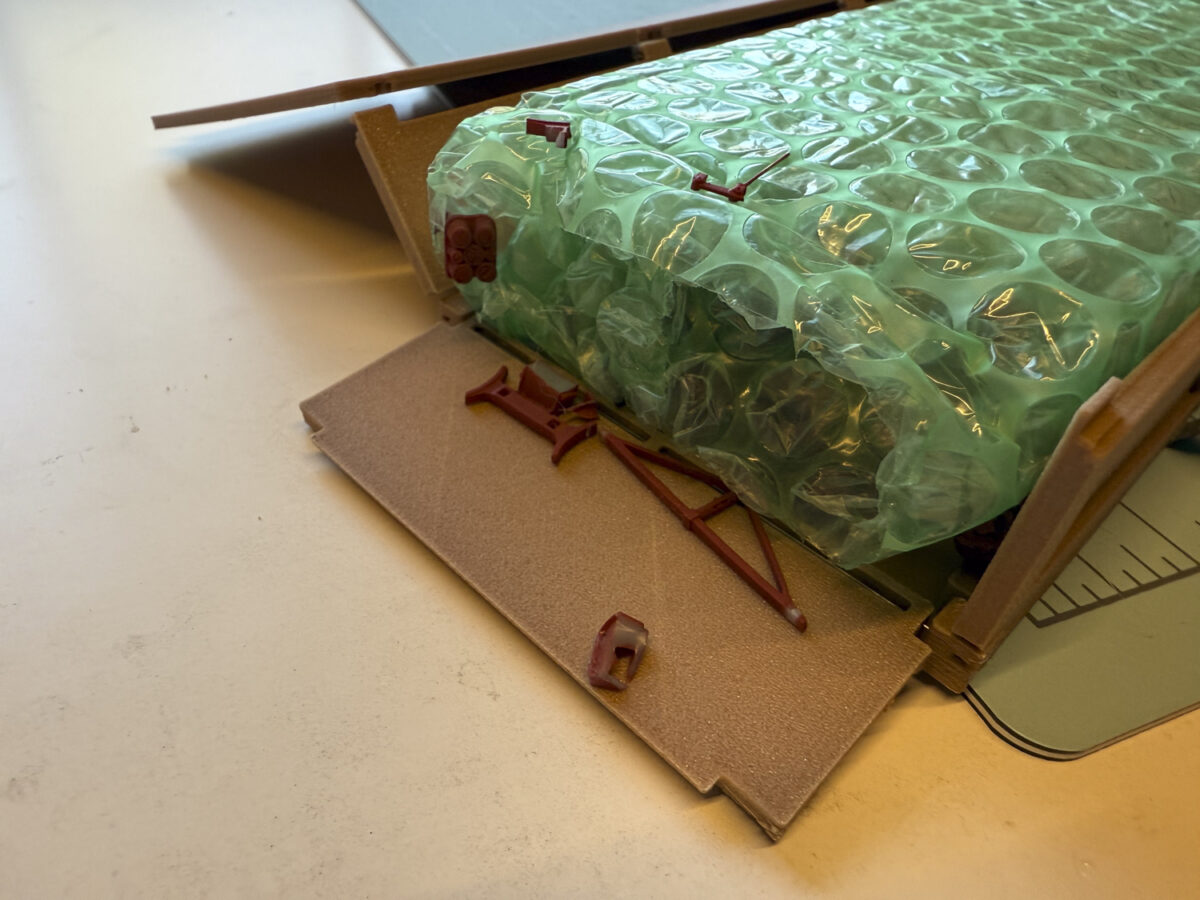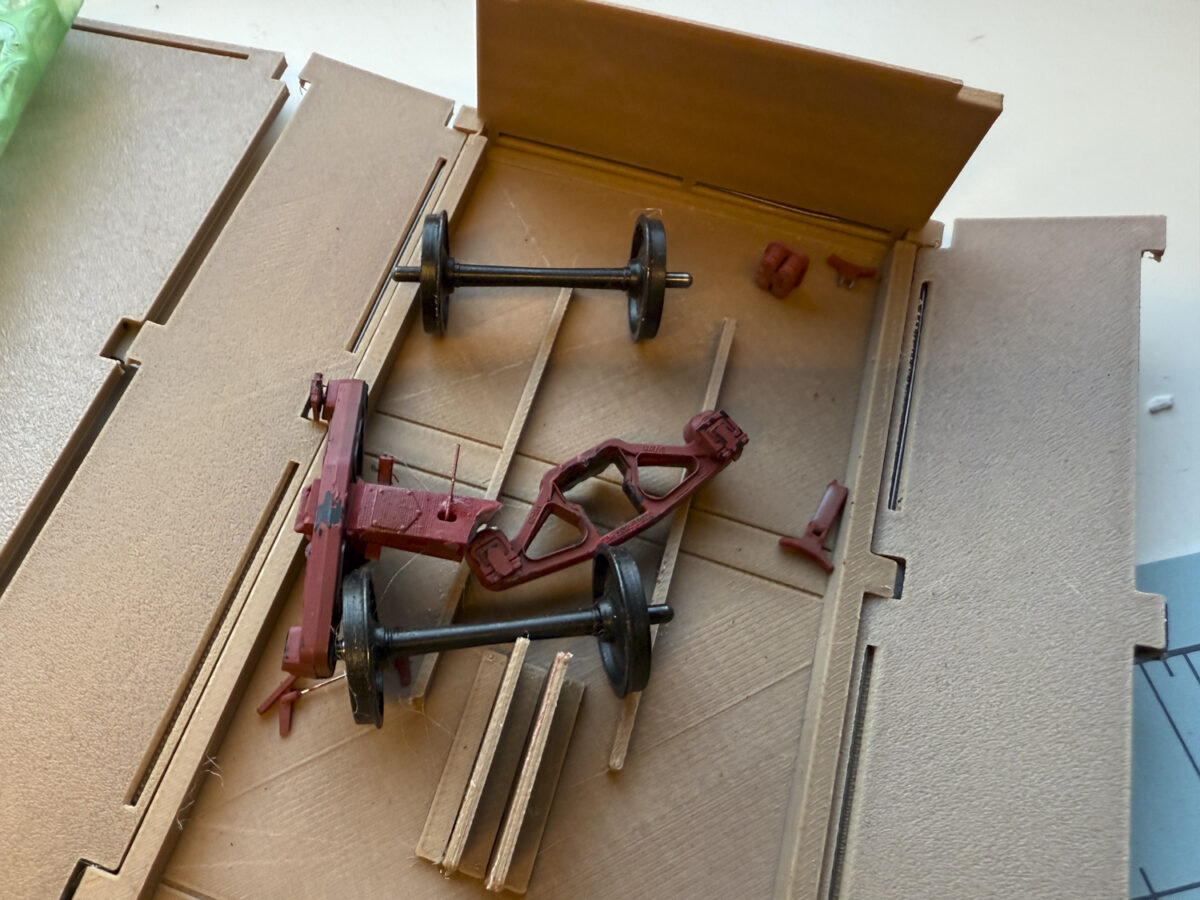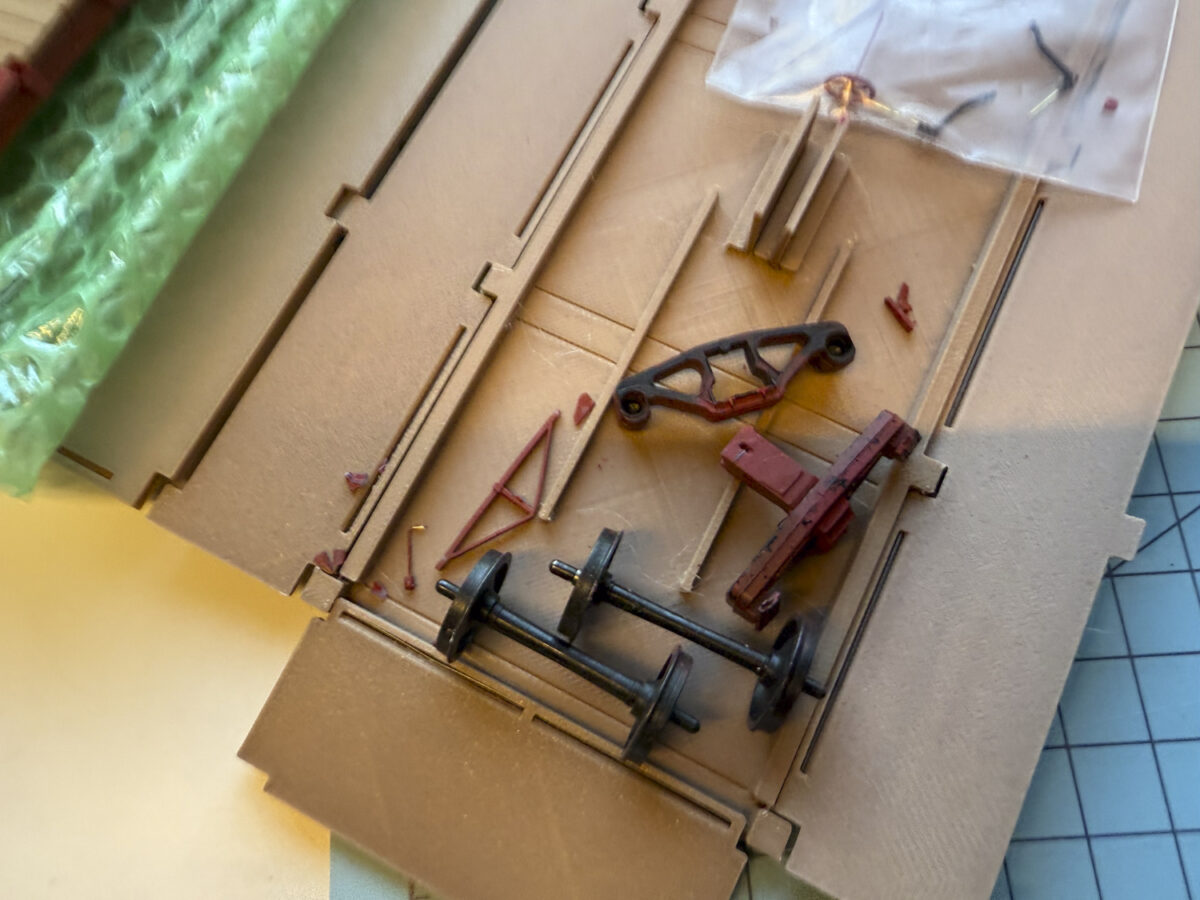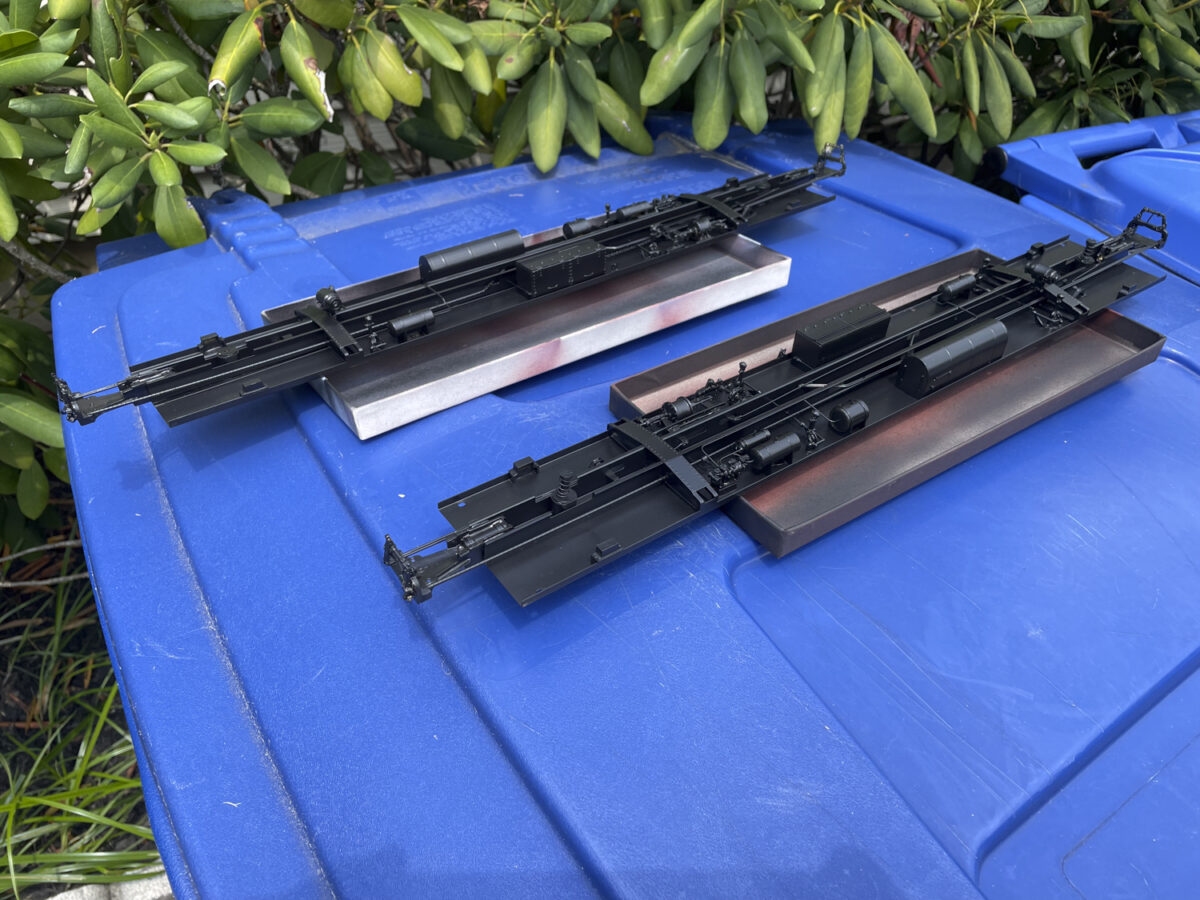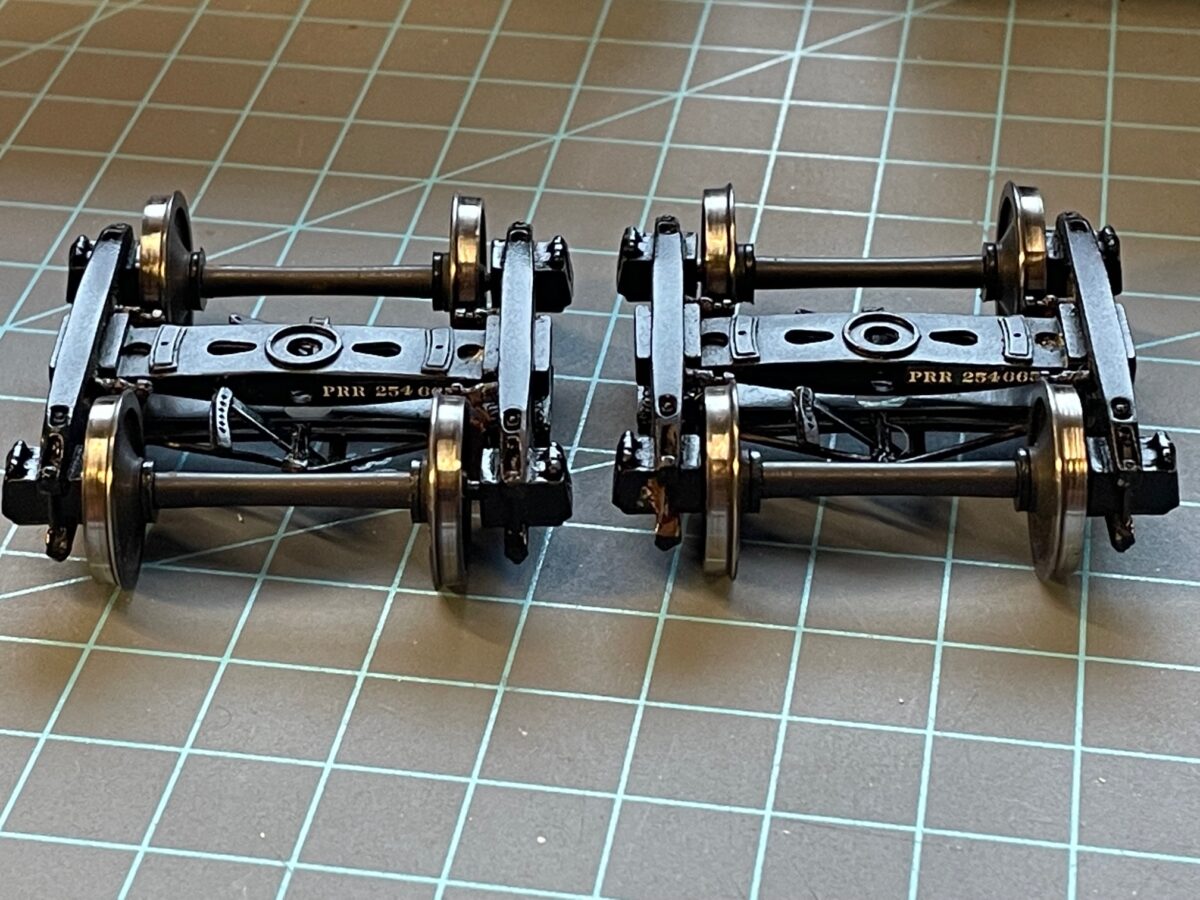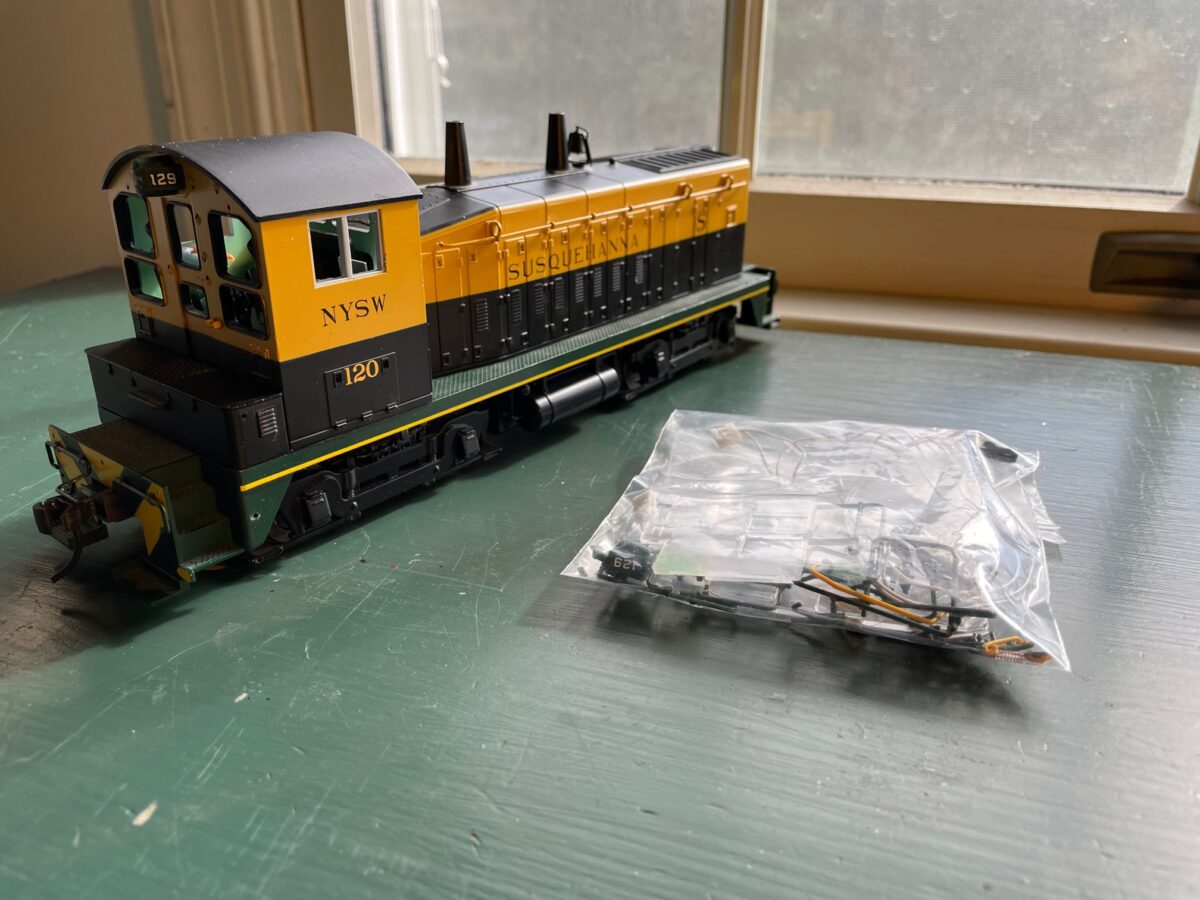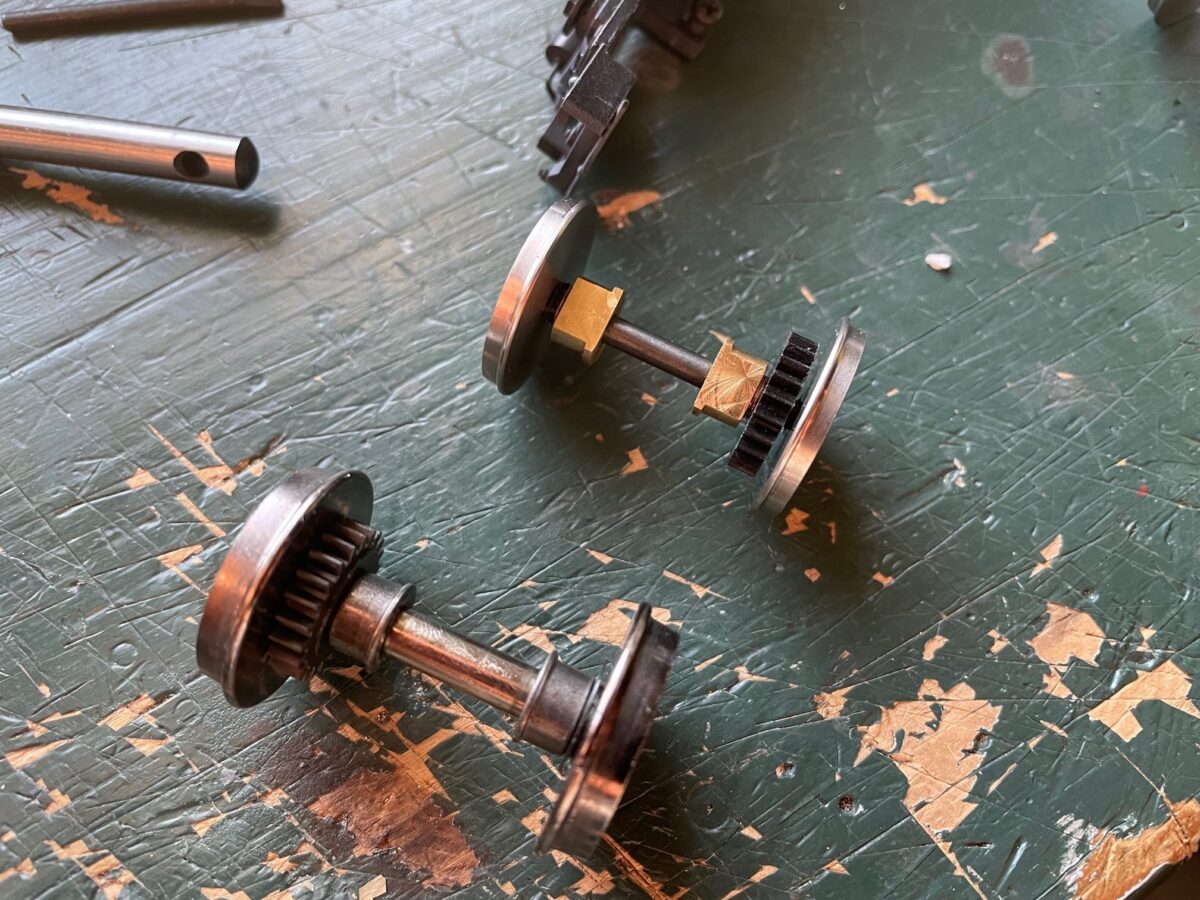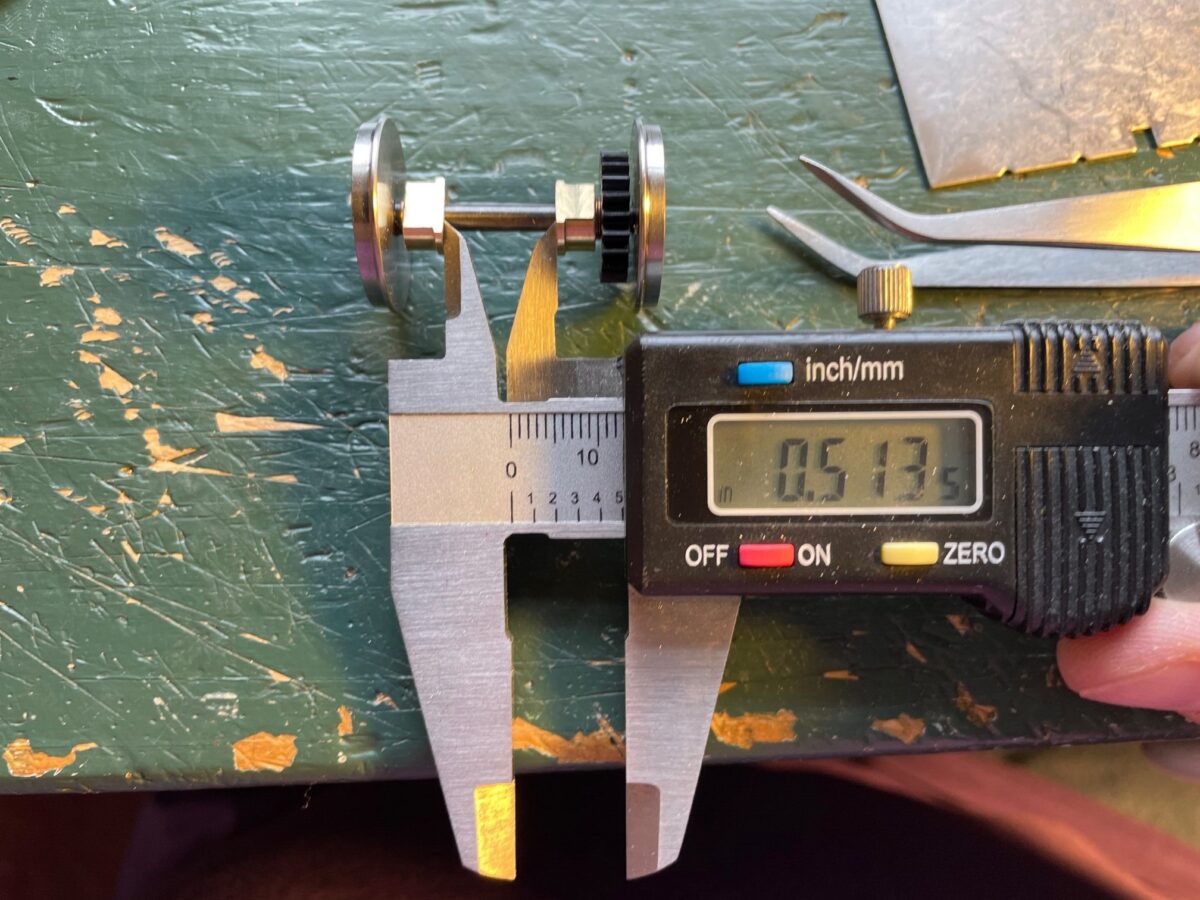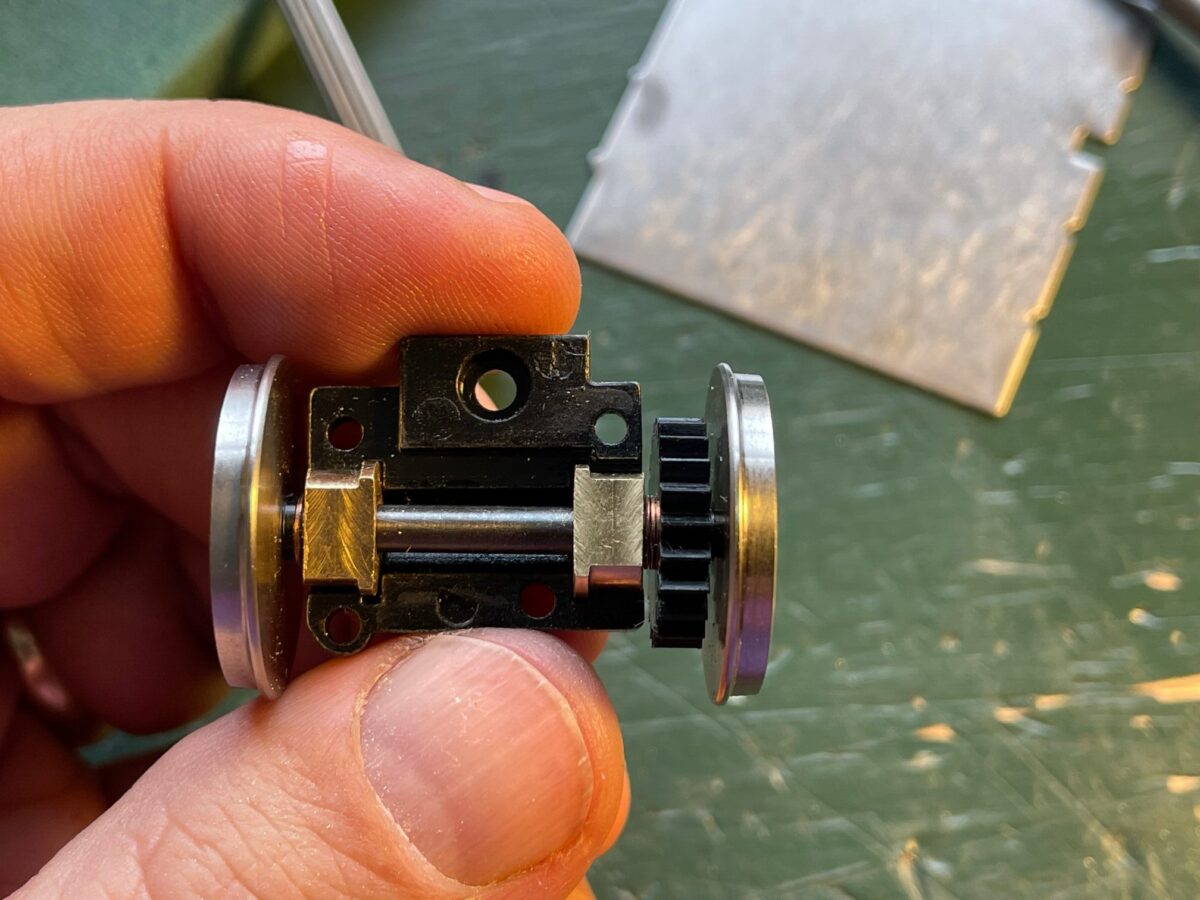
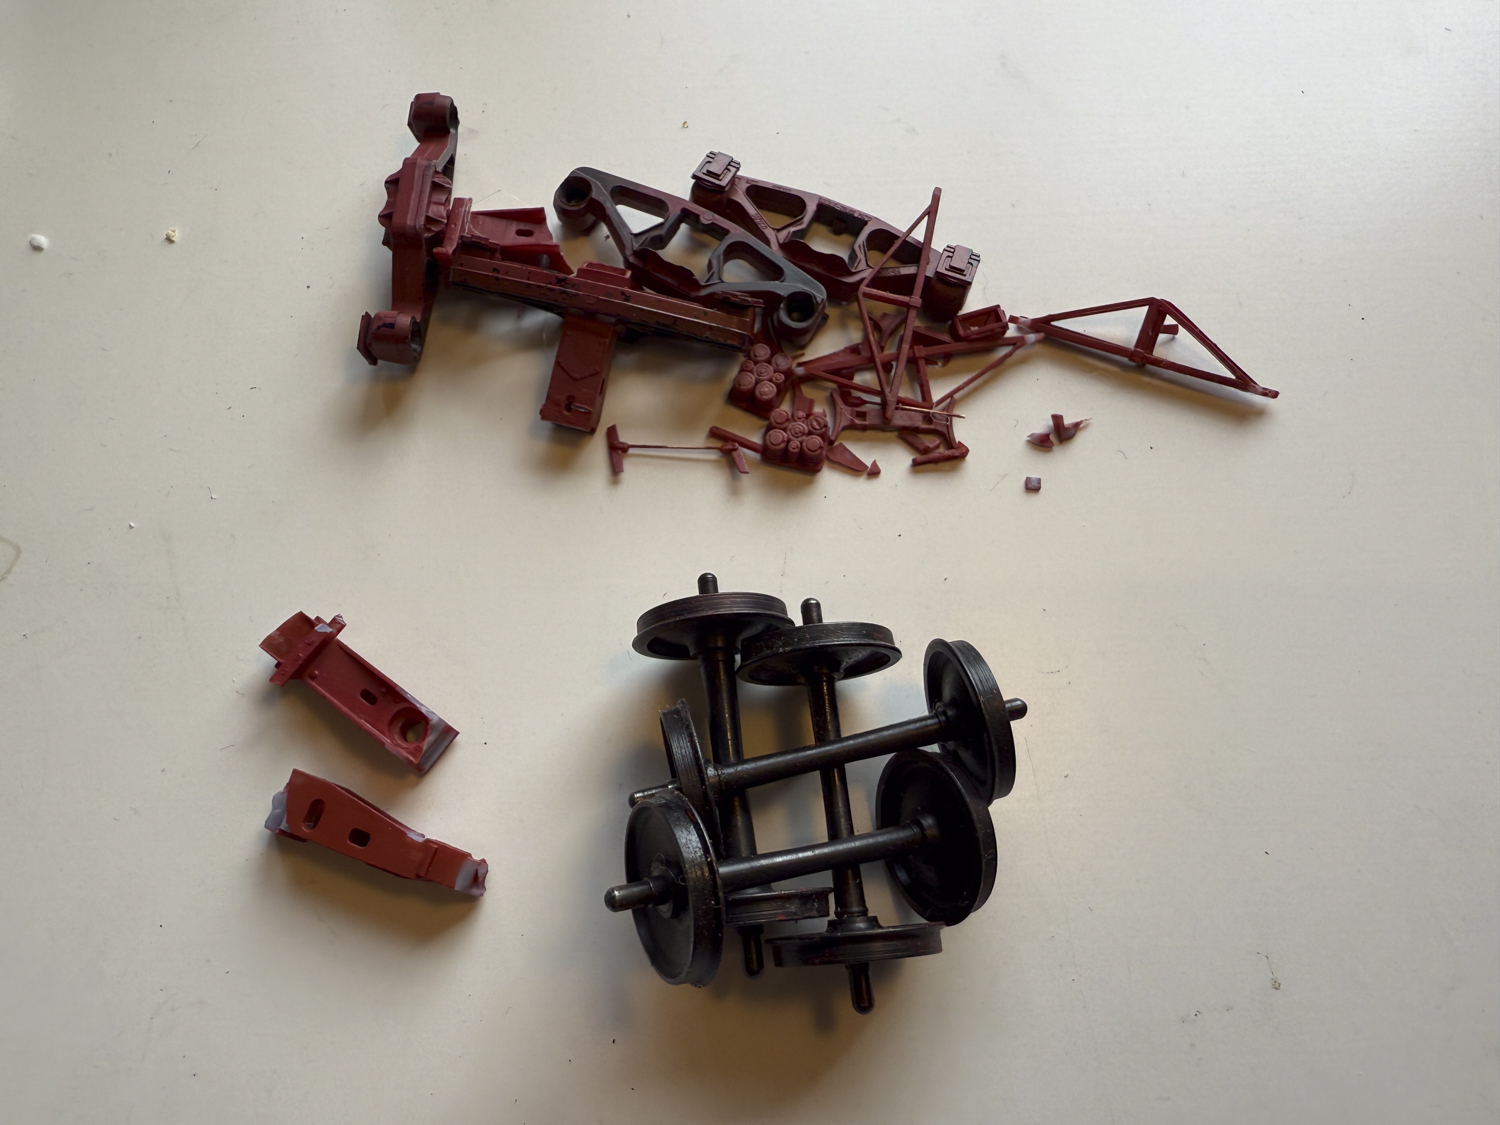
When all the unboxing was complete, this was the condition of the trucks that came with the car. Not a great look. But the Protocraft wheel sets will be reused. The rest, well the next two images tells you what I think.

I thought about using another pair of Intermountain Trucks with the wheels, but I chose to use a pair of RY Models Proto48 50 ton Bettendorf instead. Mostly because they were on the workbench already.
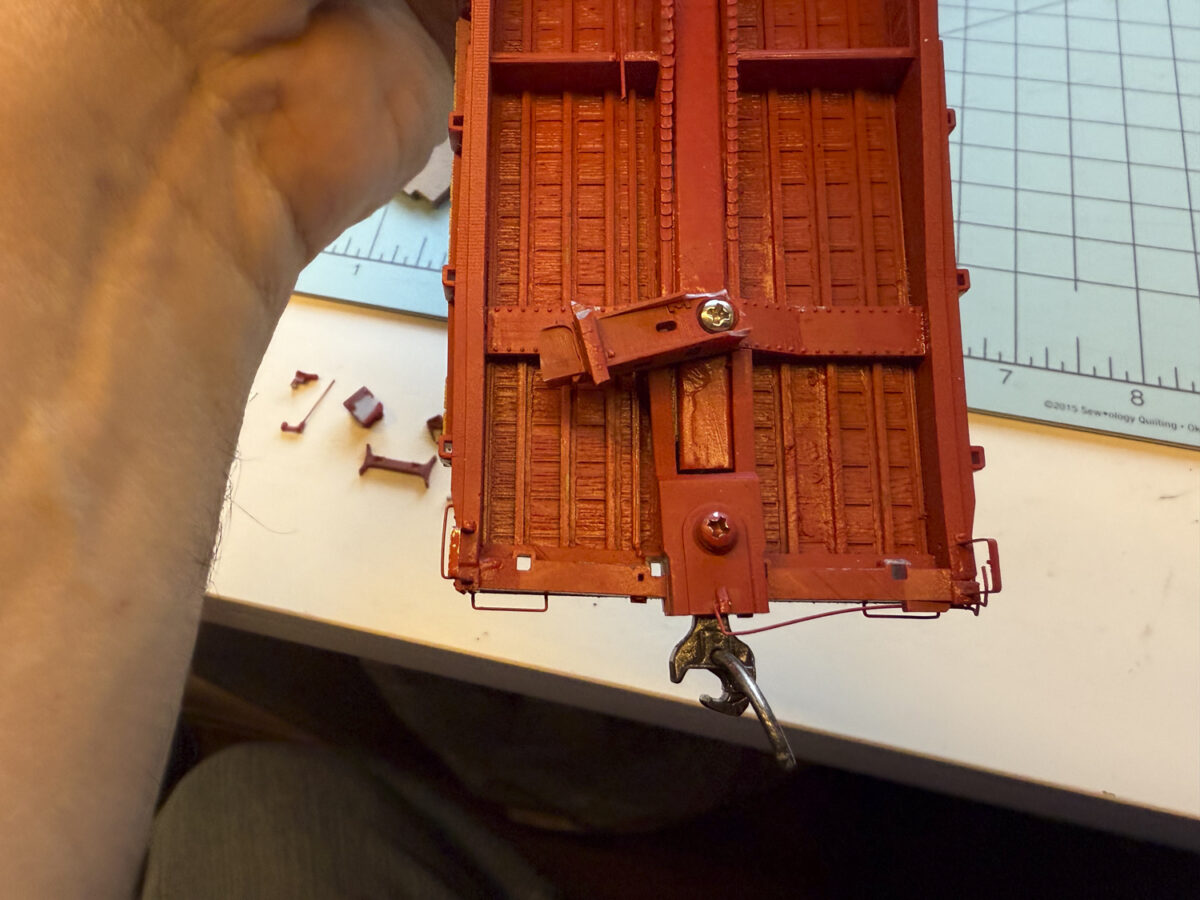
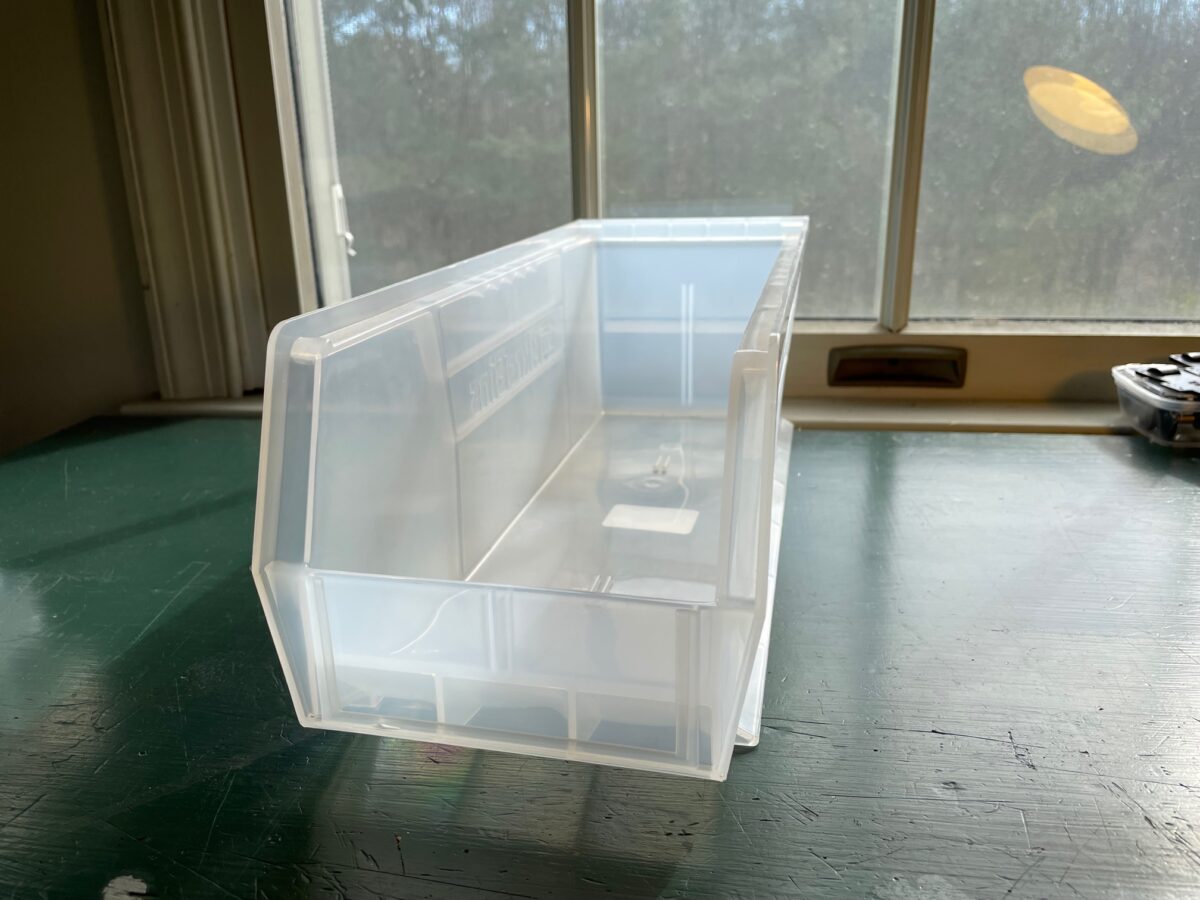
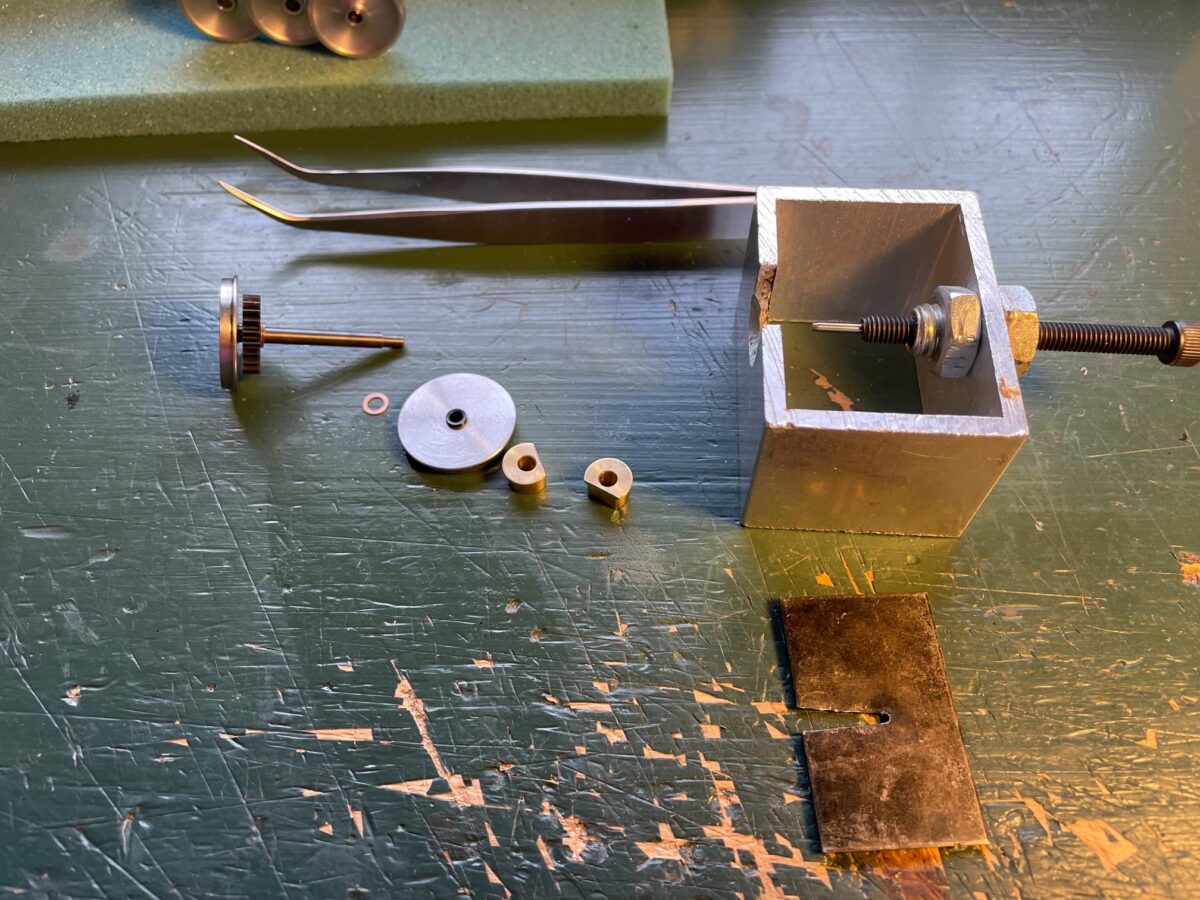
When I took off the half of the bolster that remained on the car I noticed that there was no spring on the bolster screws. So I decided to add one. Of corse that meant the while installing the new trucks, one had to shoot into the air. No problem reach into the screw bin and replace it.
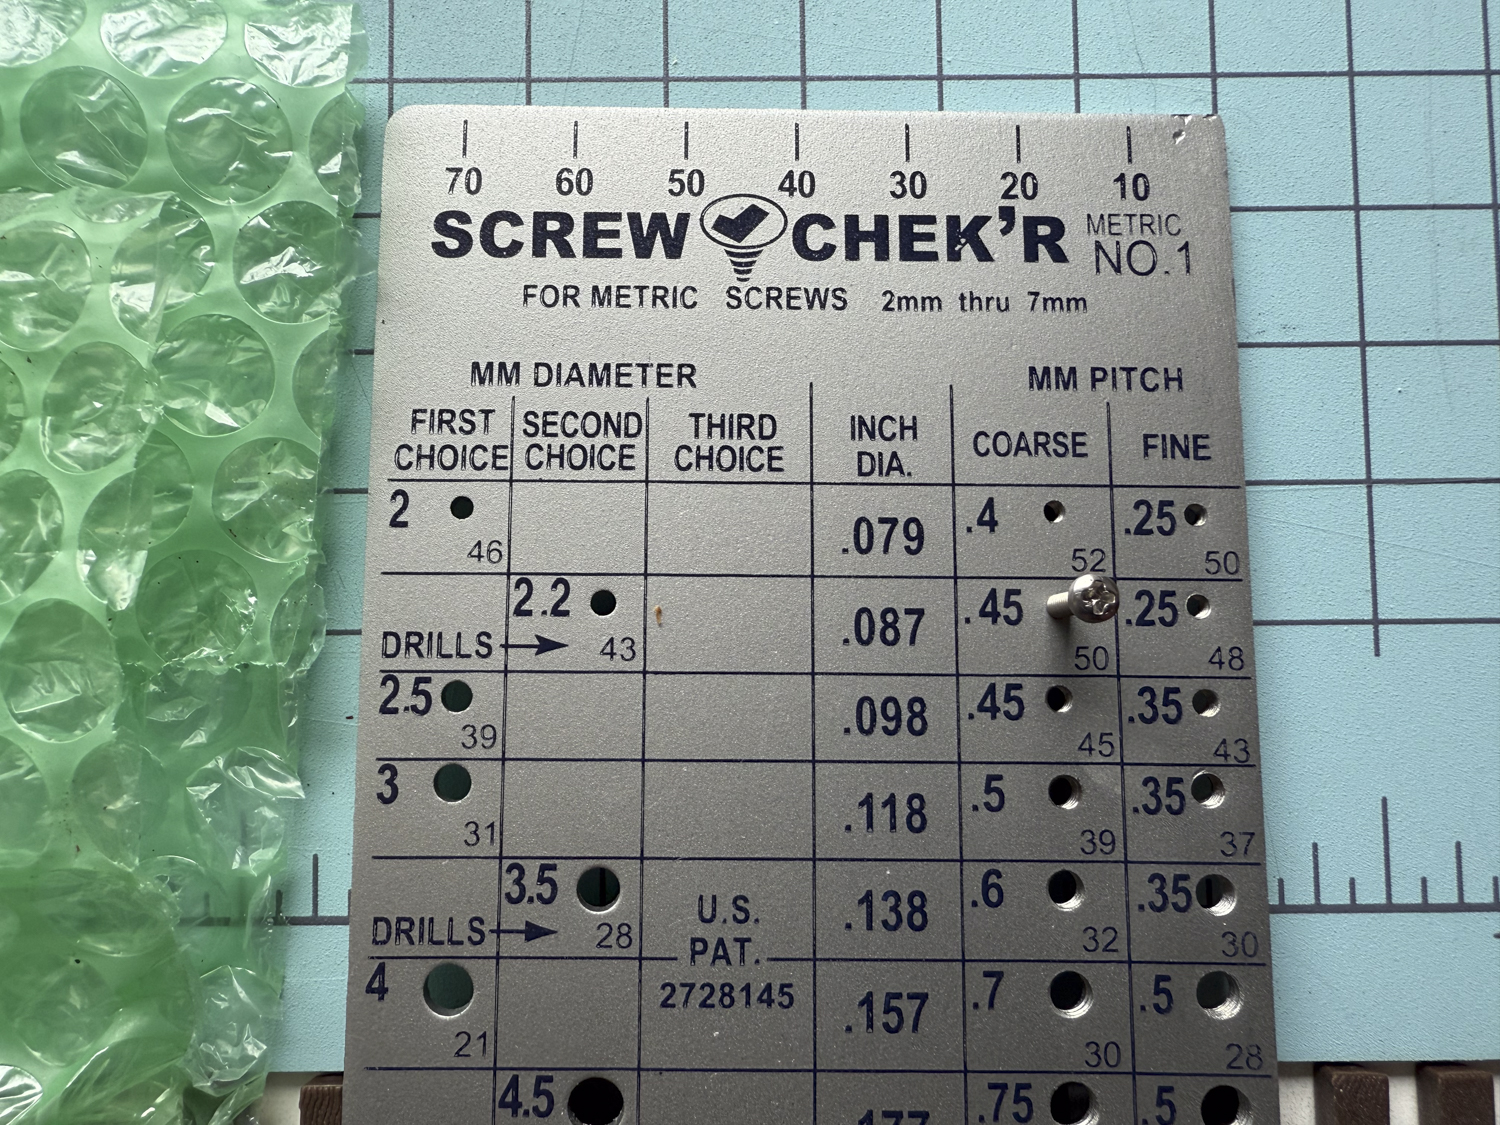
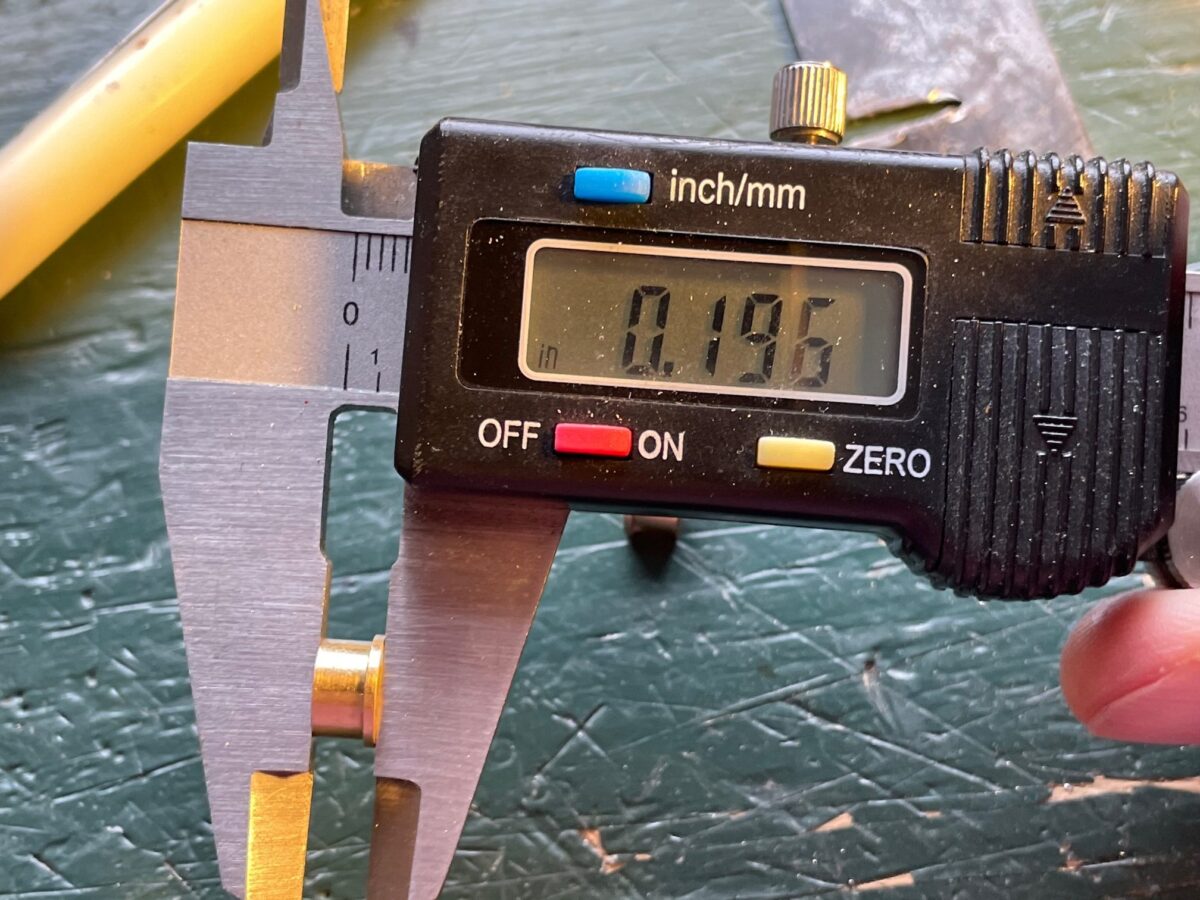
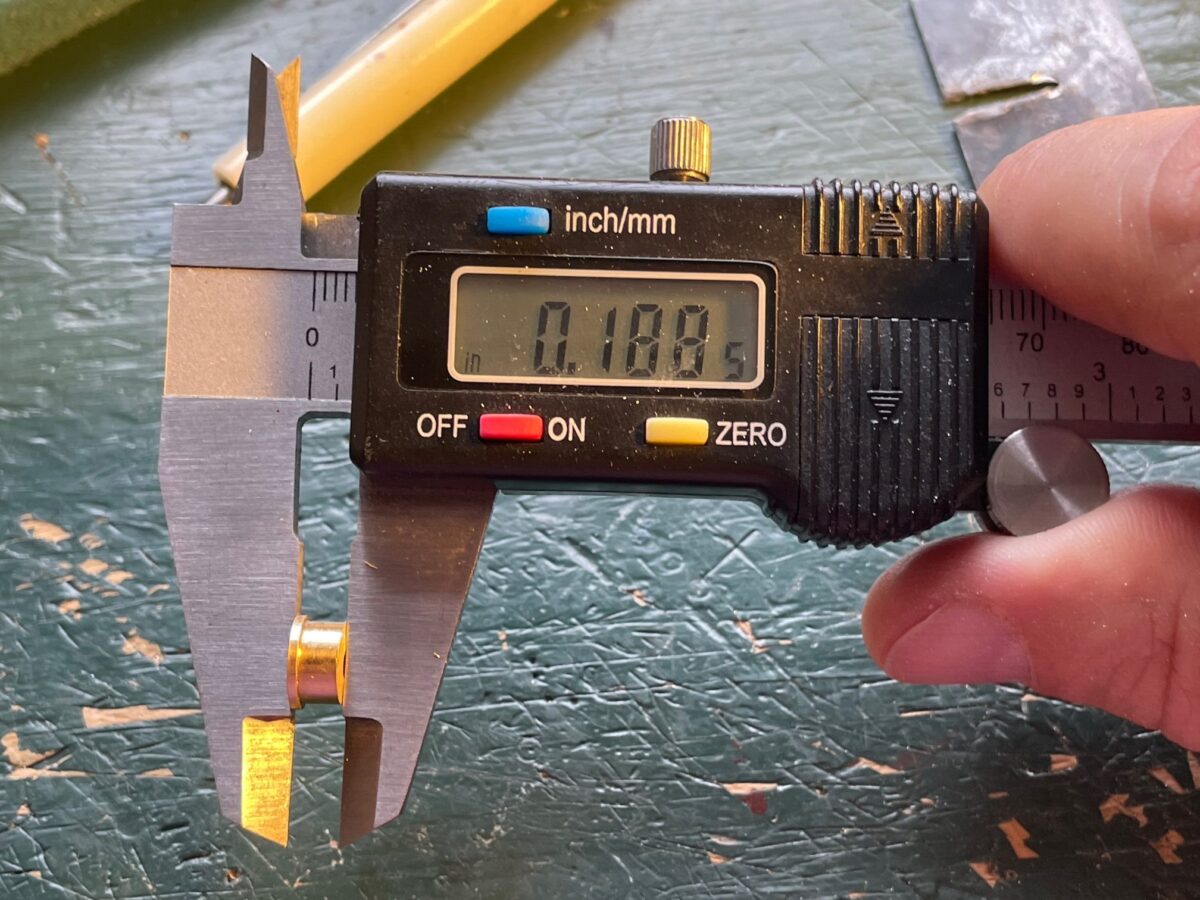
I checked the remaining bolster screw and it wasn’t a 2 mm screw. It was a 2.2 mm screw, which I don’t stock. I did find the missing screw after searching the area around the workbench.
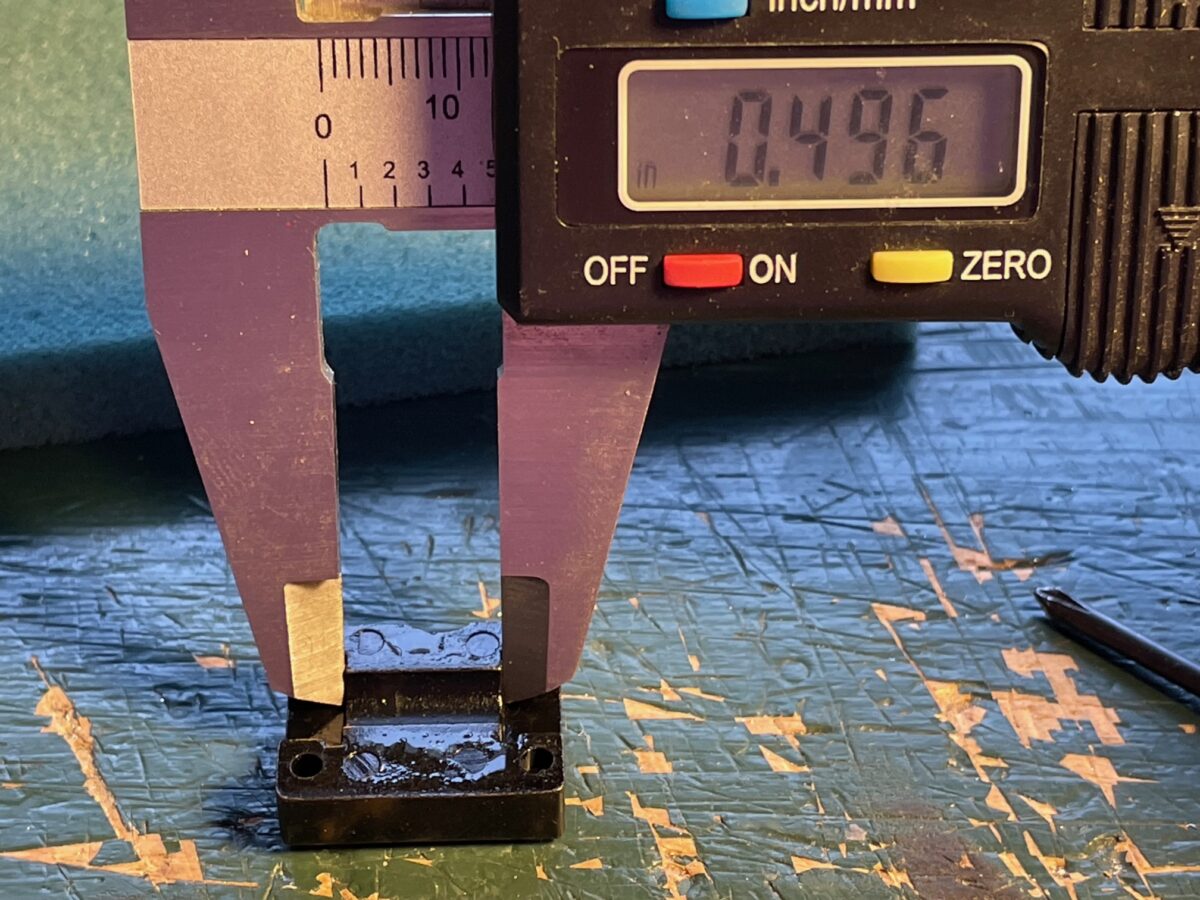
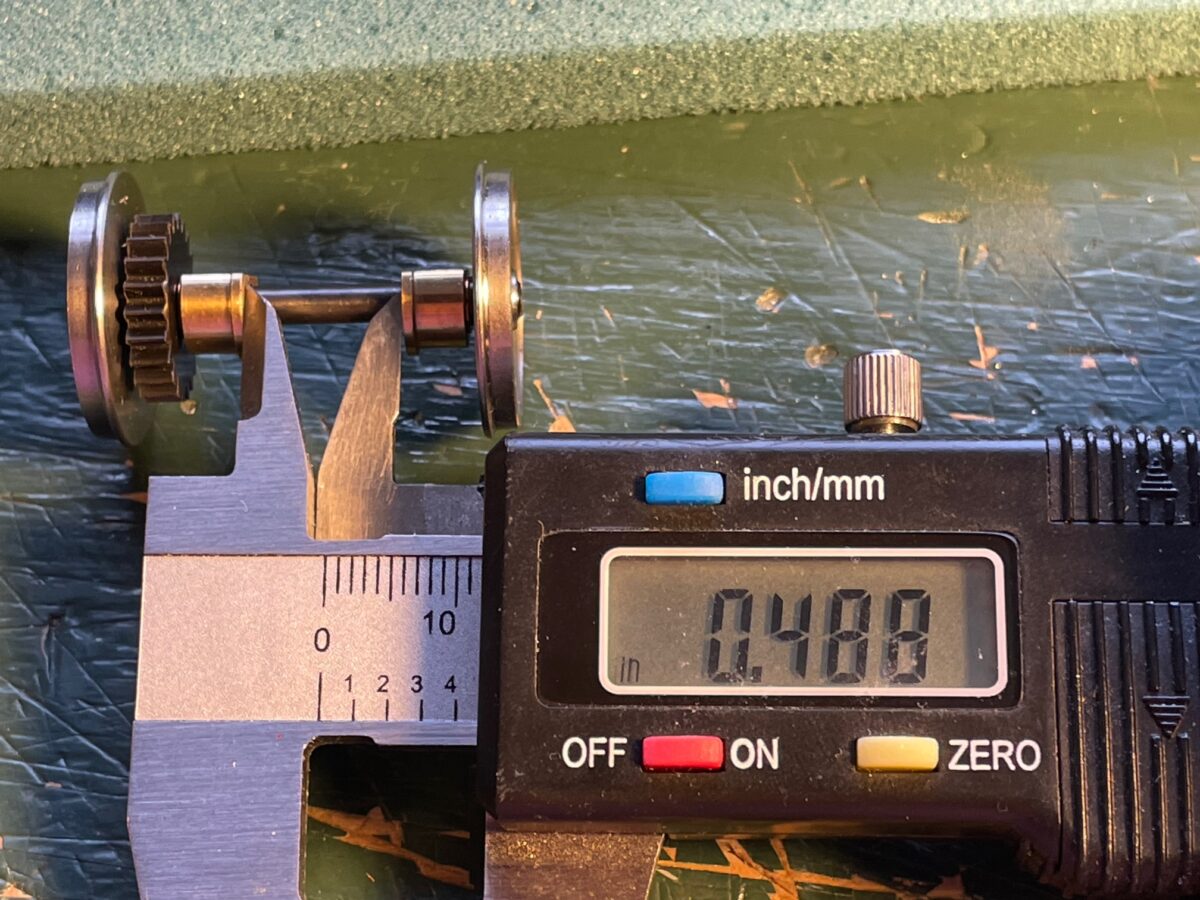
Both bolsters showed some damage. Since it was basically the same damage reversed at each end, I wonder if it was actually damage or just poor quality castings. I know what my thoughts are.
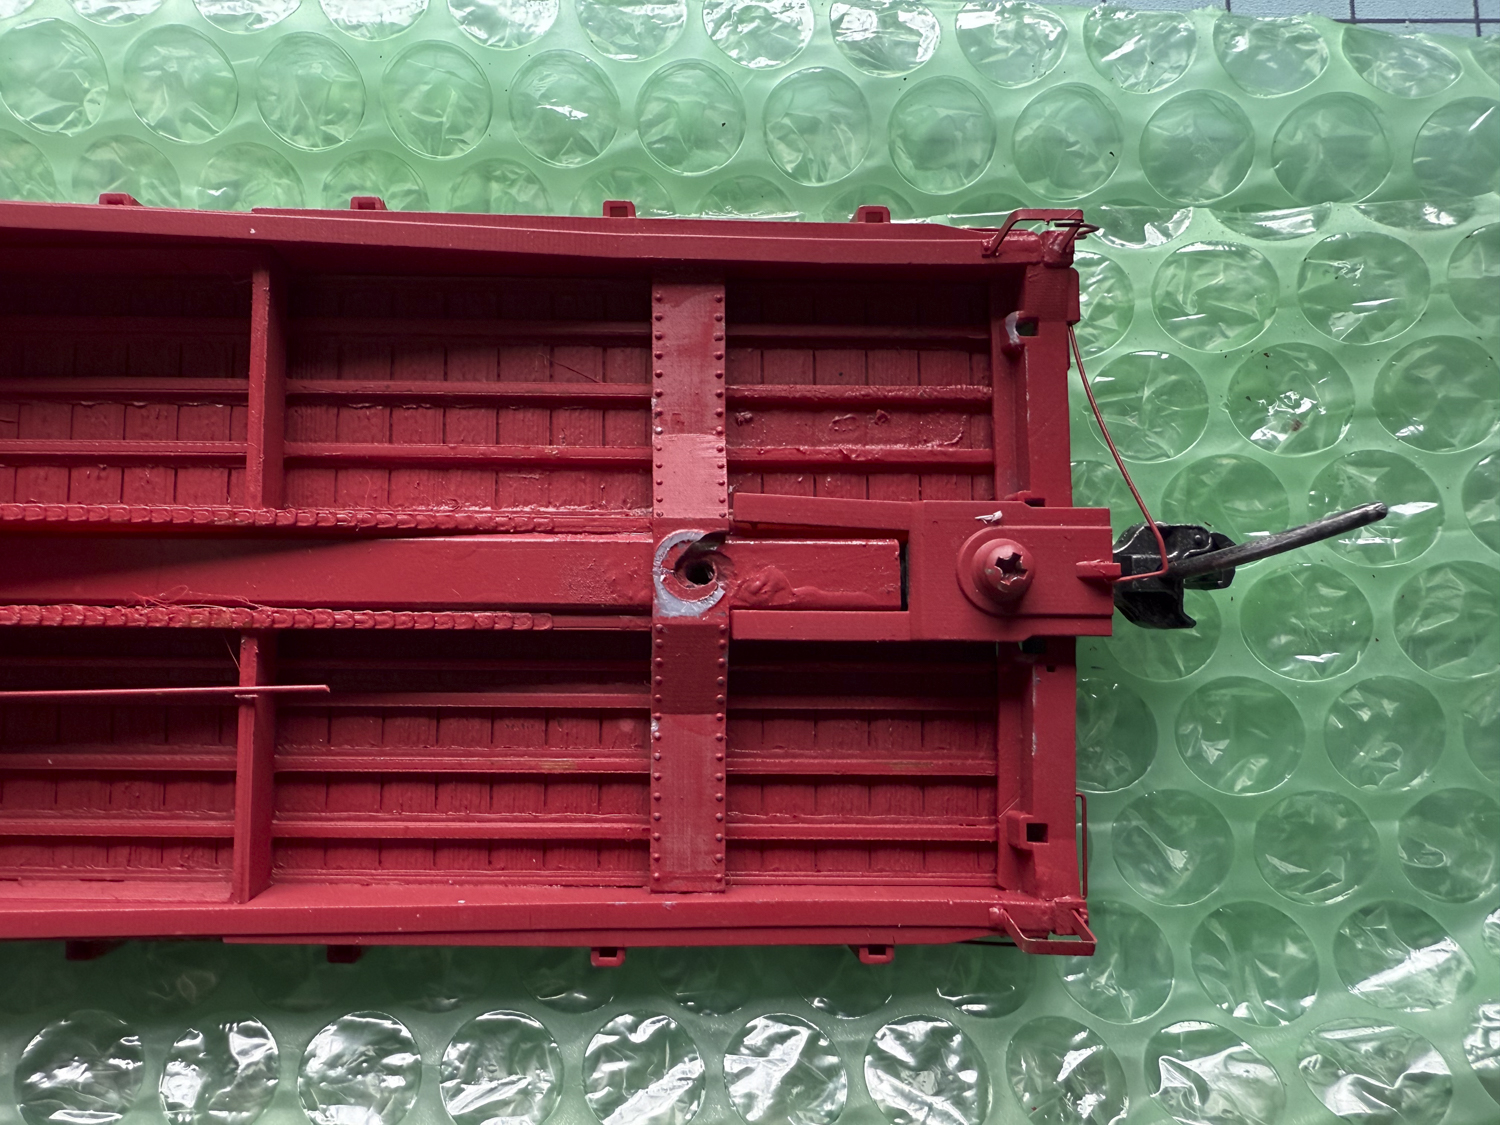
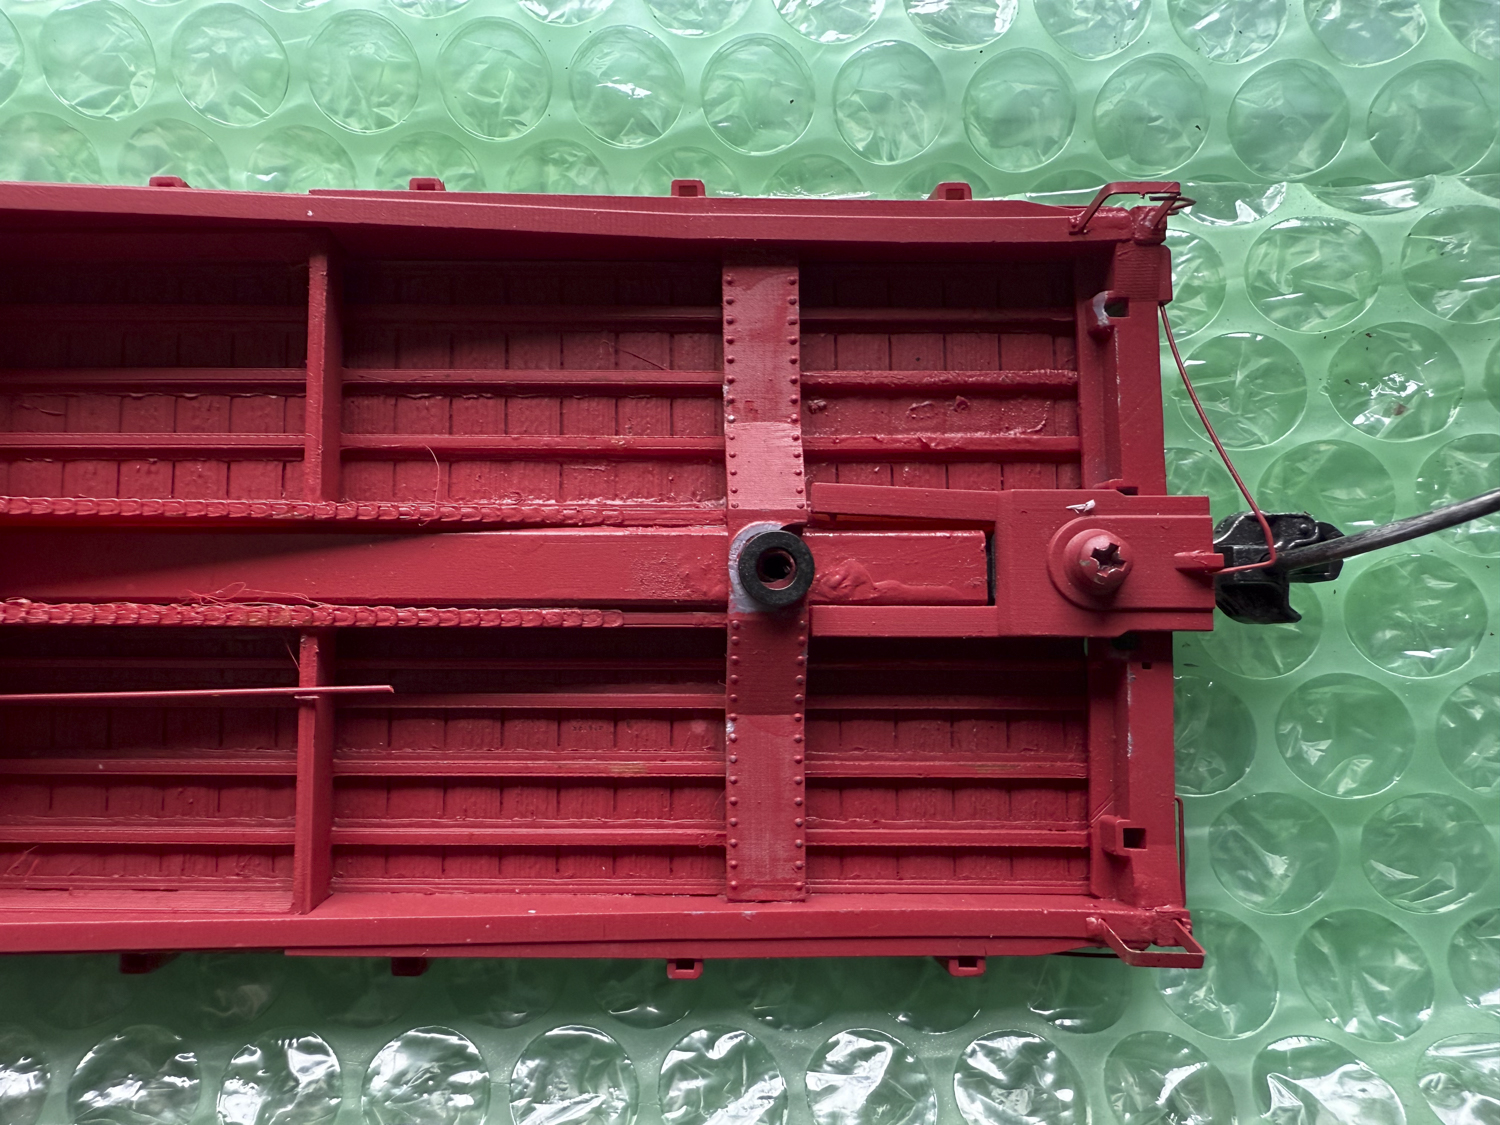
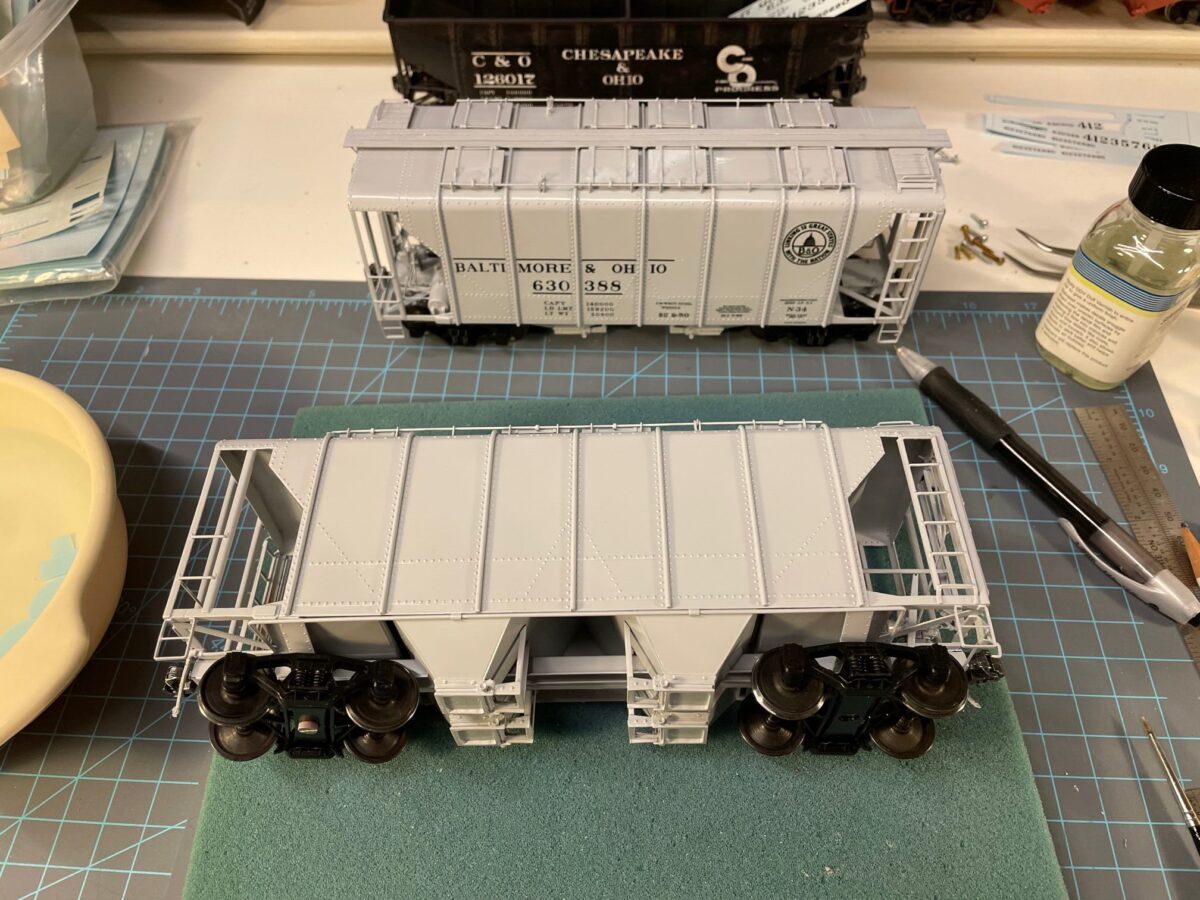
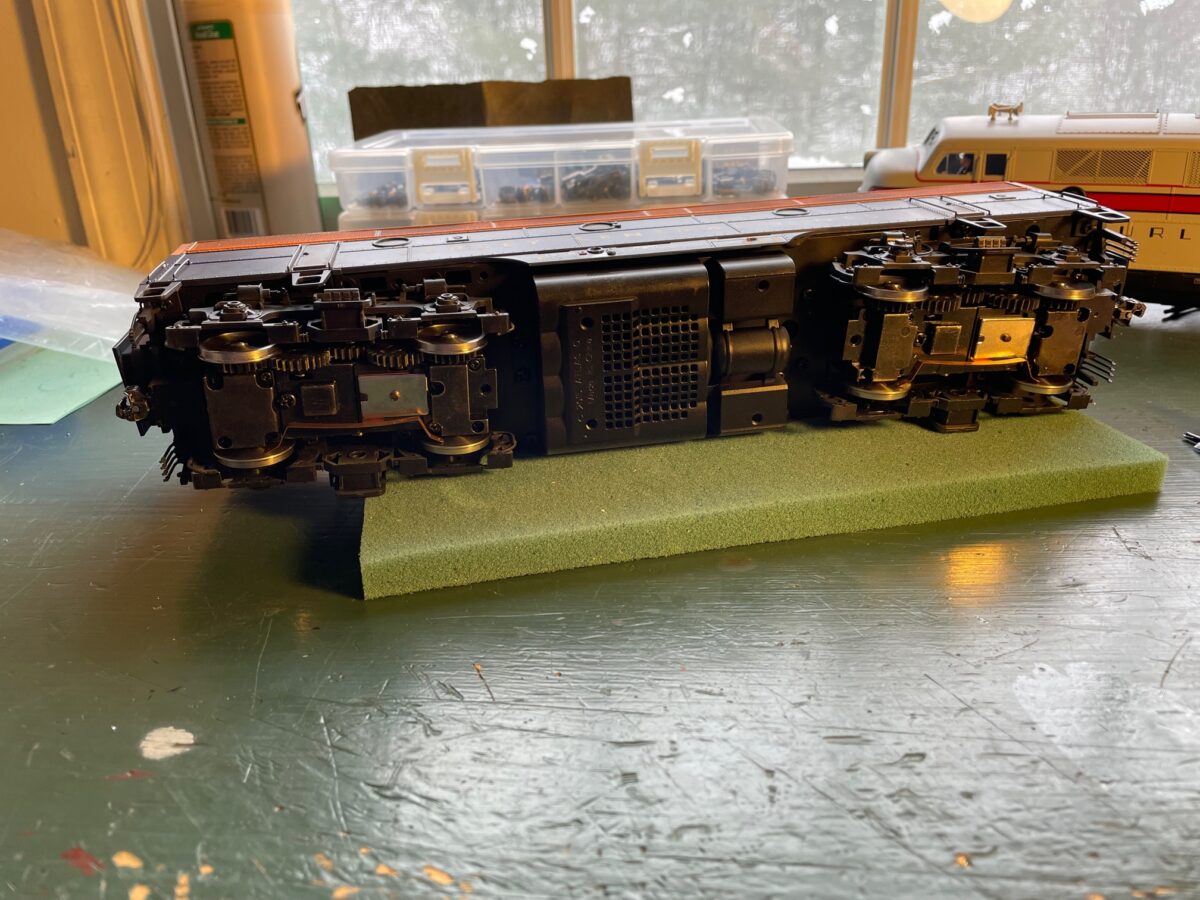
I shaved off the ridge on the bolster and then used the body washer from the RY Models trucks between the car and the truck. This placed the car at a good height for the couplers.
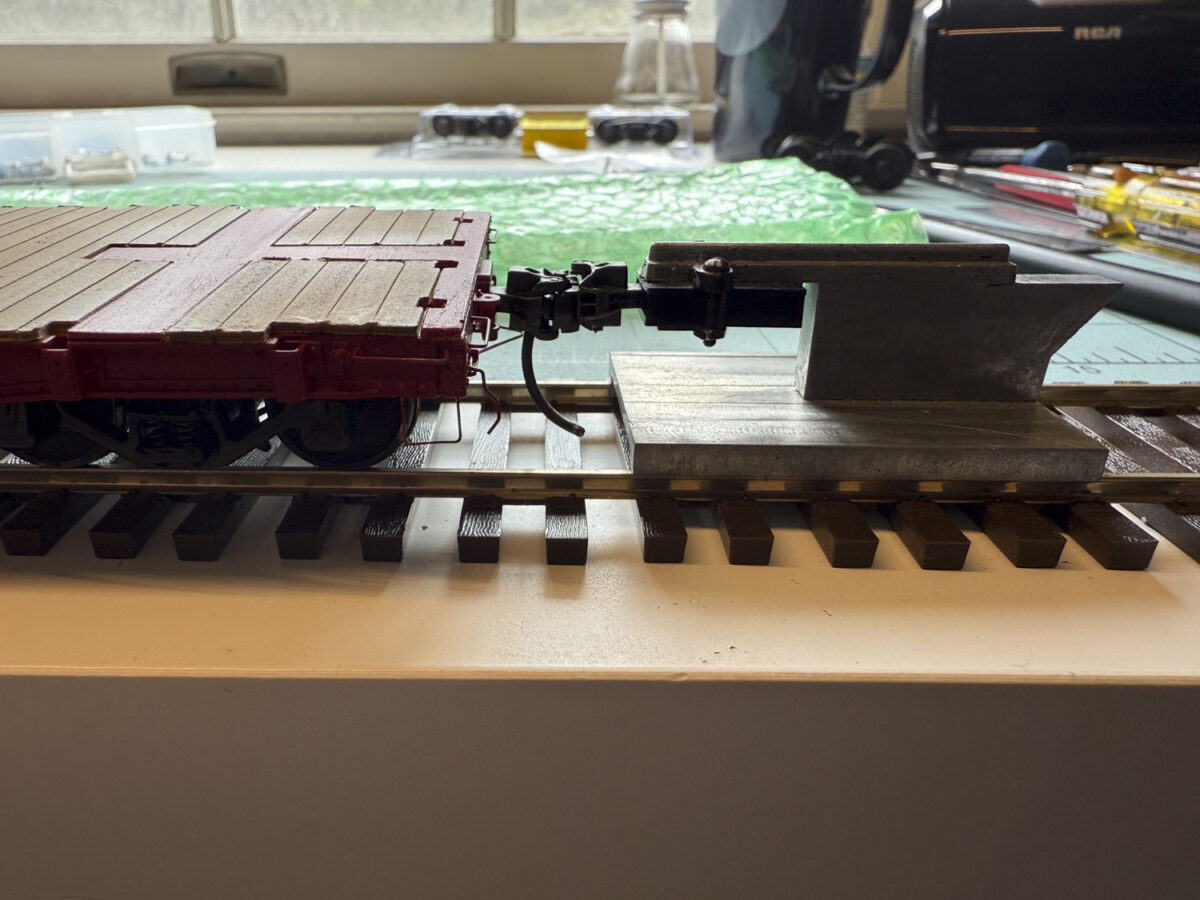

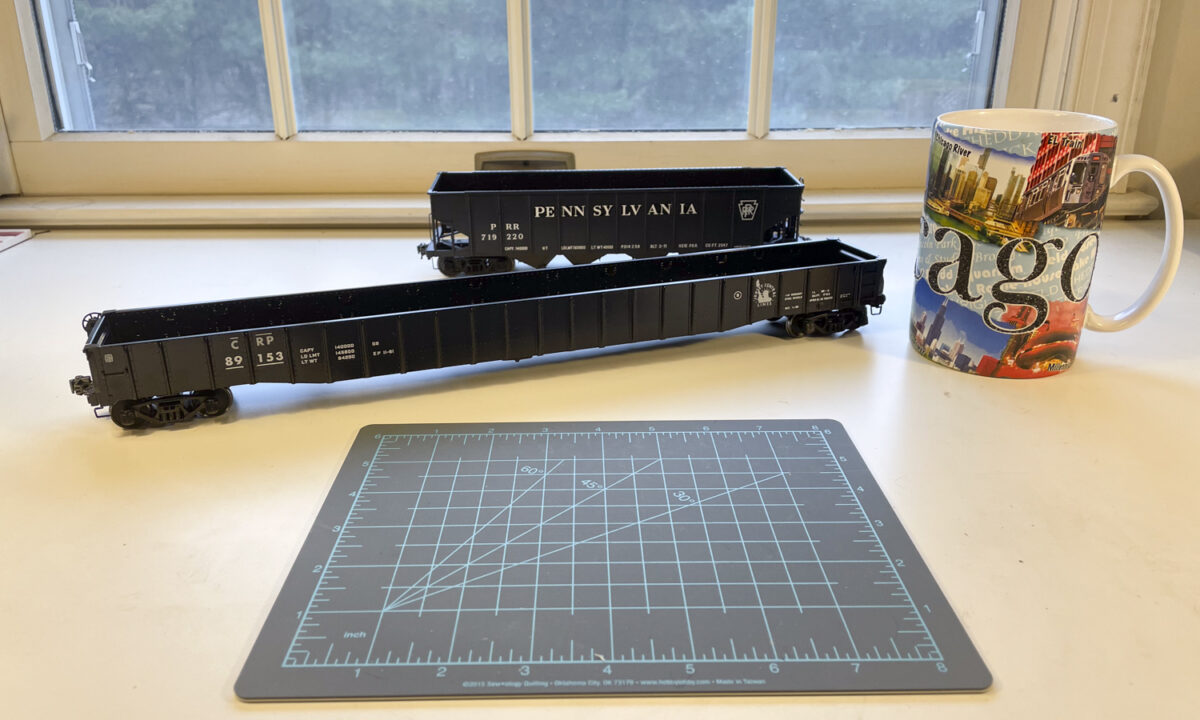
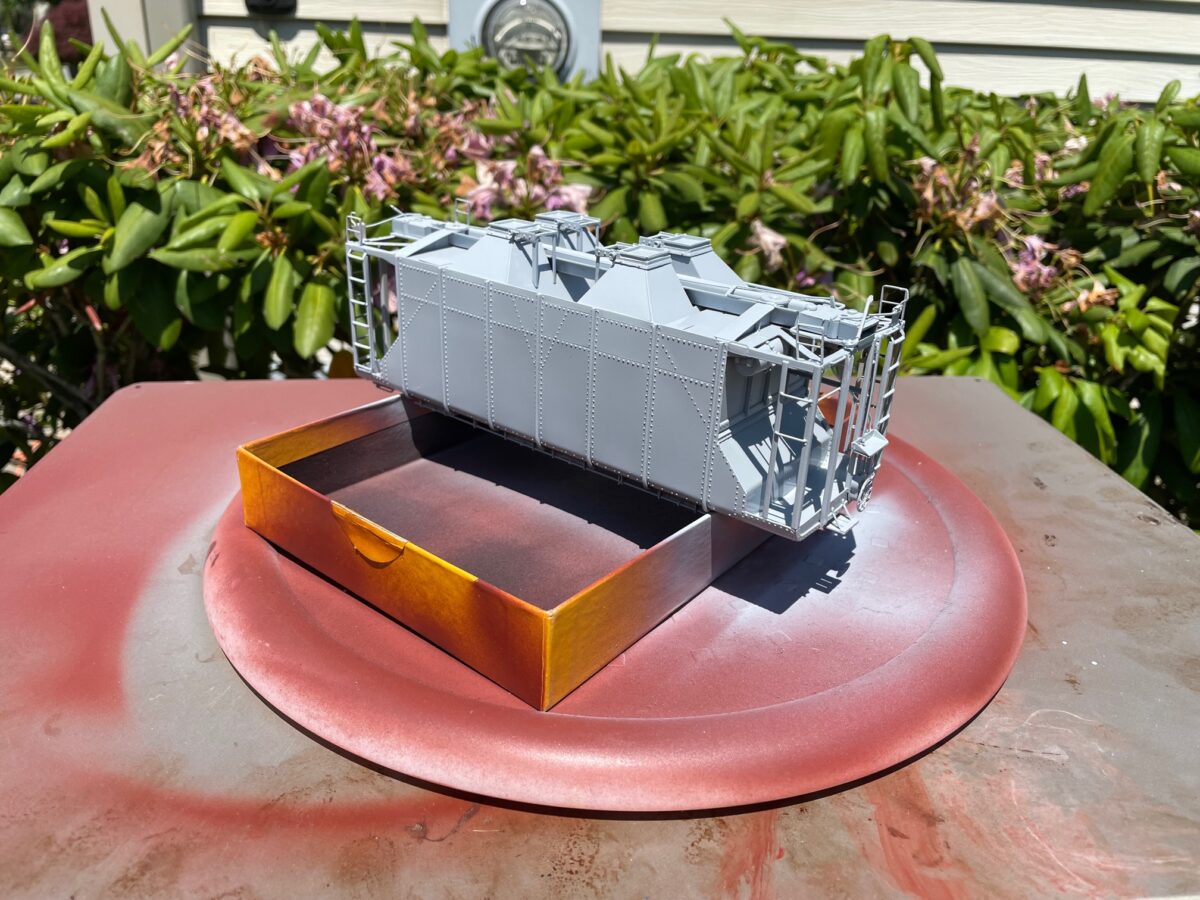
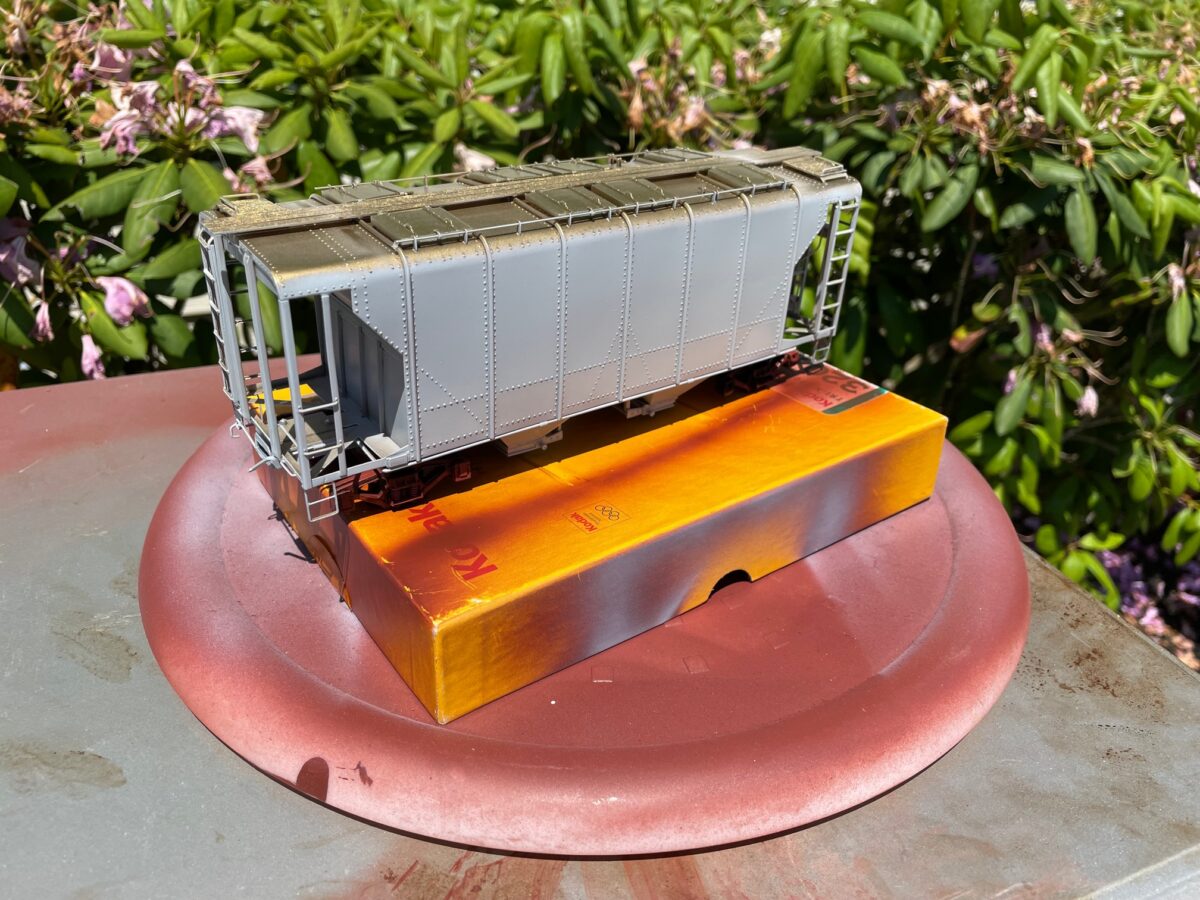
Here is the car with the trucks installed and the original wheels sitting on top. No they won’t be a load just forgot to take them off the car for the image.
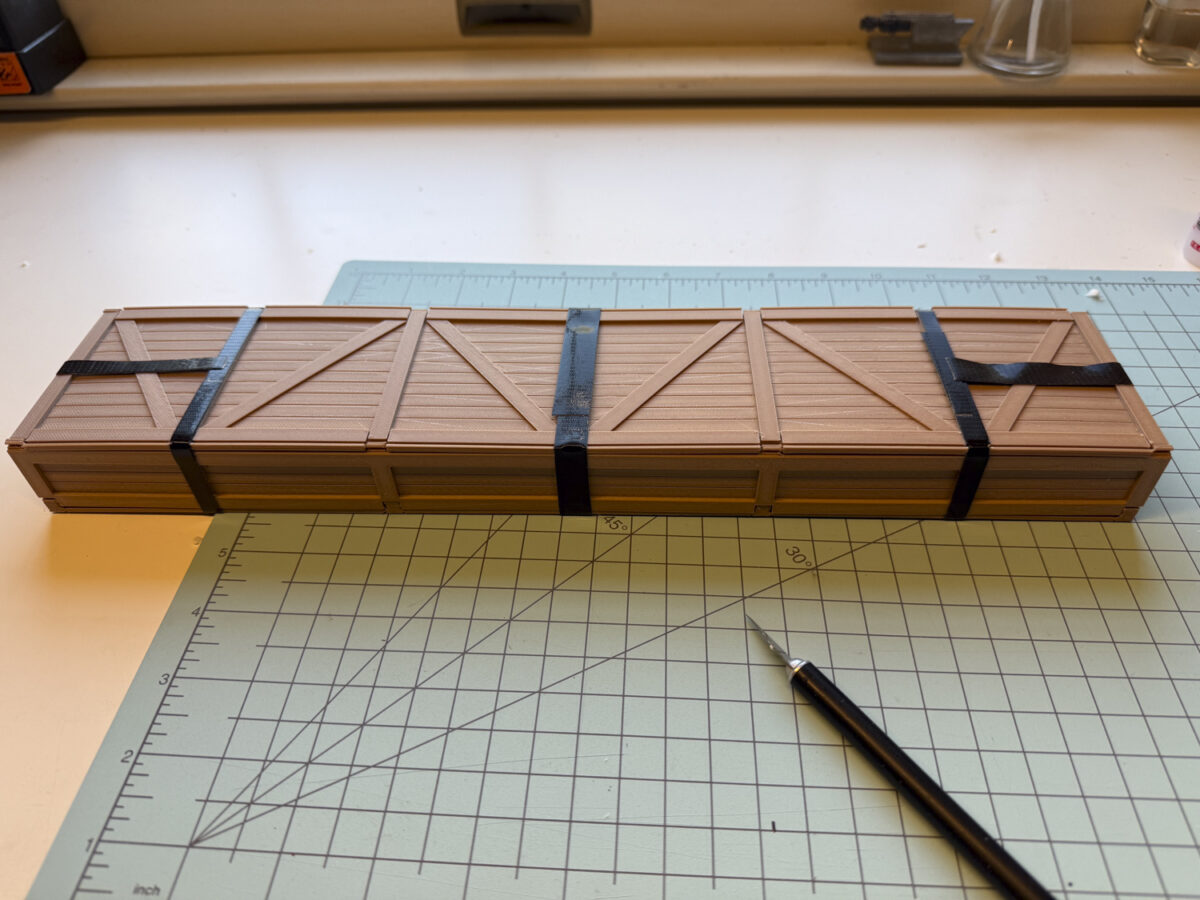
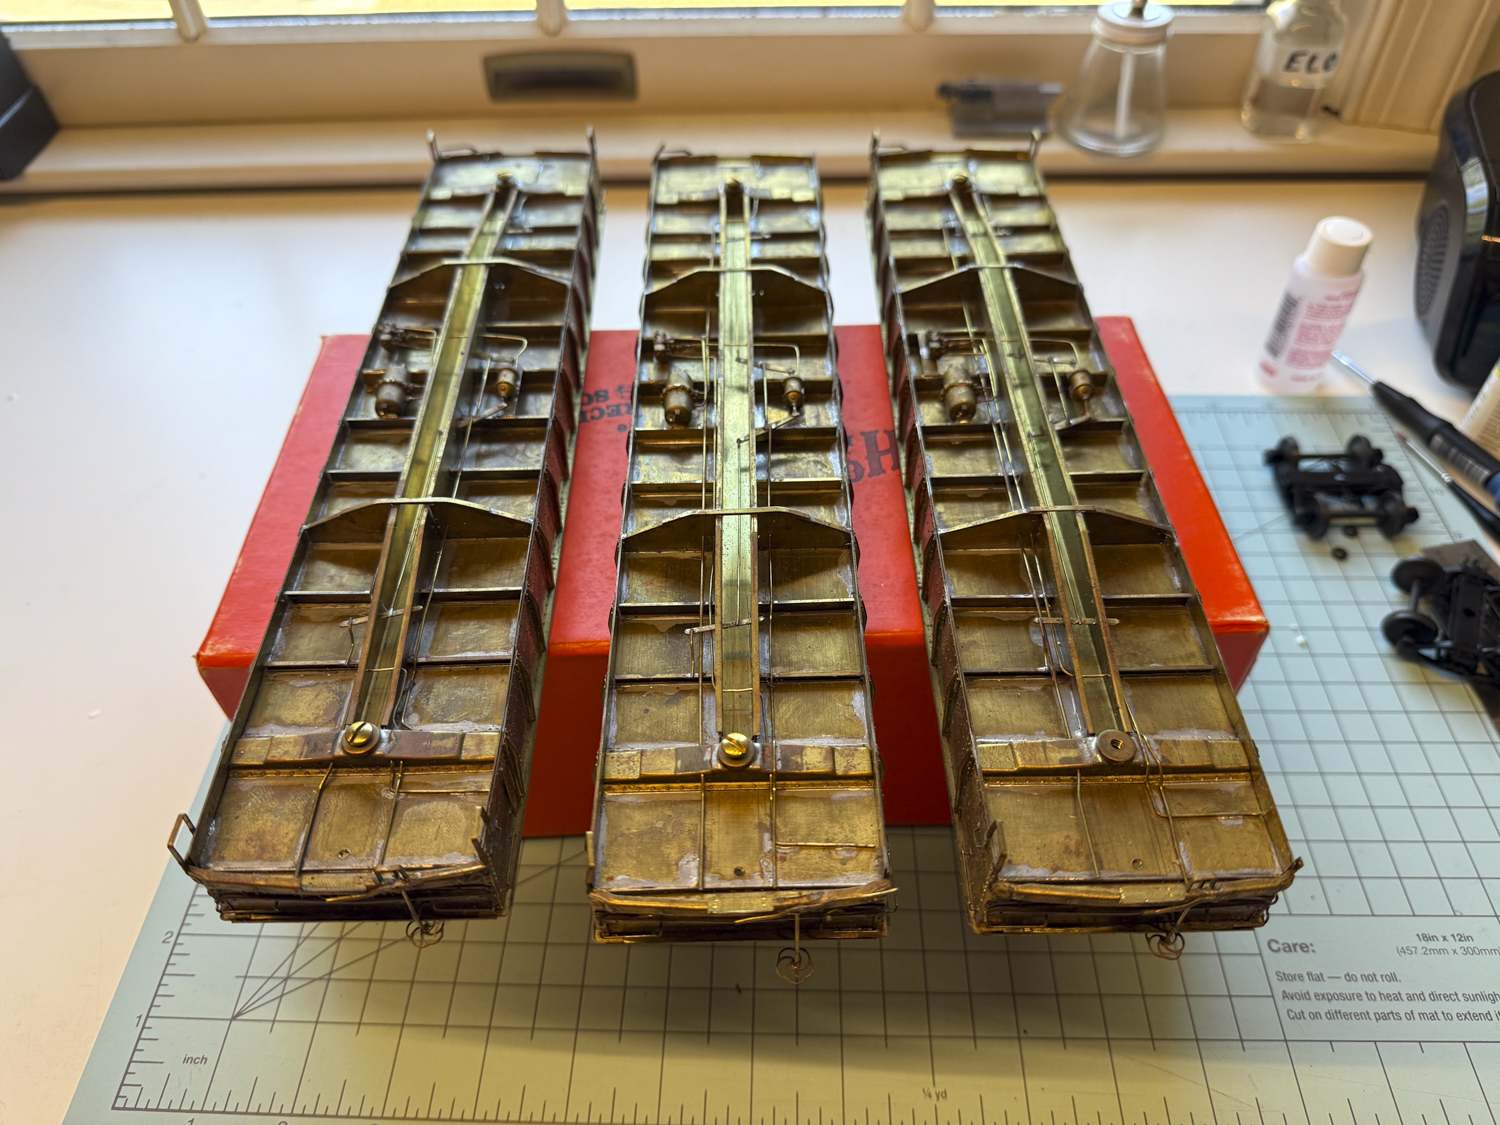
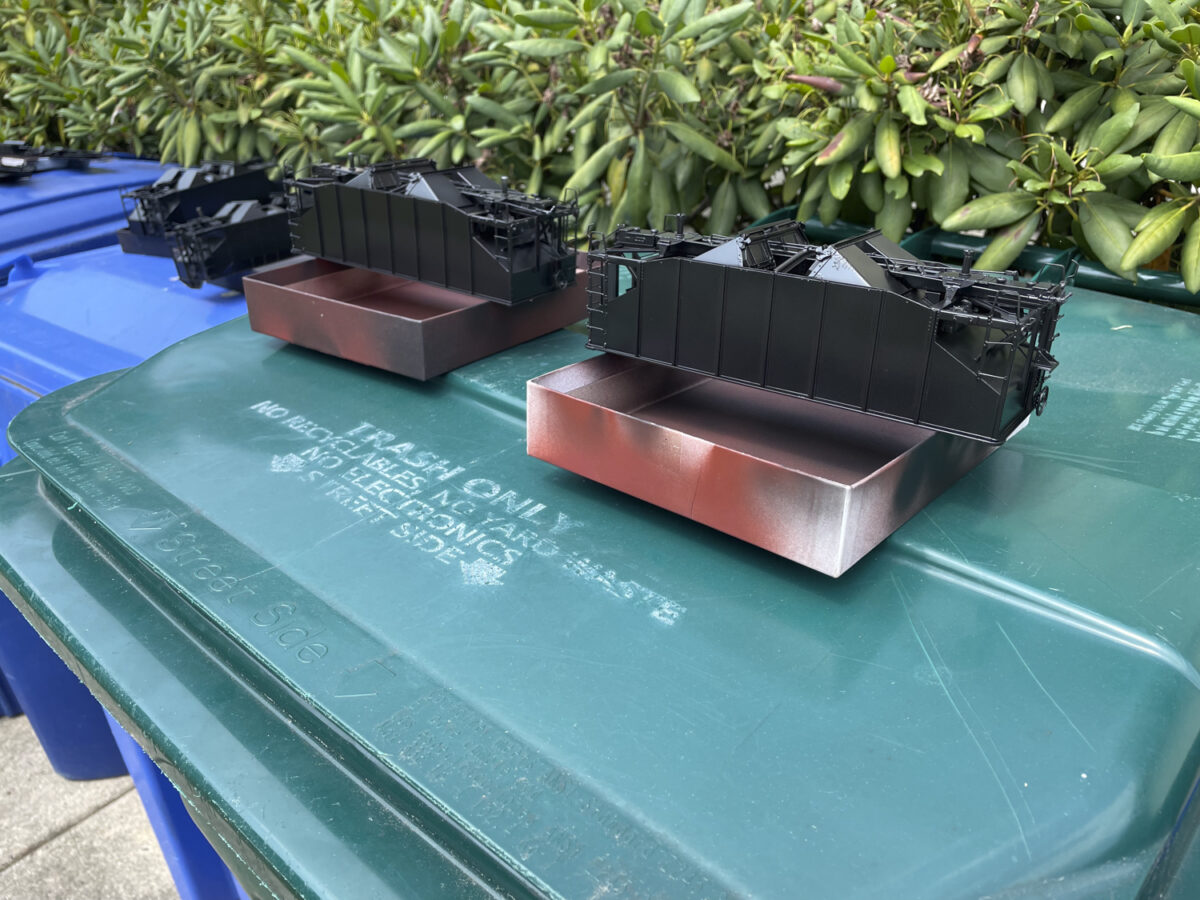
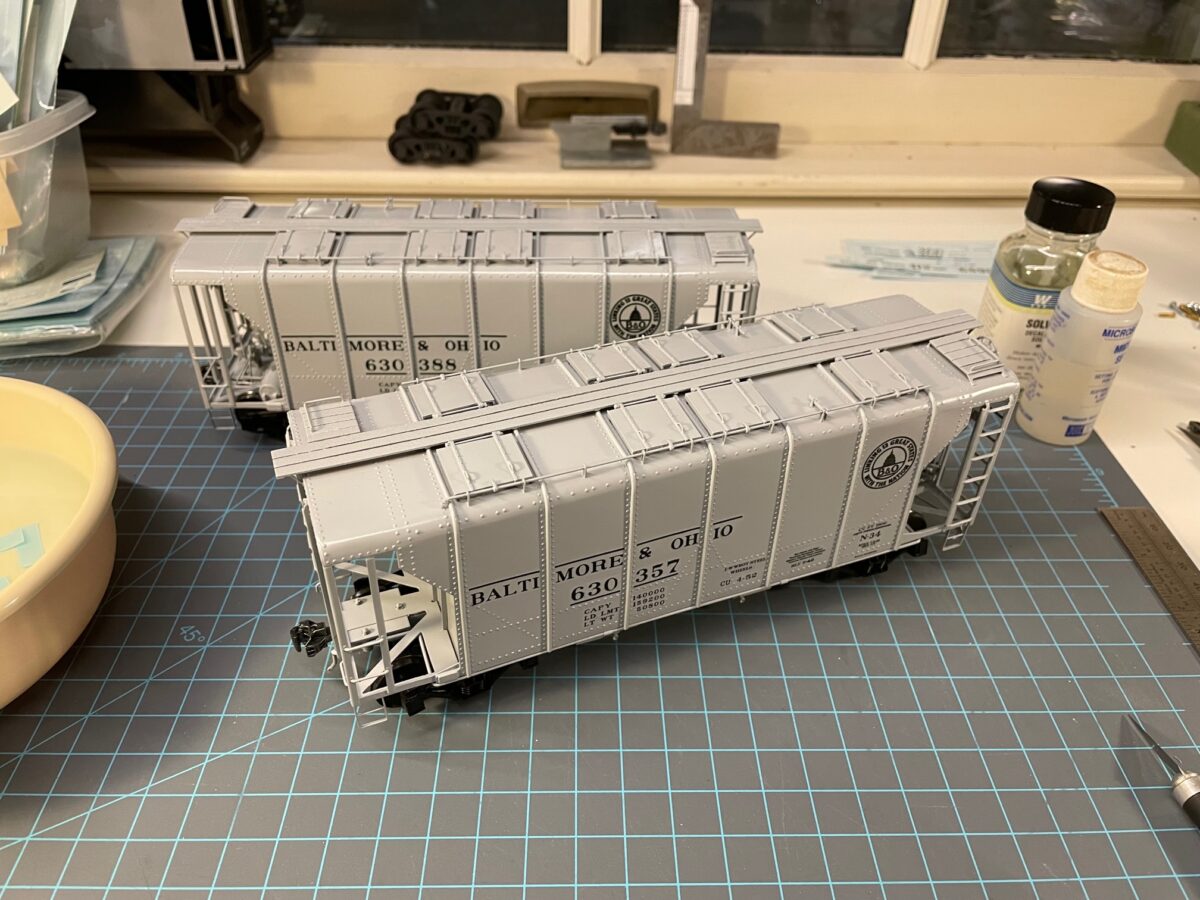
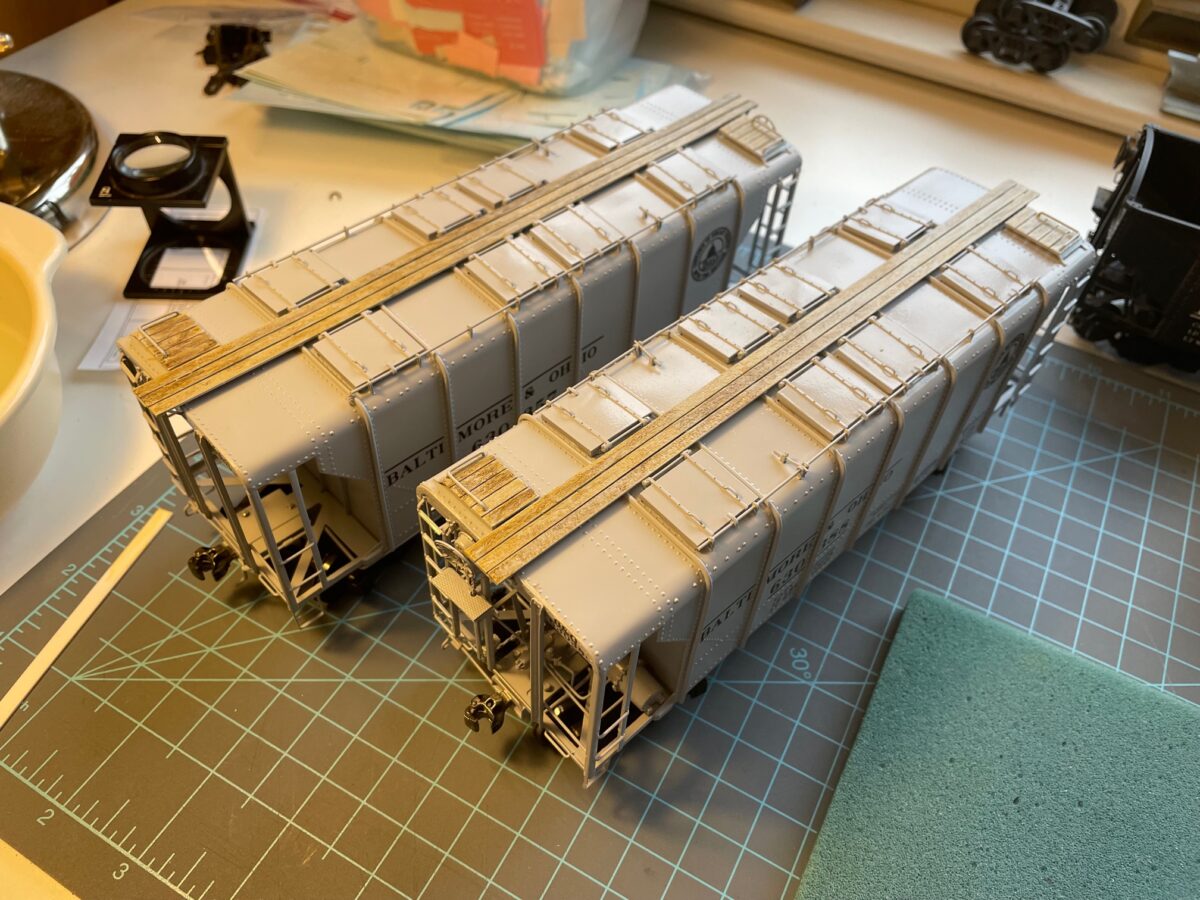
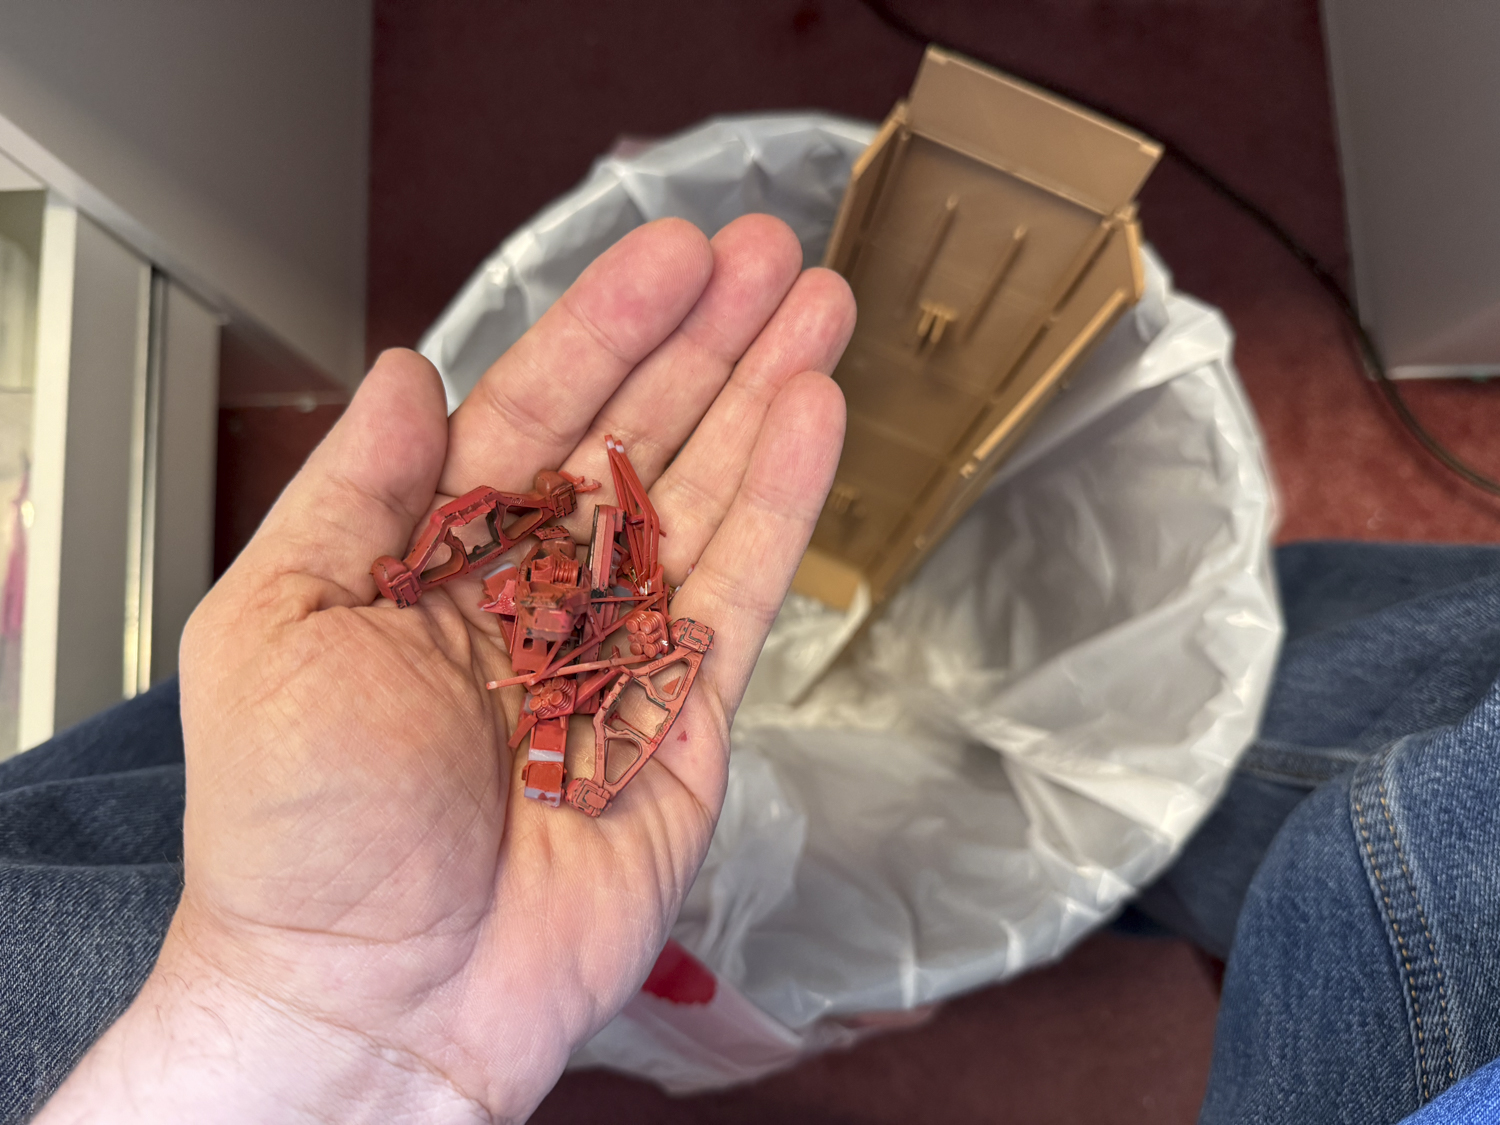
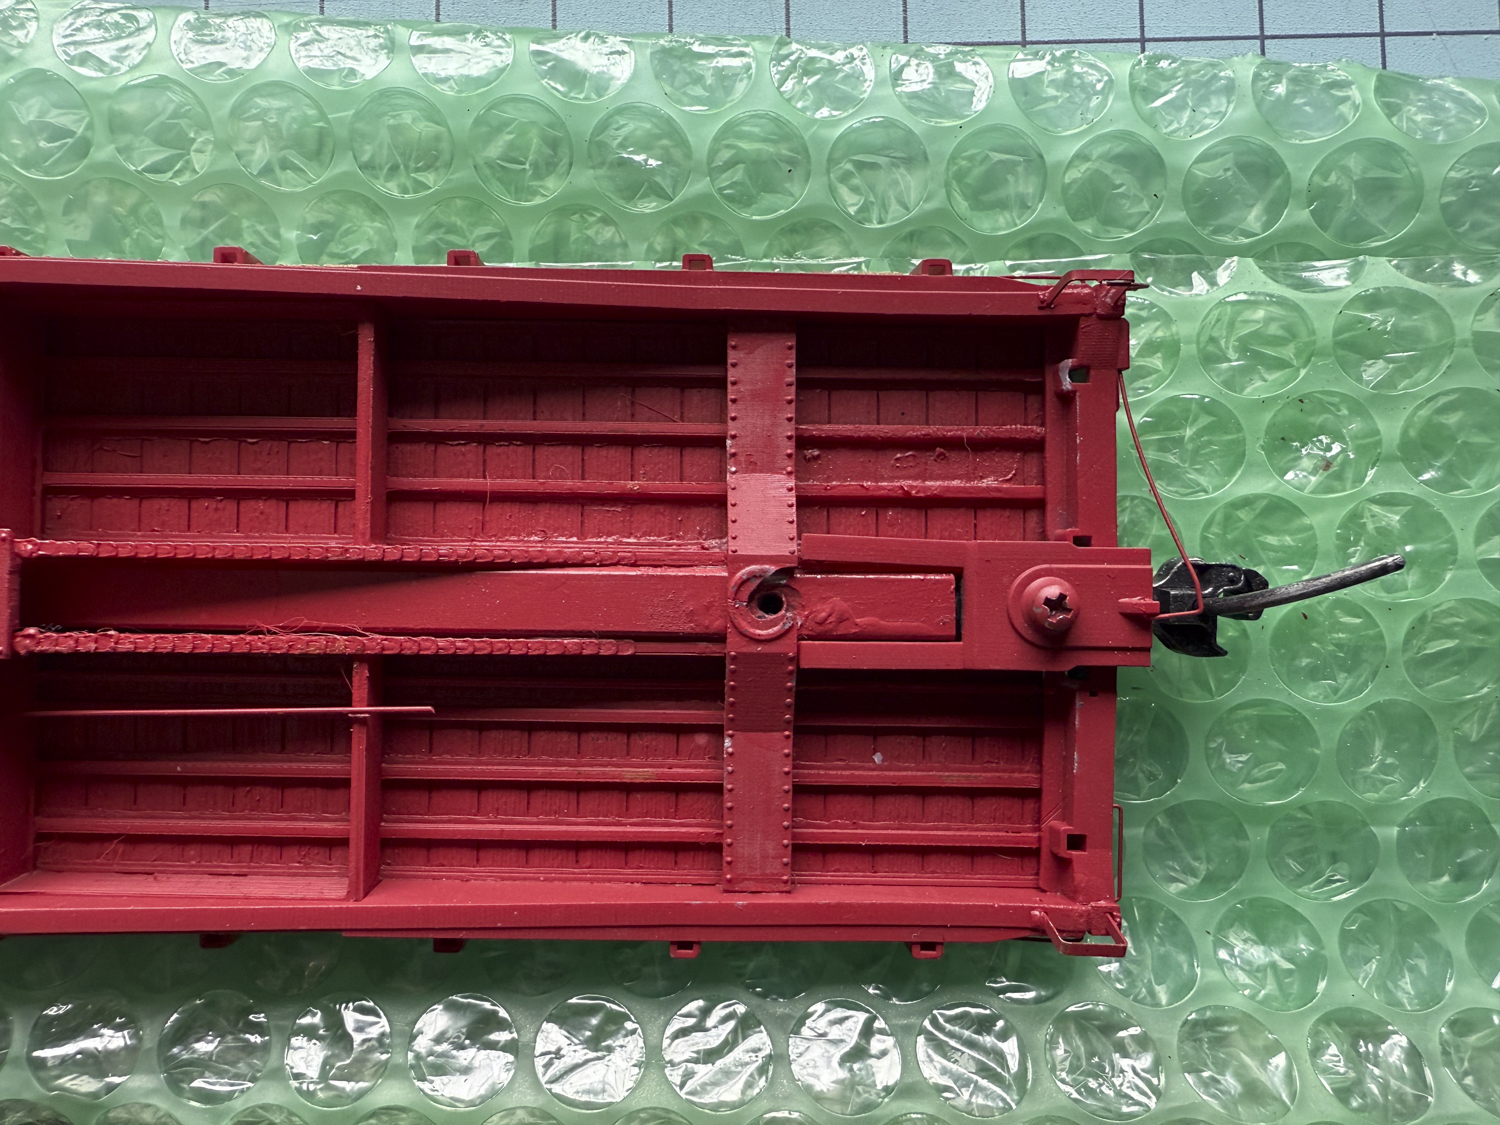
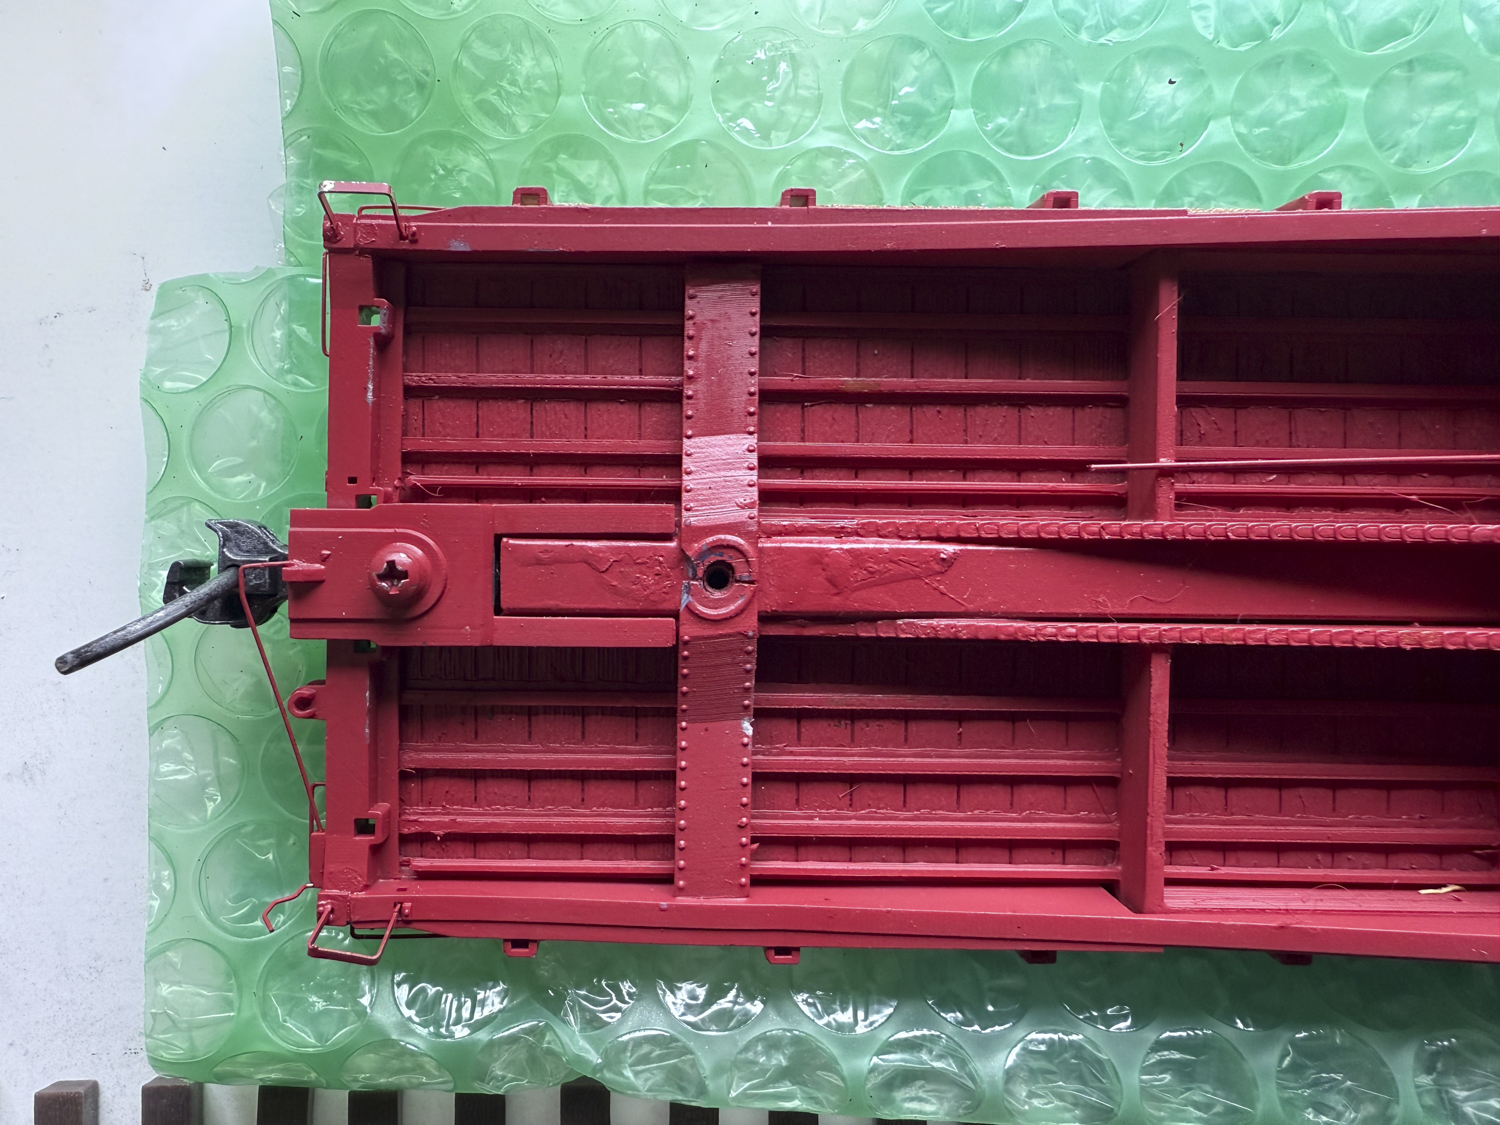
I’m not all that impressed with the car. Besides the trucks, I was disappointed with the deck on the car. Check out the edges of the deck in the next two photos.
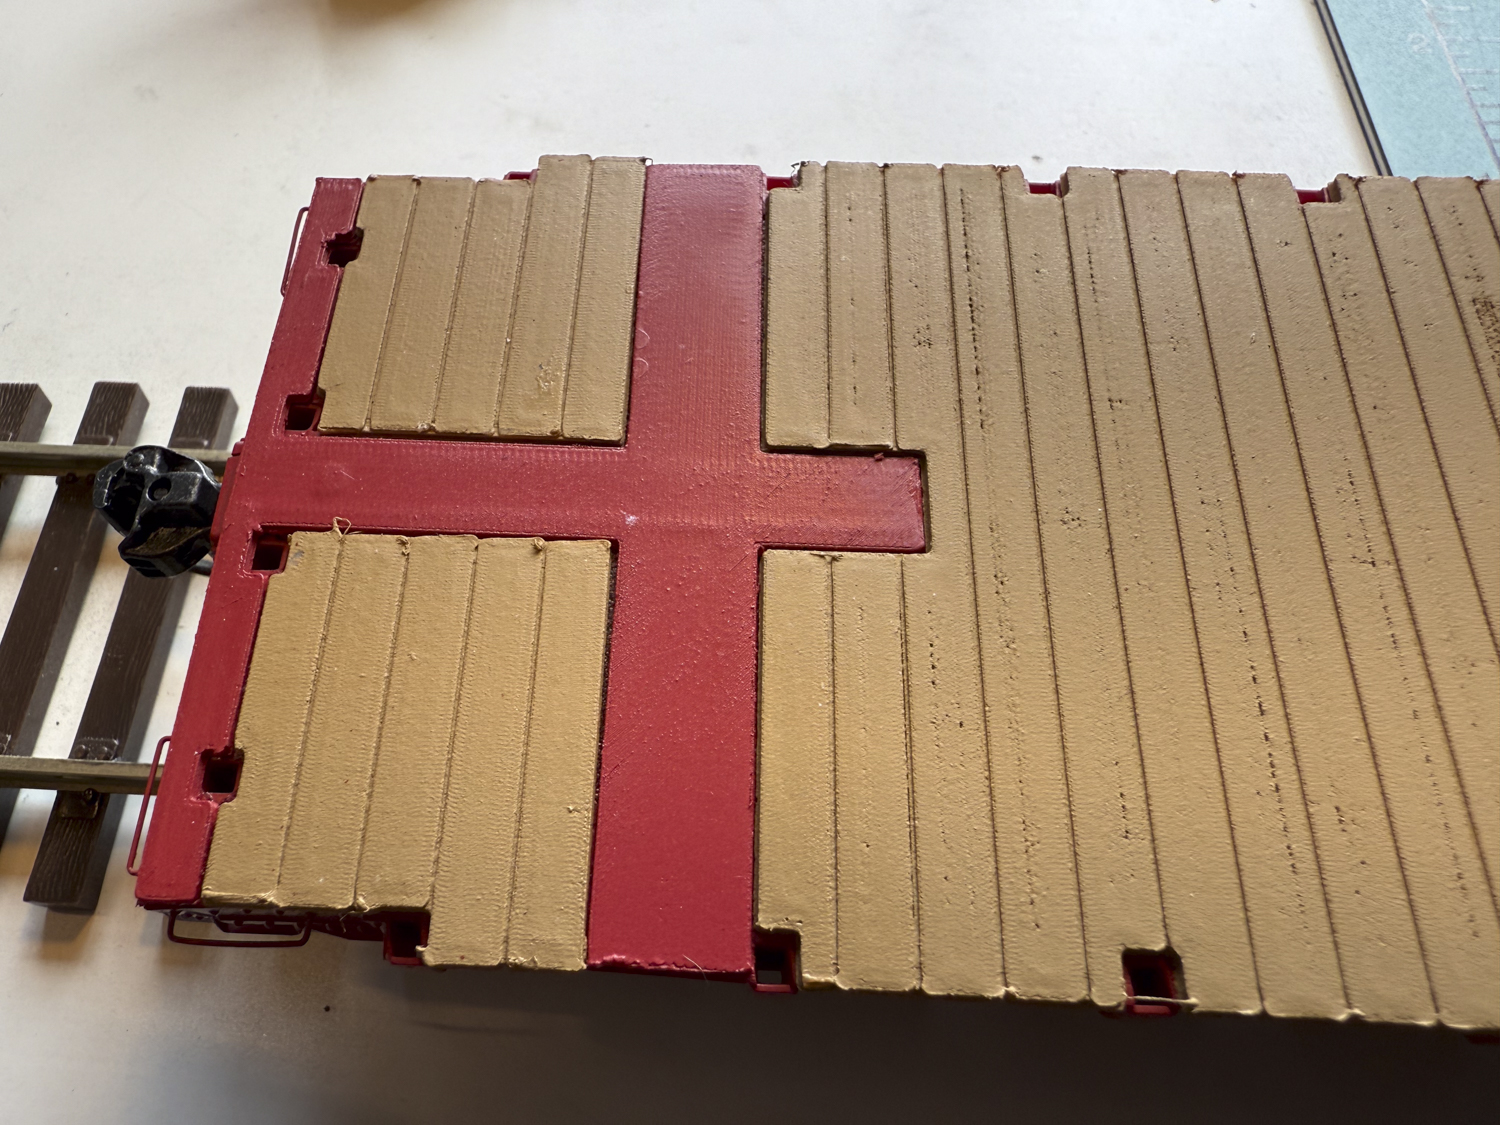
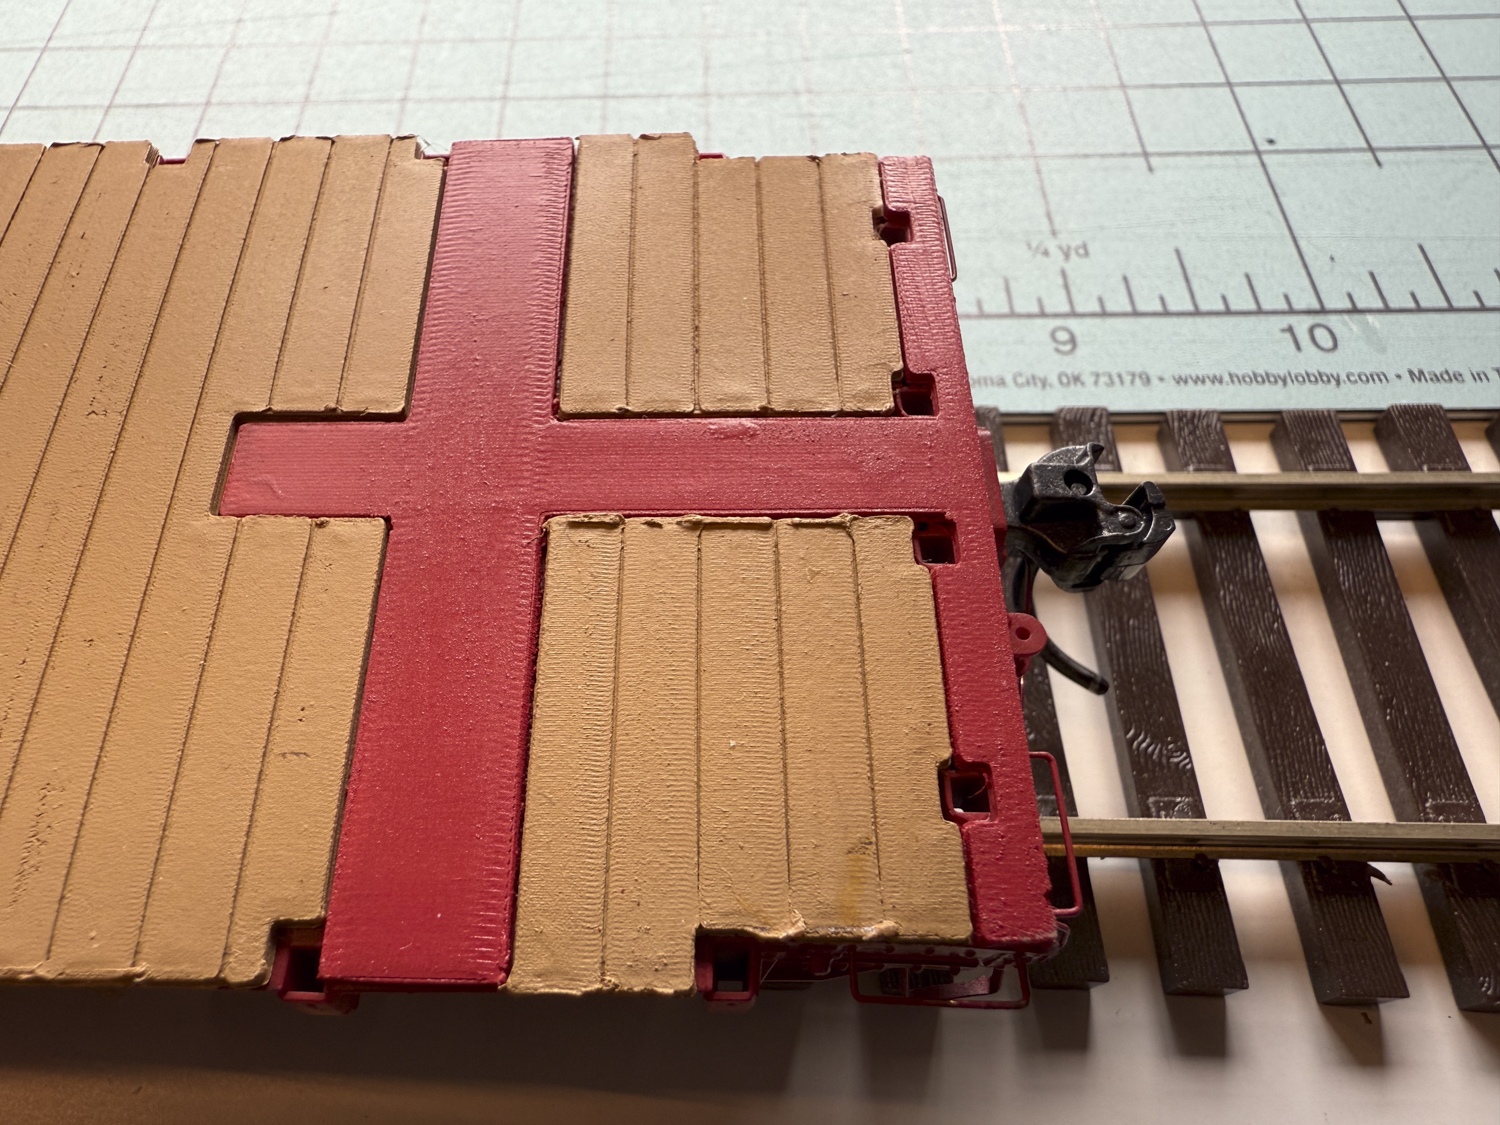
I wanted to try one, but I don’t think I’m happy with the car. I will never consider another model by this manufacture unless I could see the car in person first.
3D printing offers a lot of possibilities for the future of O Scale, but we will have to suffer through the maturing of the products and the manufacturer’s quality control standards. The quality of each car is a one-off for each print. Will manufactures reject parts that are not of a high quality or will they throw some paint on the car and call it good?
Who knows, maybe I’ll change out the trucks for a pair of Ow5 trucks and you will see it for sale on my table in Chicago next month.
One last thought. Even after changing out the trucks for metal trucks the car is drastically under weight. NMRA recommended practice should have the car weight at 18 oz. The car weight actually is 9.7 oz., 8.3 oz under weight. Looks like this car will need a permanent load added to the car.