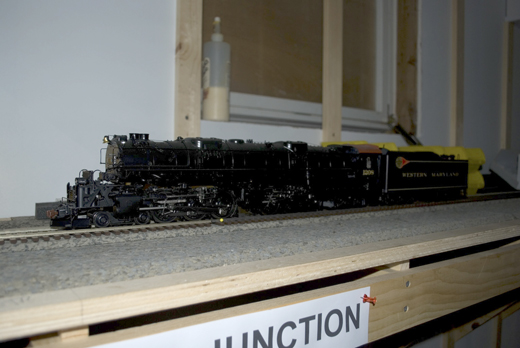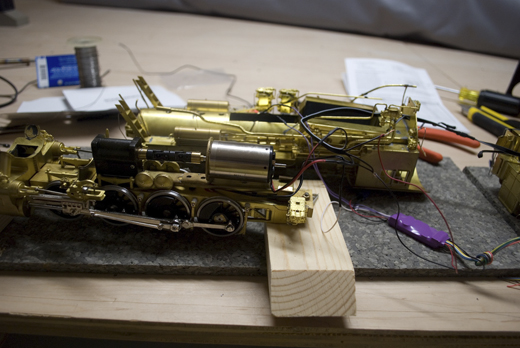
Gem PRR B6sb Tender

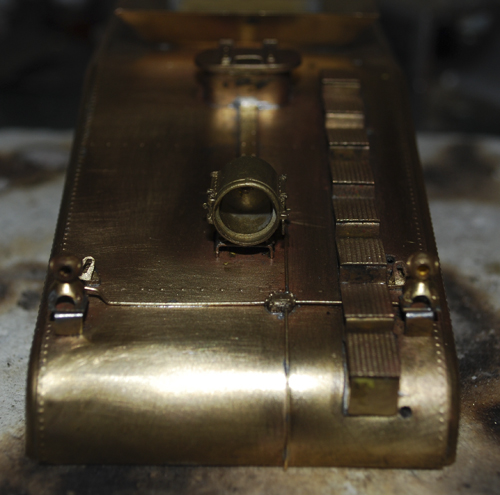
Rear View of Gem B6sb Tender

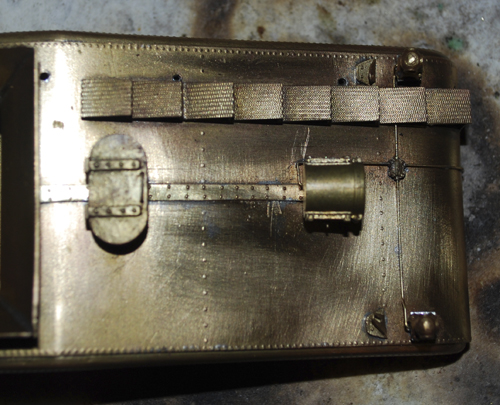
Top View of Gem B6sb Tender

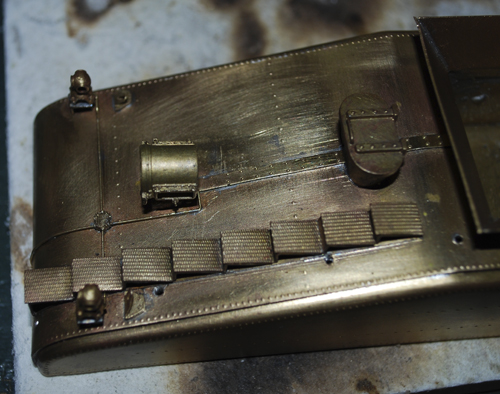
Side View of Gem B6sb Tender

Here is a quick look at what I have on my workbench. It’s a Gem PRR B6sb tender.

I started by removing the marker castings, handrails, and rear headlight.

I made up the missing rivet strip for the middle of the tender by punching rivets in a piece of sheet brass and cutting out the strip. This was not as easy as working with styrene, although similar it had a very different feel to the process. Once it was made, it was soldered in place. The rivet strip in the photo was actually my second attempt. The first one looked OK until I asked myself a question, “If this were a styrene model instead of brass would I keep it?” The answer was no, so out came the torch and off it went. It only added an extra half hour to make the new part and solder it in place and it was time well spent.

Next came the new markers from Precision Scale (PSC) . My friend Matt Forsyth suggested placing a small square of brass under the markers feet since they did not sit well on the Gem brackets. That worked out great. It was tough trying to hold them while soldering them in place they tended to want to walk, but I applied pressure from the top to try to minimize this movement and was able to get them soldered on.

I next added the lifting brackets and a new headlight from Trackside Specialties. The headlight bracket was a pain because of the tiny feet on the casting. I left the mold spur at the bottom of the casting and alloud it to go through the bottom of the headlight platform on the tender. This allowed another surface to be soldered and gave the whole assembly some added strength.

Tonight, I added the conduit for the markers and headlight. I formed brass wire for one side of the conduit based on photo of the rear of the tender. This was fed through the casting for the junction box. The second side had to be formed with the casting on the wire. after that was soldered in place the two vertical conduits were formed and soldered in place.

Still to go is the remake of the handrails for the back of the tender and a little more clean up on the coal bunker.

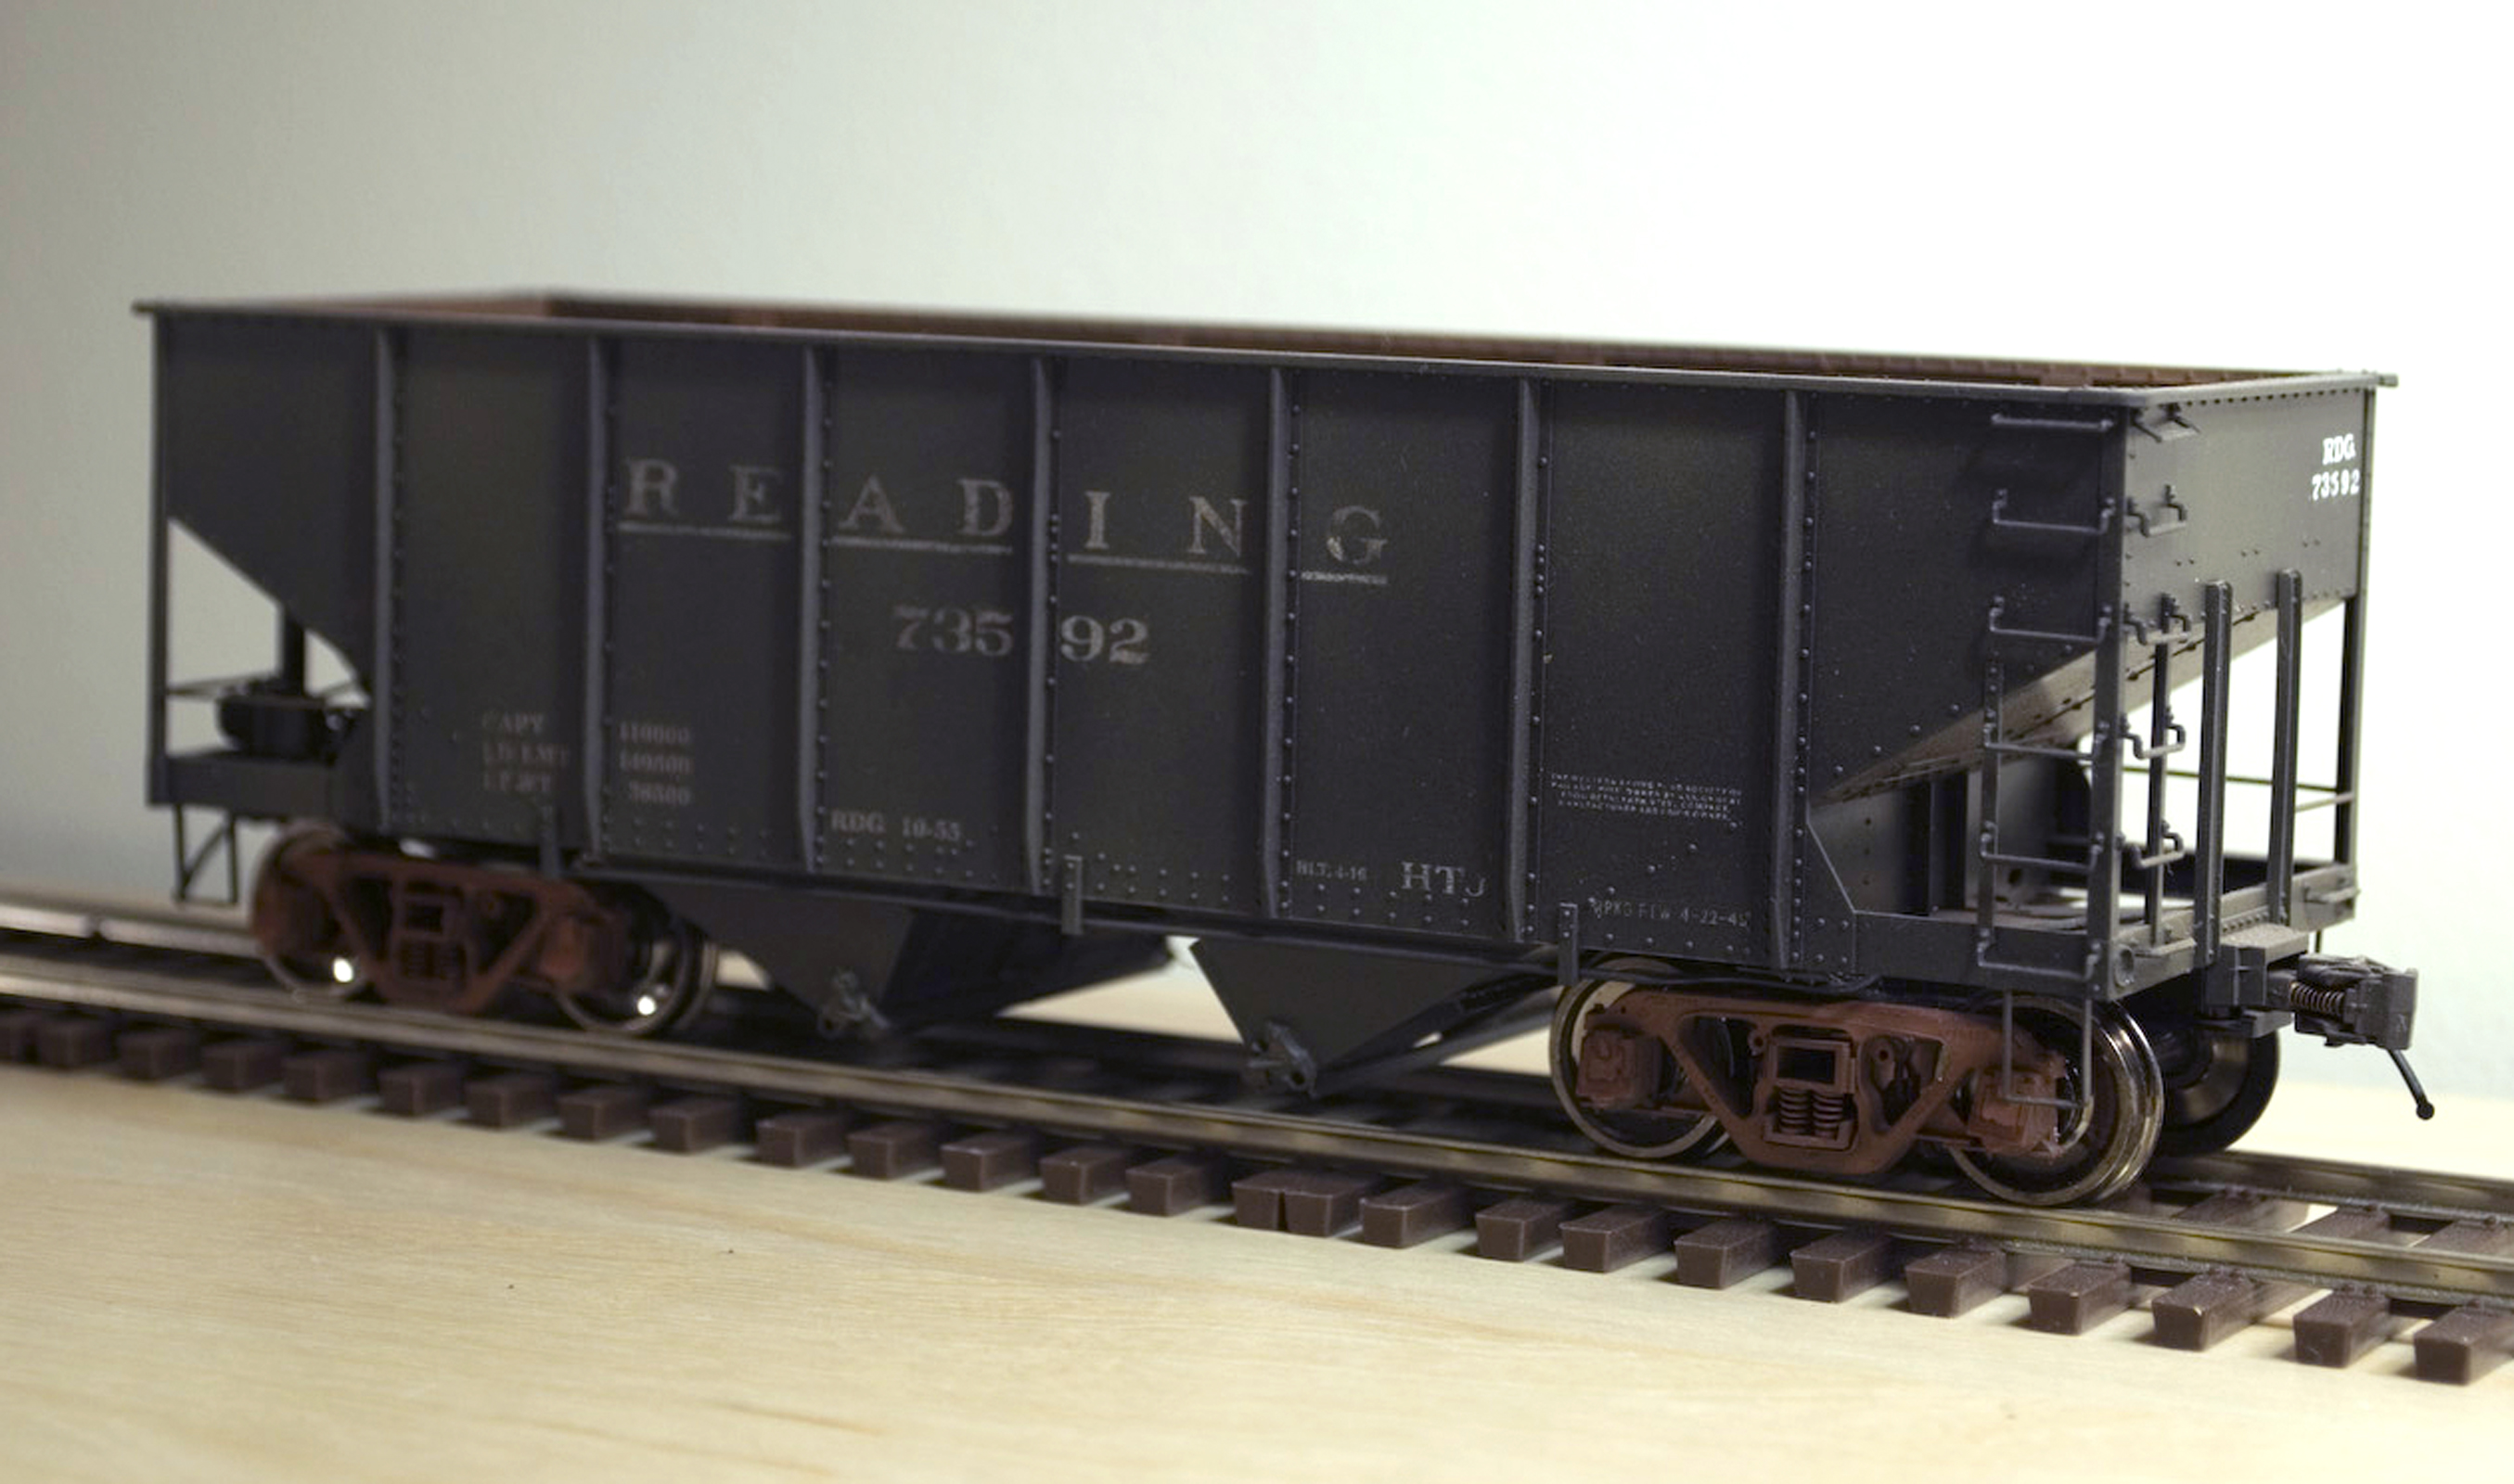
Model: Reading HTj 73592 (USRA Twin)

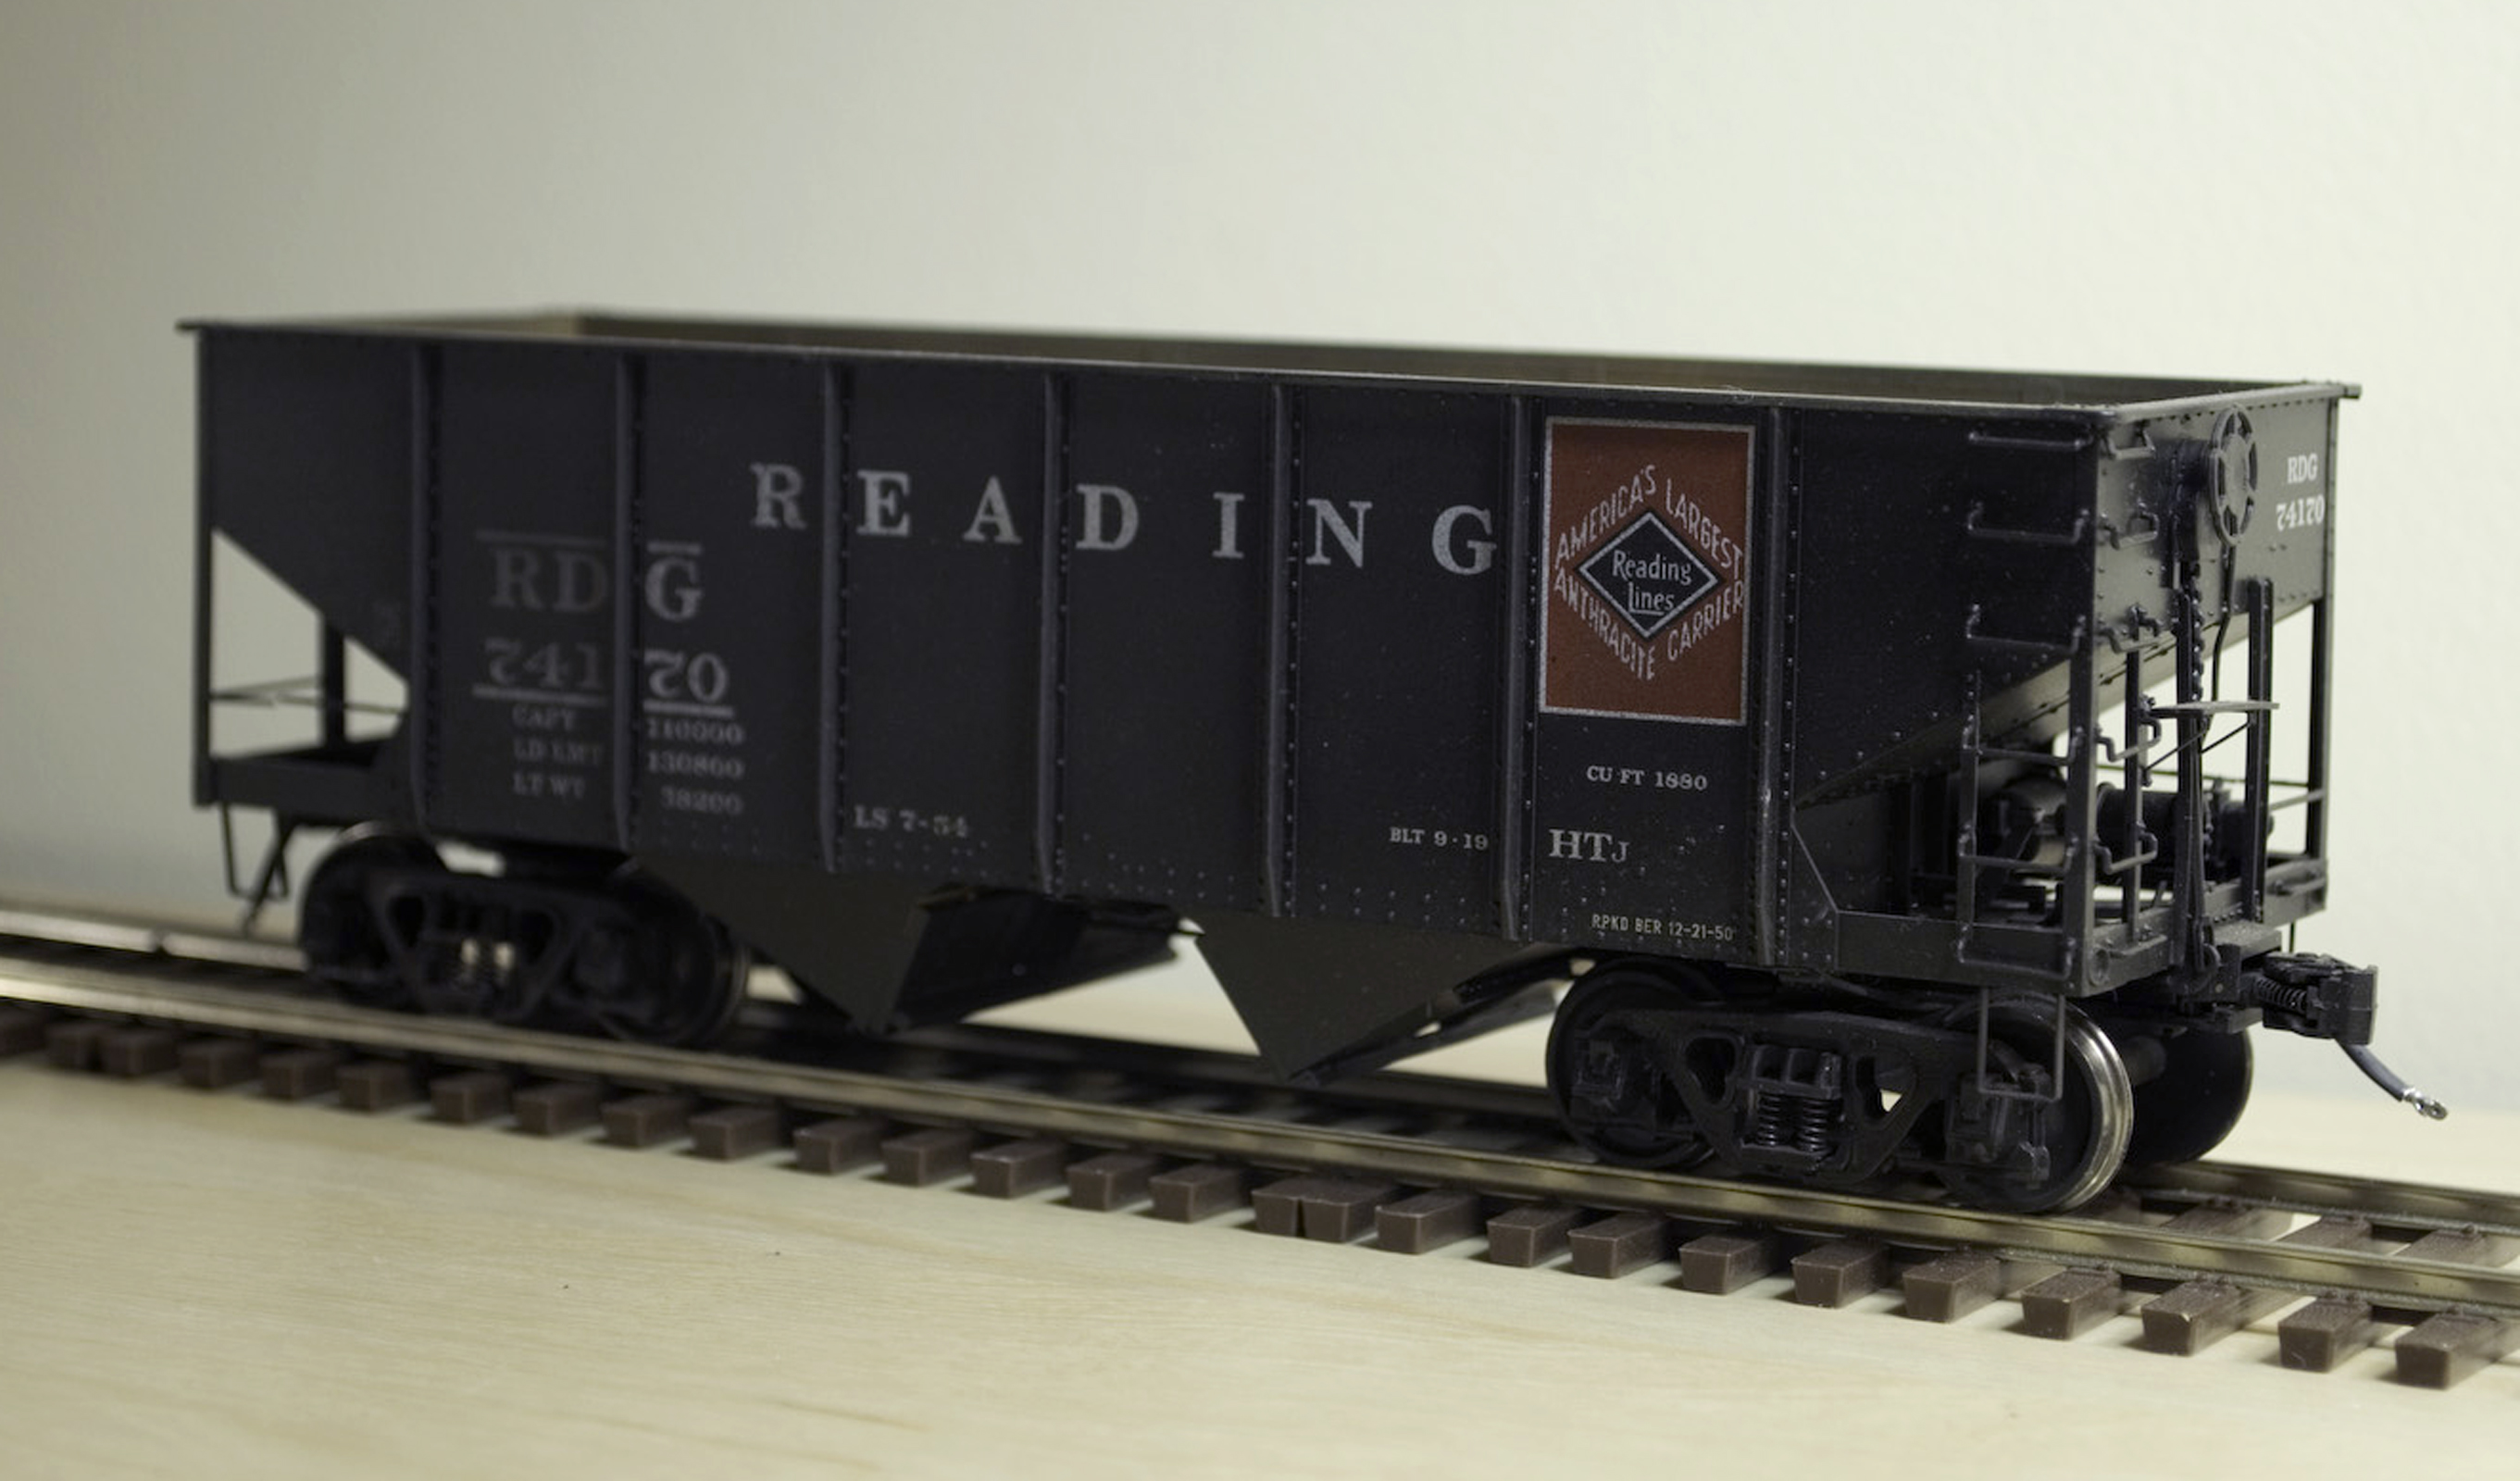
RDG HTj 74170 built from an Intermountain Kit

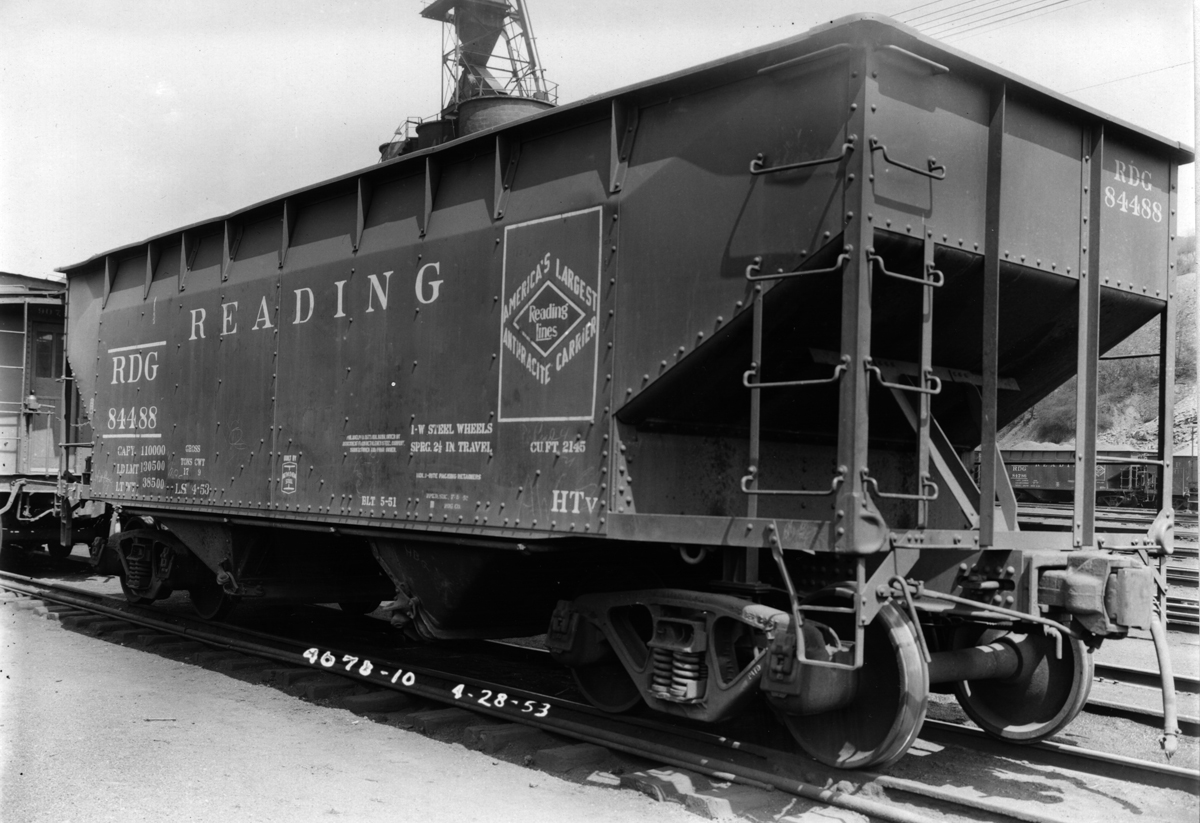
I started with an undecorated Intermountain USRA Twin Kit to build this Reading class HTj hopper. The lettering was pieced together from the Microscale #48-496 Reading Twin Hopper set. This model represents a car that was painted prior to WW2.

The Reading replaced the as delievered brake ratchet with a power hand brake and upgraded the car to AB brakes by the late thirties. Parts from an Intermountain Boxcar were used to make the changes.

This model is riding on San Juan 50 ton Andrews trucks with PSC wheelsets. They still need to be painted.

Model: Reading HTj 74170 (USRA Twin)

RDG HTj 74170

The Intermountain Kit was used to build this Reading class HTj USRA Twin. The factory lettering was the basis for this model with additional lettering coming from the Microscale #48-496 Reading Twin Hopper set.

The Reading replaced the as delievered brake ratchet with a power hand brake by the late thirties. Parts from an Intermountain Boxcar were used to make the changes. The Kit was built to represent a car that had been upgraded to AB Brakes.

This model is riding on Athern Andrews trucks with Intermountain wheelsets. While this does make an nice rolling truck it will be changed out to the San Juan 50 ton Andrews like it had when it was a Proto48 model.

Hidding in the Background

PRR B6sb 721 in Camden 1953

Here is a nice photograph of PRR 721 switching in Camden, NJ in 1953. The Campbell Soup Building is in the background with it’s signature soup can water towers.

Also in the background is a PRR H21a, just a normal run-of-the-mill H21a, only it’s not. If you look closely you can see that the car has been spot re-painted. This was one of the cars that were leased to the N&W and now has returned to the PRR.

This Photo was also published in the Morning Sun Book – Pennsy Steam Years 1

Layout Visit: Pat Mitchel, 2009 O Scale National

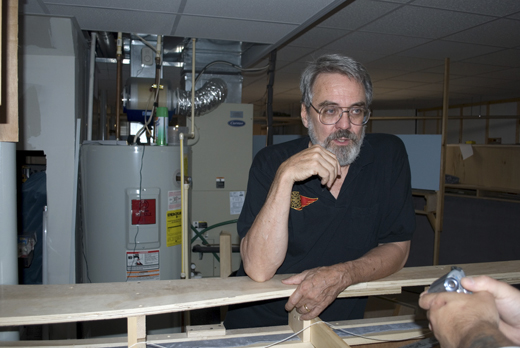
Pat Mitchell

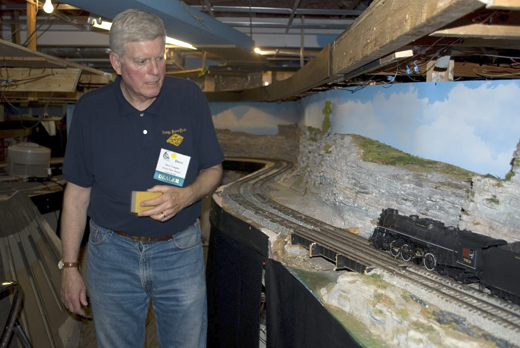
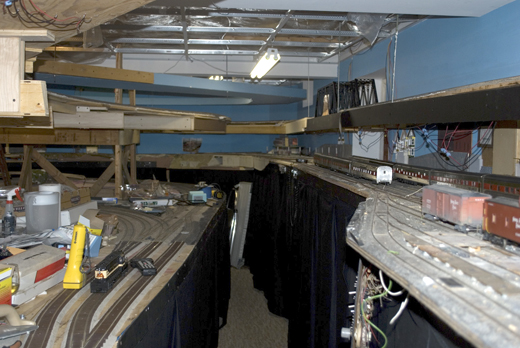
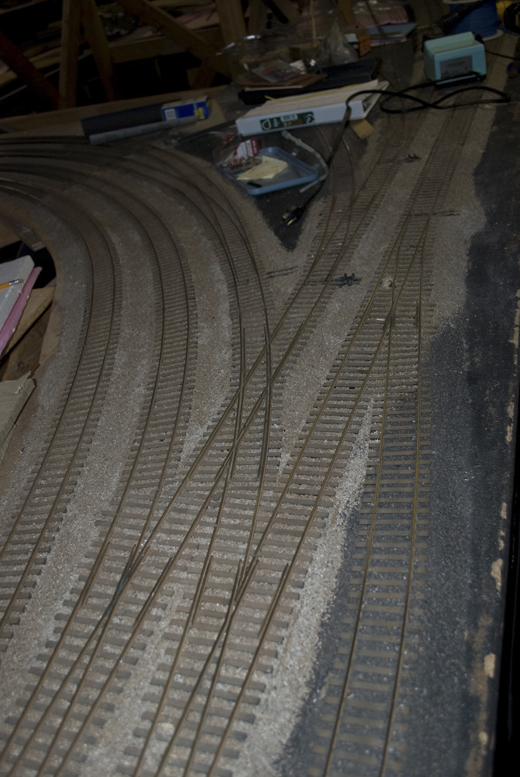
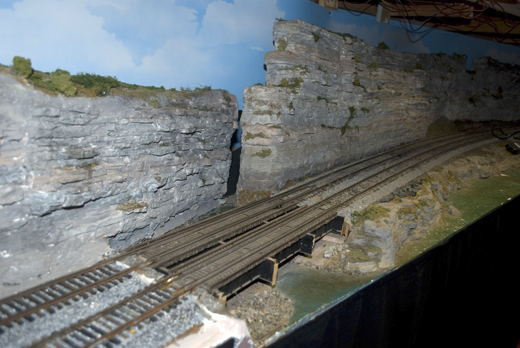
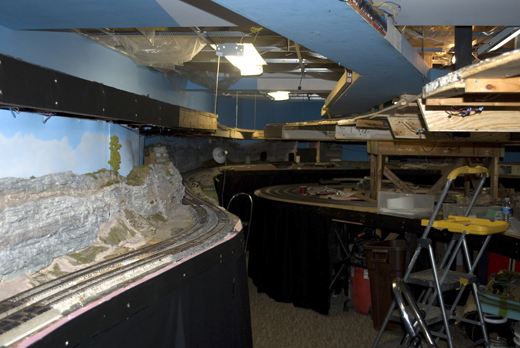
As I was leaving the National, I went to visit Pat Mitchel’s layout. While only in the beginning bench work stage, it still out-did many layouts I’ve seen and left me questioning things that I had decided against for my own railroad.

Pat designed his layout using a 3D PlanIt (a model railroad based CAD program). He had the sub-roadbed cut by a local business on a CNC machine using the drawing he made with 3D PlanIt. Chris Smith had spoken about this approach the day before as he had his sub-roadbed cut the same way.

The layout is influenced by John Armstrong, but is not nearly as crowded as most of his design followers. Only a small portion of the railroad had track laid. Pat did operate a locomotive through the room for us. Including using his “elevator” to raise an entire length of train from one level to the another.

There are no feeder wires attached to his rails as there is no power going through them. His locomotives carry their own power in battery pack and receive their commands through the air using the Airwire system. I have to admit to reading everything I could find in the weeks after the National about Airwire. I was very impressed, and when the batteries get a little smaller I think it will become the standard for Command Control.

Pat was a great host answering questions and talking about what he had done so far. This was one of the layouts I wanted to see and I was very impressed even in its beginning stages.

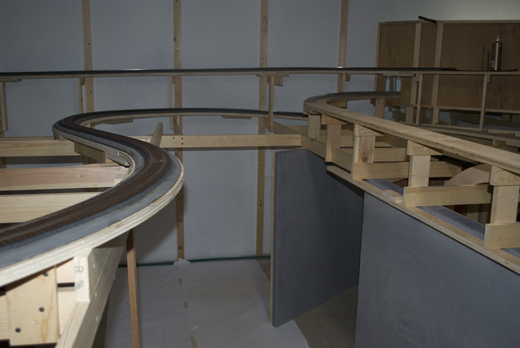
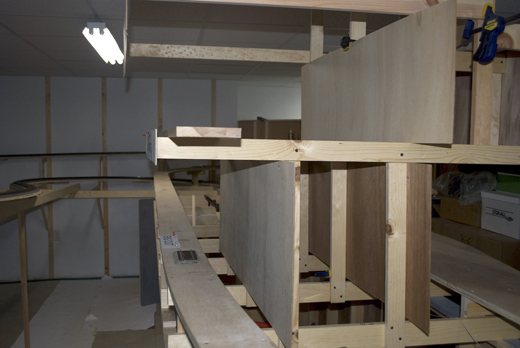
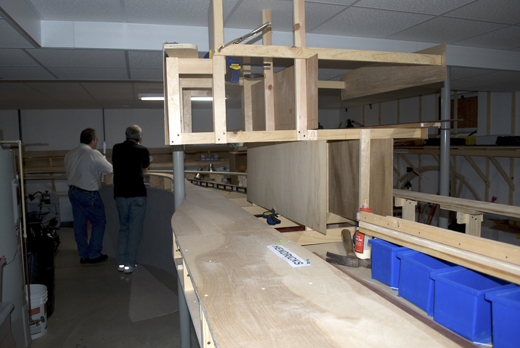
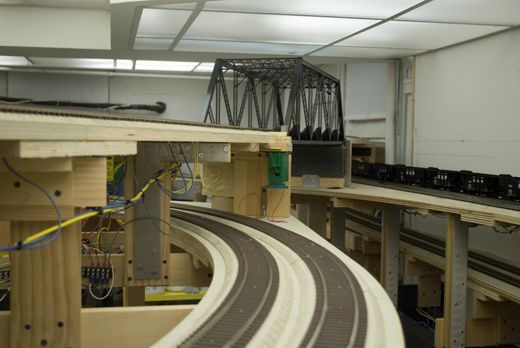
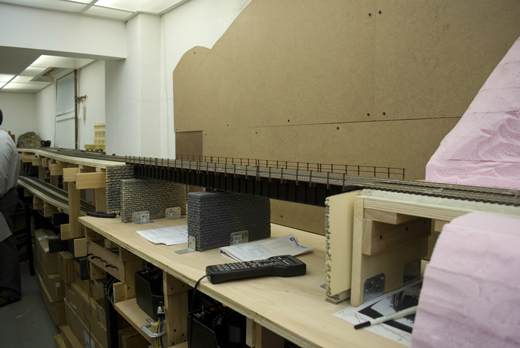
Some of the Benchwork

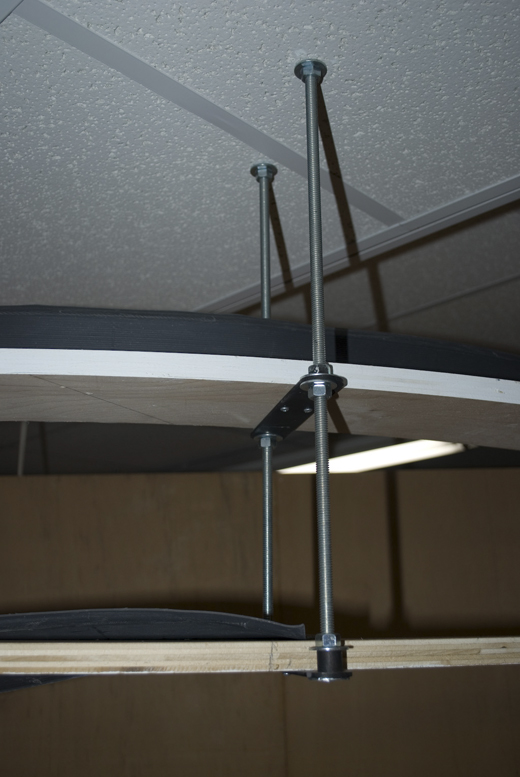
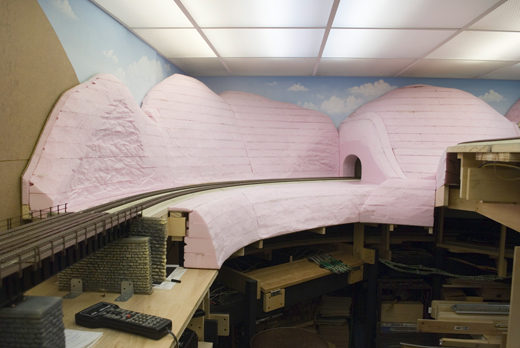
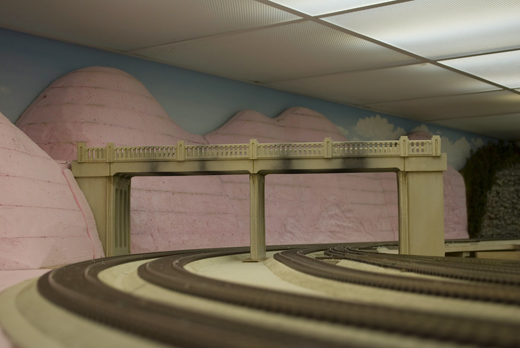
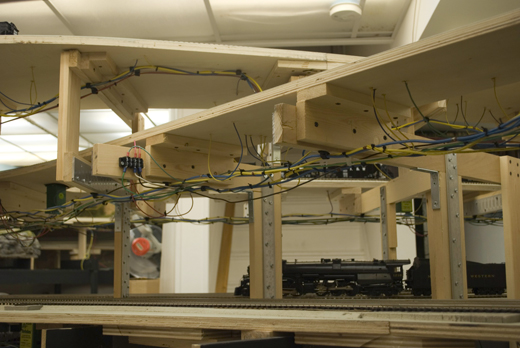
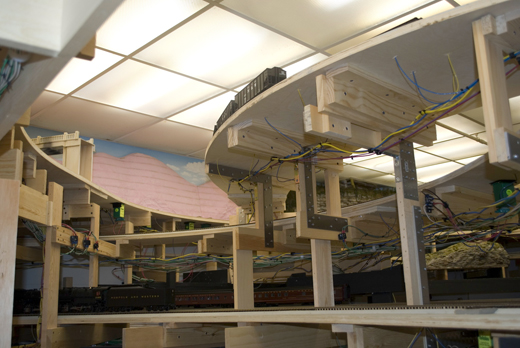
The benchwork that caused me to re-think the number of levels that are possible with O scale.

Pat discussing the layout with Matt

One of Pat’s models equipped with an AirWire system

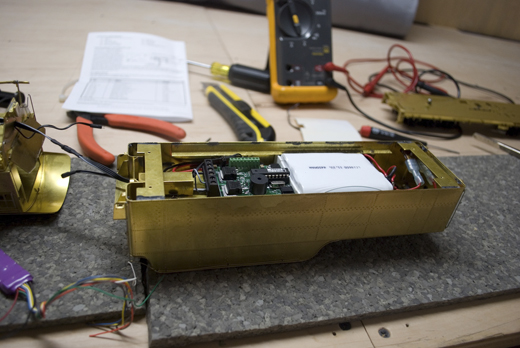
One of Pat’s models showing the installation of a new motor and sound system.

The electronics in the tender. The white thing is the battery.

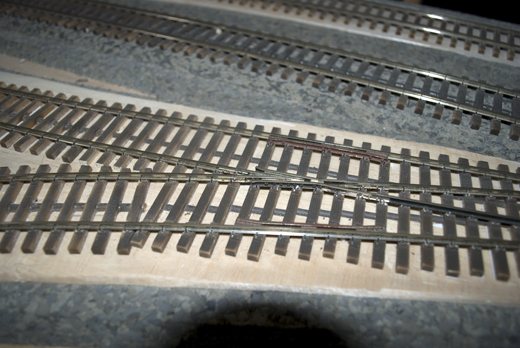
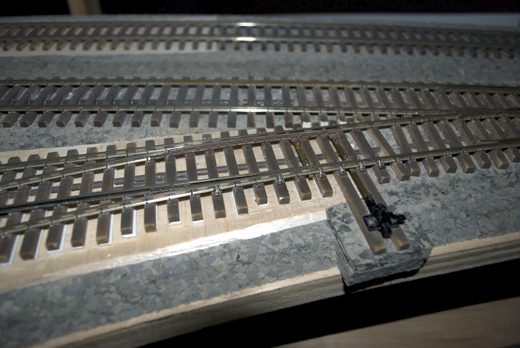
One of Pat’s beautiful Proto48 turnouts.

Close up of the points.

Everywhere you looked there were nicely built solutions to common problems.

Chris Smith

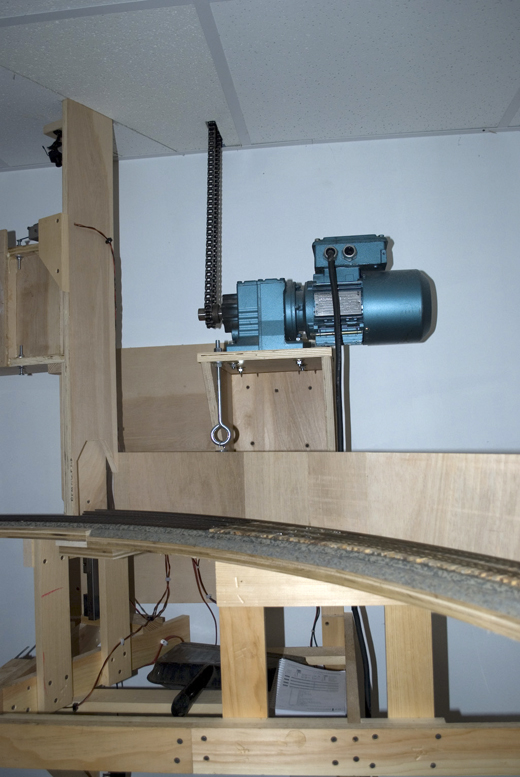
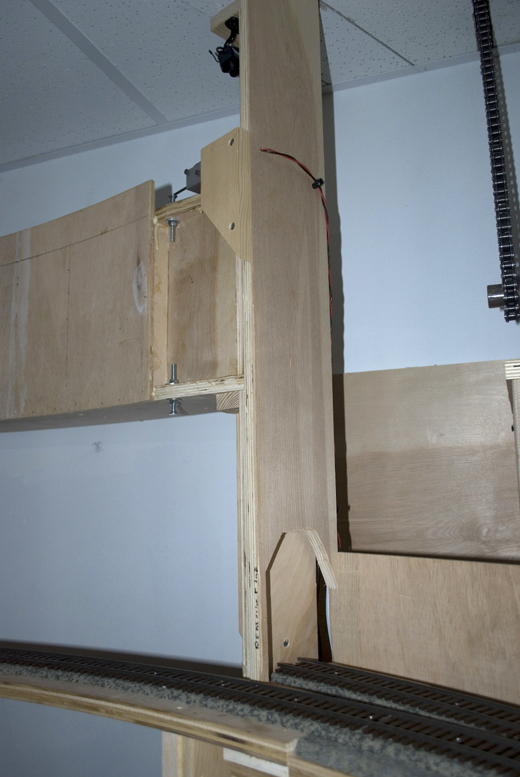
The elevator

The elevator in the “Up” position.

Layout Visit: Chris Smith, 2009 O Scale National

On the second night of the National, we went to visit Chris Smith’s layout. While only a small portion of the layout had scenery, you could see the passion Chris has for building scenery. The layout is based on a John Armstrong design. It winds and twists it way up through three levels of railroad, moving a lot of open hoppers up and down the railroad.

While we were there we saw a beautiful pair of Kohs Y6b’s pulling a nice open hopper train filled with a bunch of Rich Yoder’s hoppers. Turns out an MTH locomotive had to be put into service later that night when the Kohs engine had some trouble. The MTH locomotive was impressive in it performance. Overall the layout was nicely built and ran very well. Based on the scenery in place and how well the railroad operated, this is going to be a must see layout for the region.

Chris was a great host answering question well past the end time for the open house. This was one of the layouts I wanted to see and I was even more impressed than I thought I might be.

Chris Smith

Chris Smith

A Kohs Y6b waiting in front of the tunnel portal

Chris Smith

Chris’ rather nice brackets

Using one of two Atlas bridges for a duckunder

Chris Smith

The upper yard with Chris in the background

Chris’ art

Chris Smith

You can tell what he has a passion for

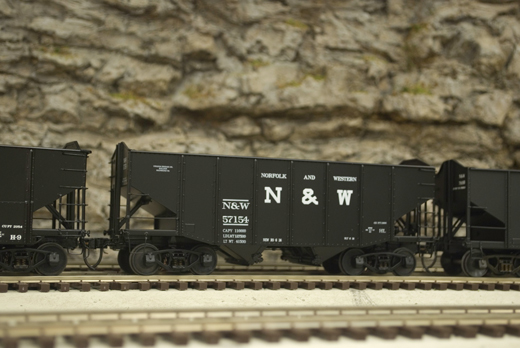
You have to like a nice string of open hoppers.

Chris Smith

Another nice brass piece sitting in the upper yard.

another nice model

Chris Smith

The before part of the corner

continuing down the outside wall

Chris Smith

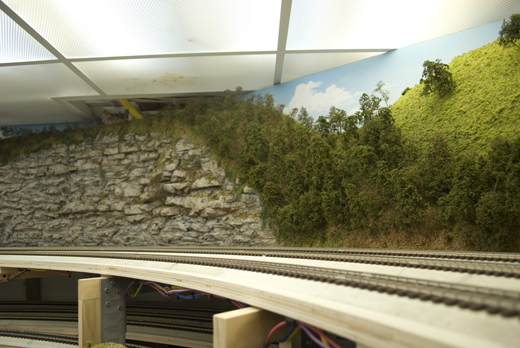
The entrance into the upper yard with sceanery started

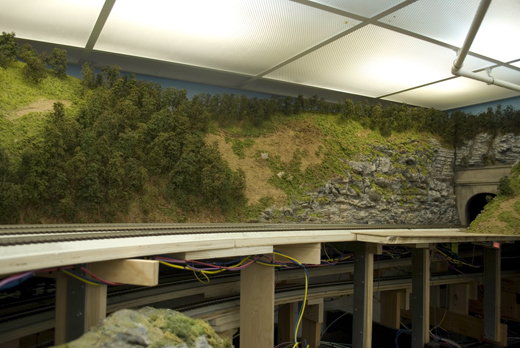
Looking across at the lower level yard with the two upper levels going over the top.

Chris Smith

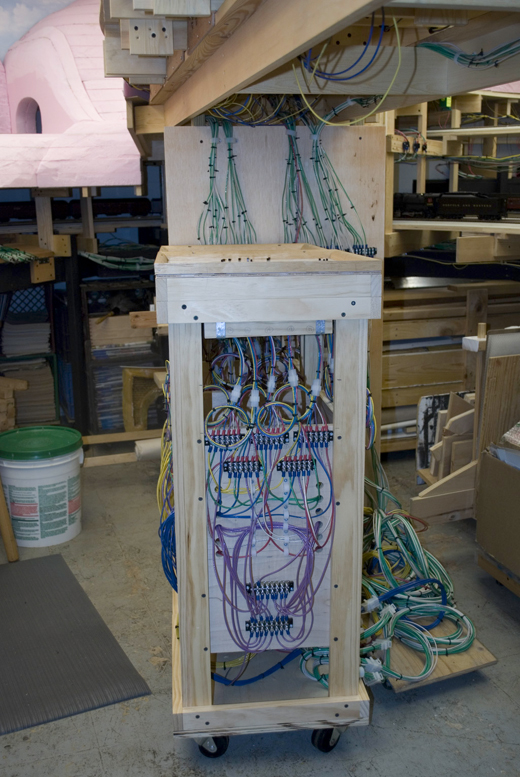
You can learn a lot by seeing how its built.

All that wiring back to a movable control stand.

Layout Visit: Dave Vaughn, 2009 O Scale National

On the first night of the National, we had an invite to visit Dave Vaughn’s layout before it was open to the public and the crowds. I wish to thank Dave for the invite and the early look at the layout.

The layout is going through some changes. Dave has begun to incorporate parts of John Armstrong’s layout into his layout. And in John’s style, the layout winds and twists up through three levels of railroad. Some of the older portions of the railroad have not changed and reflect what was there in sceanery and structures.

Dave was a great host answering questions and telling stories about the influence of John Armstrong on himself and other local railroaders.

Chris Smith

Dave Vaughn

Some very nice scenes in the older section of the layout

Chris Smith

Dave had some very nice equipment parked on the sidings

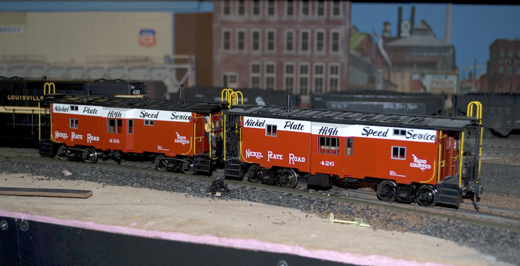
A wartime NKP caboose that Dave brught in as a brass model.

Chris Smith

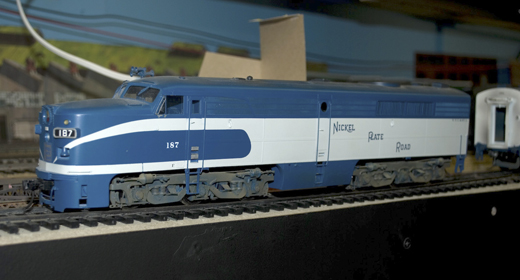
More nice cabooses in Dave’s NKP yard

A veiw looking back towars the NKP yard

Chris Smith

A view looking back at the NKP yard which clearly shows the second level.

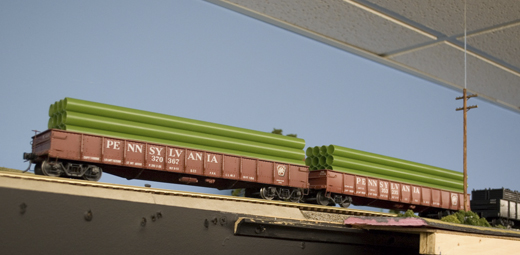
A couple of gondolas on the second level.

Chris Smith

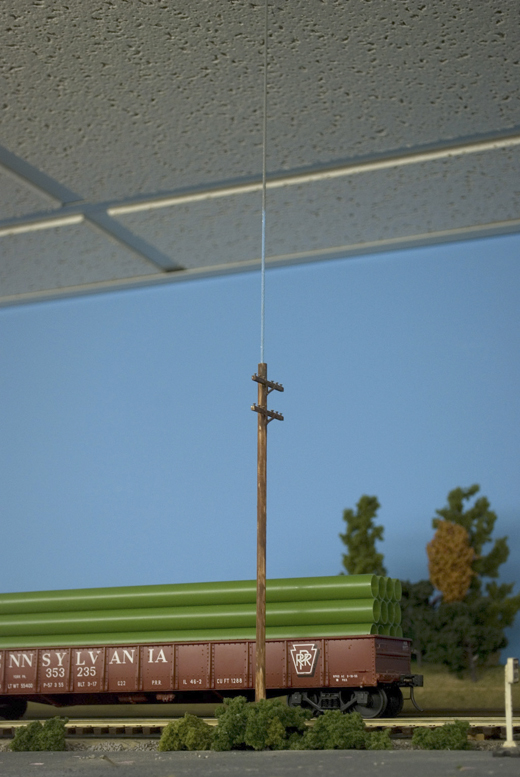
A view of the upper level support through the telephone pole.

another nice NKP model

Chris Smith

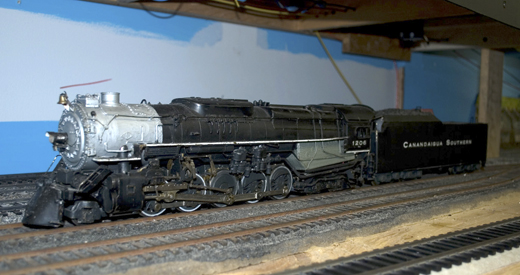
One of John Armstrong’s locomotives

A view of the “new” expansion

This is the entrance to the lower level reverse loops.

Chris Smith

Dave is working parts of John Armstrong’s layout into his.

The curve continues

2009 O Scale National, Towson, MD – News

I just returned from the 2009 BOSS O Scale National. It was by far one of the best Nationals I had ever attended. The Baltimore group did a great job putting on the show.

The vending tables had a wide variety of stuff for all budgets. It was hard not to spend money everywhere. I’ll try to hit on what were a few of my highlights.

Weaver– They were showing a B&O Wagon top boxcar on their table. The examples on the table were older brass models meant to try to size up the interest in the crowd to see if they should produce the model. They mentioned that it would be built overseas and we should expect it to be close in quality and pricing to their B-60’s. I think it will be a winner.
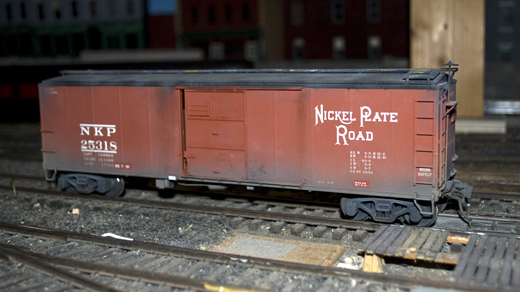
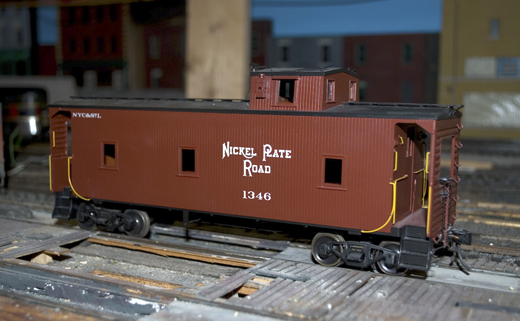
Mullet River Model Works– They had some great new kits on the table and some fantastic details. Their NYC caboose would have gone home with me if I didn’t have a brass version of the same car sitting at home.

Rails Unlimited – Ted had many of his resin cast freight cars with him. Some were selling out and will not be re-run. I passed on the new B&O car, some modelers have complained about the casting quality of this new release, some that I know have returned their kits. I’ll wait for the Weaver version. I did come home with a PRR Gr gondola even though I had kit-bashed a similar car already.

RY Models – Rich had his Baldwin switchers on the table along with his tank cars. I also saw a lot of his trucks going home with people.

The layout tours were inspirational. Being at the starting blocks of my railroad, it made me re-think some of the decisions I made about what could be done. I’ll write about each of the layouts I visited in the coming weeks.

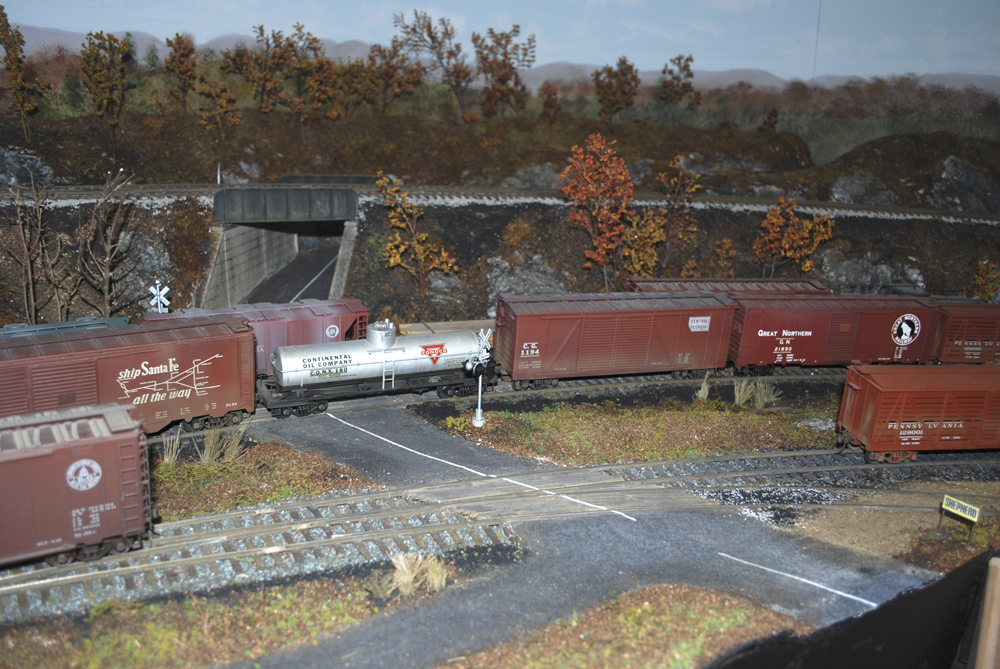
Layout Visit: Steve Staffieri, 2009, Elmira Branch in HO

Buzz Burnley, John Dunn and Steve Staffieri

Buzz Burnley, John Dunn and Steve Staffieri

Last Thursday night, I had the pleasure of visiting Steve Staffieri’s HO scale Elmira Branch layout. John Dunn and Buzz Burnley had been invited to see the layout and they were kind enough to extend me an invitation.

It’s a nicely done railroad in a wonderful environment. The basement is nice and comfortable. The railroad has a finished feel to it even in areas that are still a work-in-progress.

The layout is based on the branch from Williamsport to Sodus Point, although it focuses on the run from Williamsport to Southport Yard in Elmira, NY.

Steve Staffieri's layout

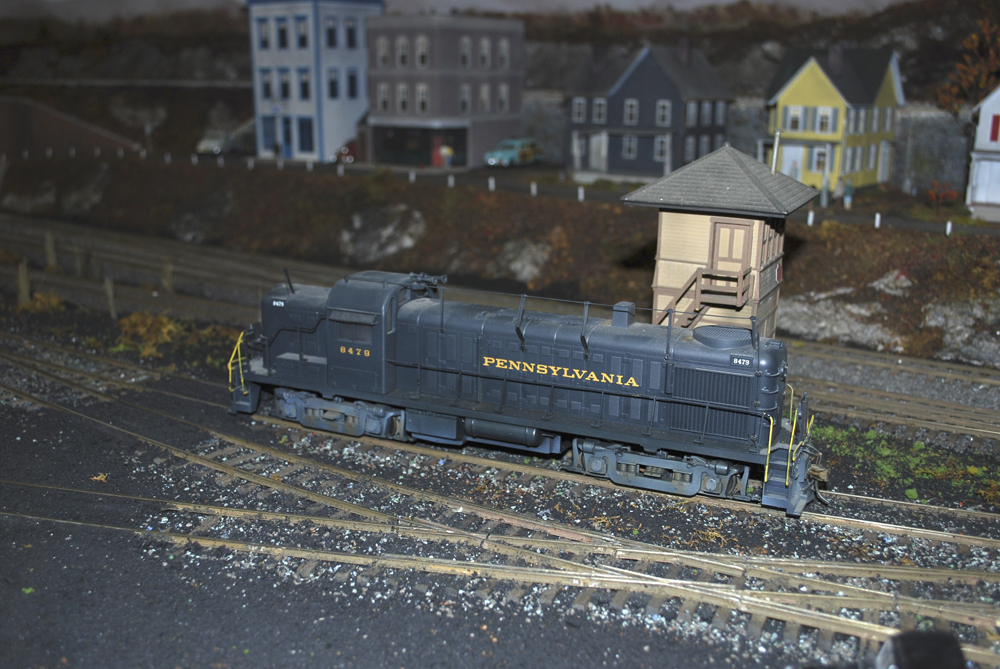
An I1sa working in Williamsport Yard.

Steve Staffieri's layout

The Wye at Ralston.

Steve Staffieri's layout

Southport Yard

Steve Staffieri's layout

Engine Facility at Southport Yard

Steve Staffieri's layout

Sodus Point

Steve Staffieri's layout

Closeup of the I1sa working Sodus Point.