Well, the thing that dominated this past week was getting my second shot of the Covid vaccine. It had me moving a little slow this past week.
My Pearl kept me company. She stayed with me as I moved from room to room looking kind of silly at times.
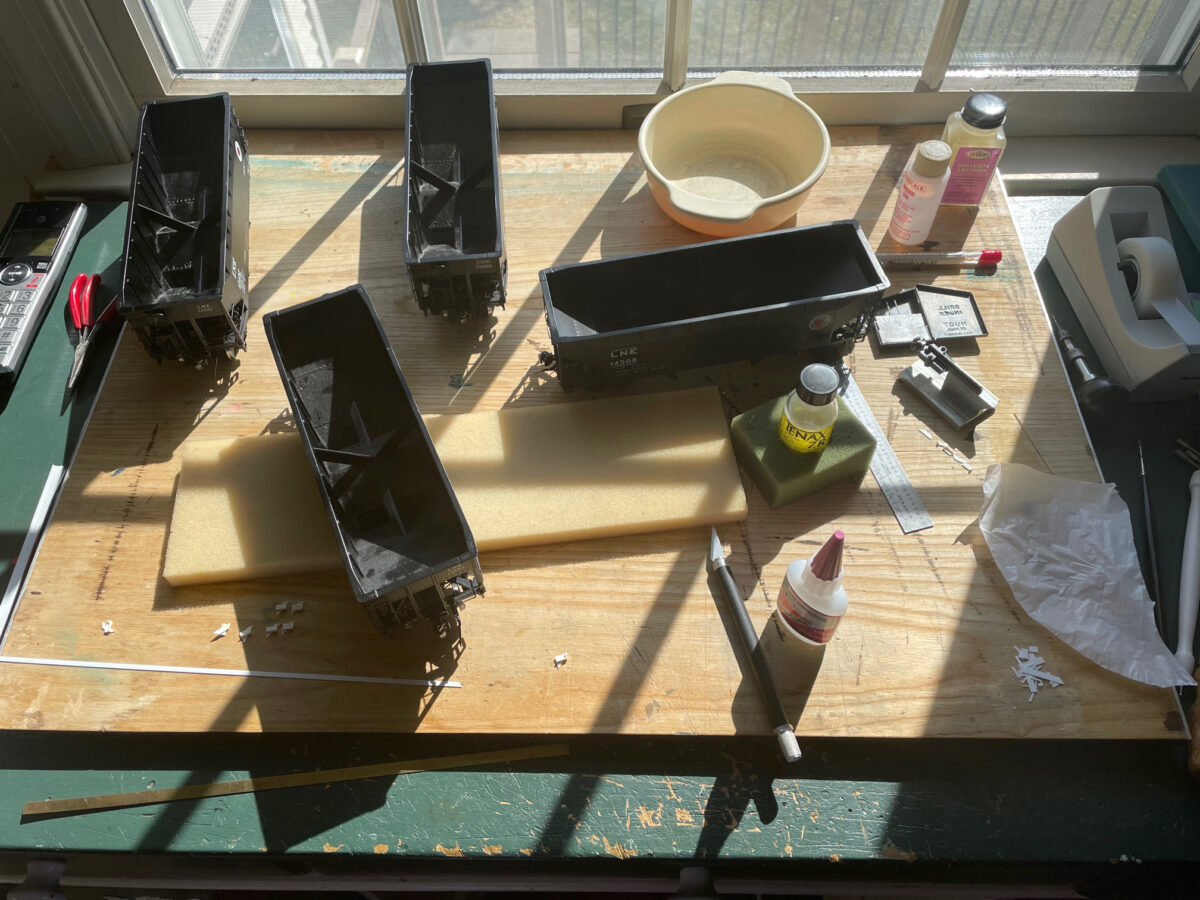
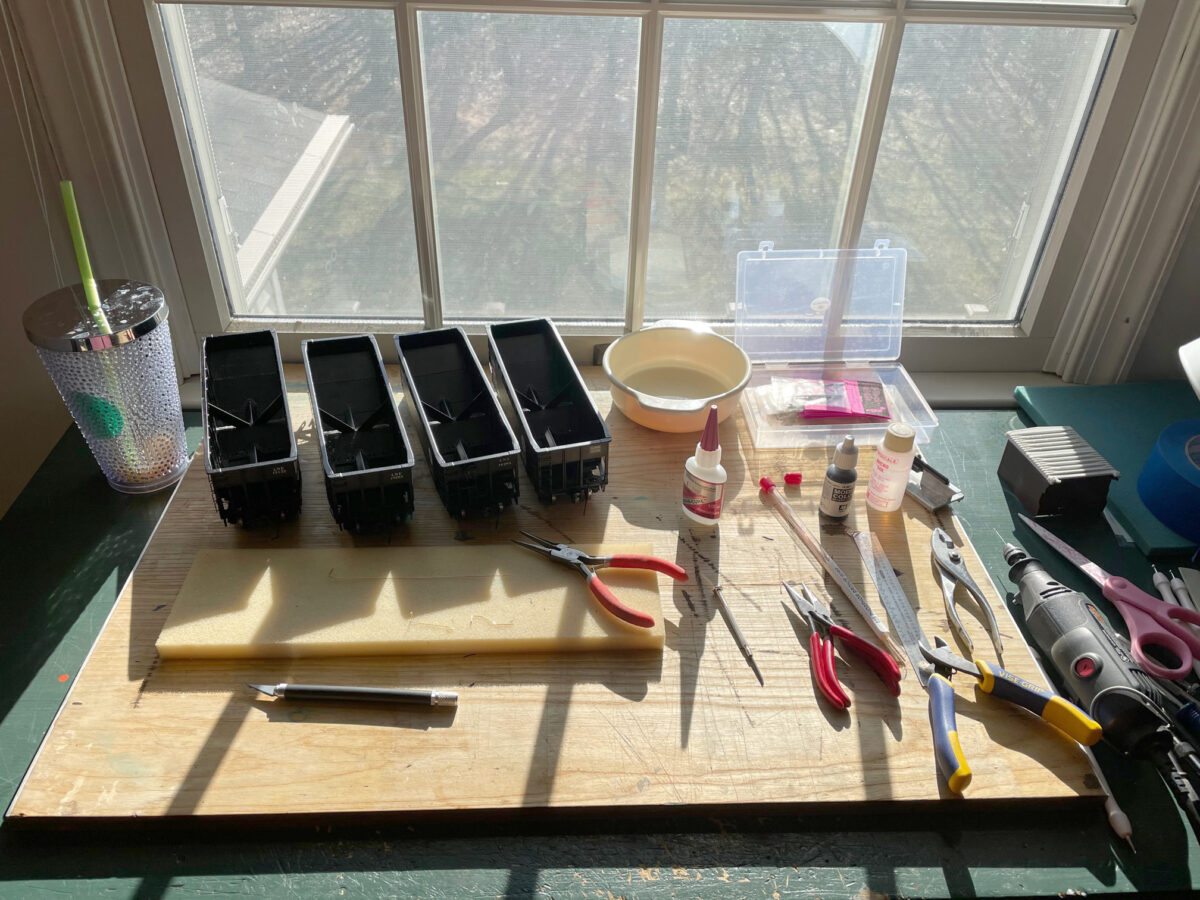
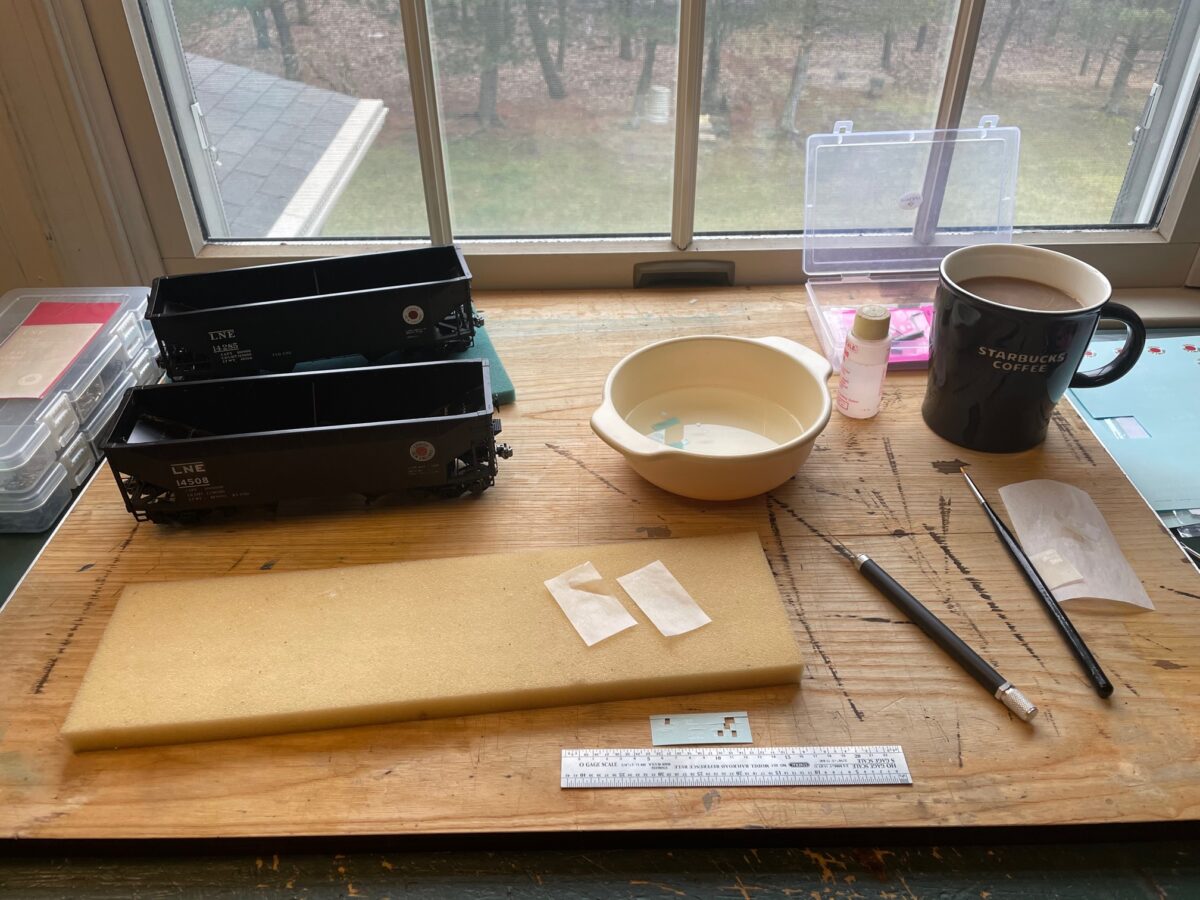
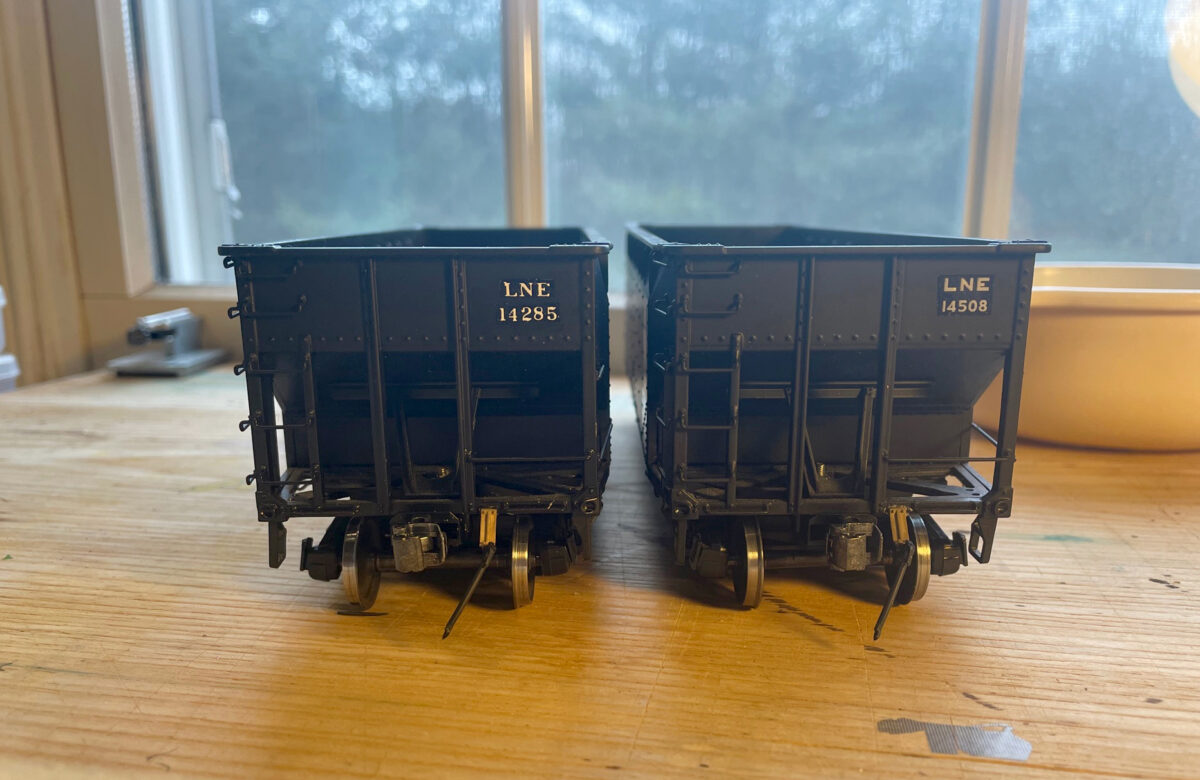
The LNE offset twin hoppers were still on the bench. I was hoping to get them through the weathering stage this week. That didn’t get as far along as I had hoped.
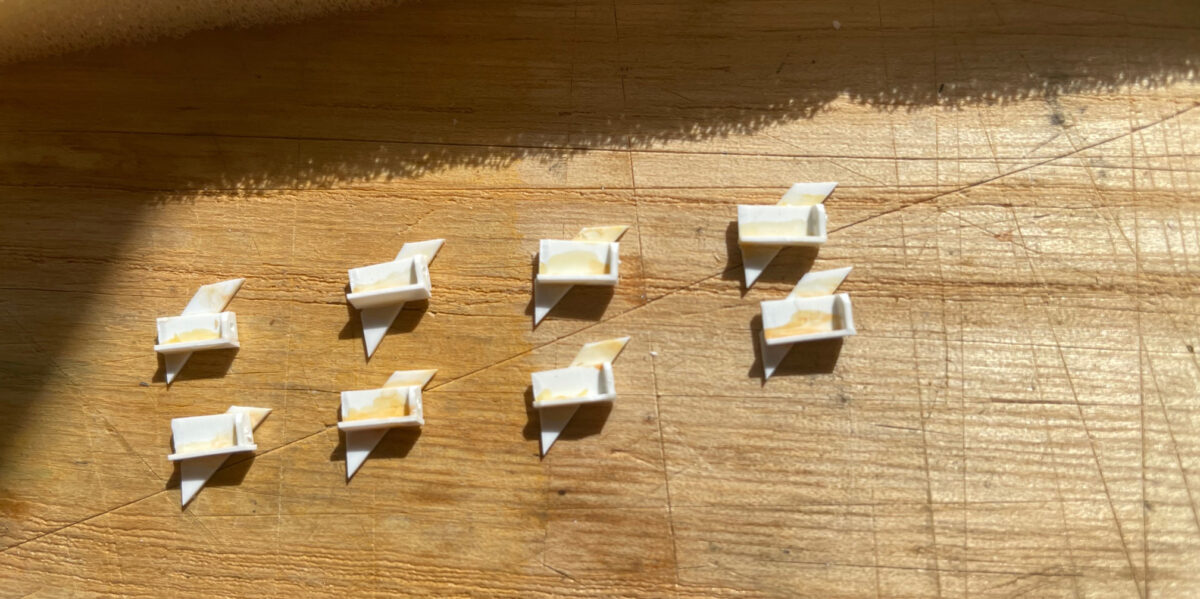
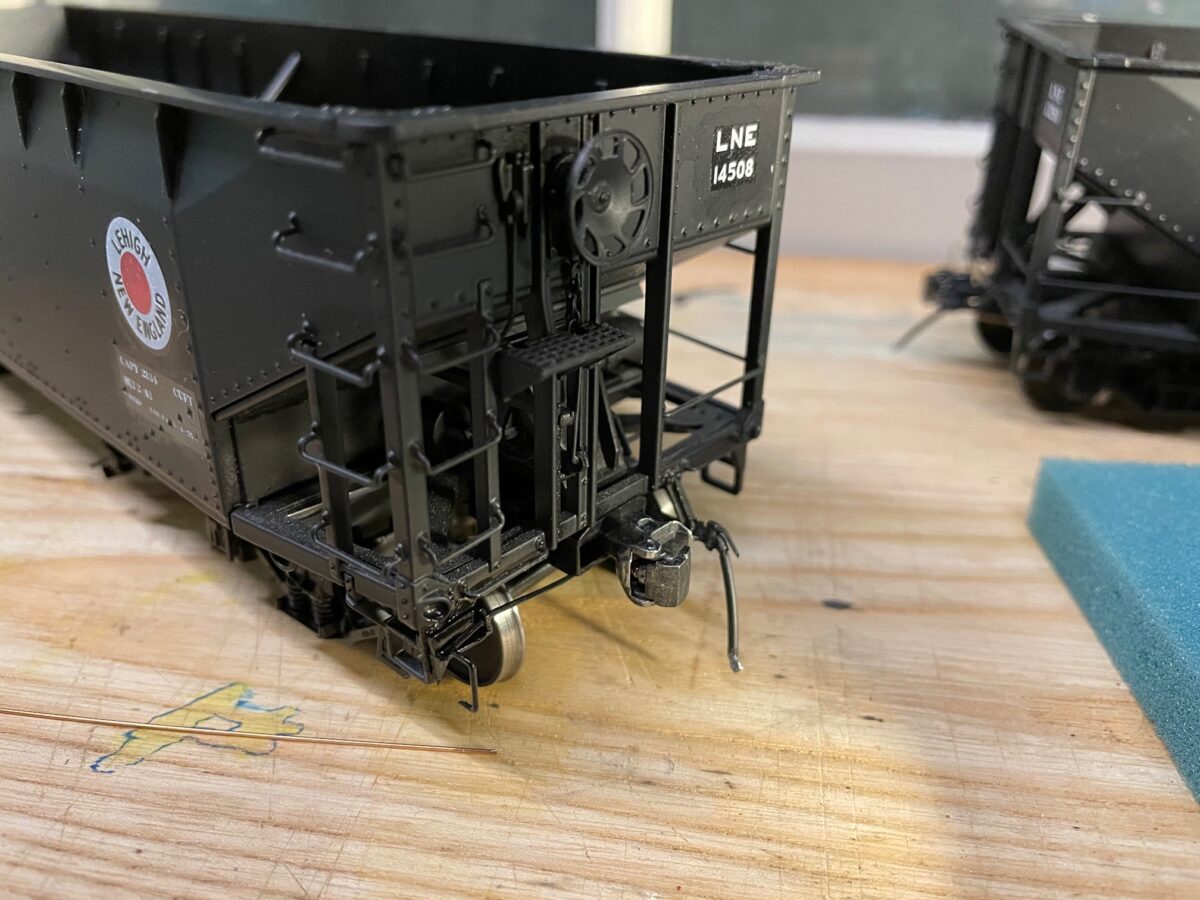
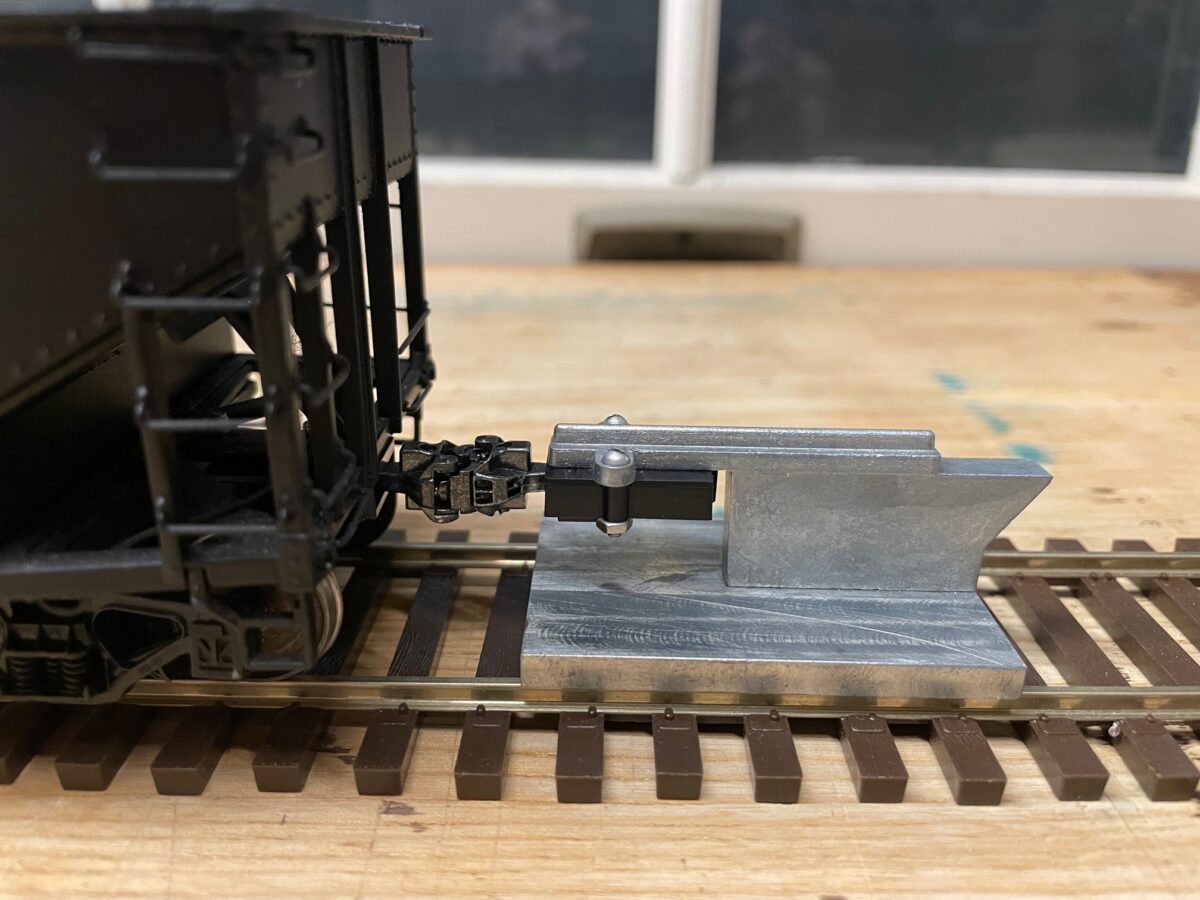
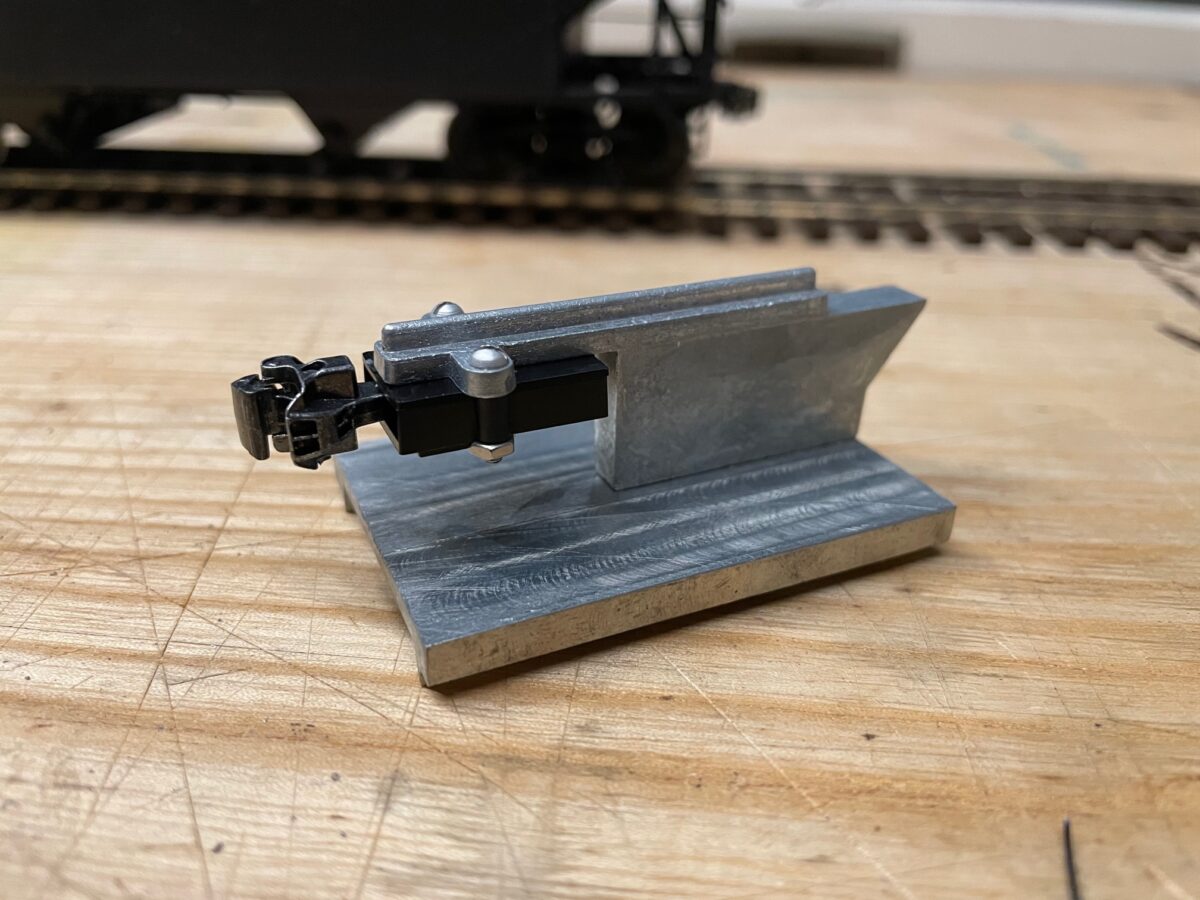
Before that could happen, I needed to add the coupler cut levers to the cars. After examining some photos, I was able to determine that the bracket that held the coupler lever was mounted to a diagonal plate running from the step to the end sill.
Here are four sets of the brackets I built up. I should have paid more attention to the brush I grabbed to apply the solvent. Apparently, there was still some paint residue on the brush. The set on the left got swapped out for some of the extras, but some how it made it into the photo. Don’t know why I didn’t photograph it again.
Then it was time to bend the levers and attach them to the cars. Here I’m attaching the cut lever. I secured the one end with a tiny amount of ACC to the coupler box. You can see the bottle of Dull Coating used to hold the lever in place while I glued it up.
A little touch of black paint and it looks like it was always been there. It is amazing, you take the time to install these details and when the black goes on, it’s like they disappear.
Not looking bad for Lionel cars. Next up, DullCoat and weathering. I hope.
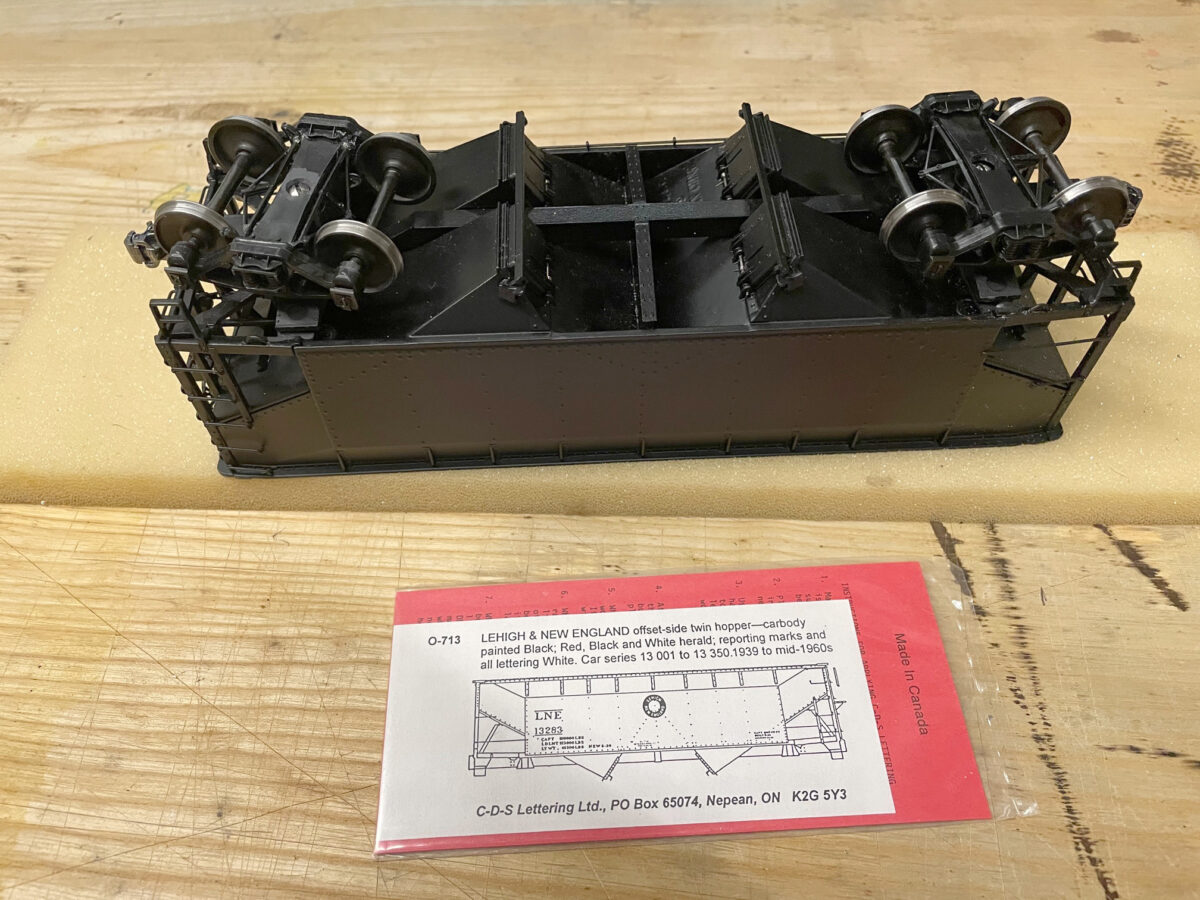
Last week, I finished up ten pairs of Intermountain Trucks with Protocraft Wheelsets installed. Well, I had to find some models to place them under. So, I dug out some Lionel offset twins I’ve been working on.
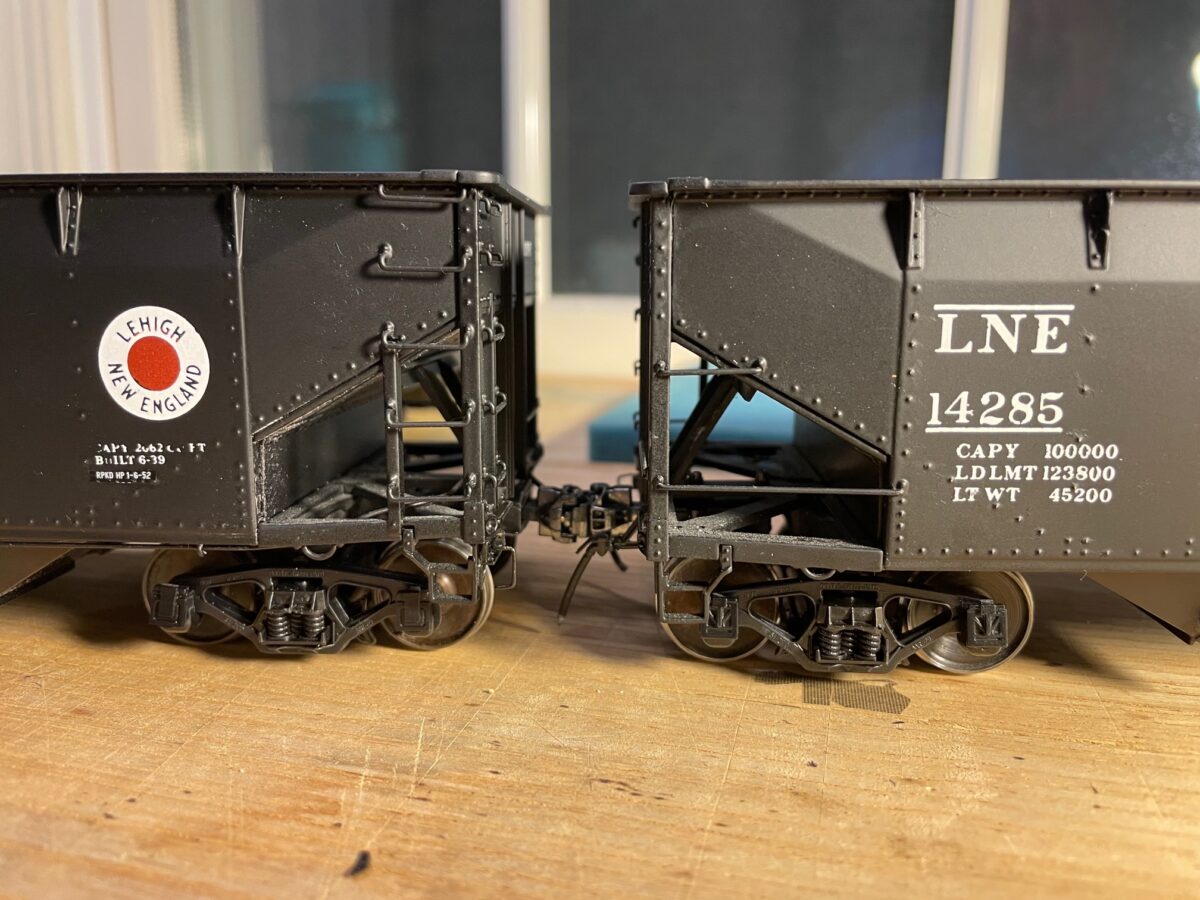
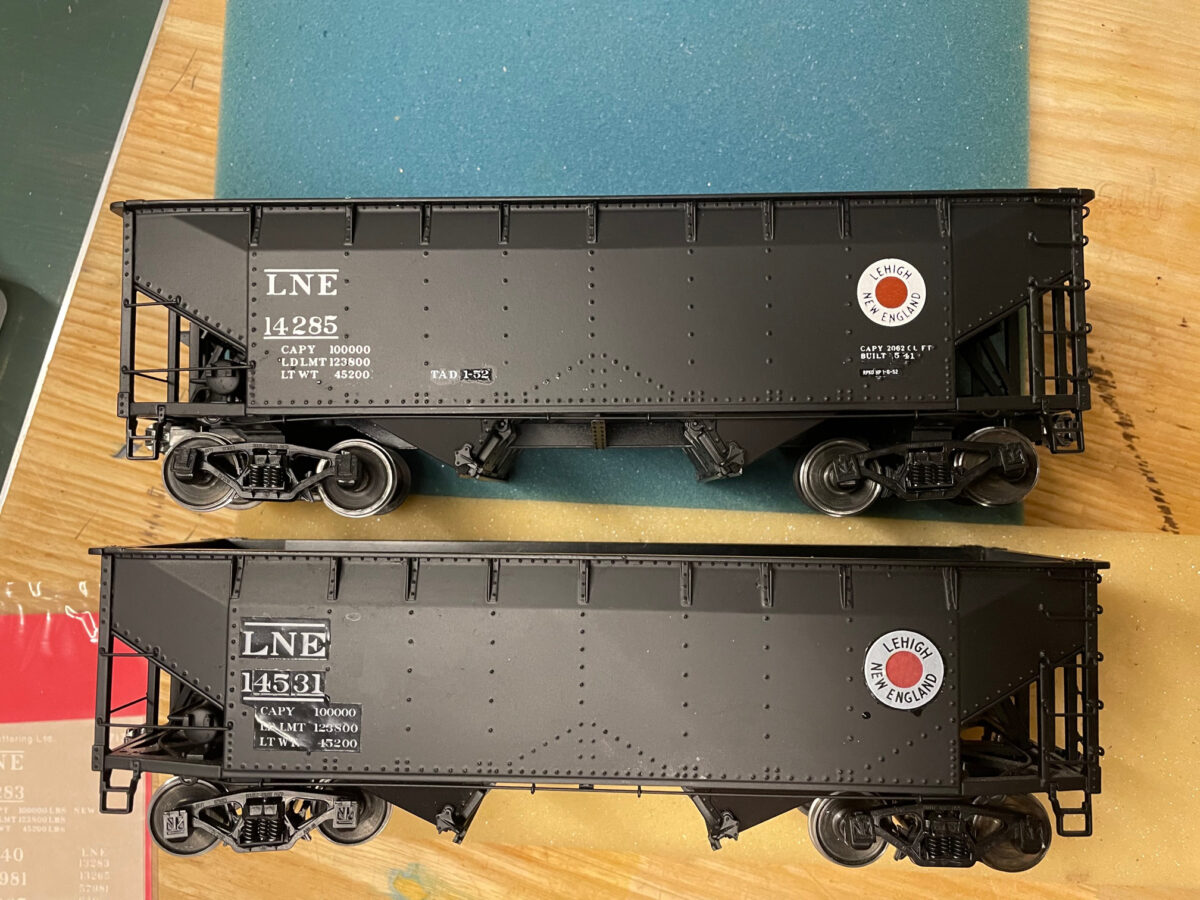
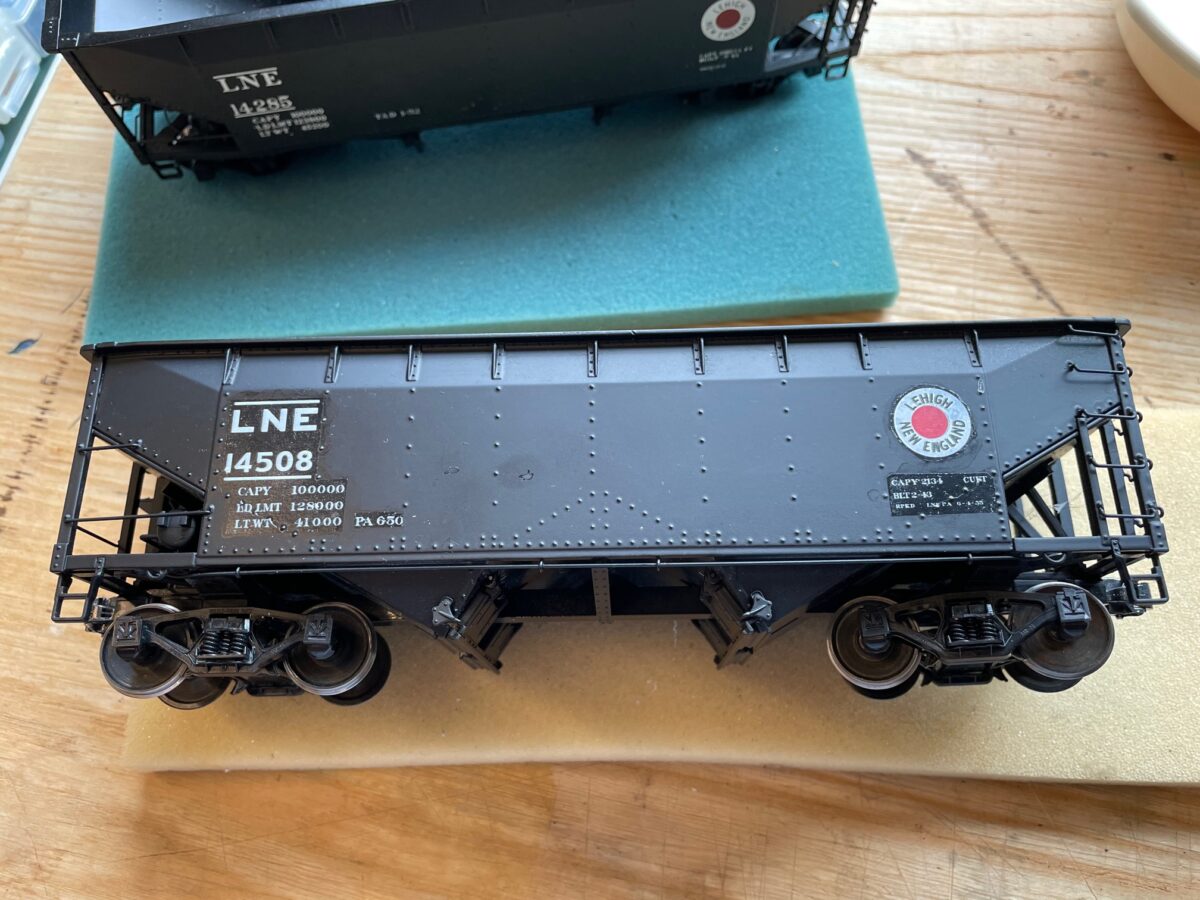
I had four of the twins that I had mounted couplers and installed PSC bolsters on a number of years ago. I forget what they were decorated from the factory, that lettering was removed long ago and they were painted black on their way to become something new. About a month ago, I used CDS dry transfers to decorate three of the cars for Leigh & New England. This fourth car was still waiting.
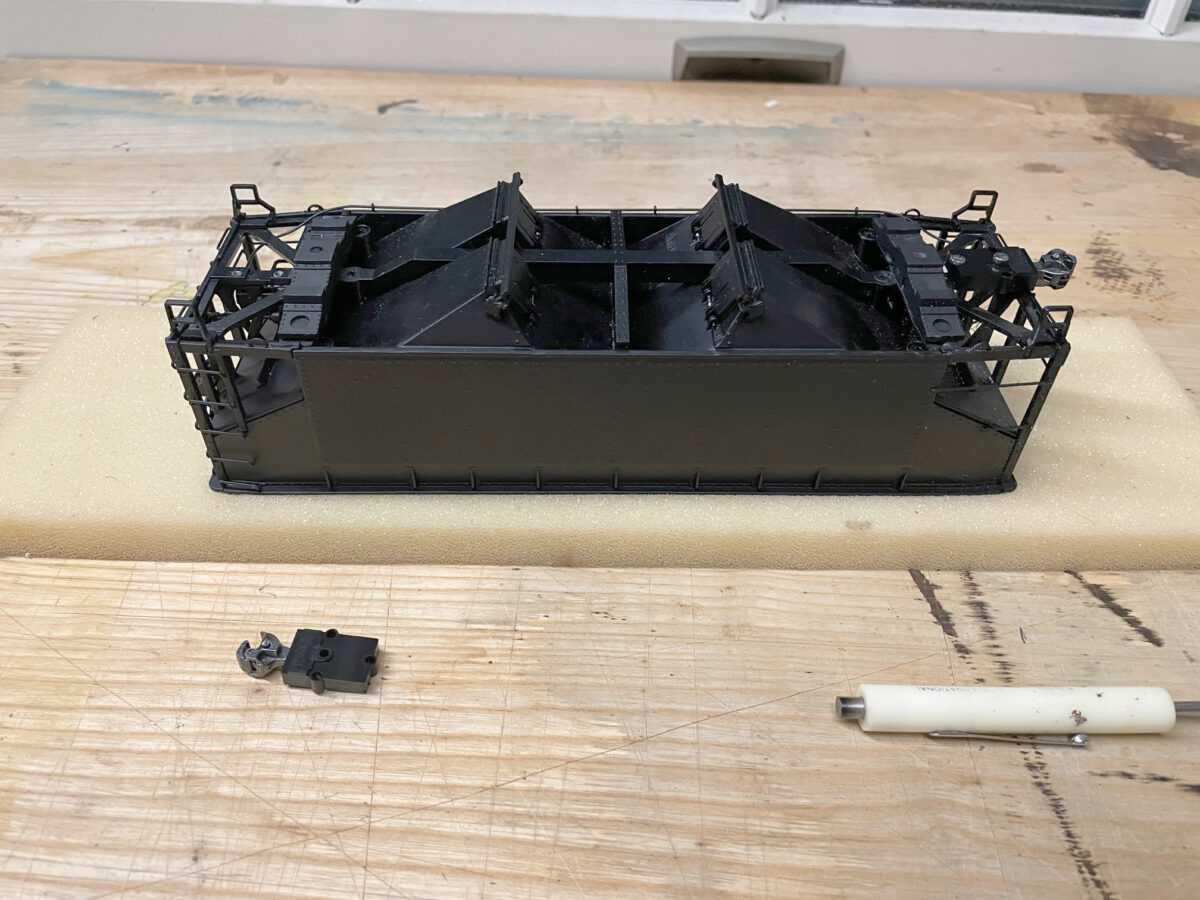
You can see from this view. These were not extensivly rebuilt from their 3-rail origins. The center sill is drilled and tapped so that a Kadee coupler could be installed. The 3-rail bolster was ground flat and a Precision Scale bolster glued onto the car. I’ve done about a dozen cars in this way, but I’m looking into doing a different type of conversion the next time. One which rebuilds the bolster sheet into something a little more prototypically accurate.
I was going to just mount the trucks on the cars, but the couplers needed to be changed out and checked against the gauge.
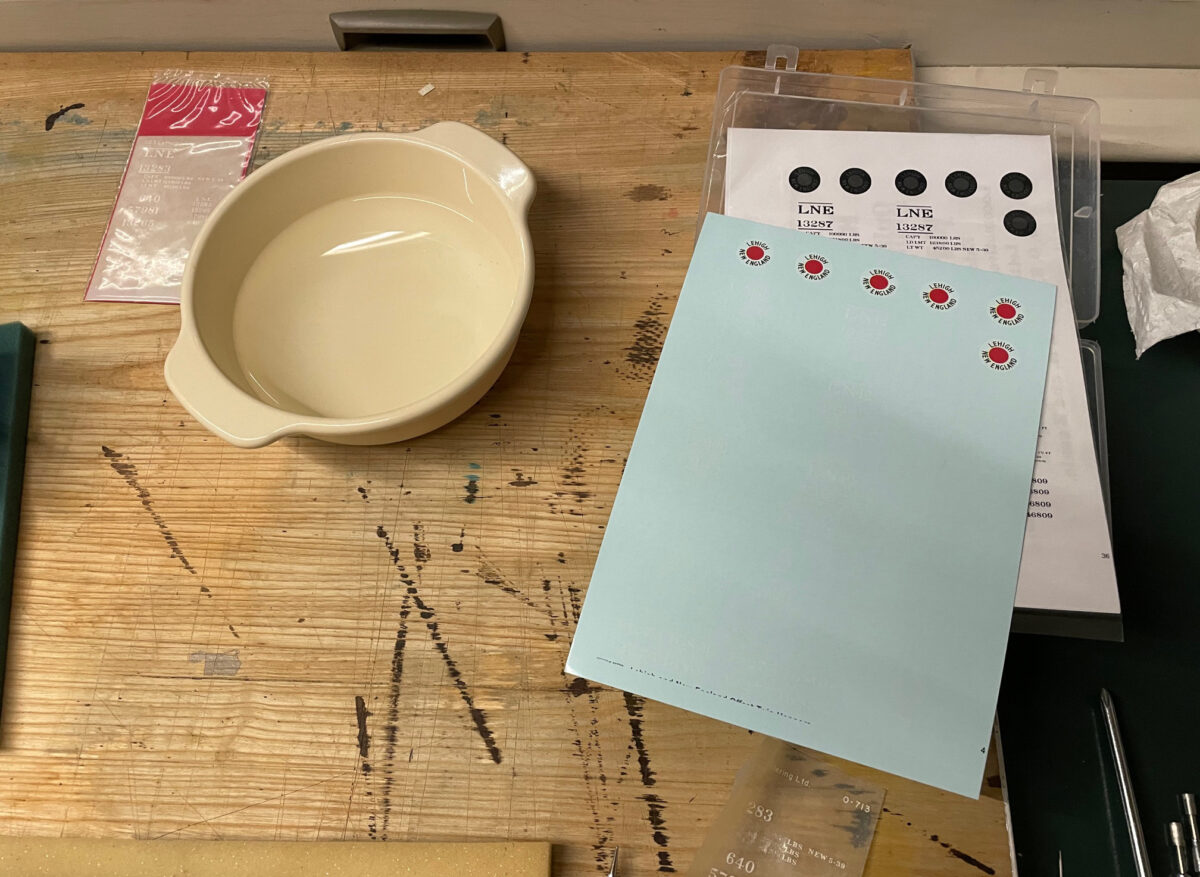
I was thinking of just using the last set of transfers I had for the LNE on this car but I do have a love/hate relationship with dry transfers. I love they way they look on a car. We won’t talk about applying transfers to ribbed cars. That is one experience I can live without ever again.
I really wasn’t looking forward to doing another car with the CDS set. The transfers are getting old and one of the sets I used wasn’t sealed properly. It really gave me a hard time applying them to the car.
As I looked closer on the cars I thought were done, I still had the ends to do on two of the cars. So they still needed a little work in addition to the truck installation.
I had picked up a set of decals from K4 Decals with the thoughts that I might be able to use some of the little bits to complete the cars lettered with the transfers. I thought it might be a good time to try out to letter the fourth car.
I started applying the decals and I really wasn’t happy. The logo was thin and oversize compared to the car lettered with the CDS transfers on top. The reporting marks were a different font even though they were the same scheme. It reminded me of using a set of Champ decals.
Nope, they had to go. Back to the black car.
I thought about using the last set of CDS transfers I had on the car. Instead, I decided to used a set of decals from the same company for the San Serif scheme. The logo was smaller than the first set, closer in size to the CDS logo. And since the other three are done in the Roman scheme any problem with the decal lettering won’t stand out as much.
That looks better.
I finished up the lettering on the ends of the other cars also. I needed to change the numbers around and it’s a struggle to do that while looking through the transfer sheet.
I burnished the numbers onto a blank section of the decals. Then I could just apply them like decals on the ends of the cars and change the number sequence as I needed to.
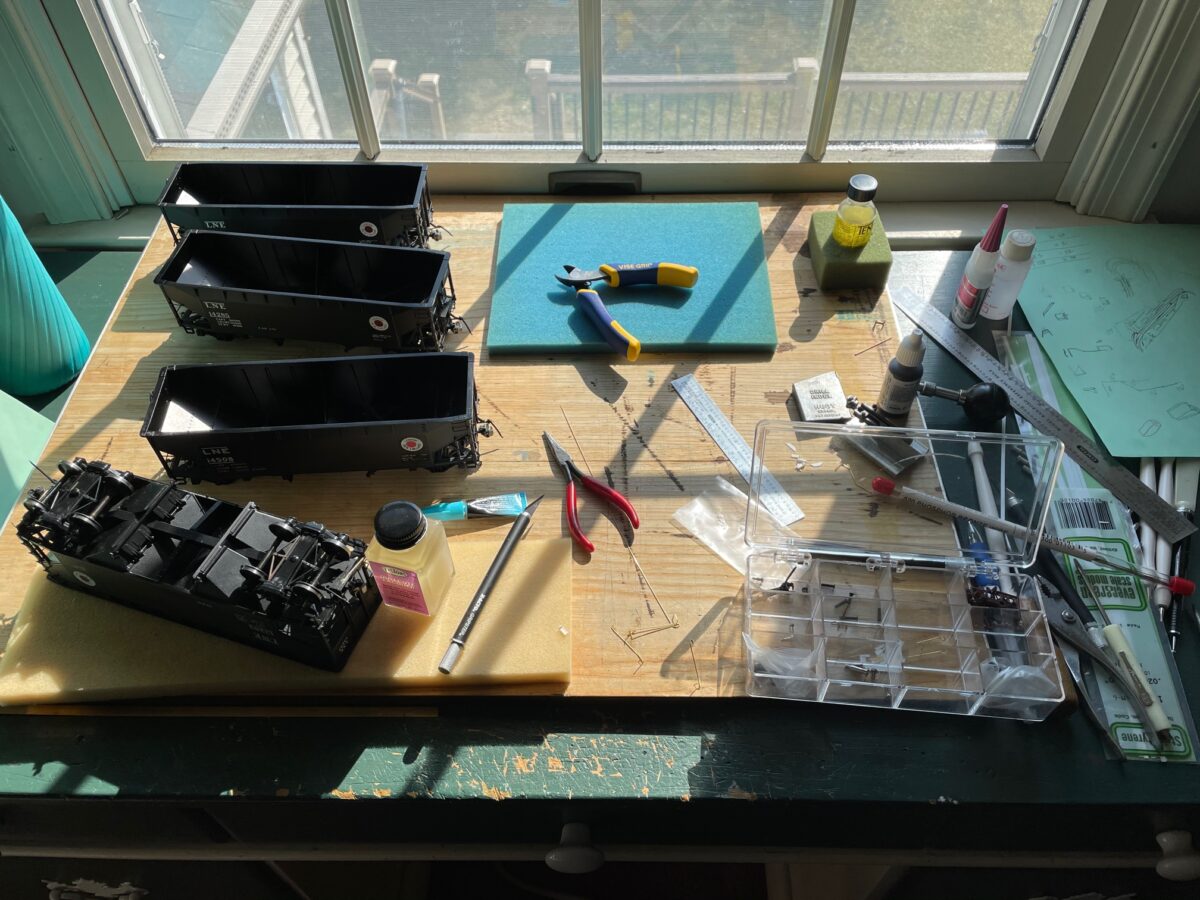
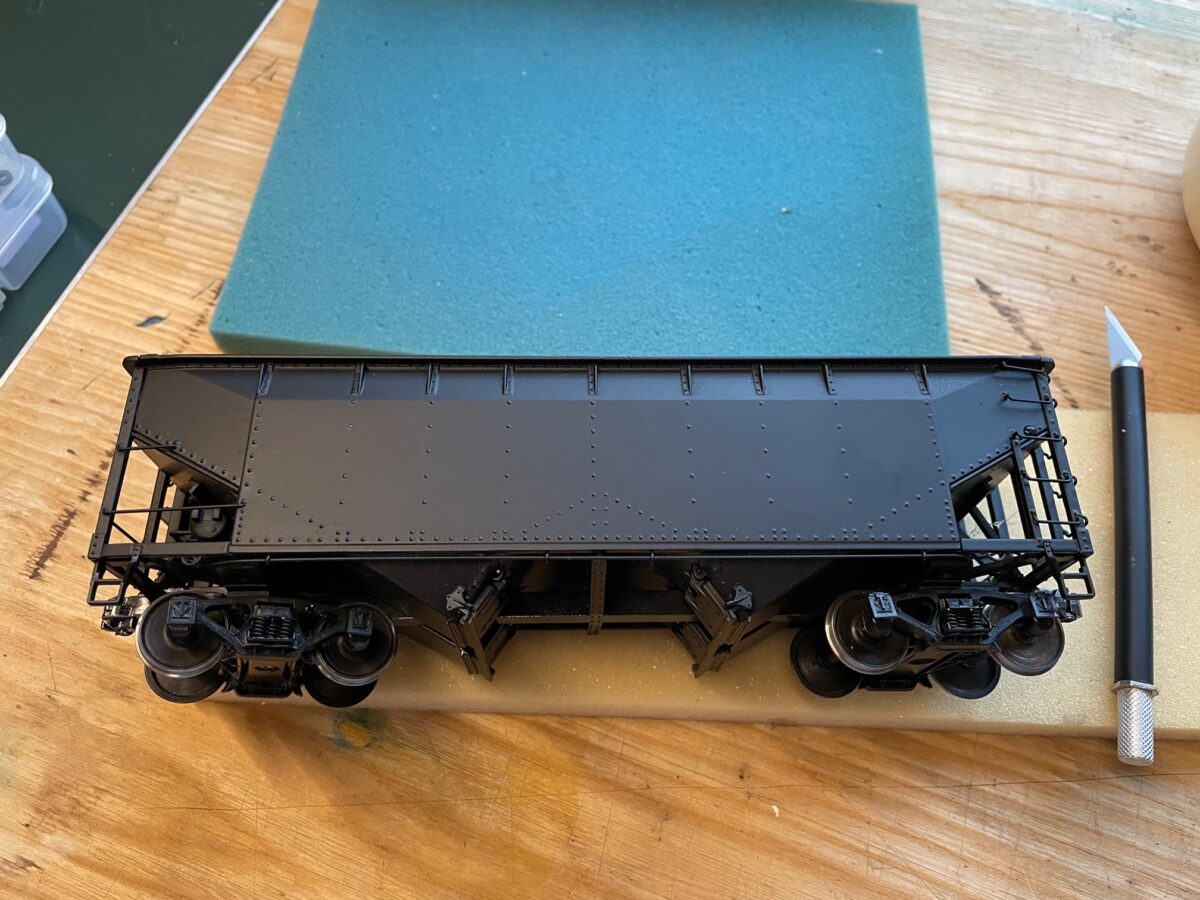
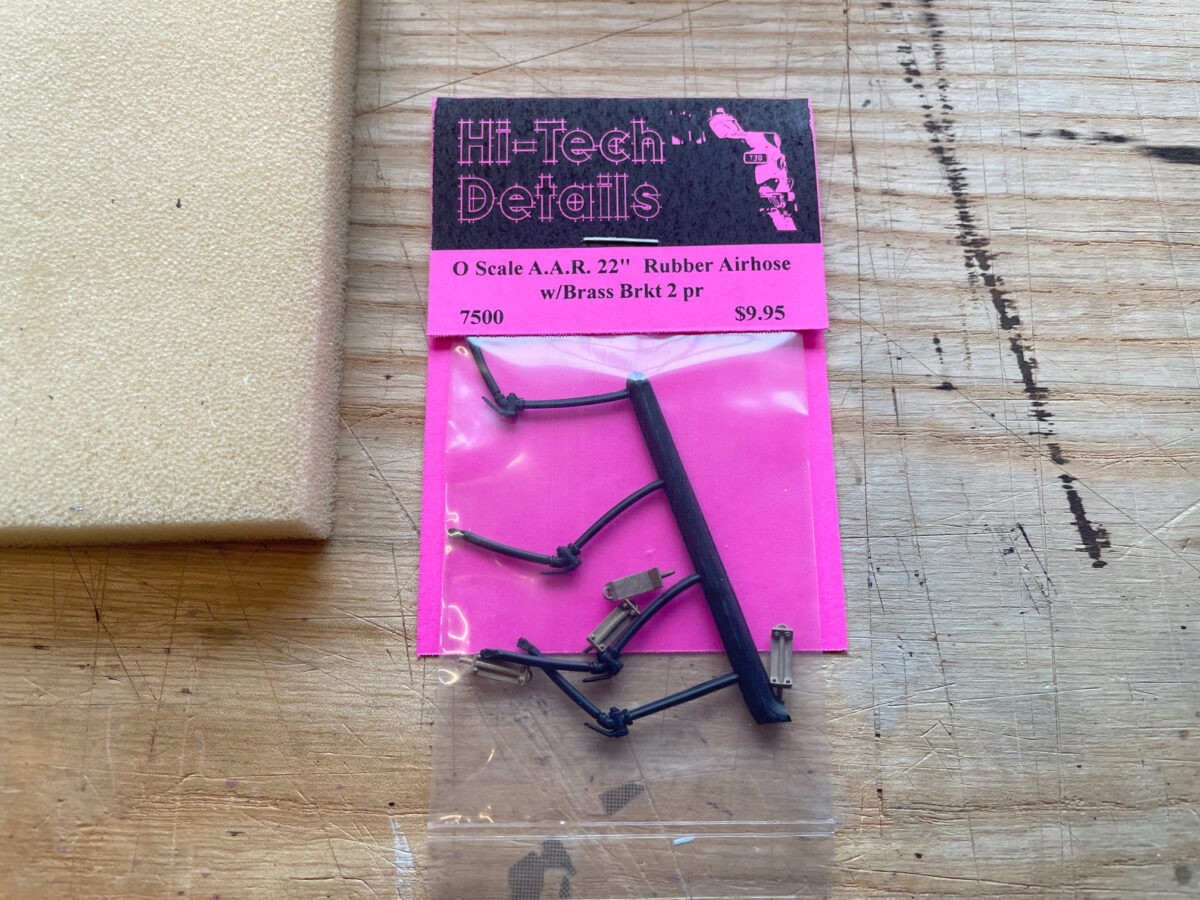
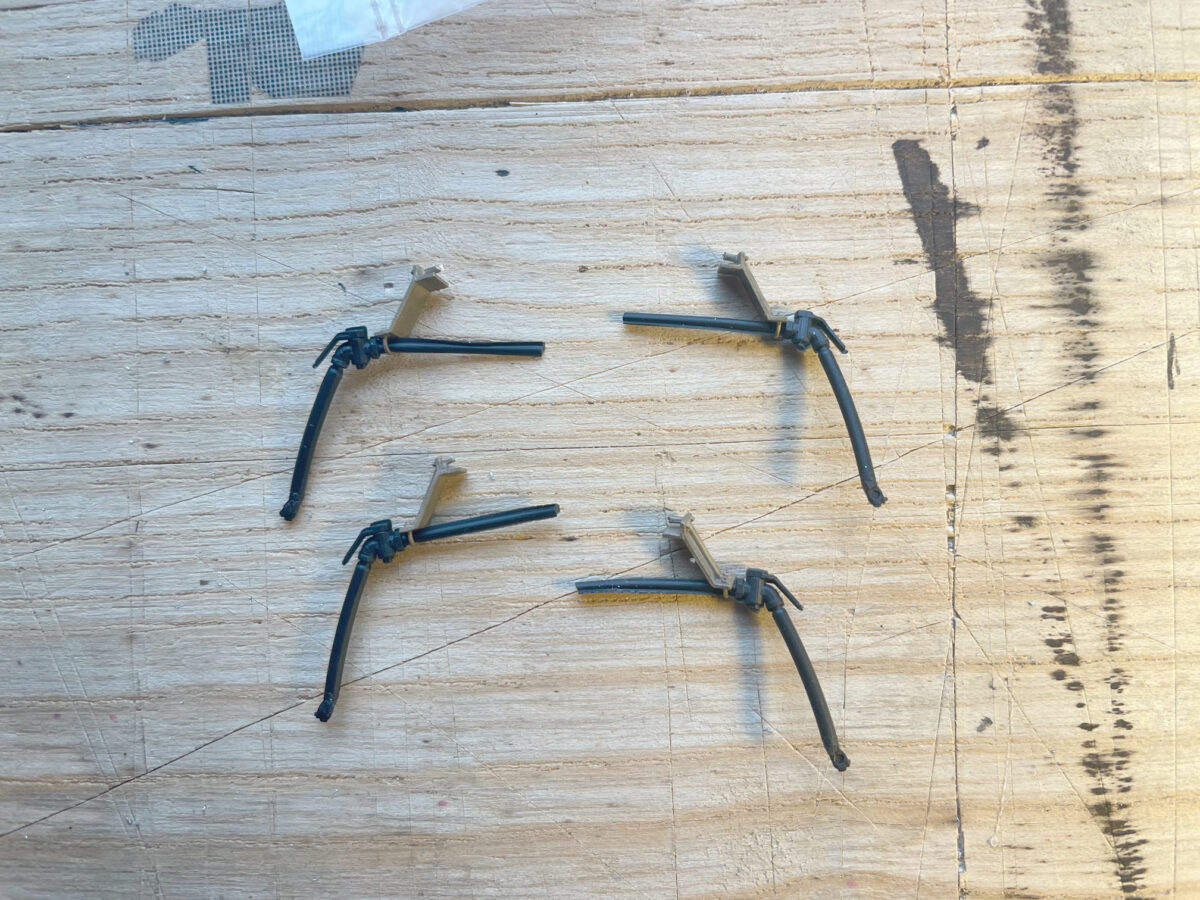
Since the cars were sitting on the workbench and my order for the air hoses from Hi-tech Details came in. I thought I’d instal them next.
They are very simple to install. The bracket mounts onto the end sill and the air line feeds through the opening on the bracket. I usually just tie the air line into the cars air line by just glueing them onto the side of the existing air line.
Two cars completed, two more to go.
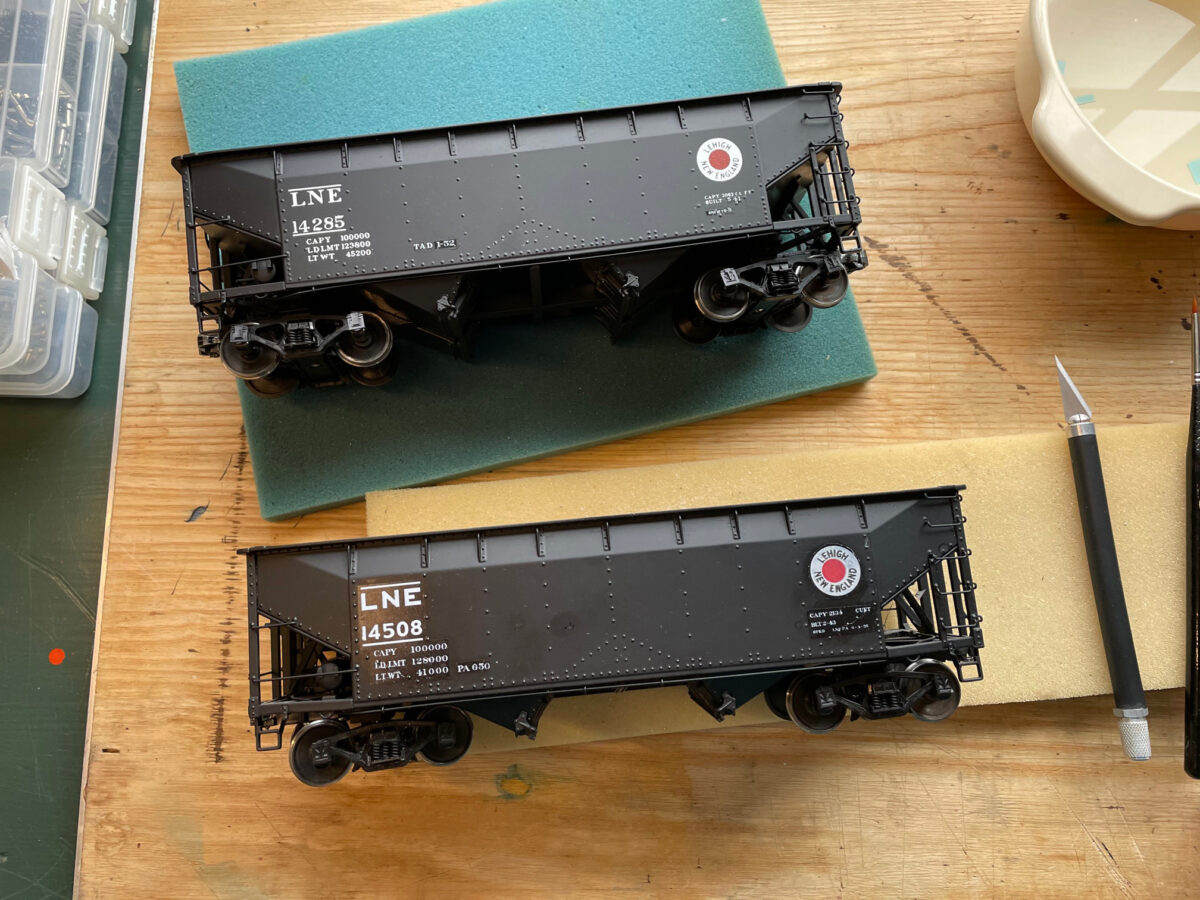
Here are the four car with the air hoses installed. They have been touch-up with a little bit of Vallejo Model Color Glossy Black 70.861. Their lettering is a combination of decals and transfers. Next up for these cars is to install the uncoupling levers, overspray the decals with Dull Coat and then it’s time to weather the cars.