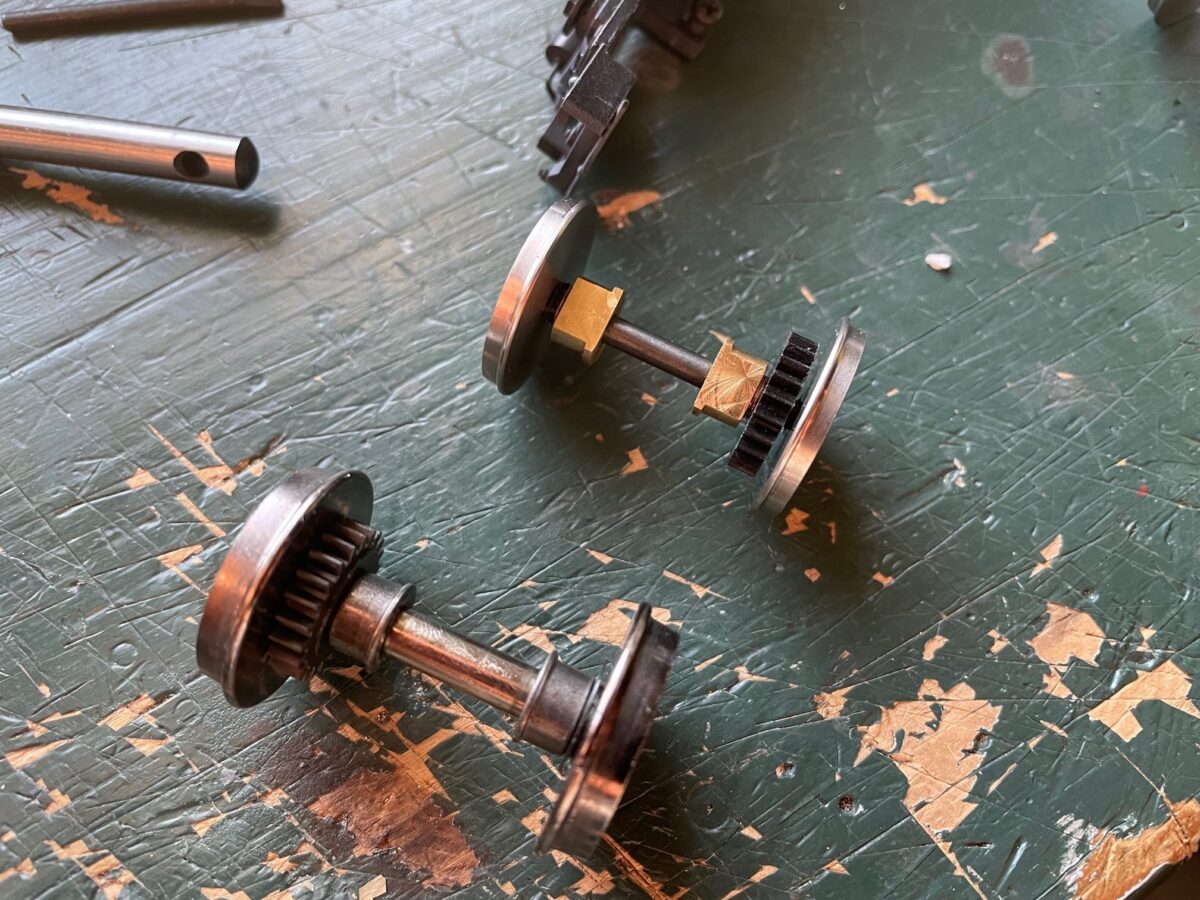
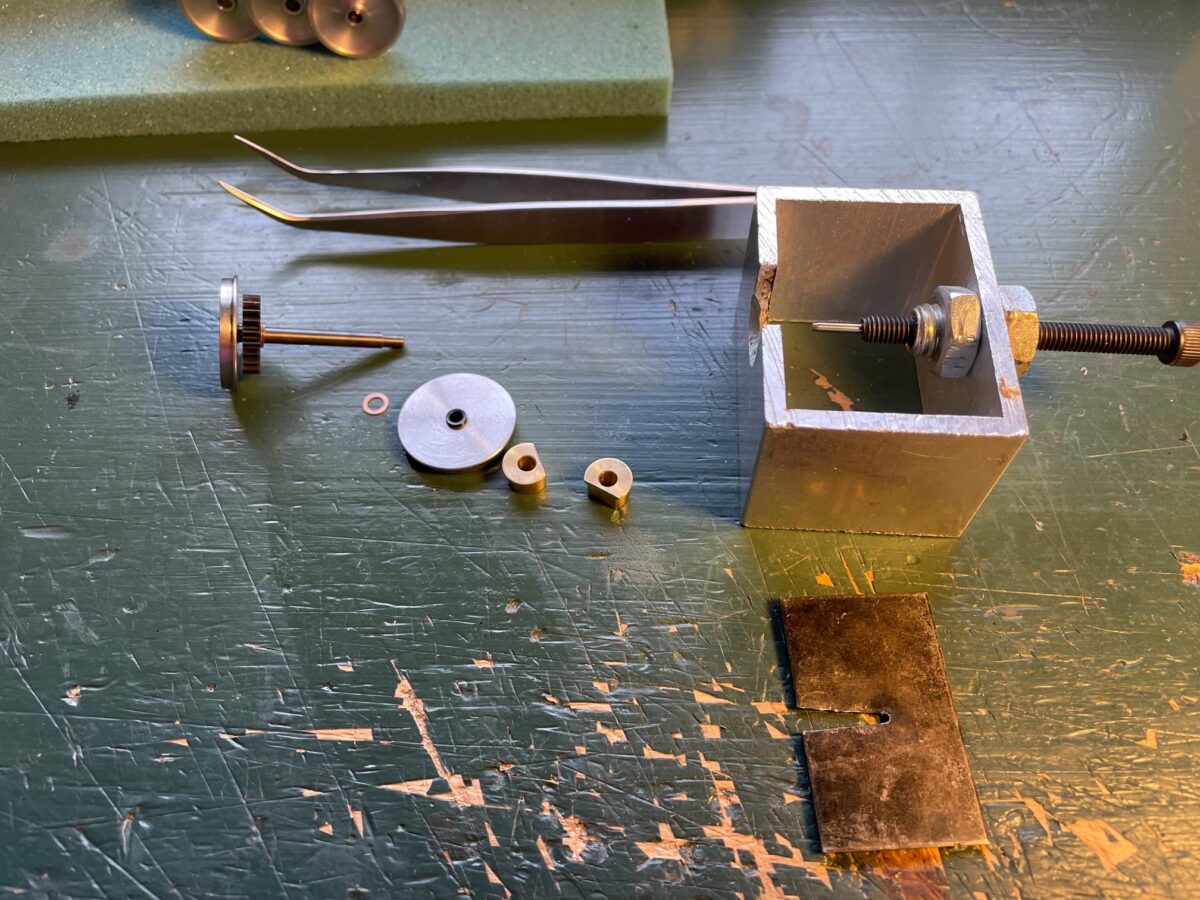
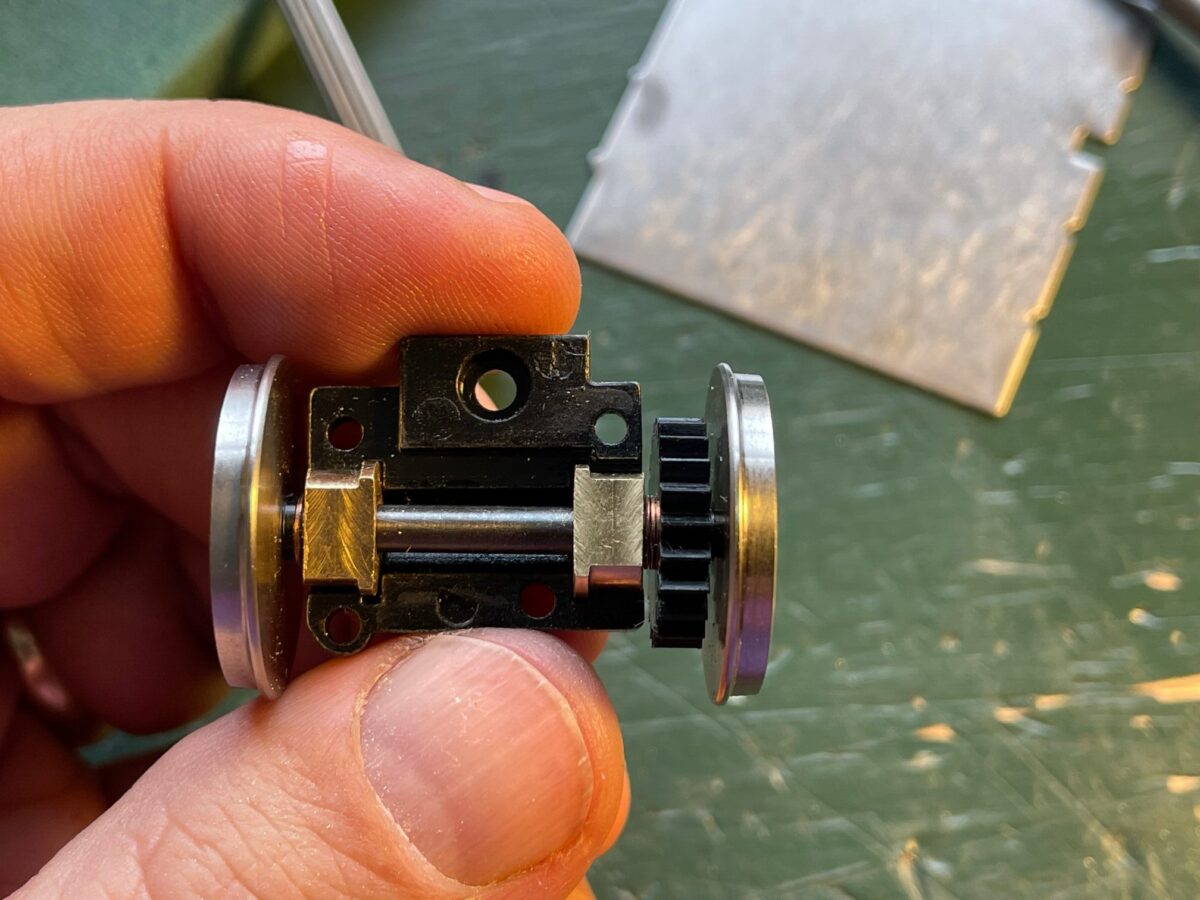
Original Atlas O axel assembly and the NWSL Conversion Wheelset
“Drop-In Conversion Parts” that is such a nice phrase. It’s not always a reality.
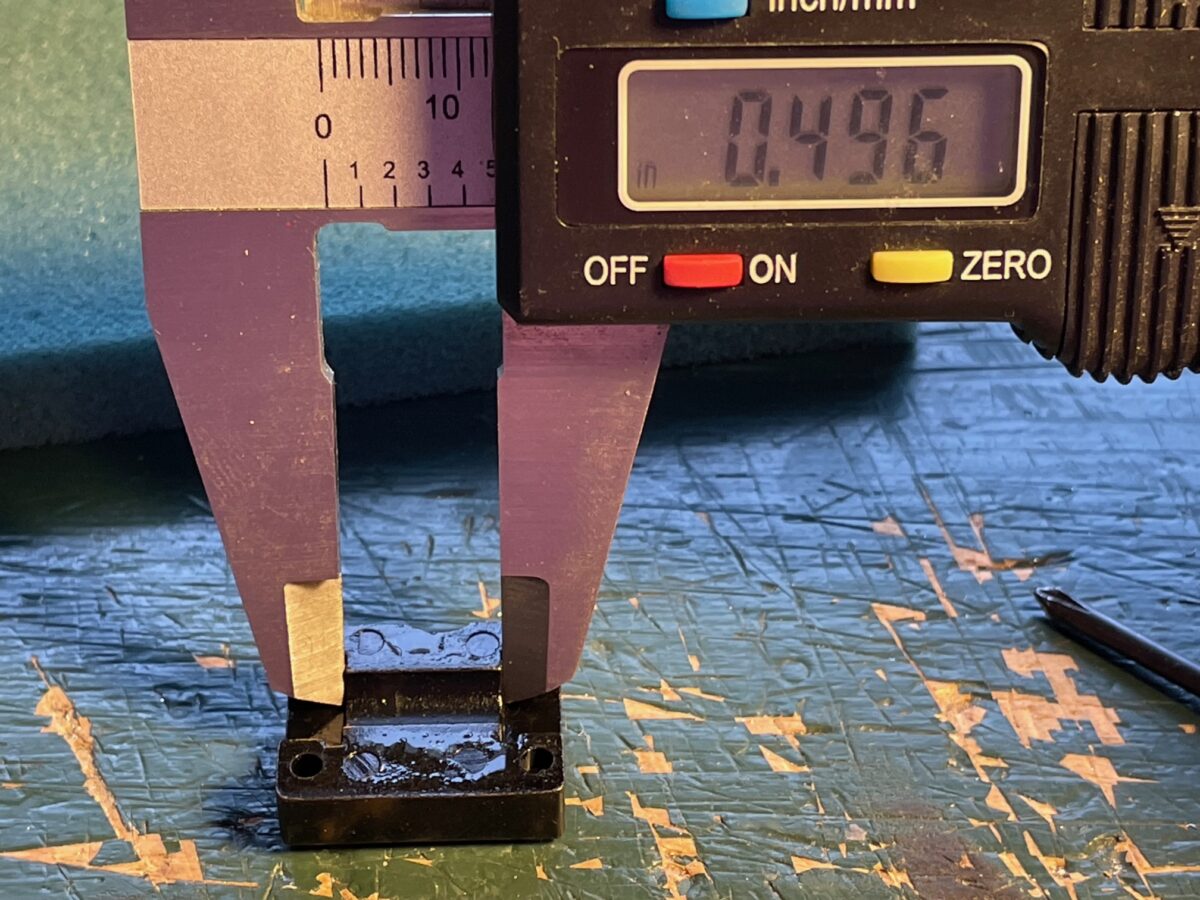
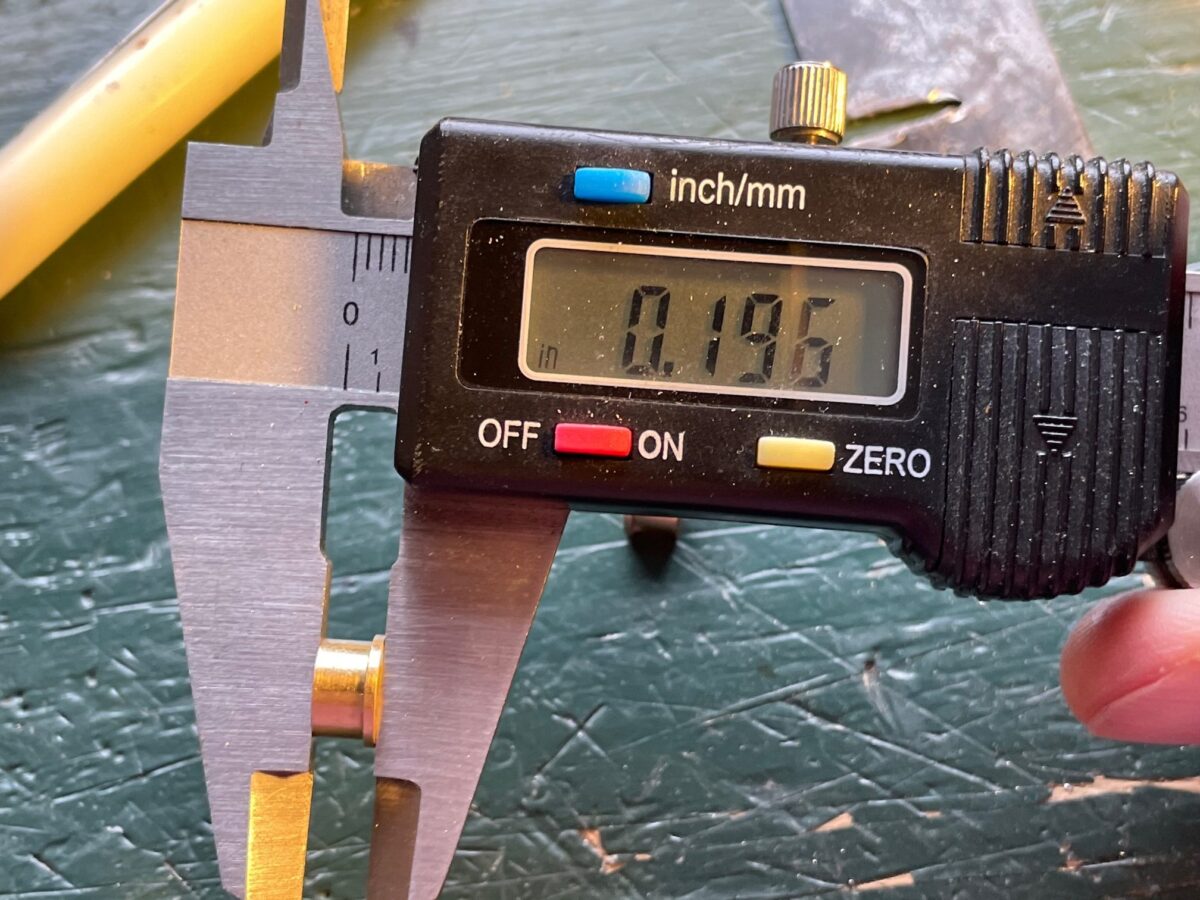
If you read yesterday’s post you know of my troubles installing the NWSL conversion wheelsets into the Atlas O F3B. To recap the back to back of the ridge on the bushings needed to be at least 0.496″.
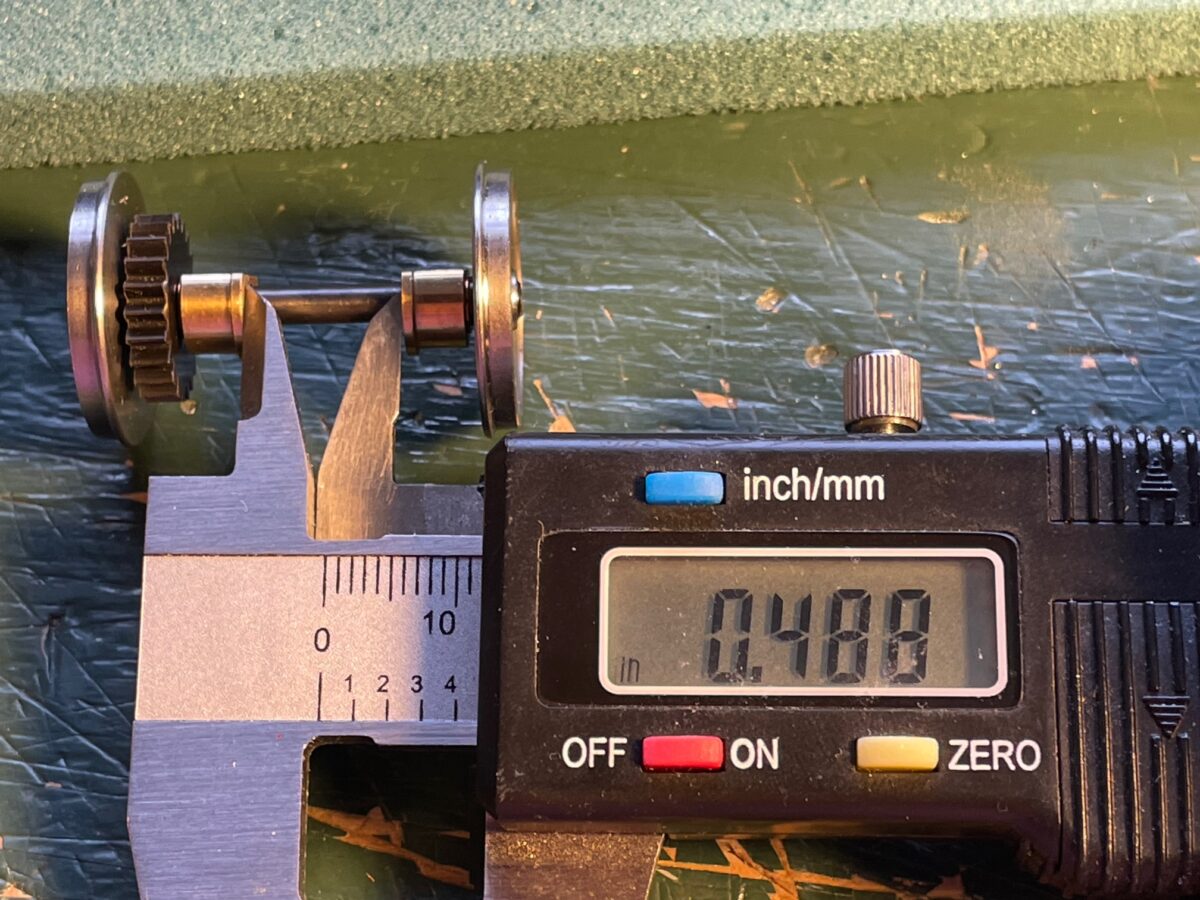
The NWSL parts had a back to back measurement of 0.488″ – 0.490″.
I know it’s only 0.006″ – 0.008″ difference but that is the difference of them fitting or not.
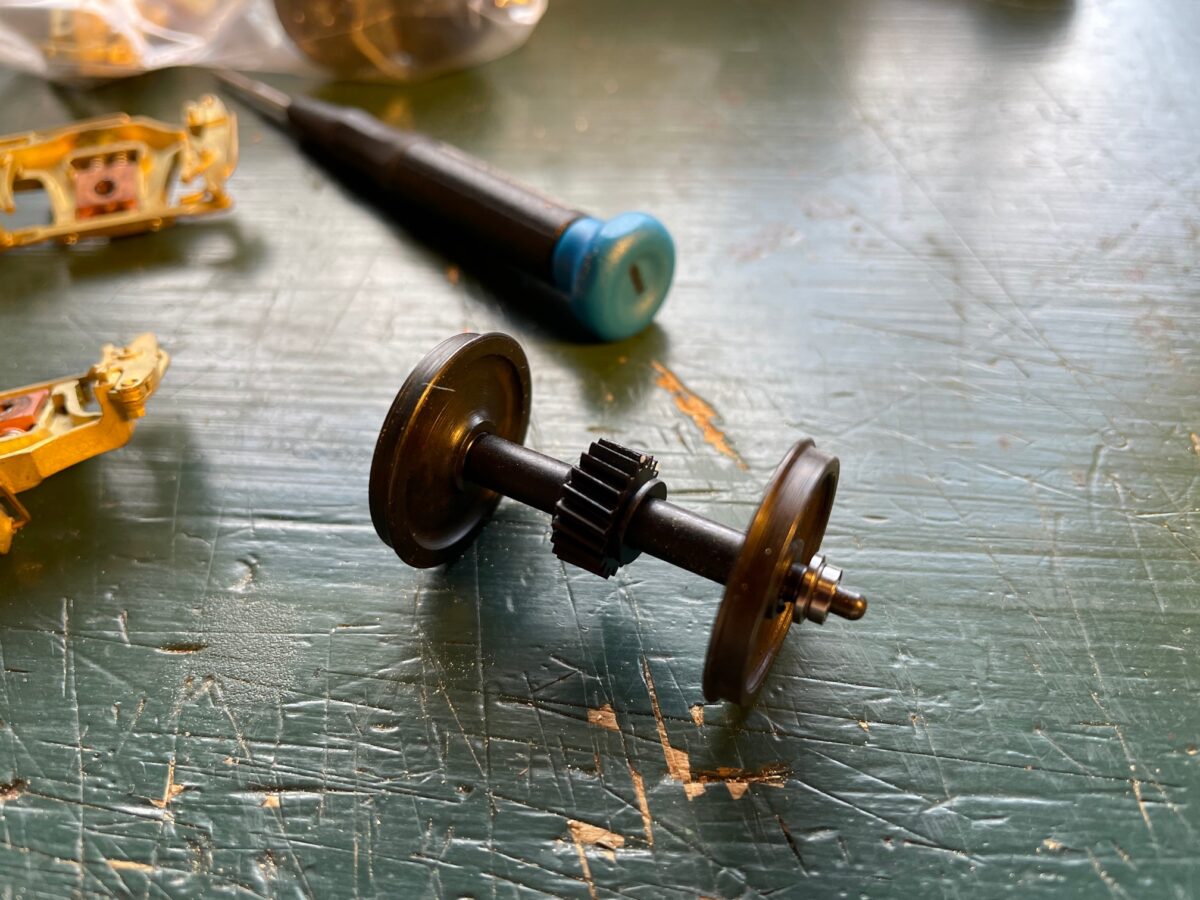
Time to disassemble the first axel.
This was the before measurement for the bushing.
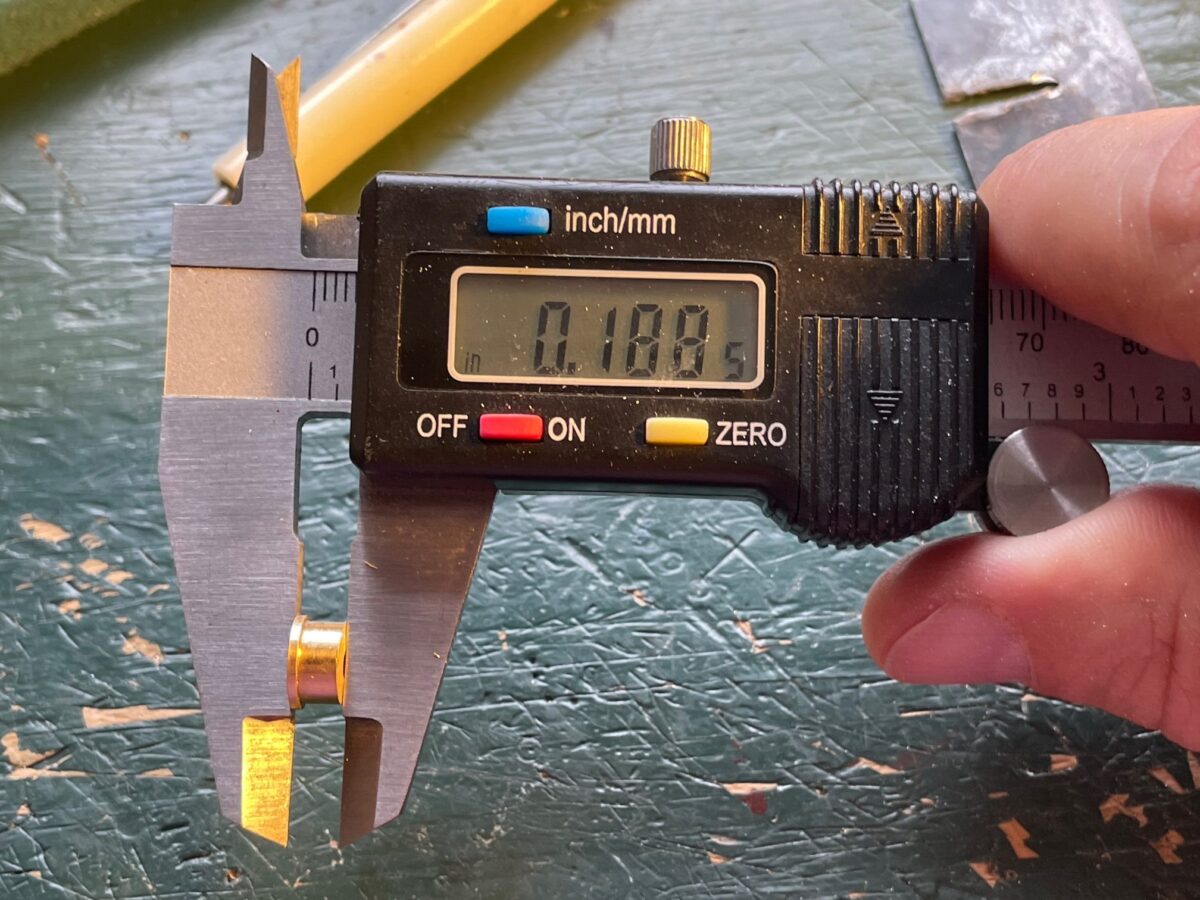
This is the bushing’s measurement after it went on a diet.
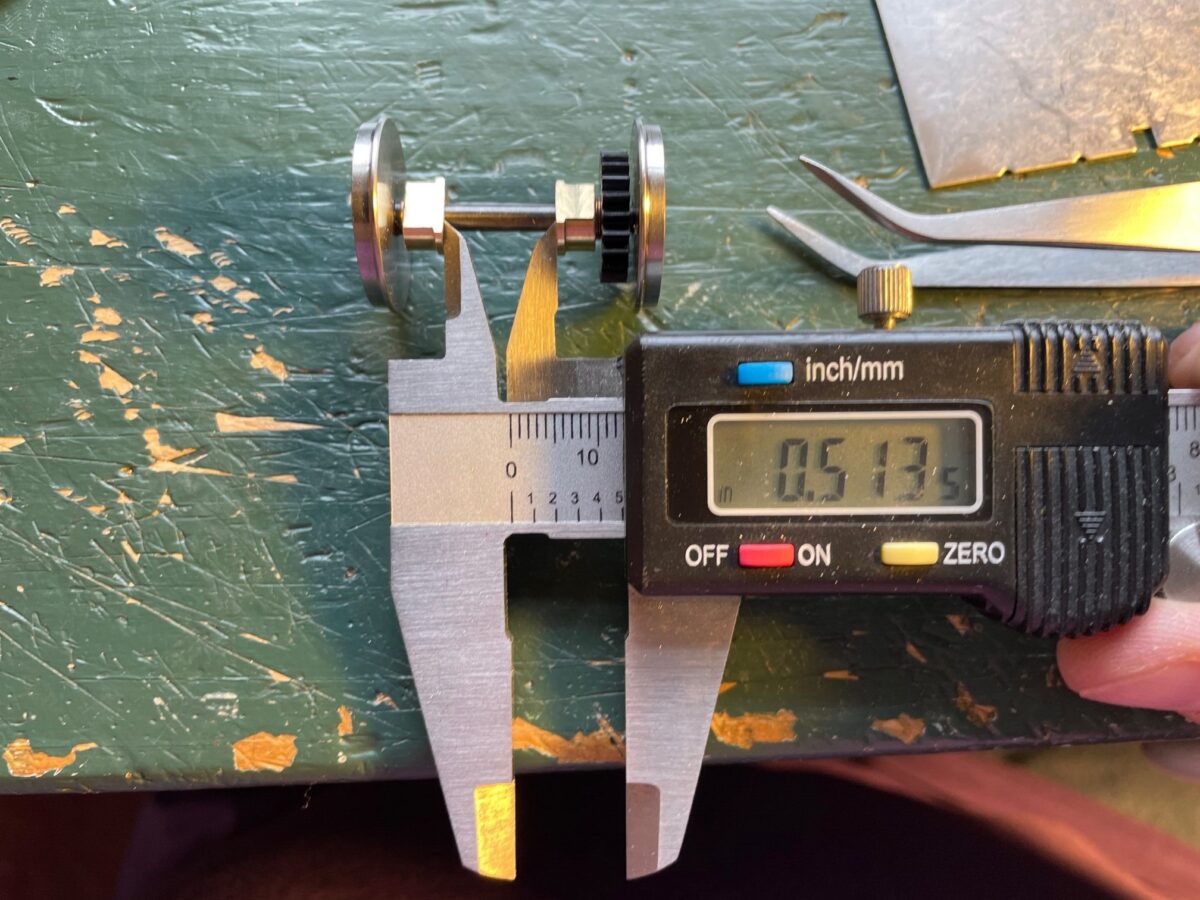
The new back to back measurement. And the most important thing….. They ACTUALLY were a drop-in fit into the grove on the top cover.
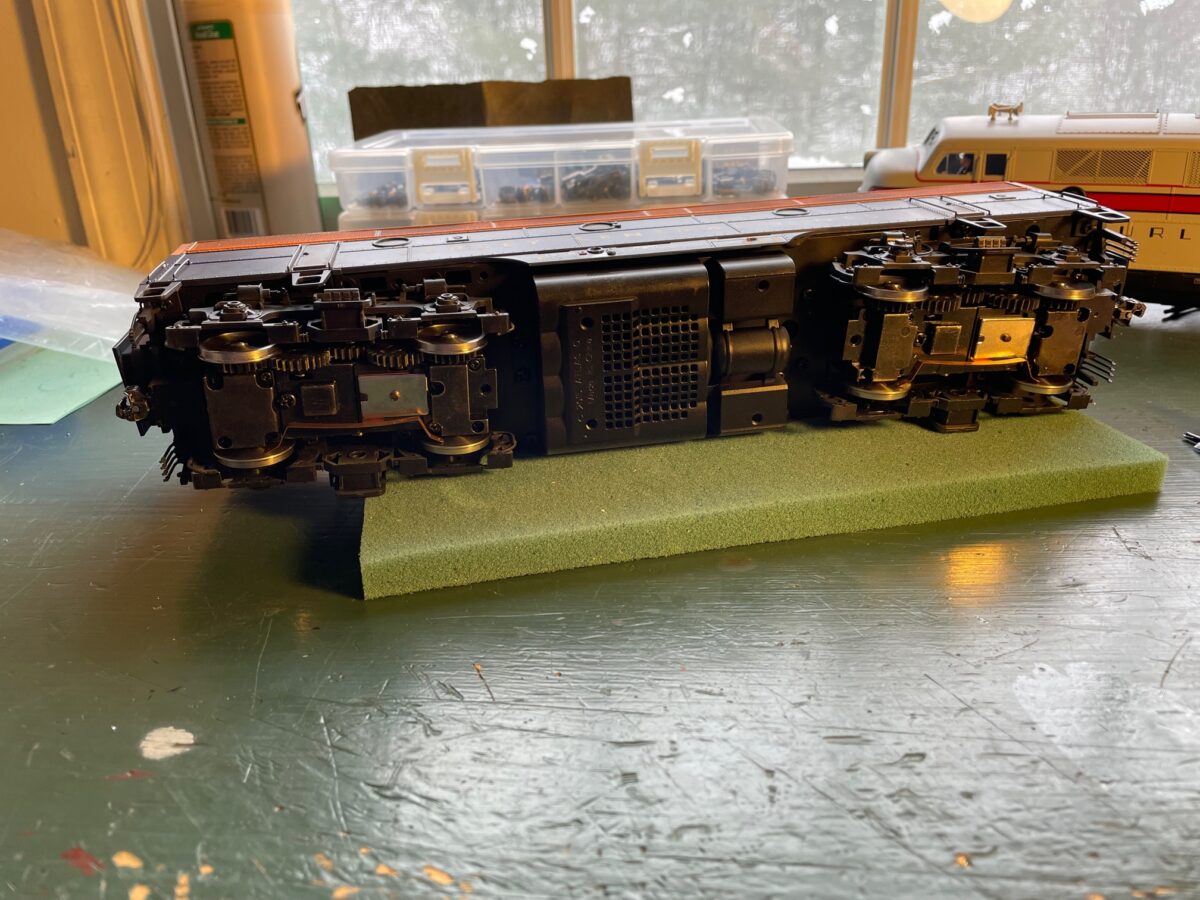
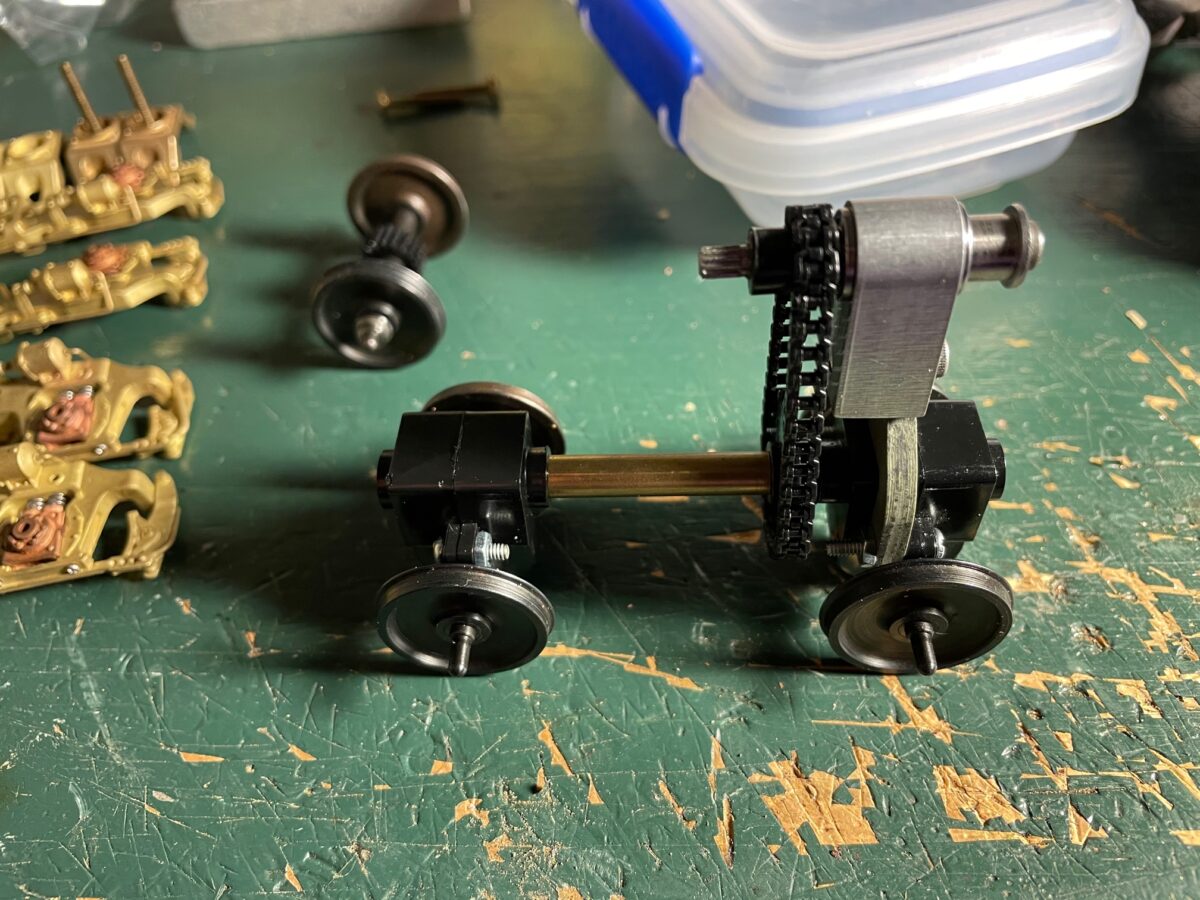
After modifying the two axels that didn’t fit, I had to open up the one truck where the axels did fit. I knew they were a very tight fit and just thought they would benefit from also being modified in the same manor.
I am happy to report that this last photo shows all four axels modified and installed. Next time I work on this model, those side frames need to move a lot closer to the wheels, but that is work for another day.
Truth be told, it took about the same amount of time to write this post as it did modify the bushings to make the axels fit properly. So it really wasn’t a big deal at all.
I’m still bothered that the conversion parts did not fit as delivered from NWSL. I’ve been modeling in Proto48 since the early ’90’s, I know there is no instant gratification in Proto48. We have to actually work on our models.
What if I was a newcomer to Proto48, this experience would have been very discouraging. It could have easily made me question if modeling in Proto48 was worth the extra effort. Sometimes the newcomer to Proto48 needs some simple wins to give them the motivation to keep going and try more difficult projects. This type of Proto48 conversion should be one of those simple wins.
It’s took a while to get some paint of the trucks. Then it took a while longer to get them back in the work line. Some of those freight car projects just go so much faster that it feels like you have actually finished something.
Anyway, these two pair of trucks have had new axels from Protocraft installed. Yes, they are now available from Right-O-Way but I’ve had mine on the shelf since they were a Protocraft product. I also installed ball bearing from Bearing Direct on the axels and also the FineScale 360 Weaver Chain Drive Replacement Kit.
I have to say that these are a pain in the ass to reassemble. Things seem to be moving in so many directions at the same time. It’s difficult to get them all to fit together without something moving. They are taking longer than I thought they would to reassemble.
And for anybody that might be questioning why I have a nice shinny black on the trucks instead of all kinds of weathered blacks/grays/rust. For my modeling period, the Summer of 1952, these units are less than a month old. I don’t think the railroad would have been happy if they had been delivered with well worn trucks.
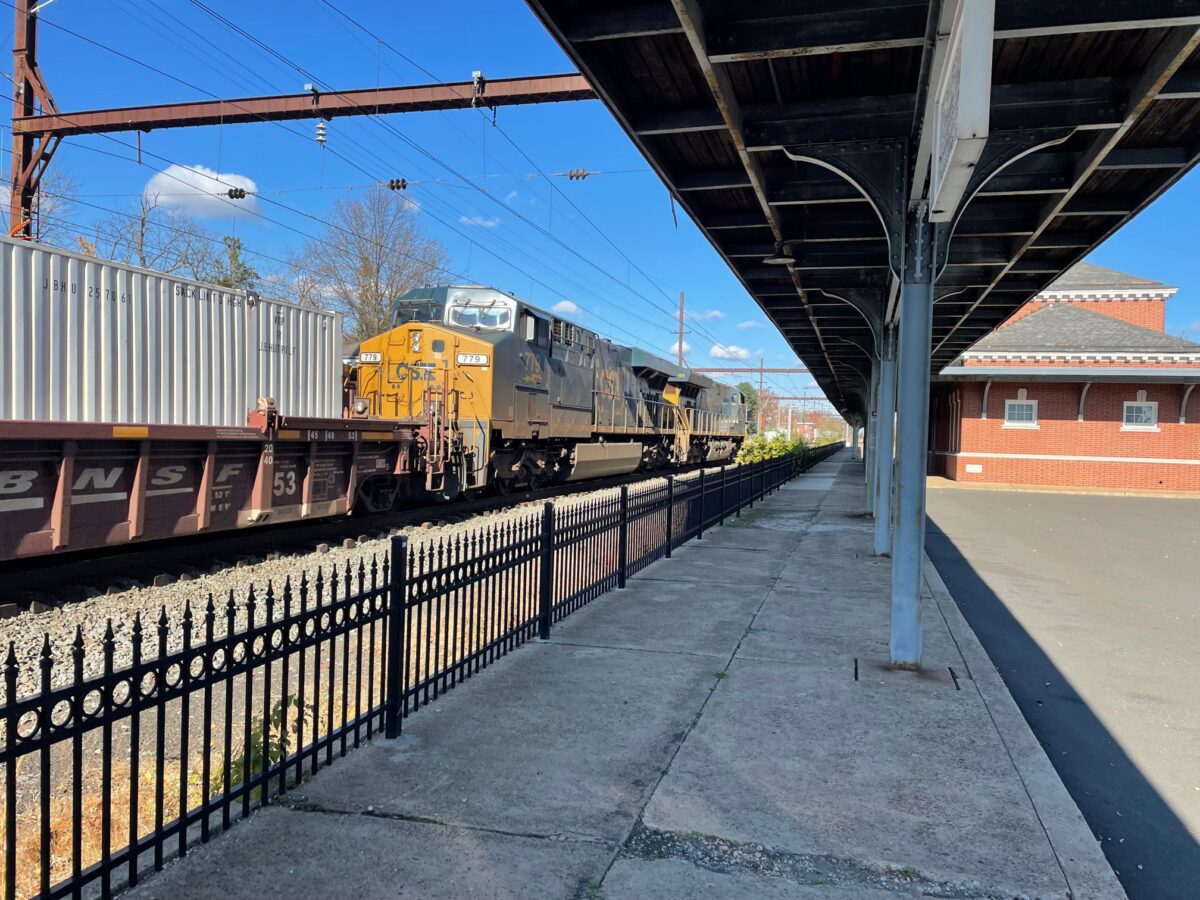
I am back at work a couple of days a week until the end of the month. This has meant getting out at lunchtime to West Trenton Station. This week I got to see a CSX stack train head North through the station.
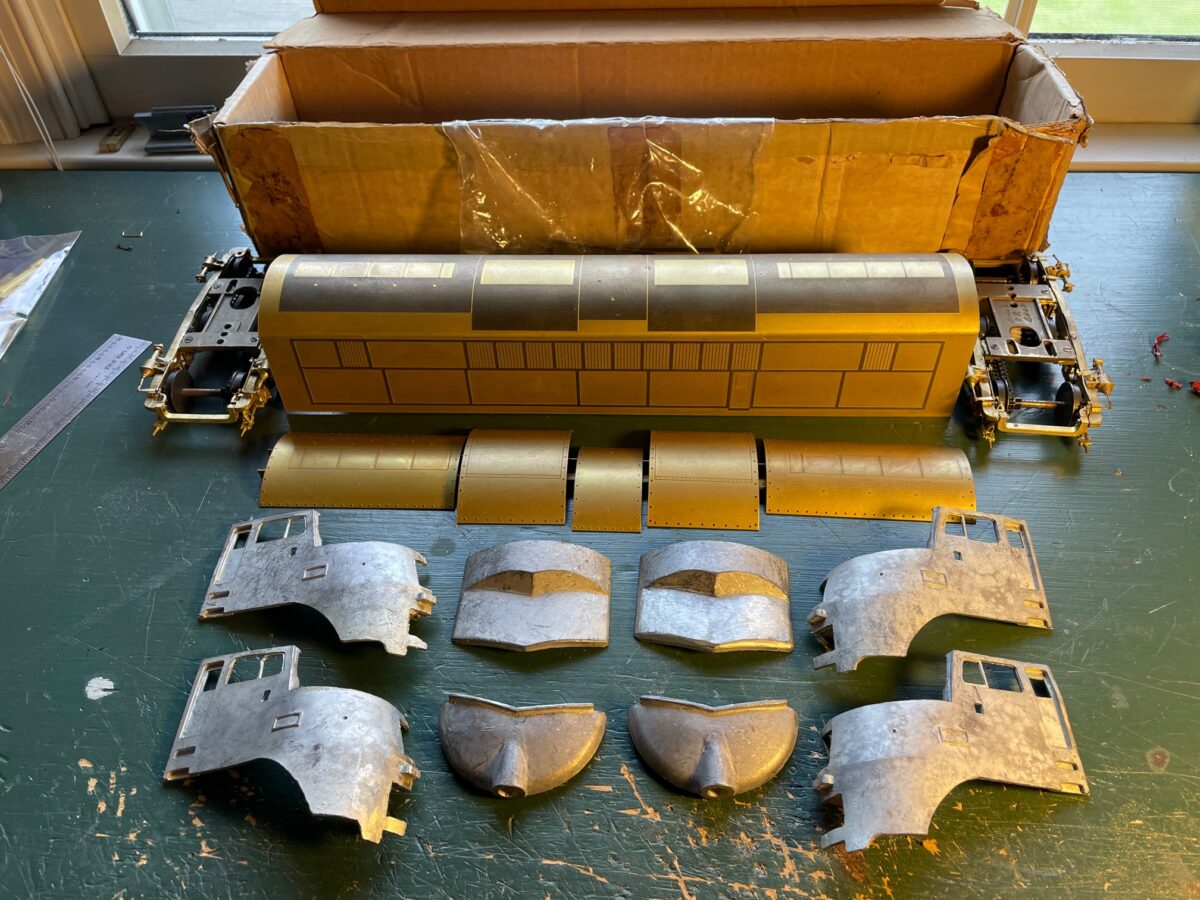
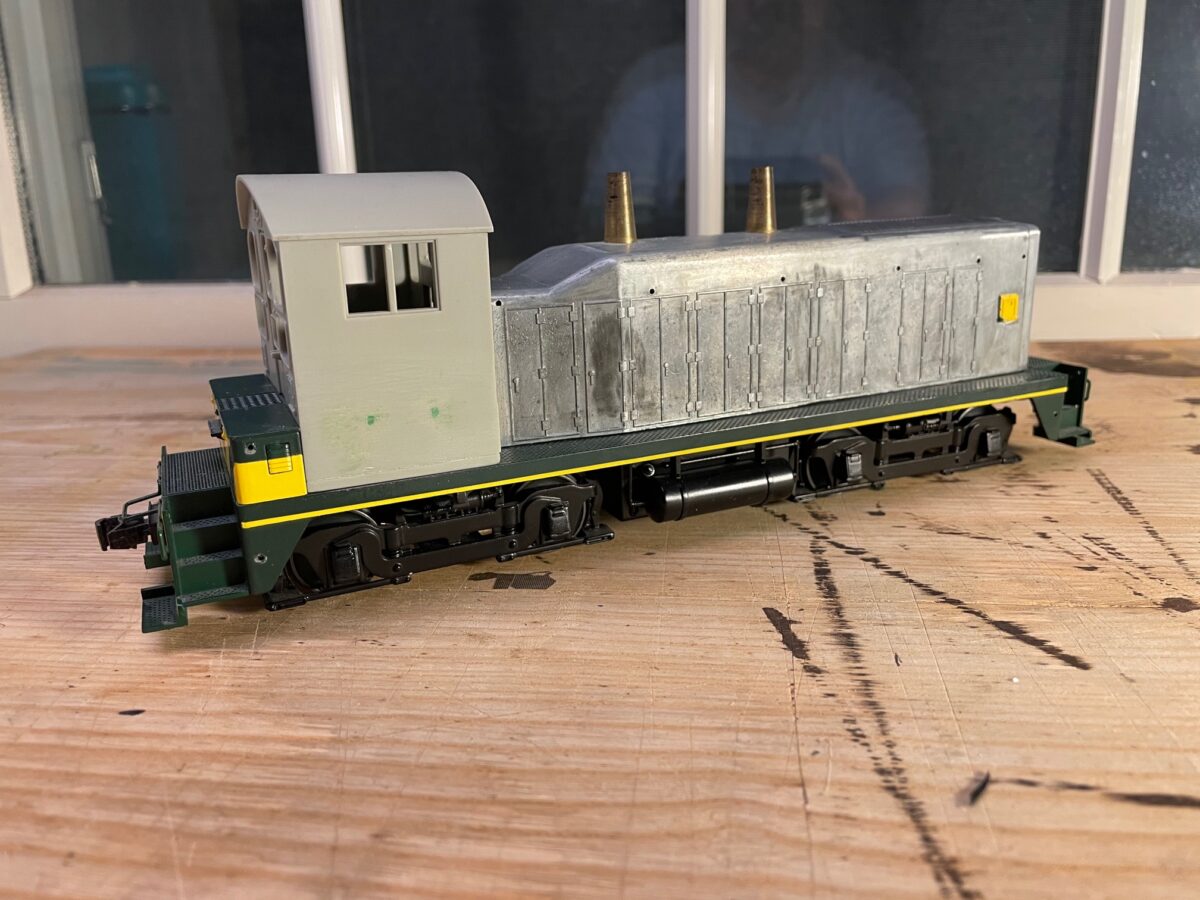
Well I got the Locomotive Workshop Baldwin kit home and took a good look at it. It is mostly complete. You can’t see the parts bag behind the body etching. The nose casting are softer then I remember from other kits. They will require some work to fit the four pieces together.
I’ve built other LWS kits in the past, to say they are basic is an understament. I had a friend refer to them once as a scratch building project disguised as a kit.
I’ve wanted to build the CNJ DR 4-4-1500 “Baby Faced Freighters” for a long time. This would give me the two nose castings I would need for the project. I could just use them as is and build the freight units, but I still think I want to build the double ended passenger unit. So I’m planning build one nose up and have resin castings made for the project. At any rate, it’s not at the top of the project list right now. Back into the box to wait a little while before starting that project.
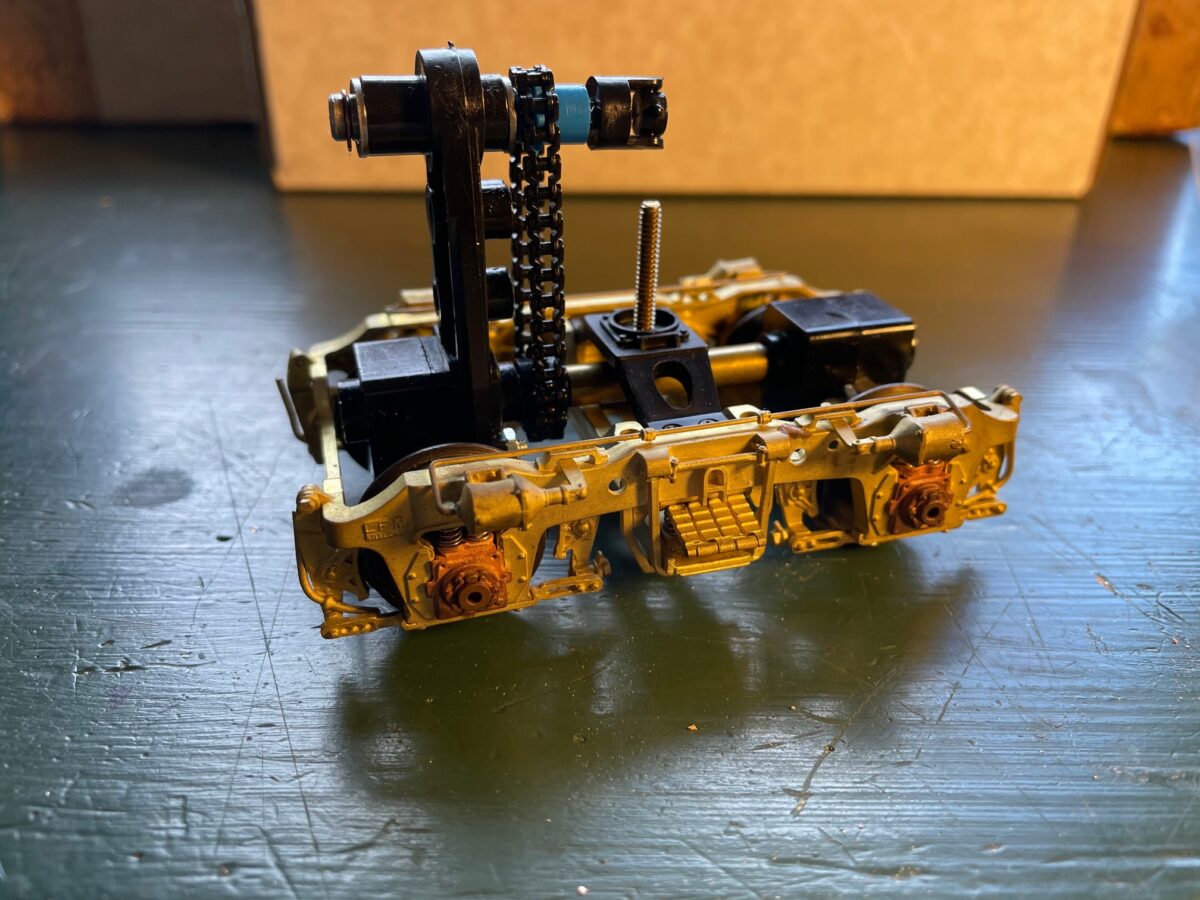
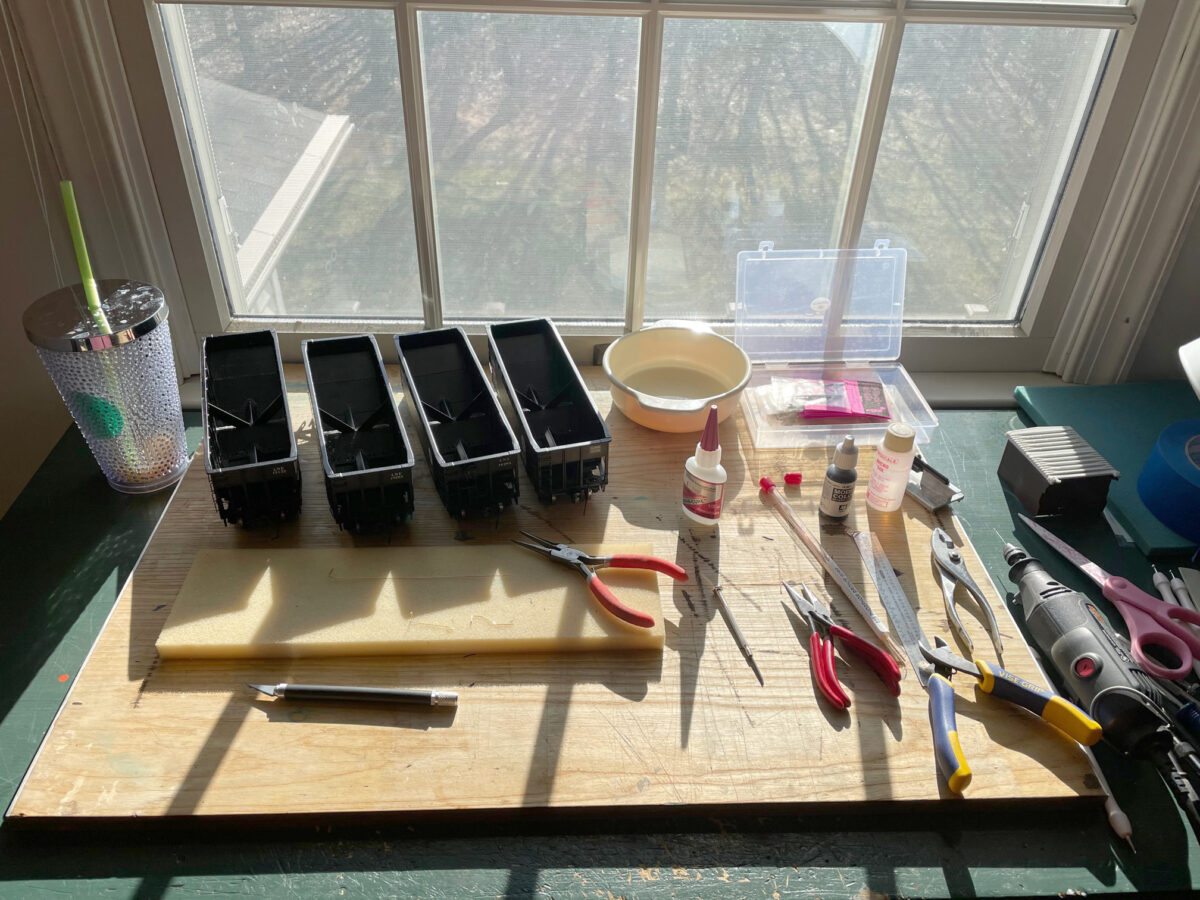
I’ve been working on pair of GP7’s recently. I’ve managed to find a pair of the Atlas O GP7 shells. I am replacing the long hood assembly of a Red Caboose GP9 with the Atlas O GP7 long hood to build my GP7’s.
I am working on the drives first. I’ve been acquiring the parts for this build for a while now. Even before I bought the Atlas O shells.
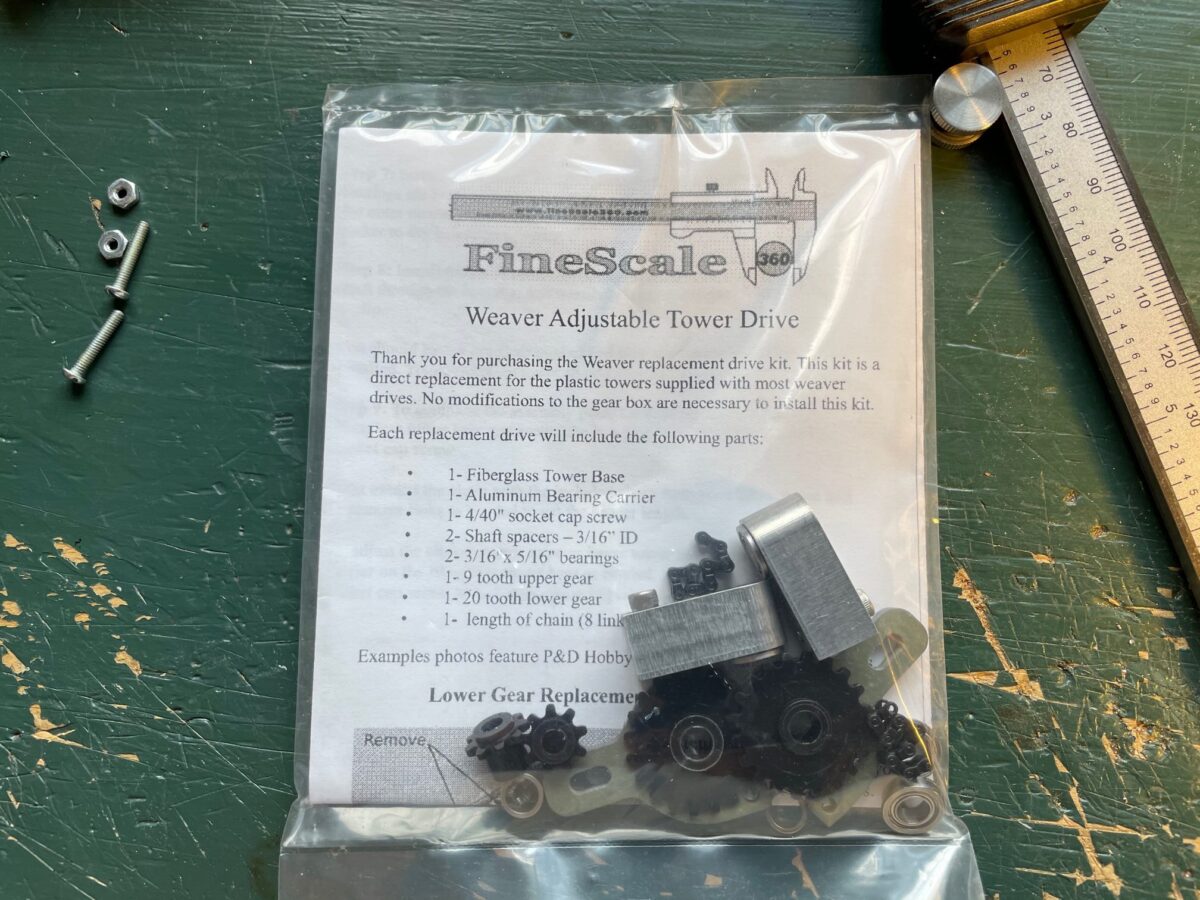
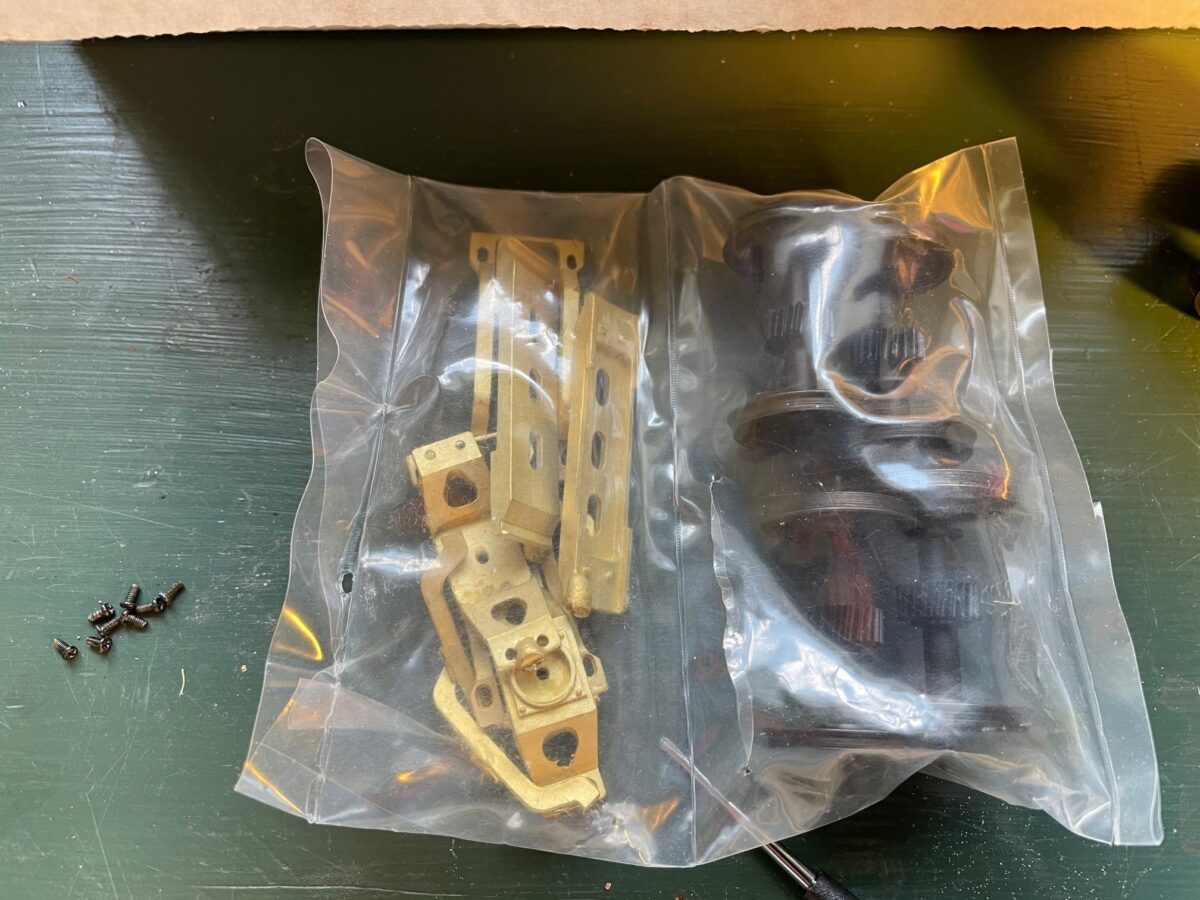
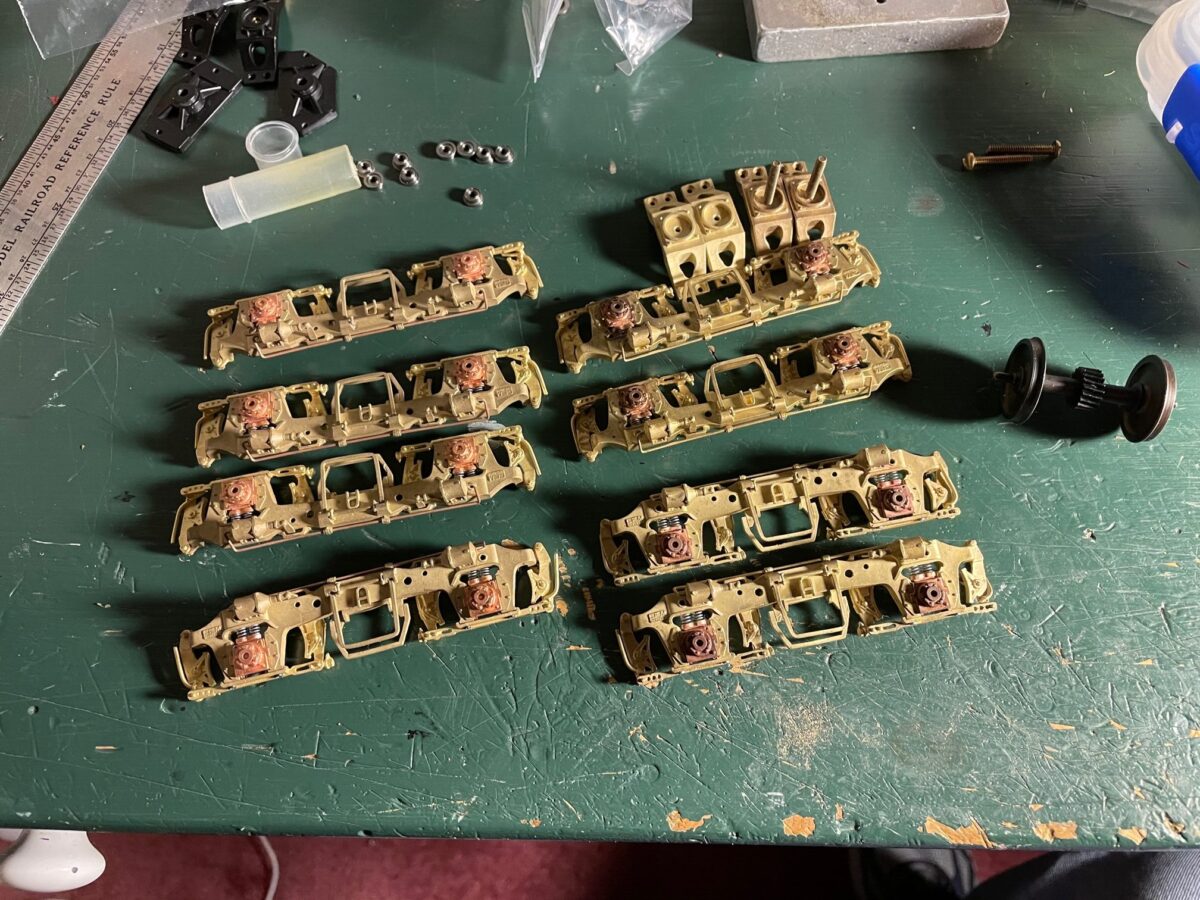
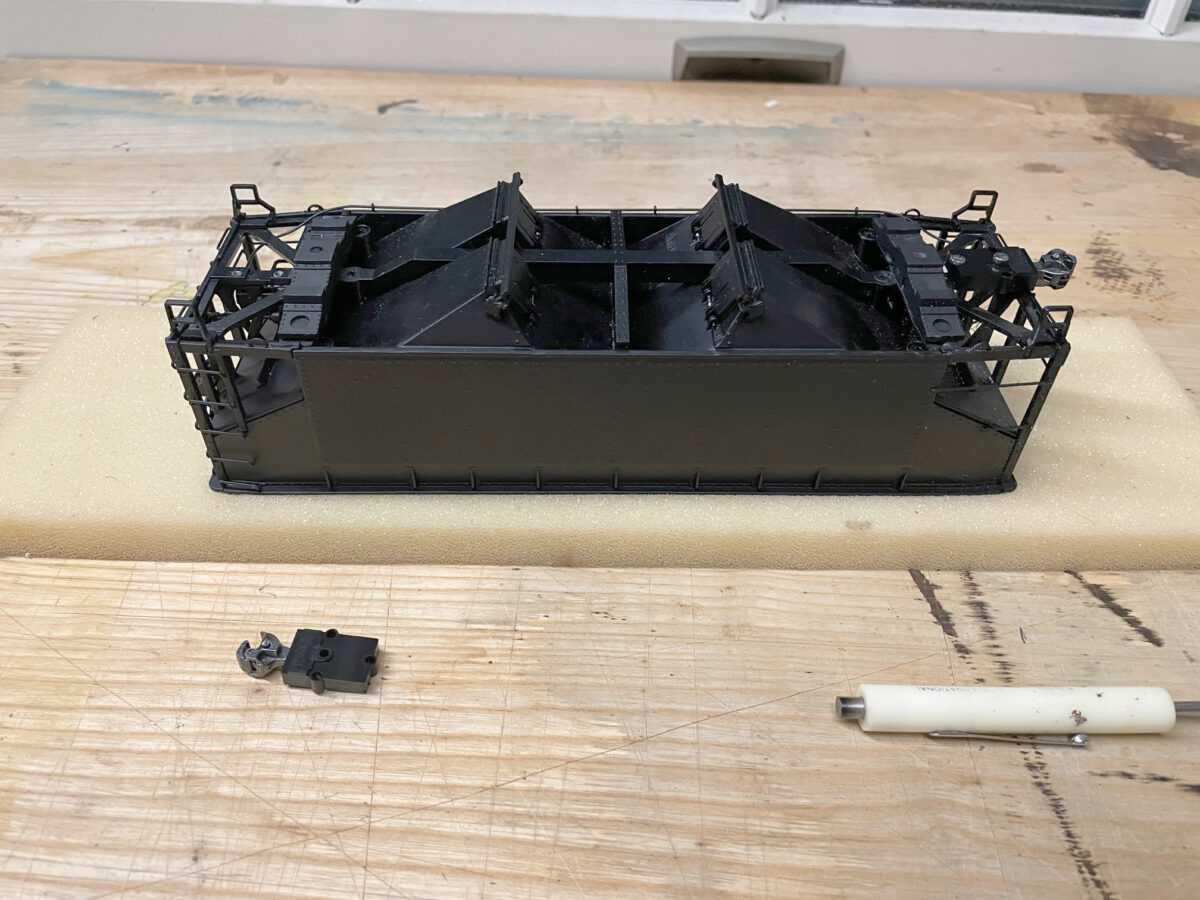
I started with the P&D replacement drives for the Red Caboose GP9. The two drives have been waiting their turn on the workbench for a while. Funny that when I examined the gear towers of the drives. The top gear of both towers in one drive had cracks. Not a problem as I had planned to replace the gear towers anyway.
I am using the FineScale 360 Gear Tower and also a set of Right-O-Way conversion wheels and truck castings for the P&D EMD Blomberg truck. This conversion set might go back to when these parts were sold be Protocraft.
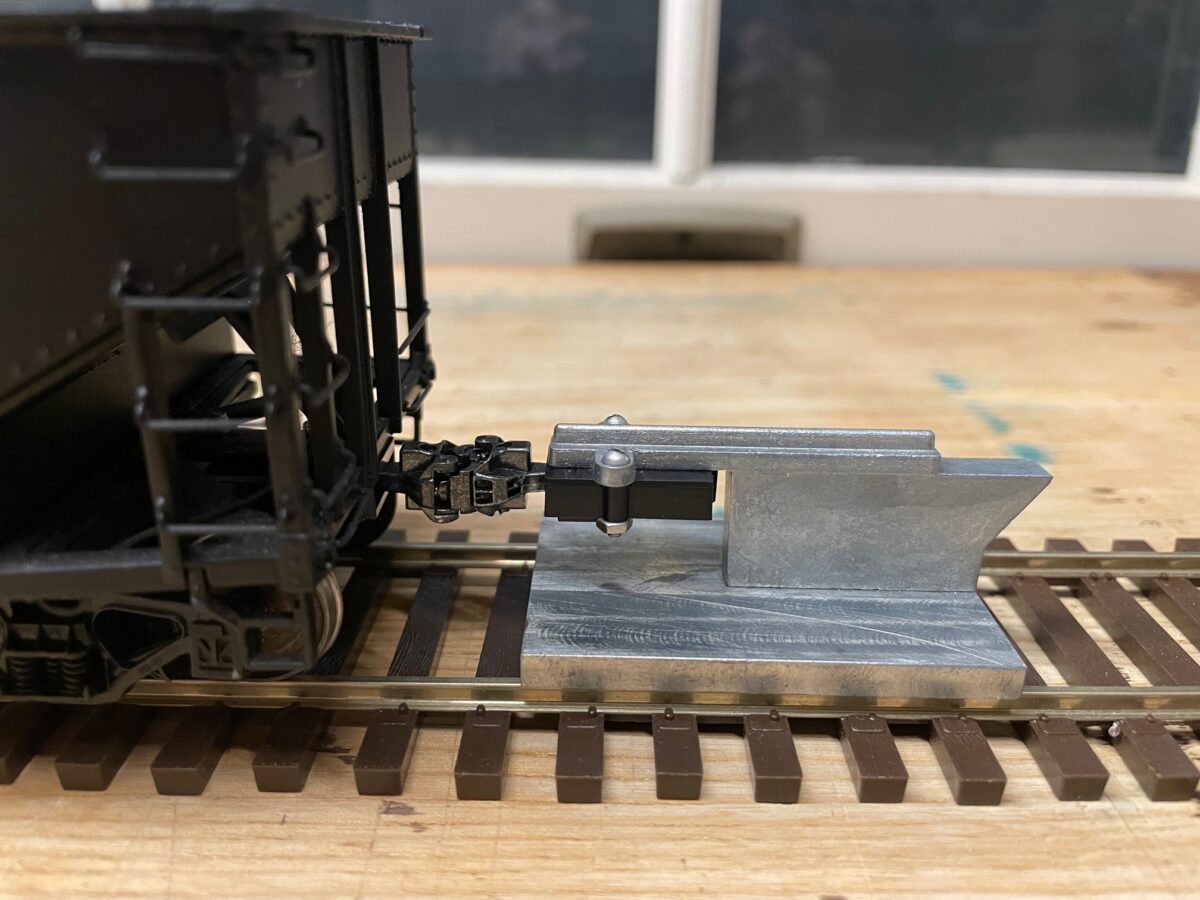
Since you have to disassemble the truck to install the conversion parts, I thought it would also be a good time to install ball bearing on the axels. You can see one of the ball bearings on the axel below. I’m using a FR133-ZZ Flange Mini Ball Bearing from Bearings Direct.
The model’s bearing in side frame have been modified to fit the new ball bearings on the axel ends. Next step is to paint and reassemble the trucks.
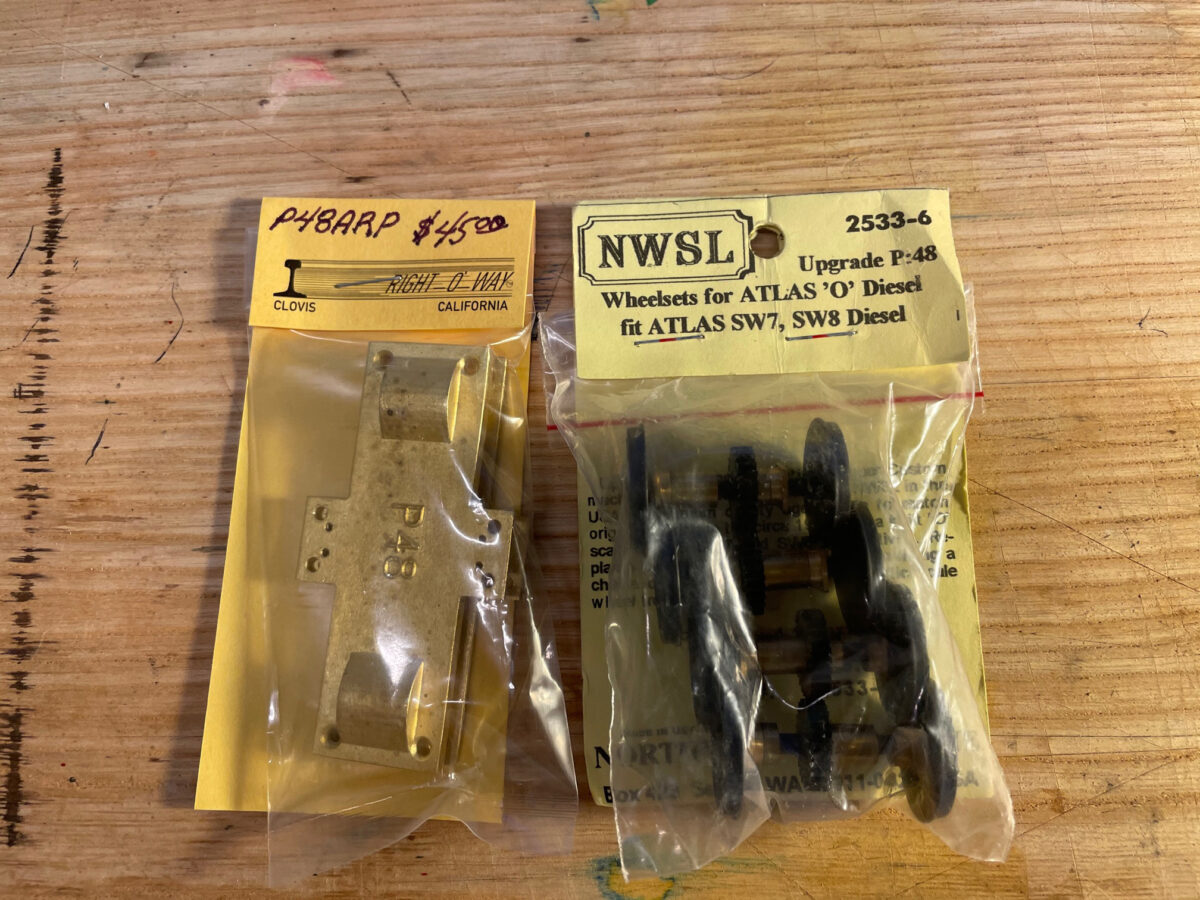
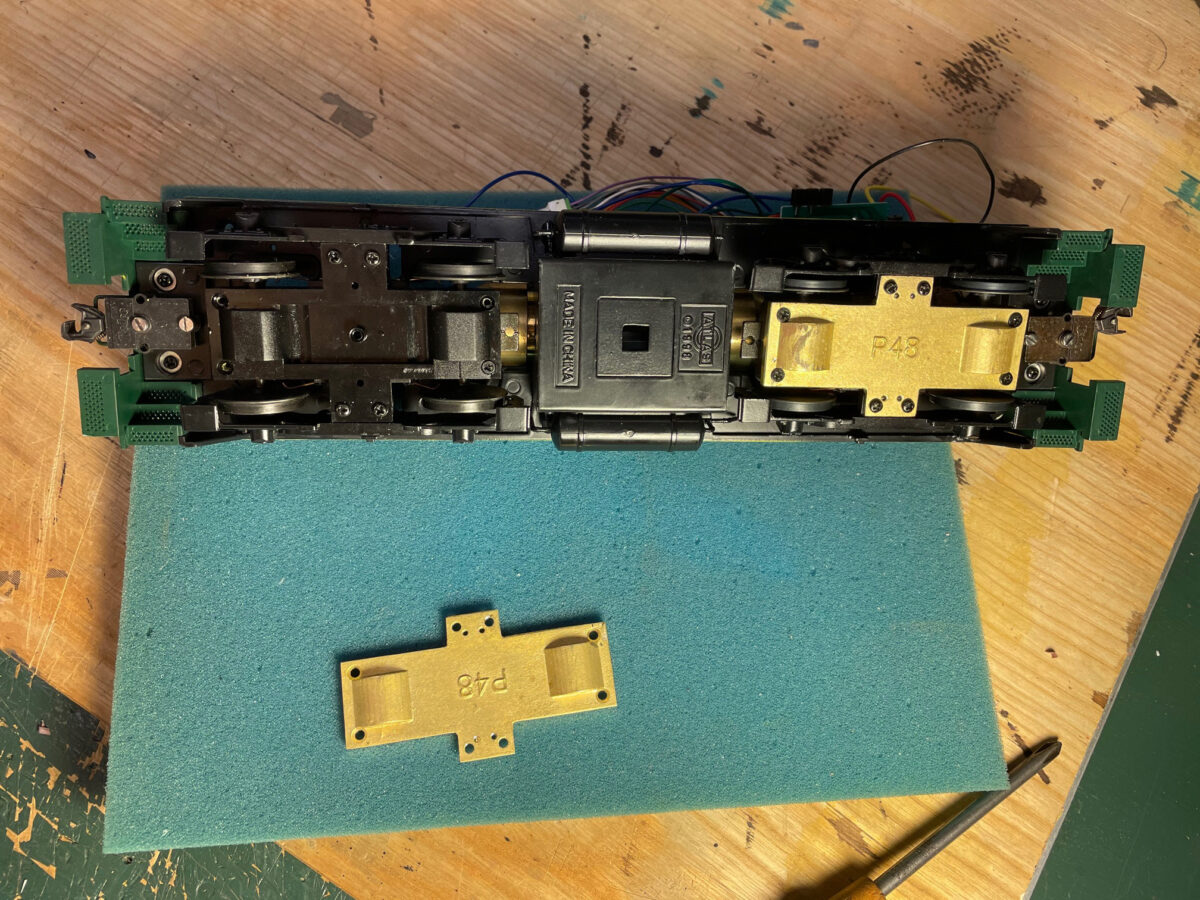
I have two Atlas “O” switchers, I thought my one project drive had been converted already. But when I got a phone call from a friend asking about Atlas SW wheelsets, I checked the model and it did have an upgrade set of wheels but they were the .145 NMRA wheels.
No problem, I had a set of P48 wheels on the shelf for a while (check out the old packaging), but the retainer plates I just got in a couple of weeks ago from Right-O-Way.
The retainer plate replace the original Atlas part. They are very simple to install, just unscrew the original plate and replace it with the new one.
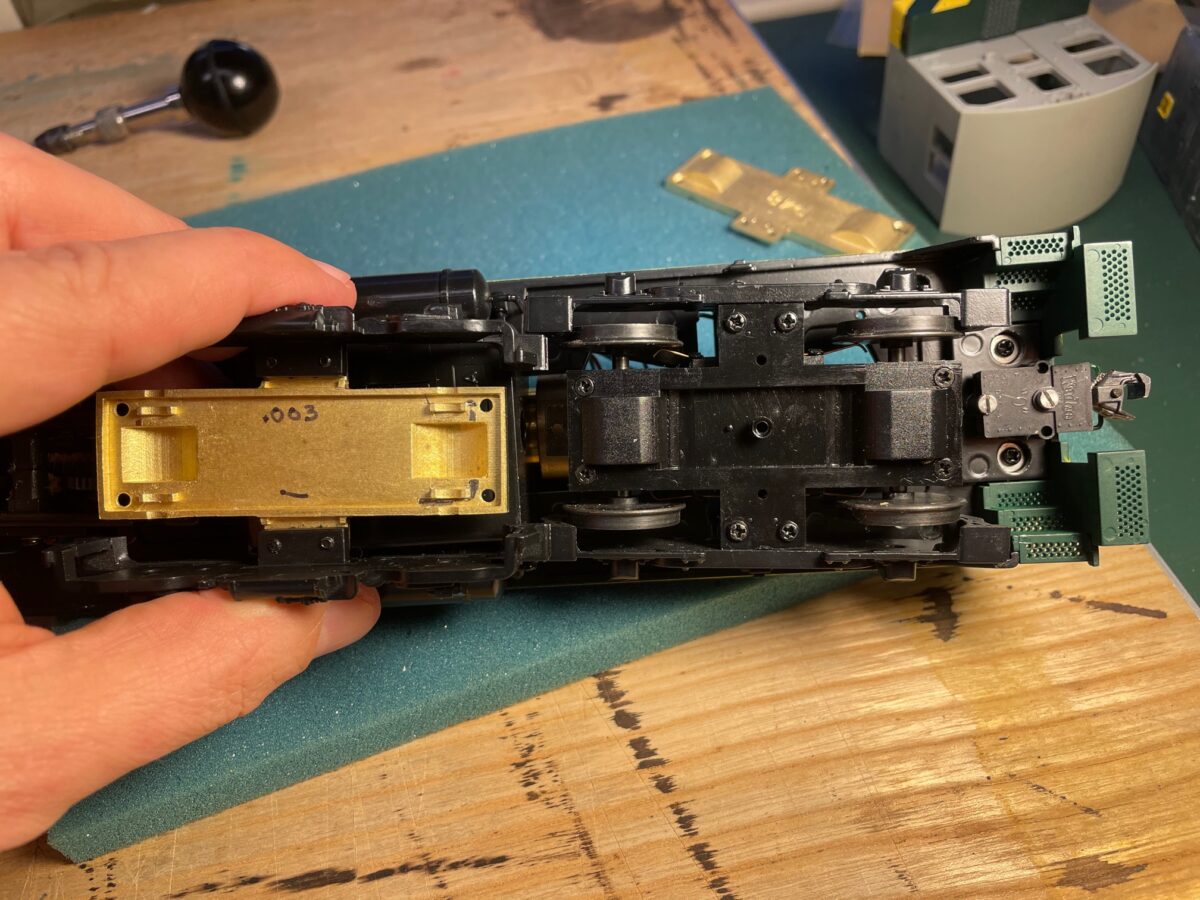
Here you can see how much the ROW retainer Plates pull in the truck side frames. It’s a very simple conversion, four screws remove the retainer plate and four more hold the side frames.
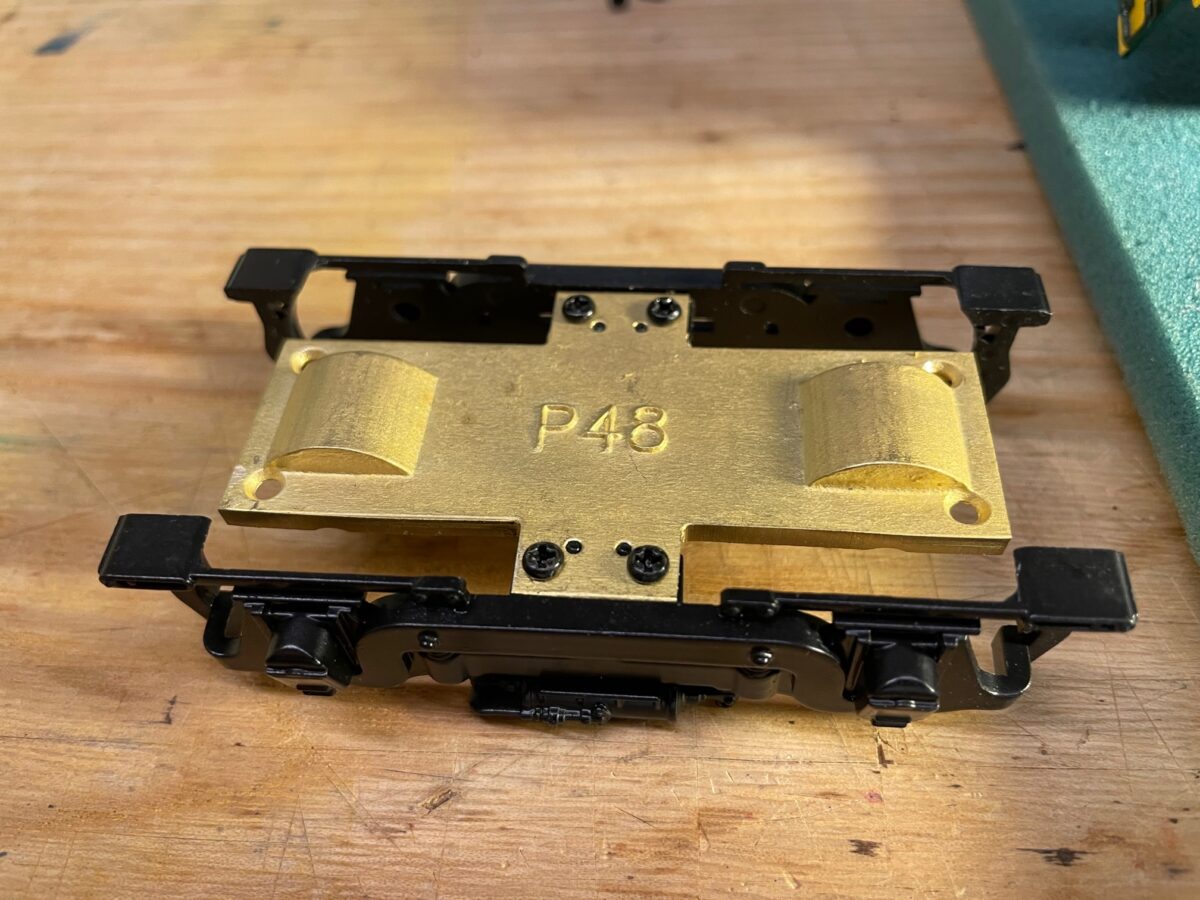
I really should have painted them BEFORE installing them. But my “mistake” allows you to see them more clearly.
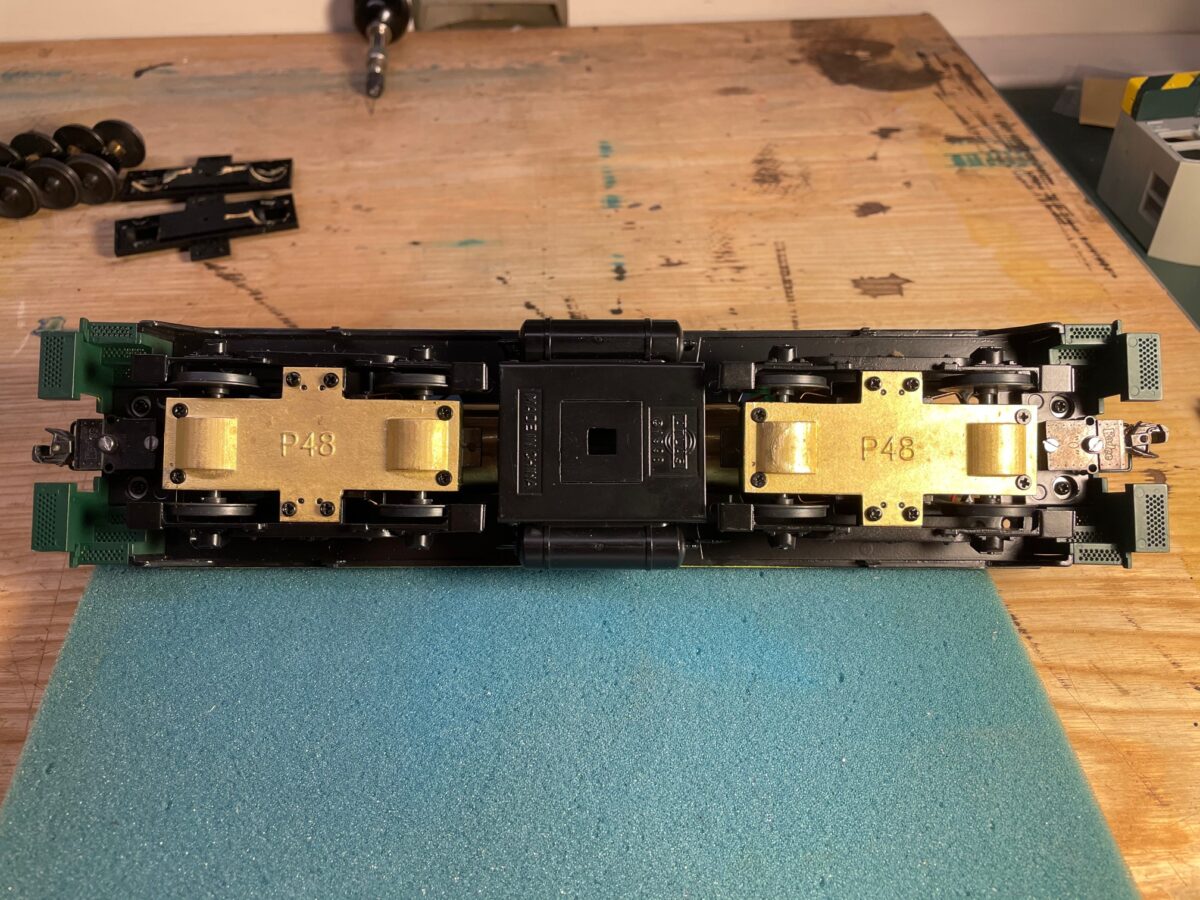
All done. My Frankenstein SW9/NW2 project back together. Still not sure this project will continue or be turned back into an SW9.
The Right-O-Way Proto48 Retainer Plates combined with the NWSL Proto48 Conversion Wheelsets really make this a simple and much improved looking conversion. I’ll time it next time, when I do the other switcher. It could not have taken more than a half hour to complete. The only tool required was a Phillips screwdriver.
Right-O-Way sells the retainer plates by themselves or with the conversion wheelsets. They really do make a big difference in the appearence of the trucks.
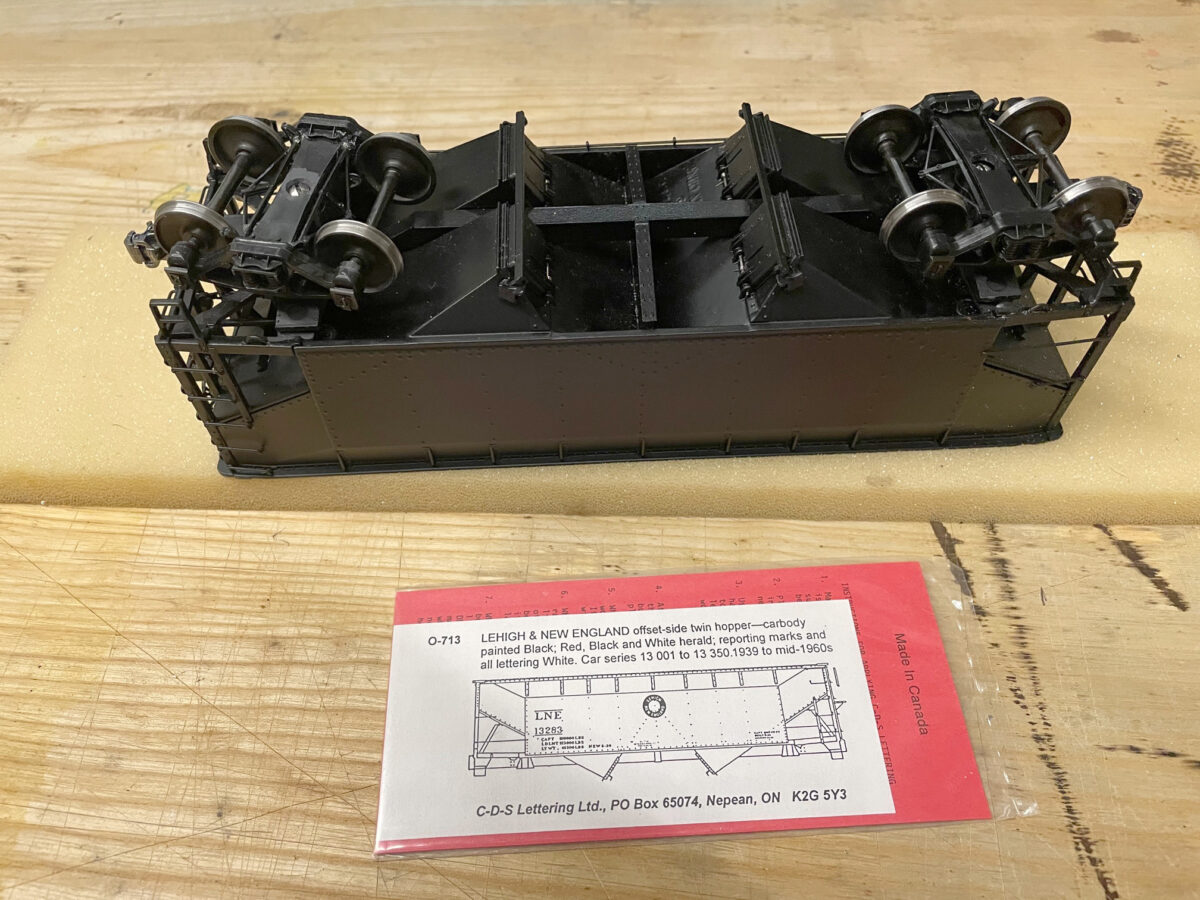
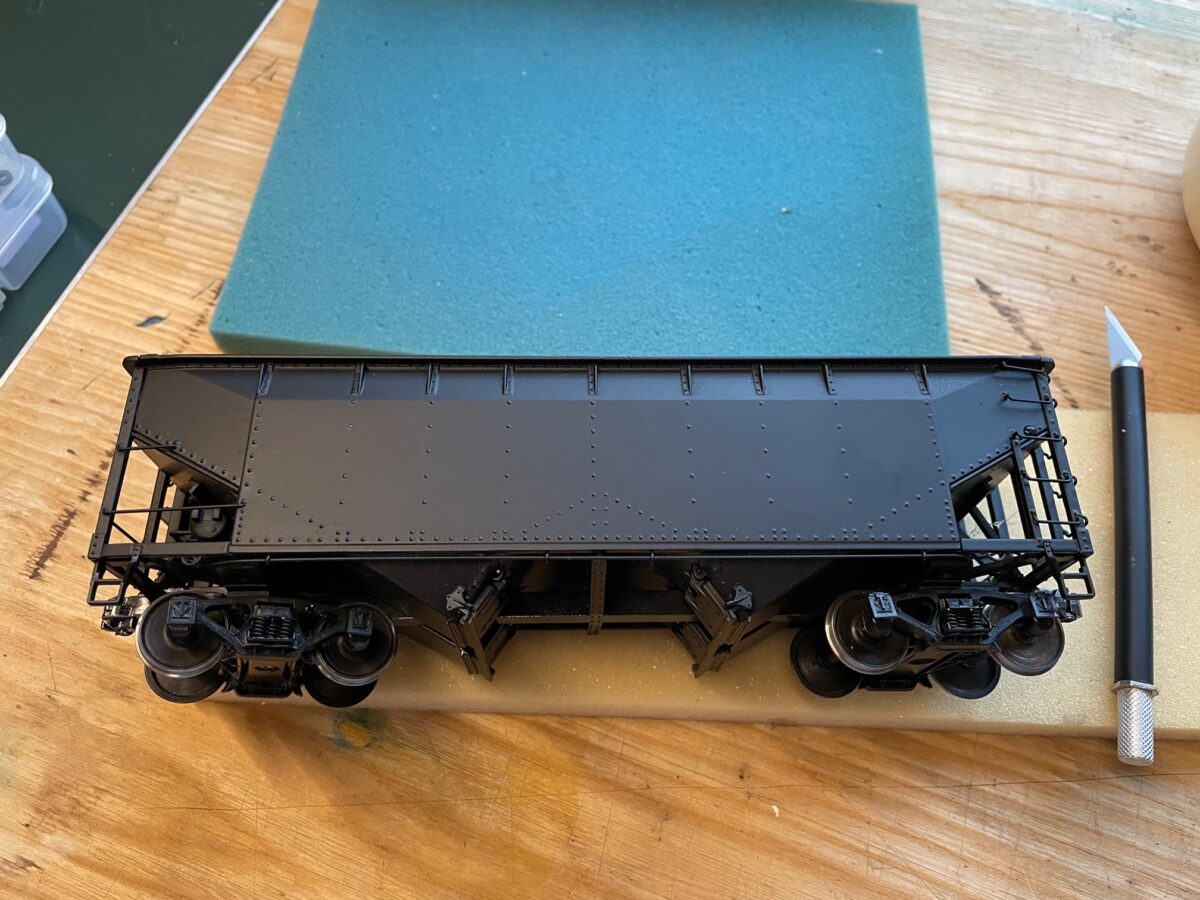
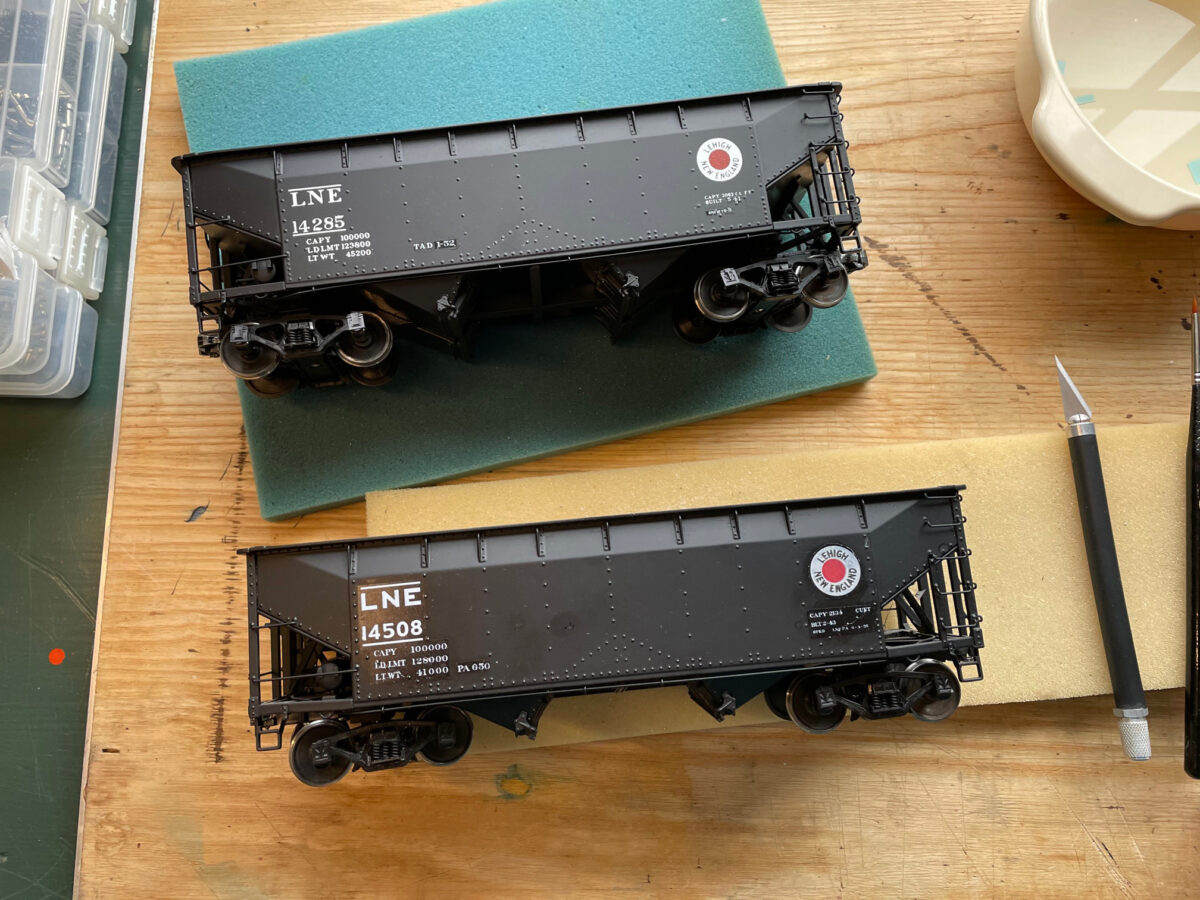
Last week, I finished up ten pairs of Intermountain Trucks with Protocraft Wheelsets installed. Well, I had to find some models to place them under. So, I dug out some Lionel offset twins I’ve been working on.
I had four of the twins that I had mounted couplers and installed PSC bolsters on a number of years ago. I forget what they were decorated from the factory, that lettering was removed long ago and they were painted black on their way to become something new. About a month ago, I used CDS dry transfers to decorate three of the cars for Leigh & New England. This fourth car was still waiting.
You can see from this view. These were not extensivly rebuilt from their 3-rail origins. The center sill is drilled and tapped so that a Kadee coupler could be installed. The 3-rail bolster was ground flat and a Precision Scale bolster glued onto the car. I’ve done about a dozen cars in this way, but I’m looking into doing a different type of conversion the next time. One which rebuilds the bolster sheet into something a little more prototypically accurate.
I was going to just mount the trucks on the cars, but the couplers needed to be changed out and checked against the gauge.
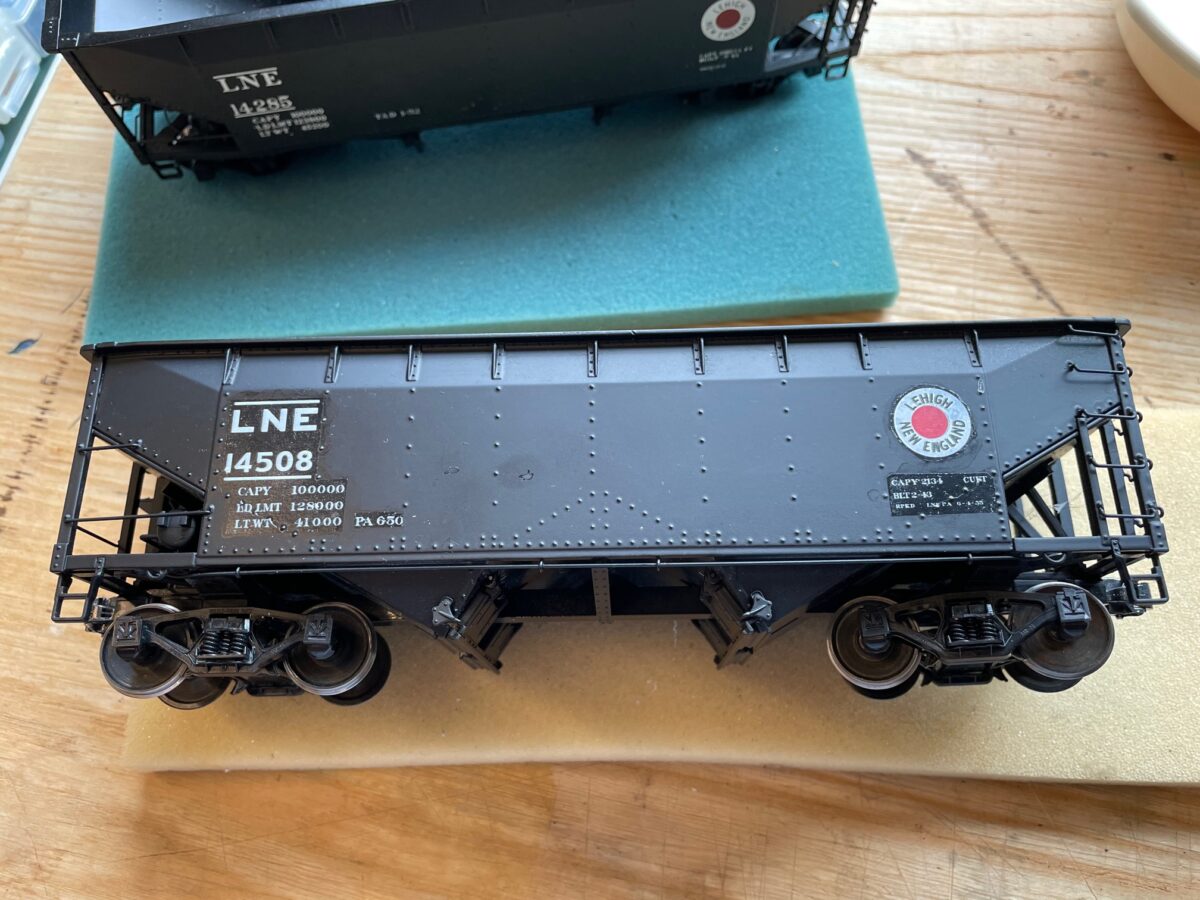
I was thinking of just using the last set of transfers I had for the LNE on this car but I do have a love/hate relationship with dry transfers. I love they way they look on a car. We won’t talk about applying transfers to ribbed cars. That is one experience I can live without ever again.
I really wasn’t looking forward to doing another car with the CDS set. The transfers are getting old and one of the sets I used wasn’t sealed properly. It really gave me a hard time applying them to the car.
As I looked closer on the cars I thought were done, I still had the ends to do on two of the cars. So they still needed a little work in addition to the truck installation.
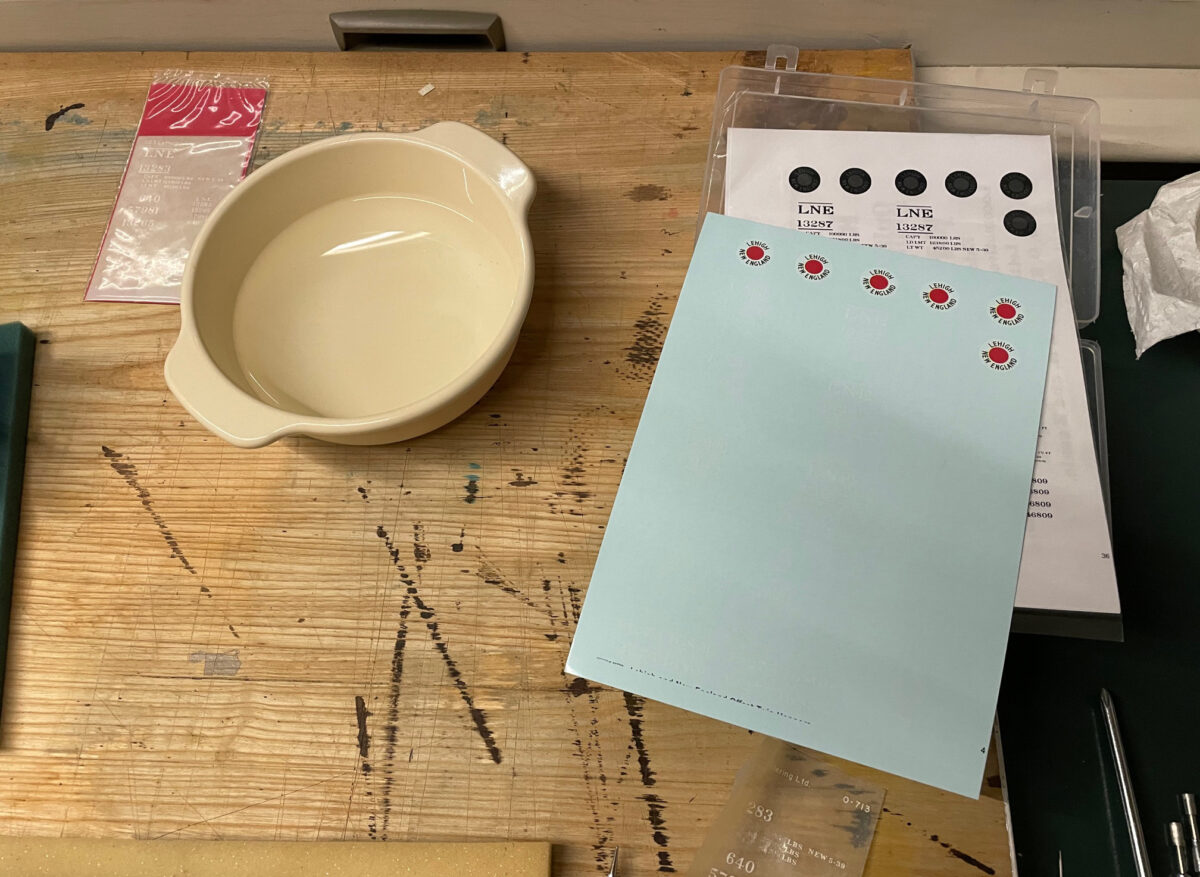
I had picked up a set of decals from K4 Decals with the thoughts that I might be able to use some of the little bits to complete the cars lettered with the transfers. I thought it might be a good time to try out to letter the fourth car.
I started applying the decals and I really wasn’t happy. The logo was thin and oversize compared to the car lettered with the CDS transfers on top. The reporting marks were a different font even though they were the same scheme. It reminded me of using a set of Champ decals.
Nope, they had to go. Back to the black car.
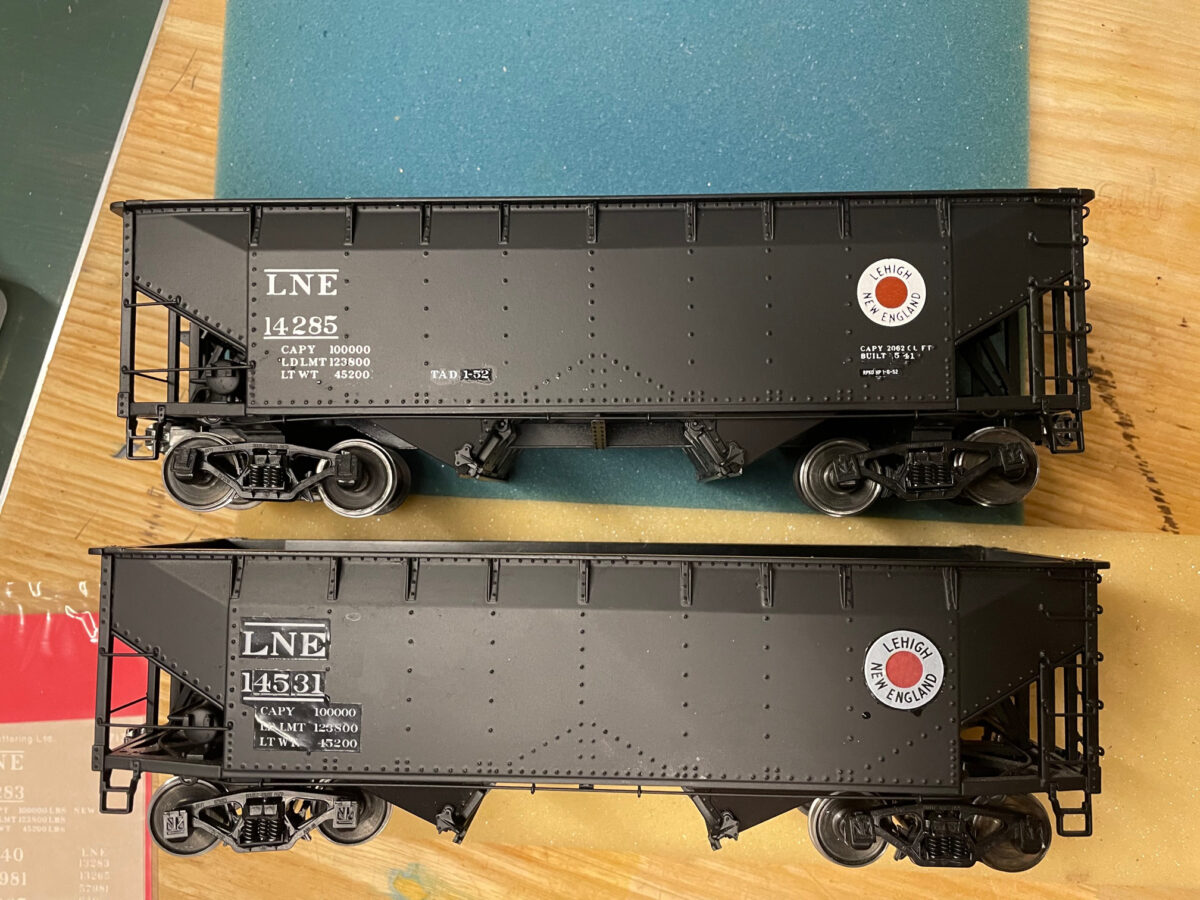
I thought about using the last set of CDS transfers I had on the car. Instead, I decided to used a set of decals from the same company for the San Serif scheme. The logo was smaller than the first set, closer in size to the CDS logo. And since the other three are done in the Roman scheme any problem with the decal lettering won’t stand out as much.
That looks better.
I finished up the lettering on the ends of the other cars also. I needed to change the numbers around and it’s a struggle to do that while looking through the transfer sheet.
I burnished the numbers onto a blank section of the decals. Then I could just apply them like decals on the ends of the cars and change the number sequence as I needed to.
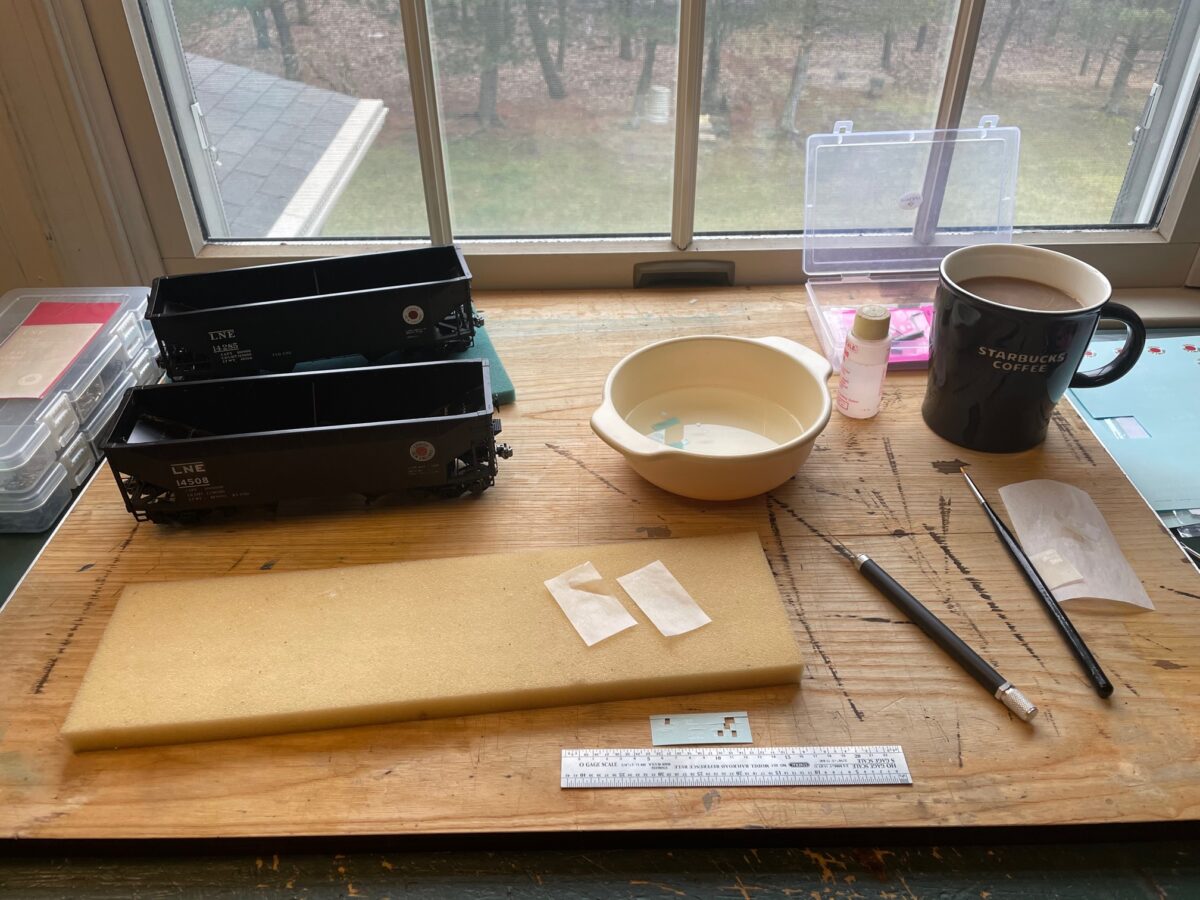
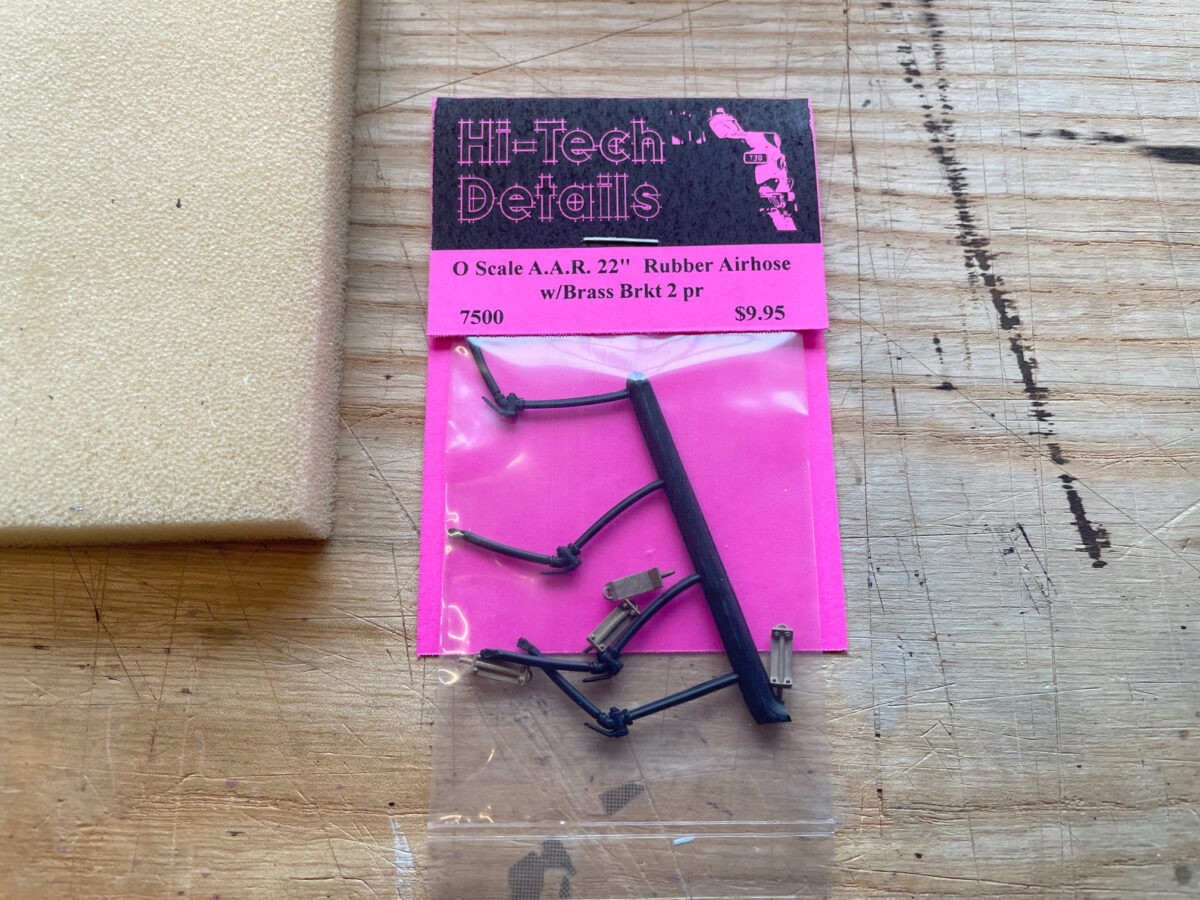
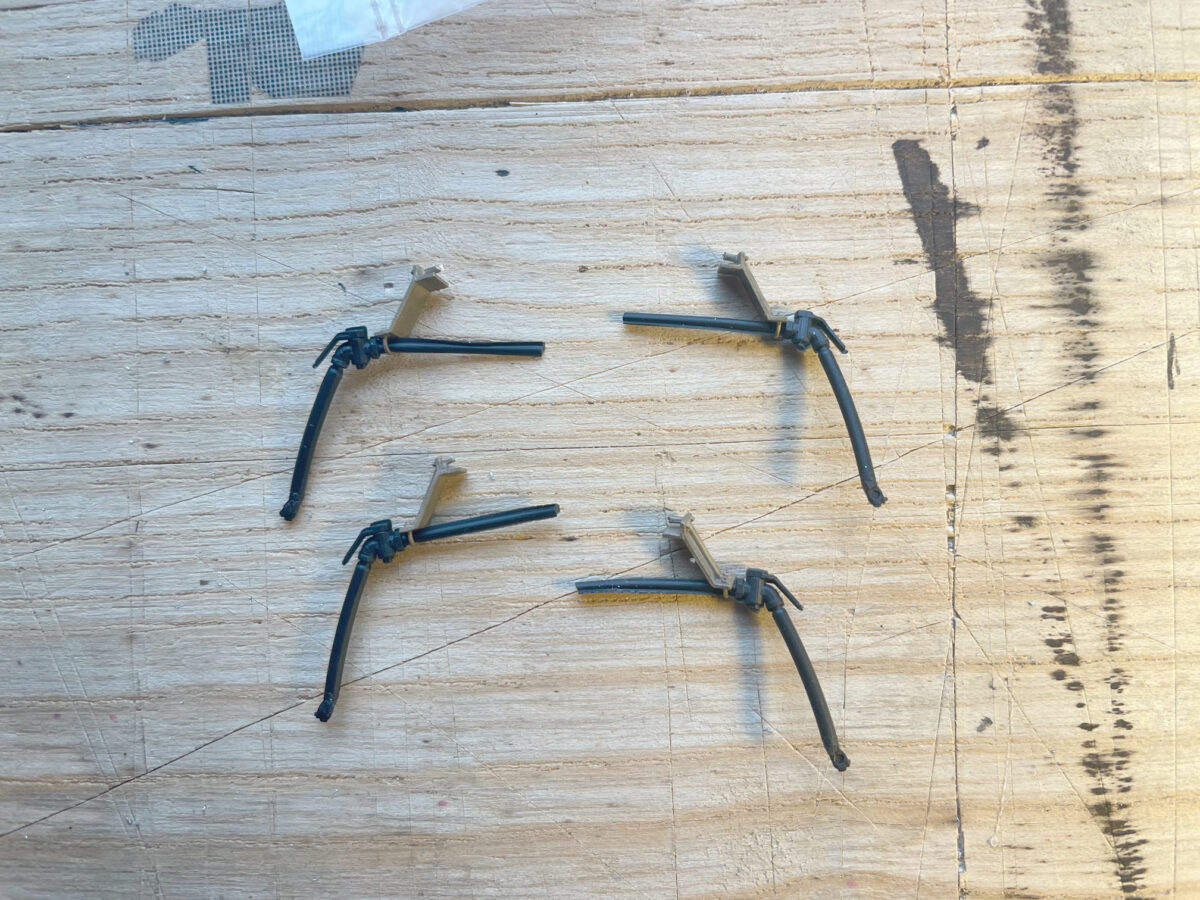
Since the cars were sitting on the workbench and my order for the air hoses from Hi-tech Details came in. I thought I’d instal them next.
They are very simple to install. The bracket mounts onto the end sill and the air line feeds through the opening on the bracket. I usually just tie the air line into the cars air line by just glueing them onto the side of the existing air line.
Two cars completed, two more to go.
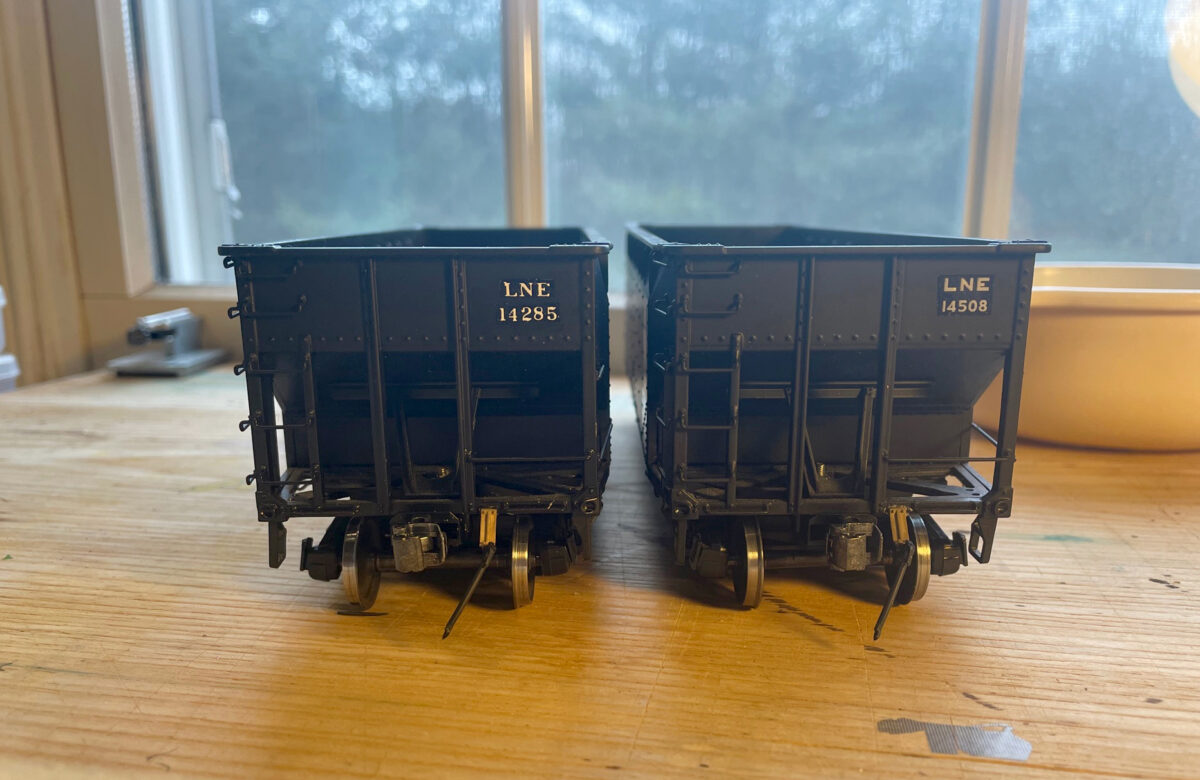
Here are the four car with the air hoses installed. They have been touch-up with a little bit of Vallejo Model Color Glossy Black 70.861. Their lettering is a combination of decals and transfers. Next up for these cars is to install the uncoupling levers, overspray the decals with Dull Coat and then it’s time to weather the cars.
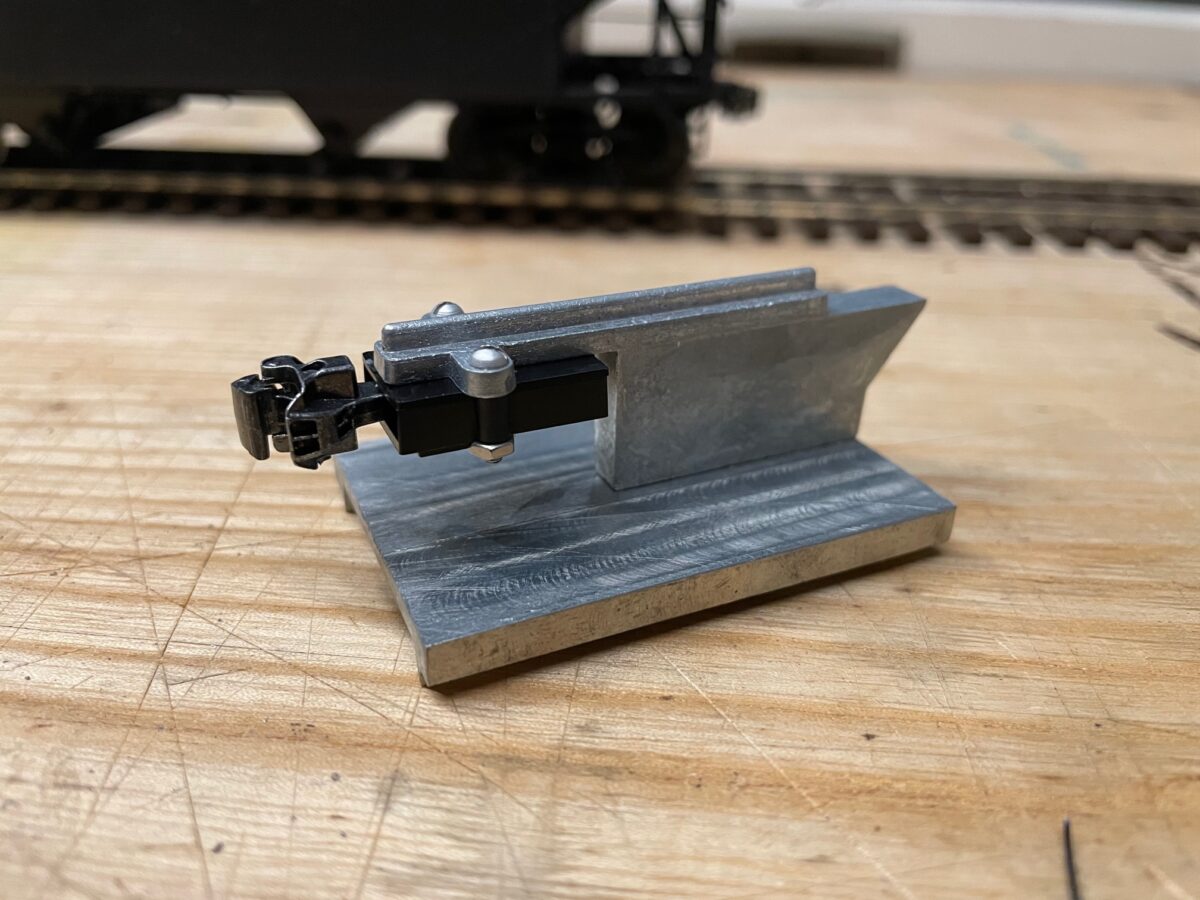
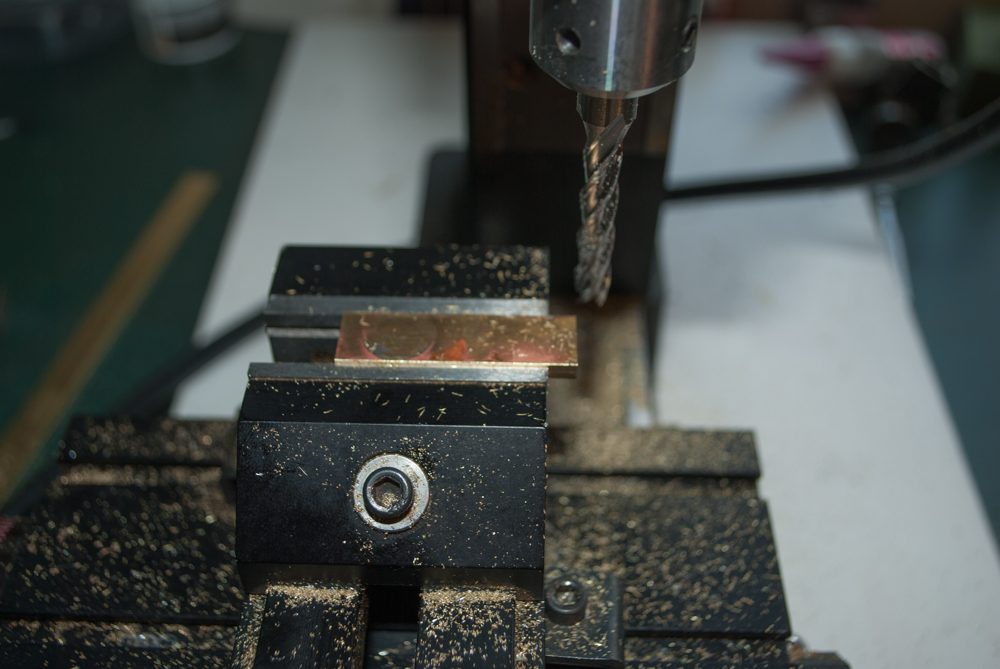
Machining the two new bolsters which have been soldered together
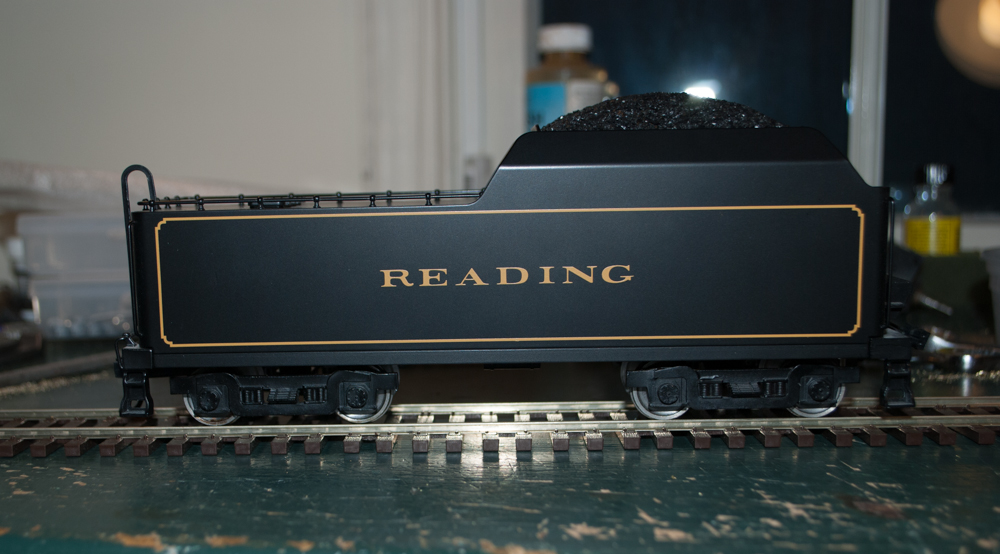
I was able to line up a trade of some surplus PRR equipment for a SGL Reading G3 Pacific. These models came out in 2002. They are nice models but rather lightly detailed. The Reading Modeler dose not have a lot of choices in mass produced steam locomotive models like some other roads have.
I had earlier taken apart the tender trucks to check out their design. It used a flat brass stamping as the bolster attached by screws into cast brass truck side frames. I test fit a set of Protocraft 36 inch wheel sets into the side frames to see if the axle ends would fit into the journal tubes on the side frames. They fit nicely into the side frame but not while the stock bolsters were in place. I measured the distance between the side frames without a bolster in place to get the length of the new bolsters that had to be made.
I purchased some K&S stock at my LHS which was just about the correct width and the same thickness of the old bolster.
I started by cutting two pieces of brass from the stock a little longer than the old bolsters. I soldered them together so that they could be machined at the same time. I placed the two pieces now soldered together into my milling vise. First I squared up the sides and ends. Then I machined them to the correct width. I marked the location of the holes based on the old bolster locations. The holes were drilled and tapped for 2-56 screws.
After the conversion, the old bolster and one O scale wheelsets in front of the two trucks.
Here we see the trucks reassembled. As I first stated these are a basic design. If a similar truck is ever produced in Proto48, I would love to an upgrade these trucks. Until then these will do.
Here is the Tender for the G3 after the conversion
The reassembled trucks were placed back under the tender using the original screws. Not that bad looking after they are placed under the tender. All in all not too rough to convert, next comes the locomotive.