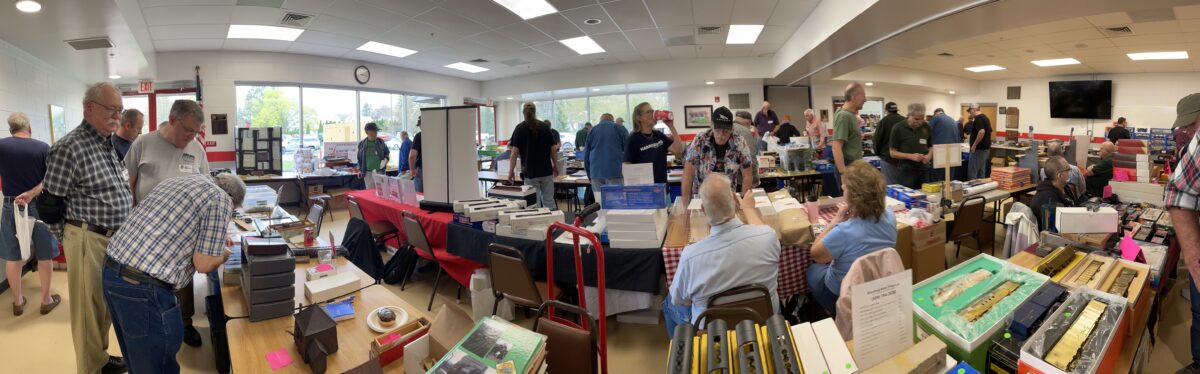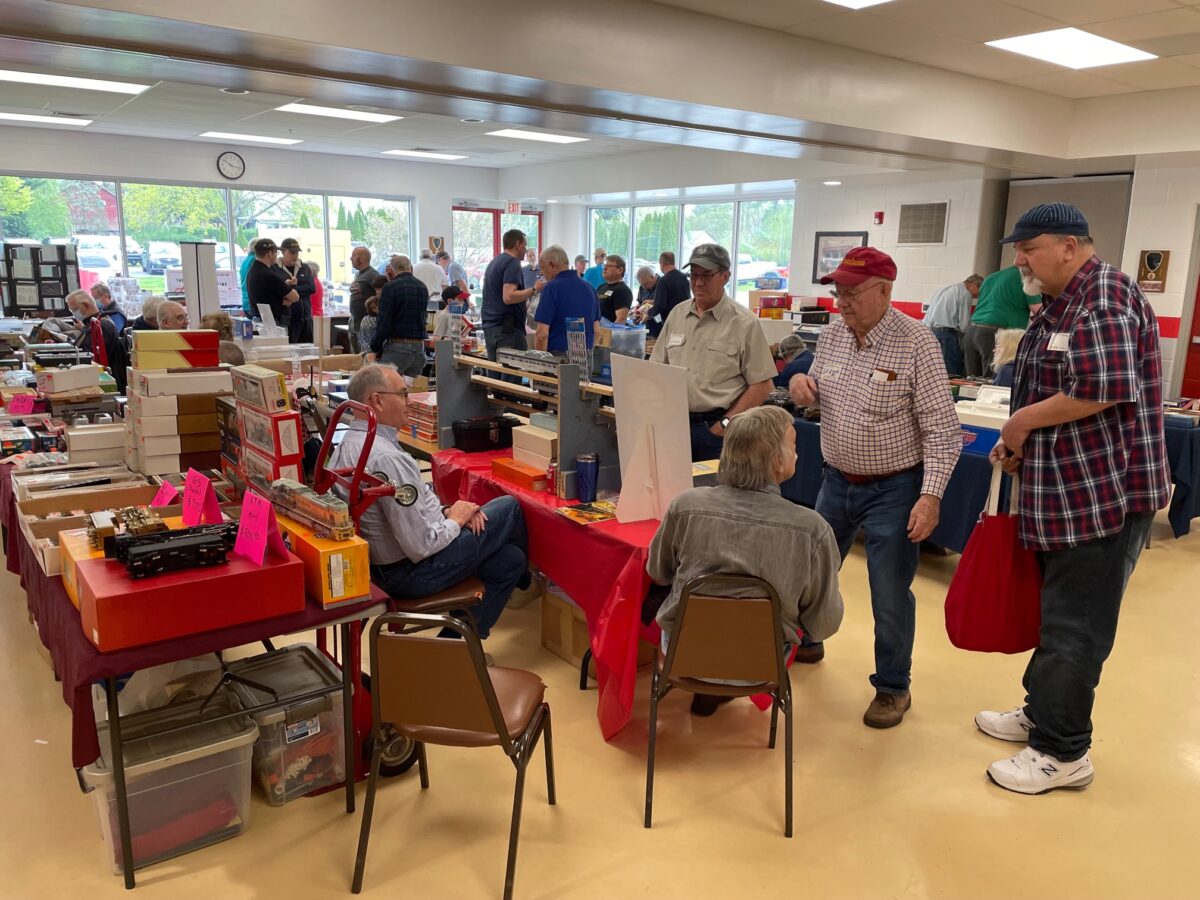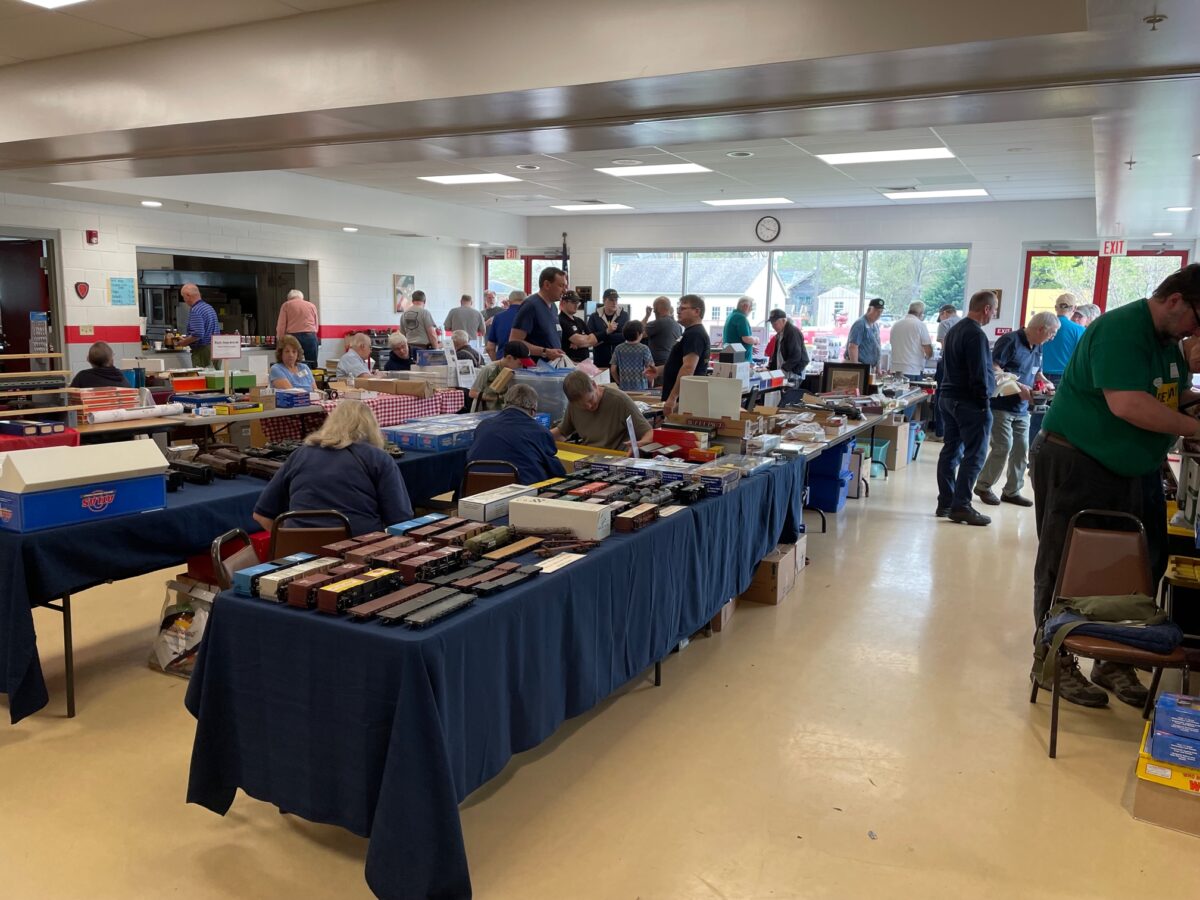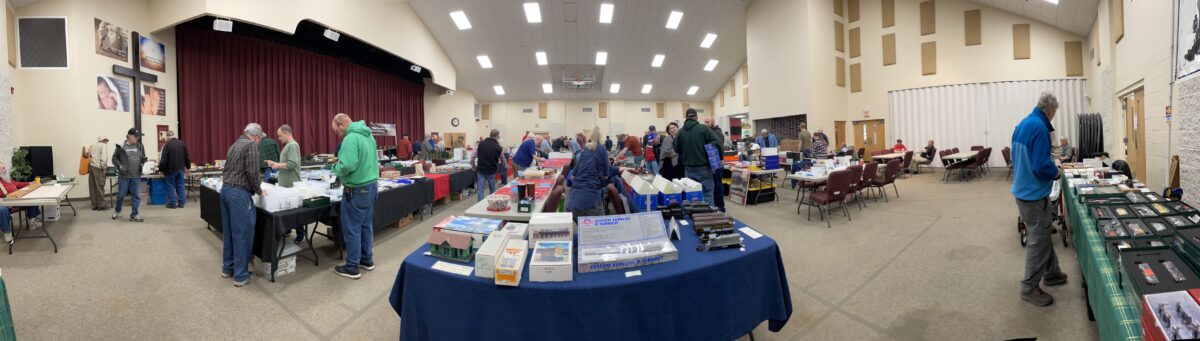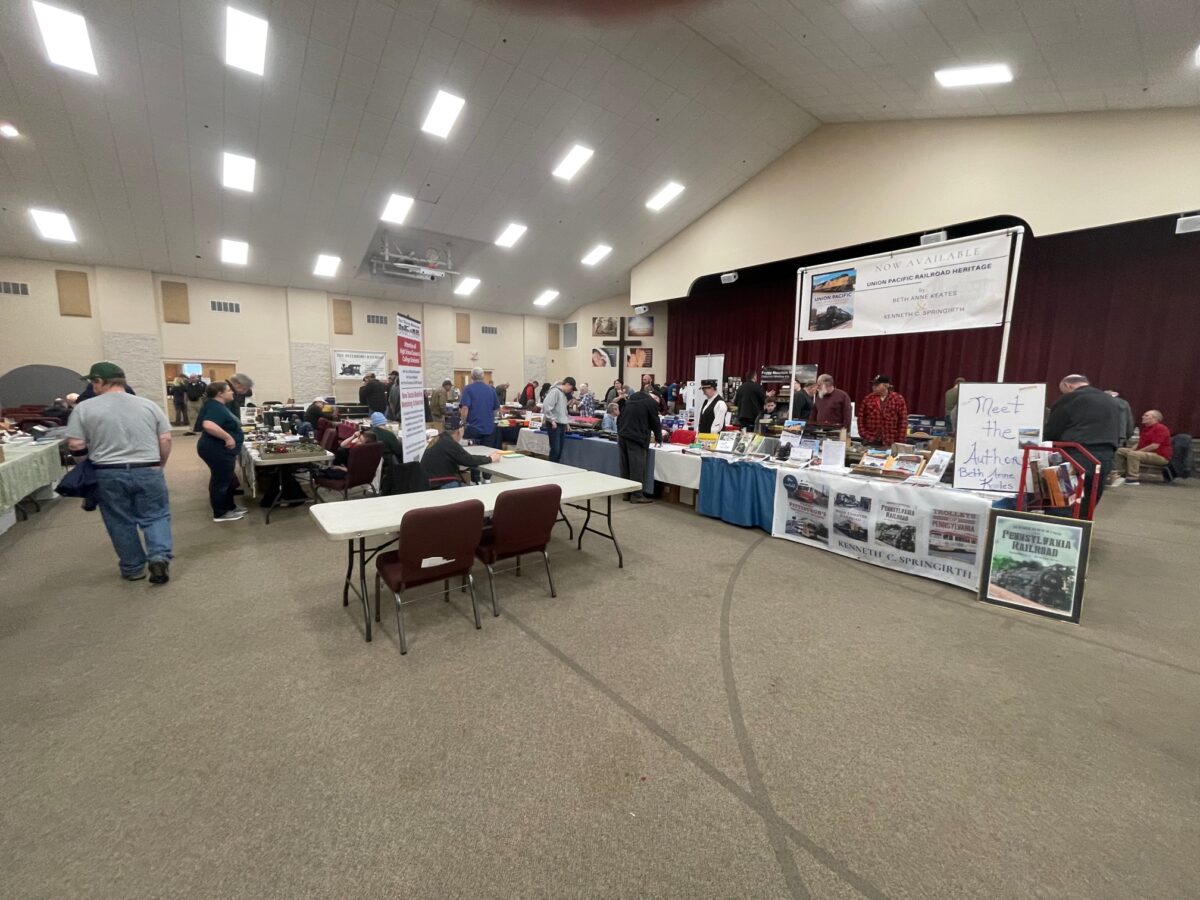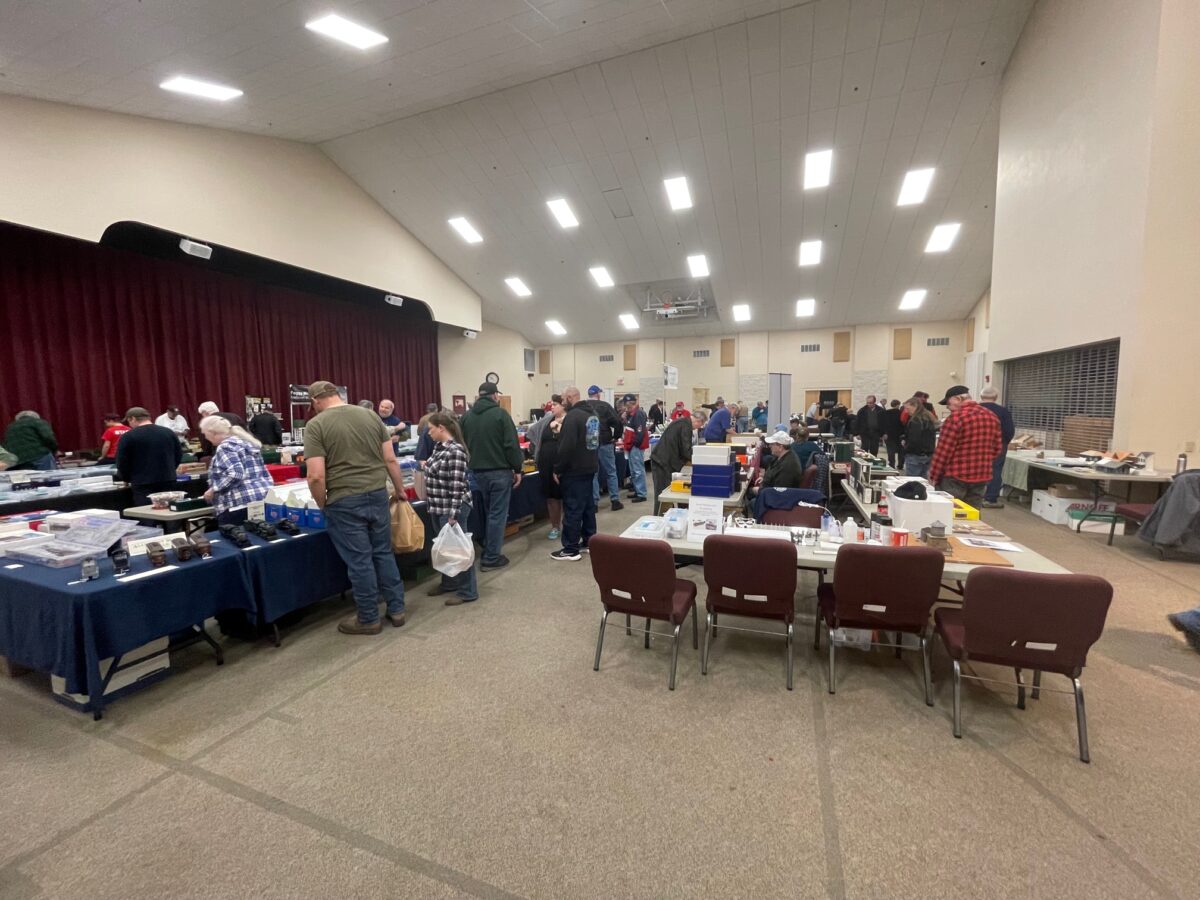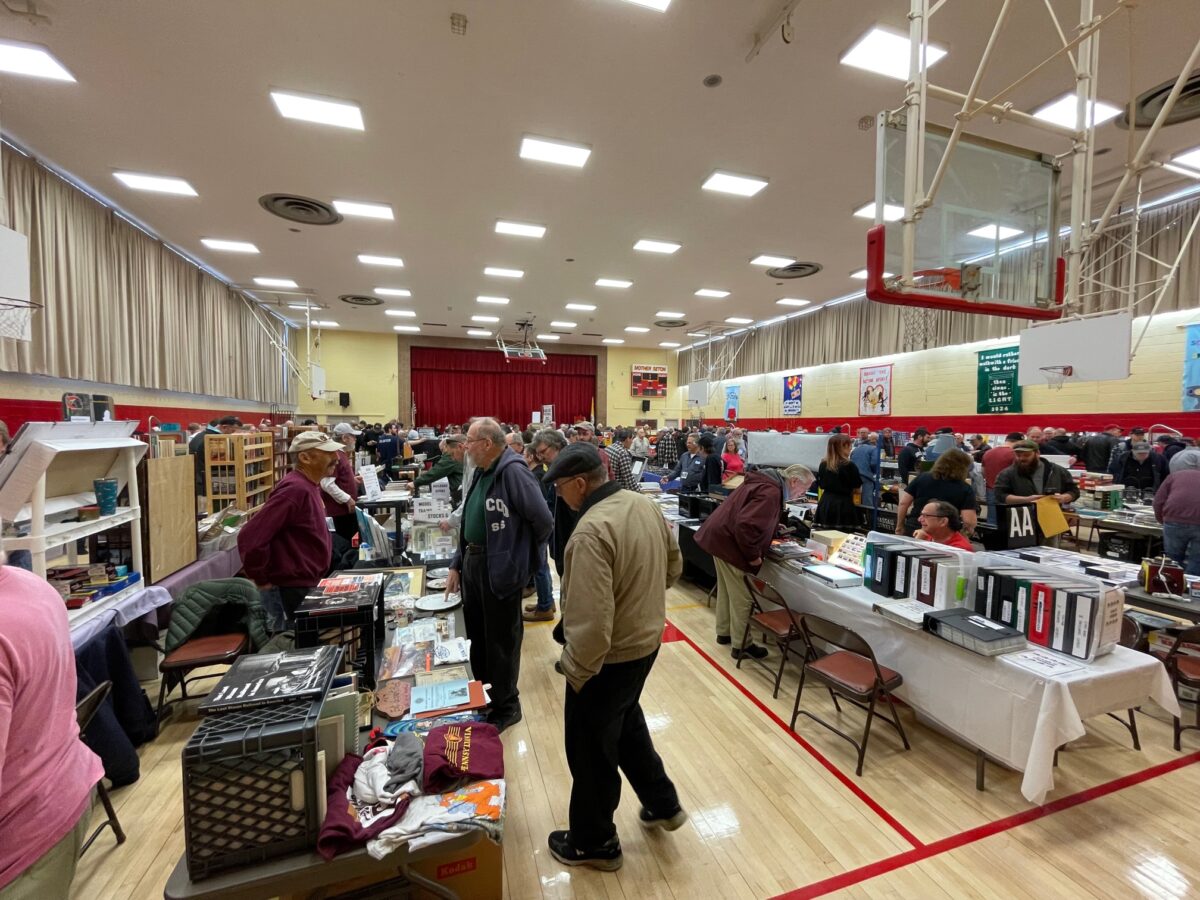

On Saturday, the August Strasburg O Scale Show was held. Attendance on both sides of the tables seemed to be down a little. Some of the usual faces we see were not there, but there were a number of new faces in the room. There were even some younger people in the room.
After the show I had a conversation with Rich Yoder about attendance. Rich mentioned that attendance was actually up over the April show. He mentioned that even though a number of the regulars were not at the show, there were enough new attendees to actually increase the number of people through the door.
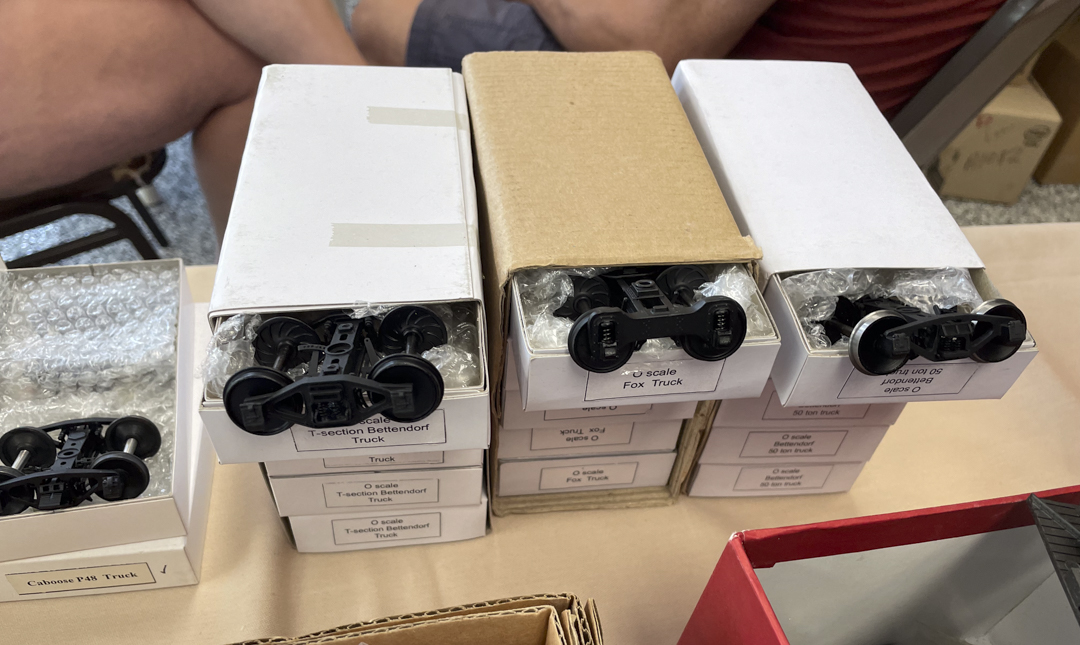
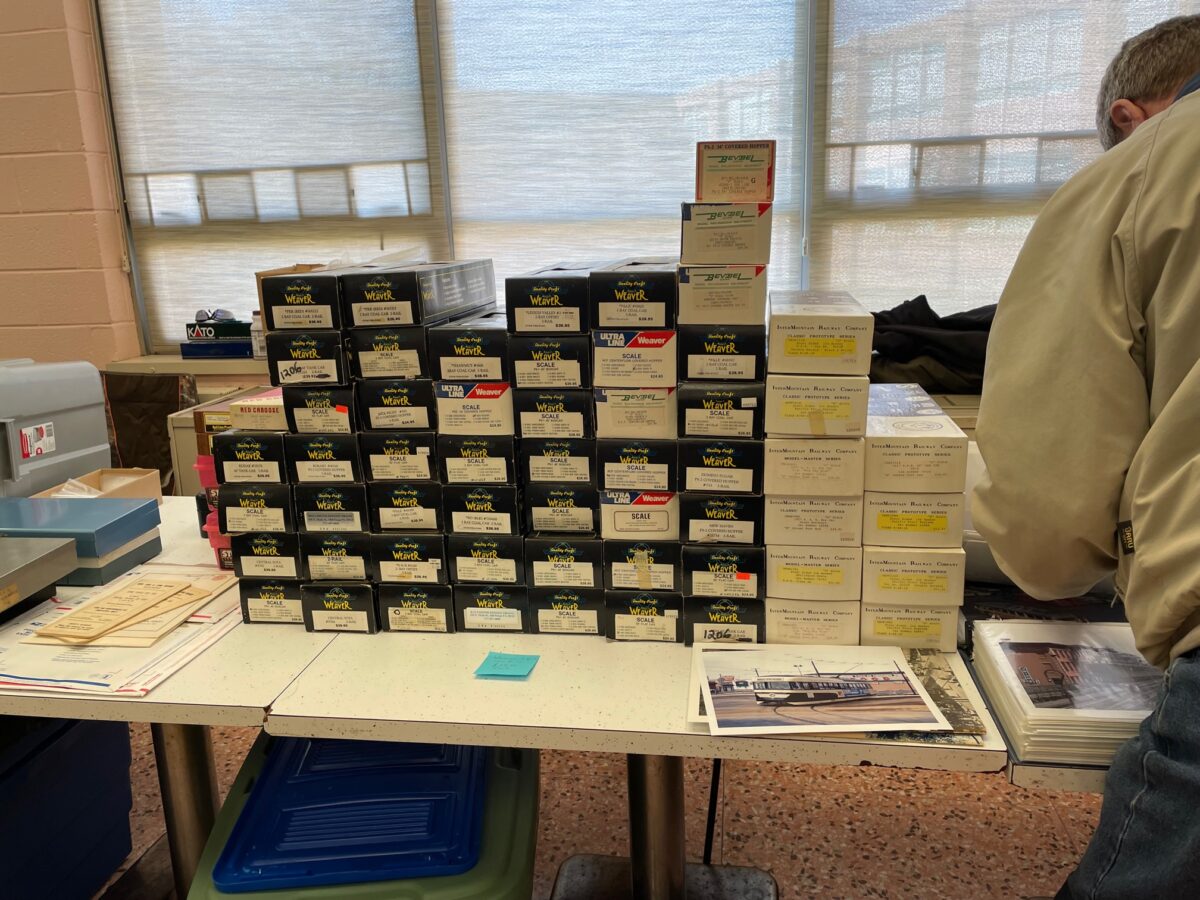
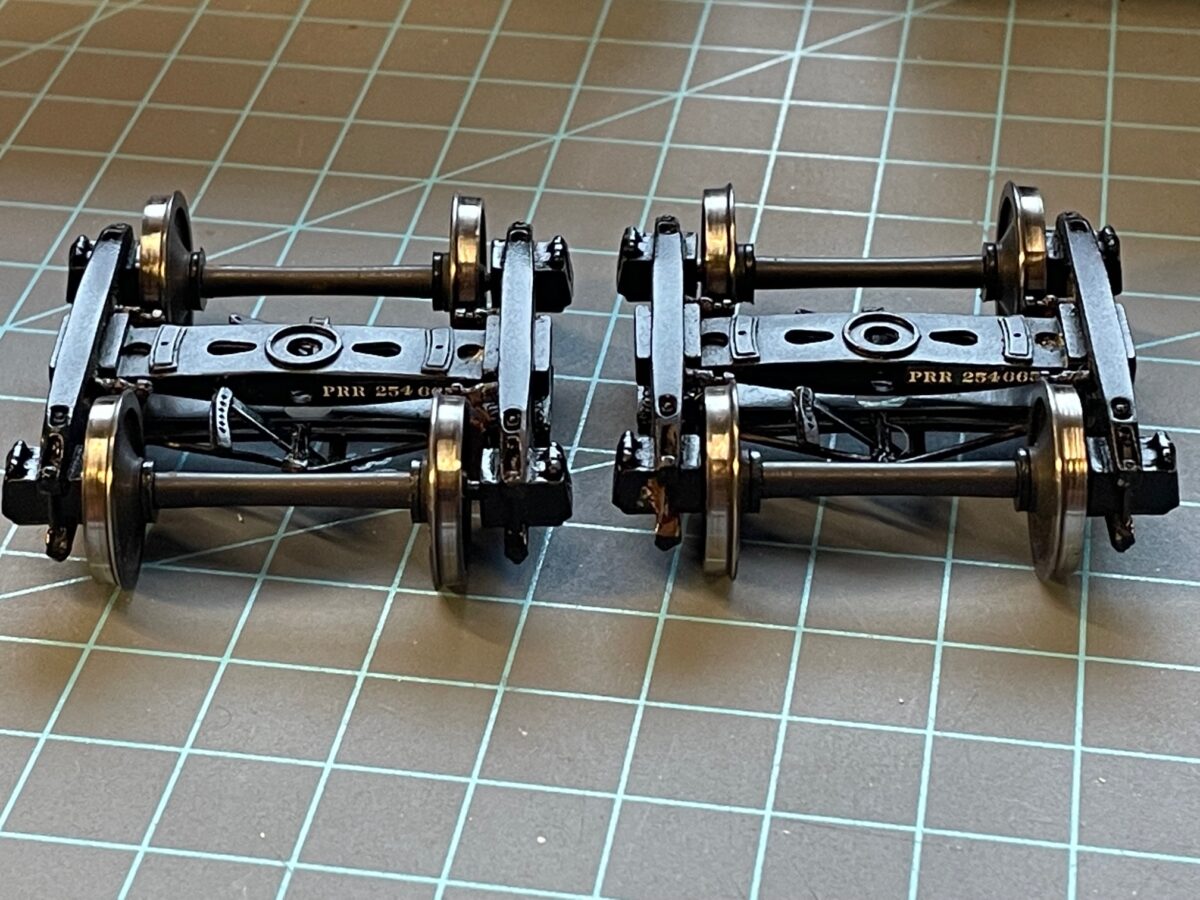
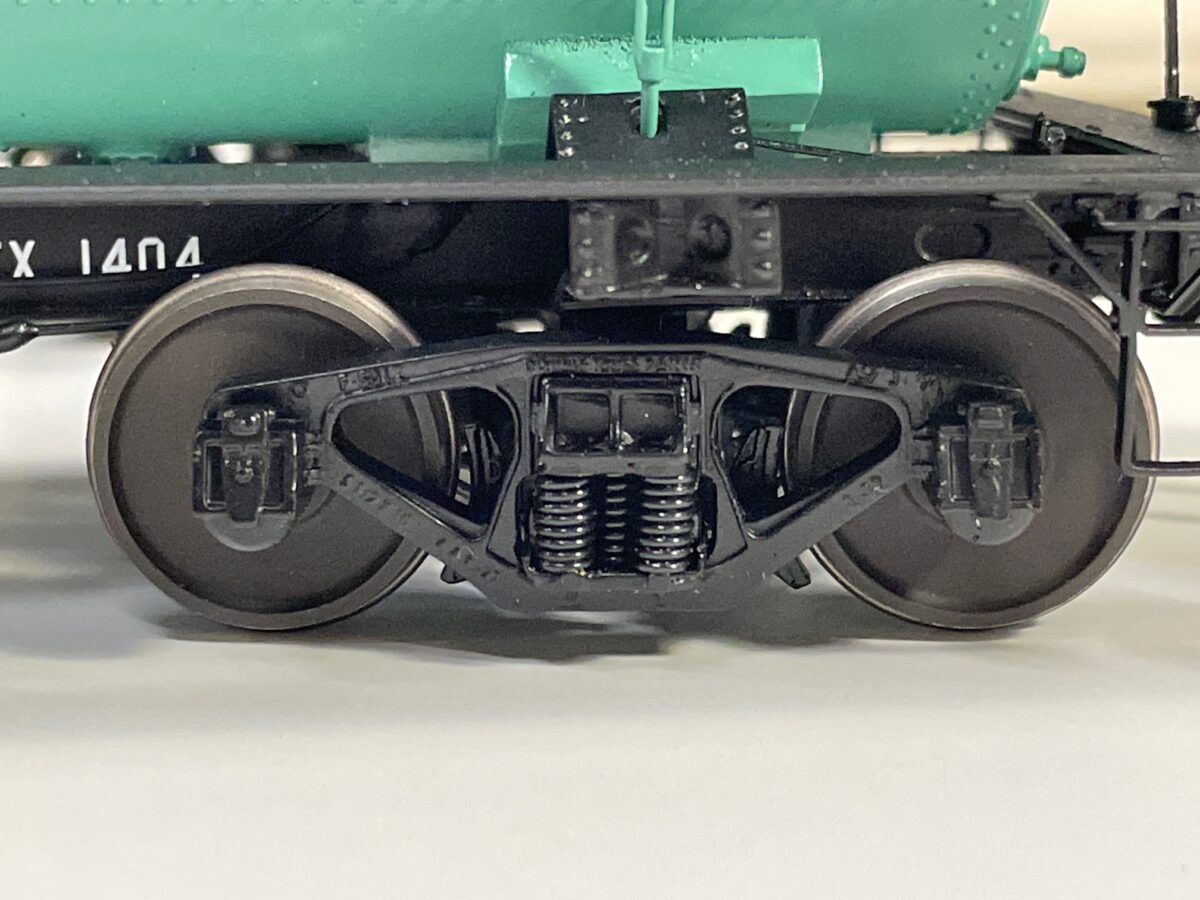
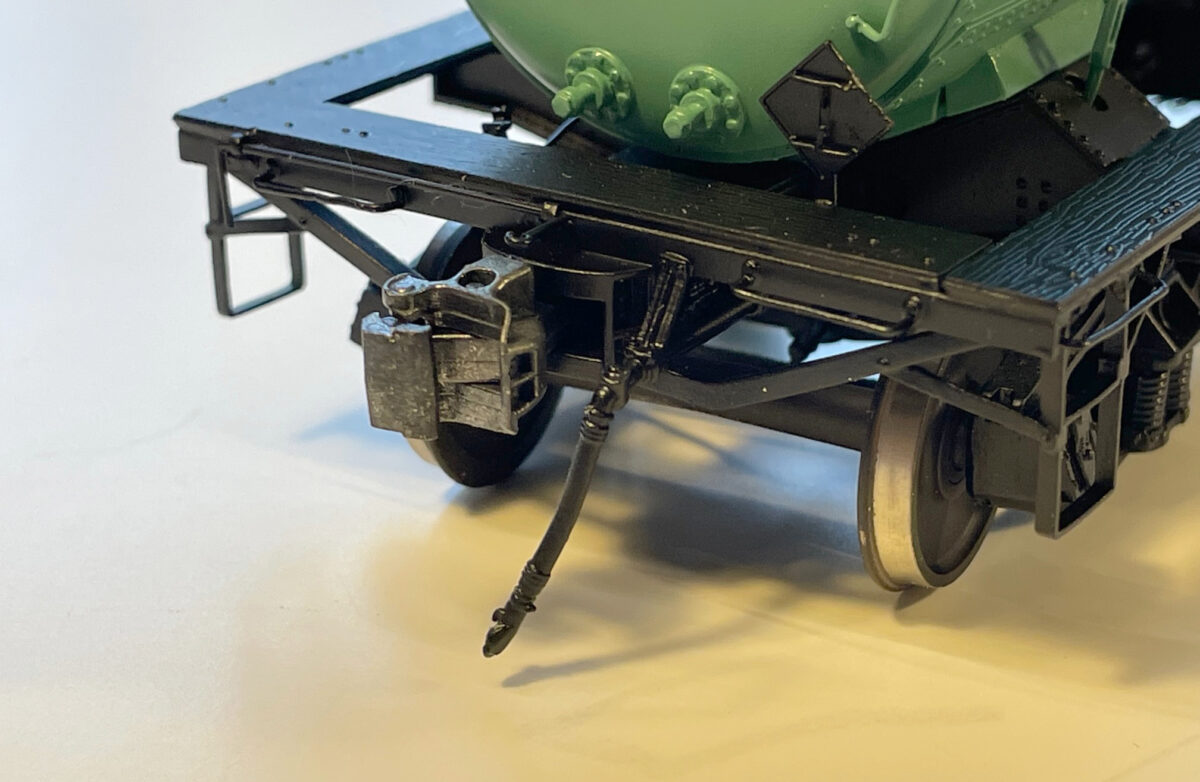
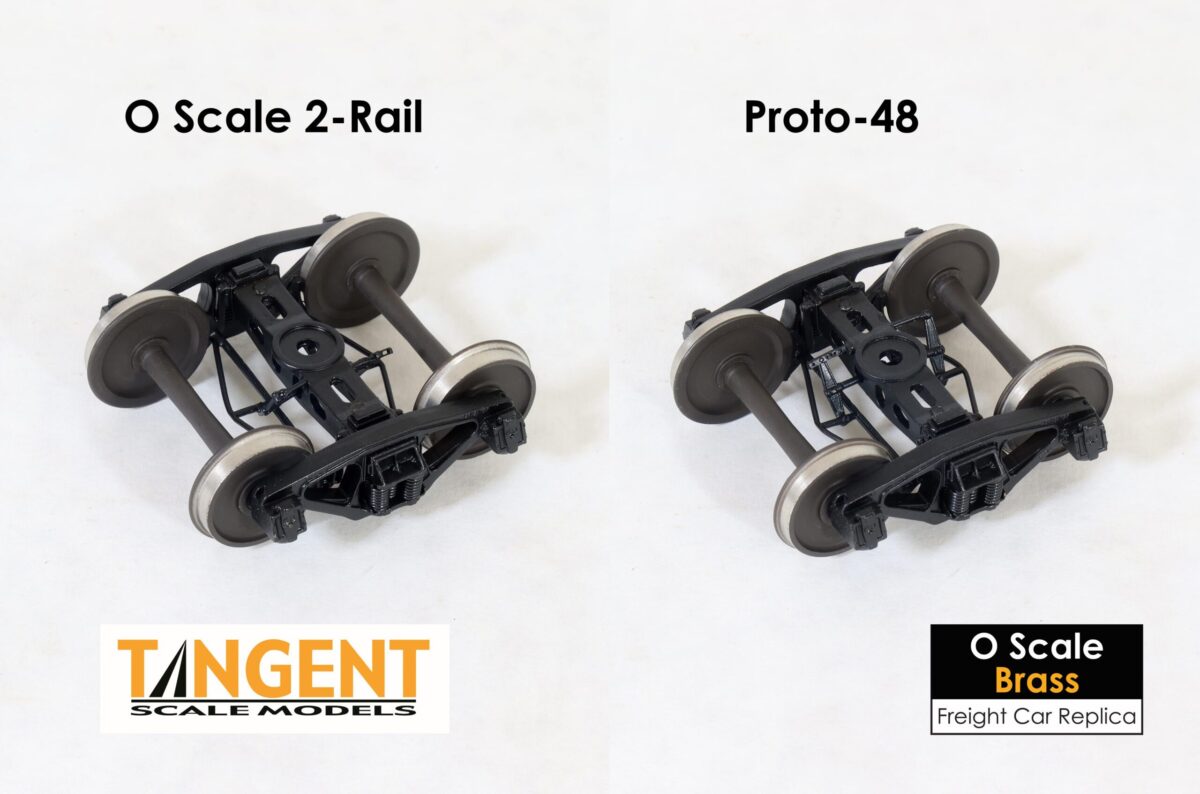
Rich Yoder had a some trucks on his table. The inventory is dwindling, if you need something from him don’t wait. He might already be sold out. He did have a few Proto48 trucks on the table but they are in very short supply.
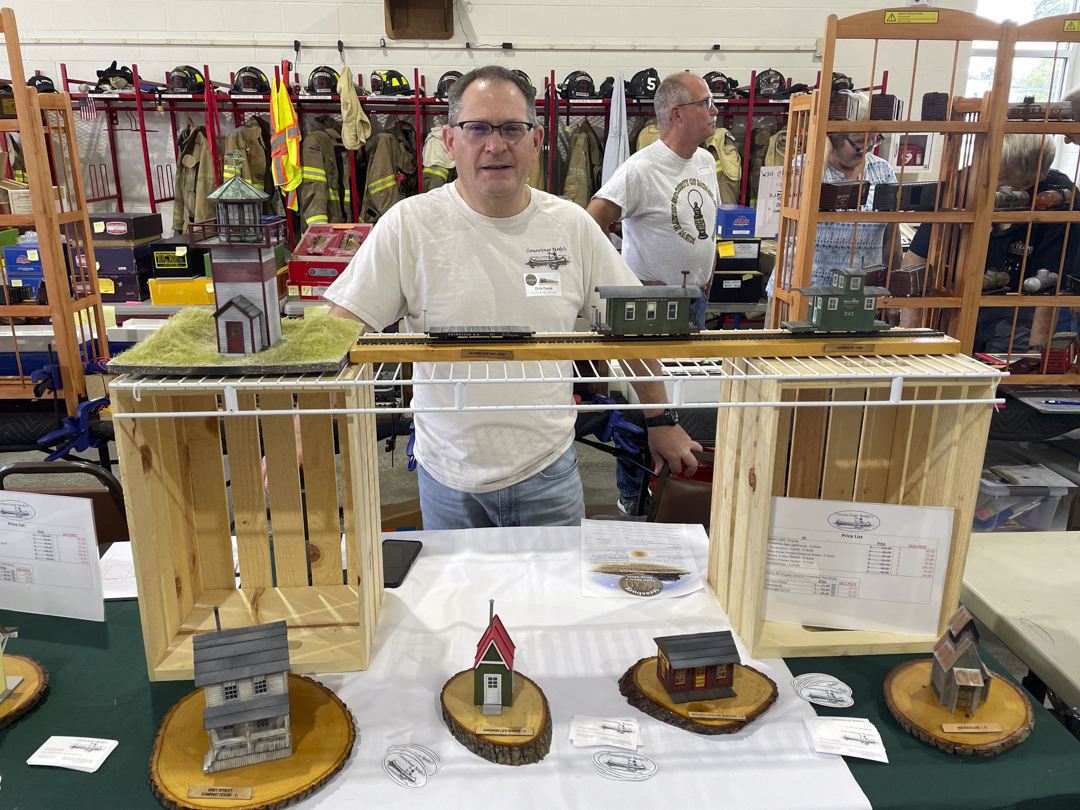
I did get the chance to see and meet a new vendor at the show. Chris Coarse of Conowingo Models was there with his line of kits on display. It was a pleasure to meet him at the show and see a nice new line of models entering the O Scale market.
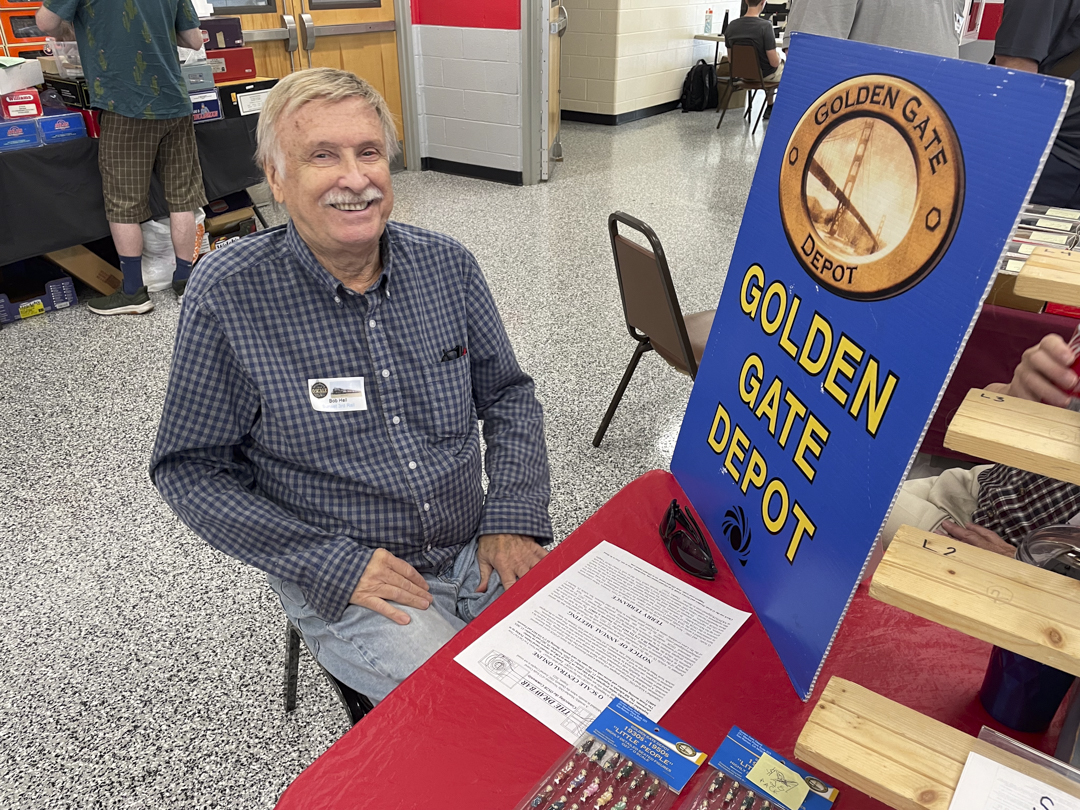
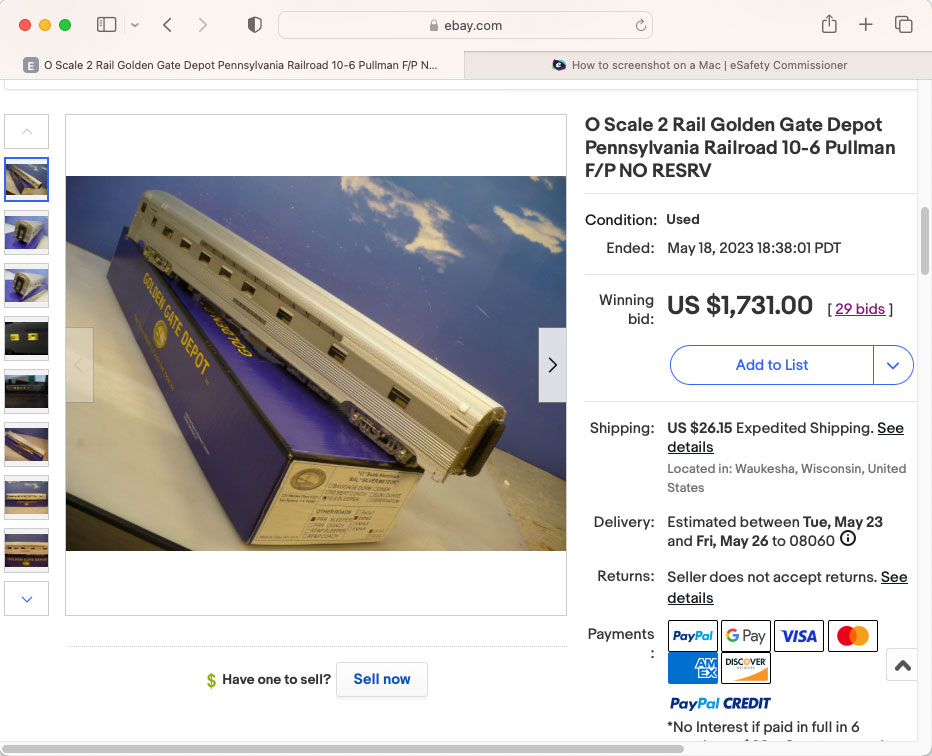
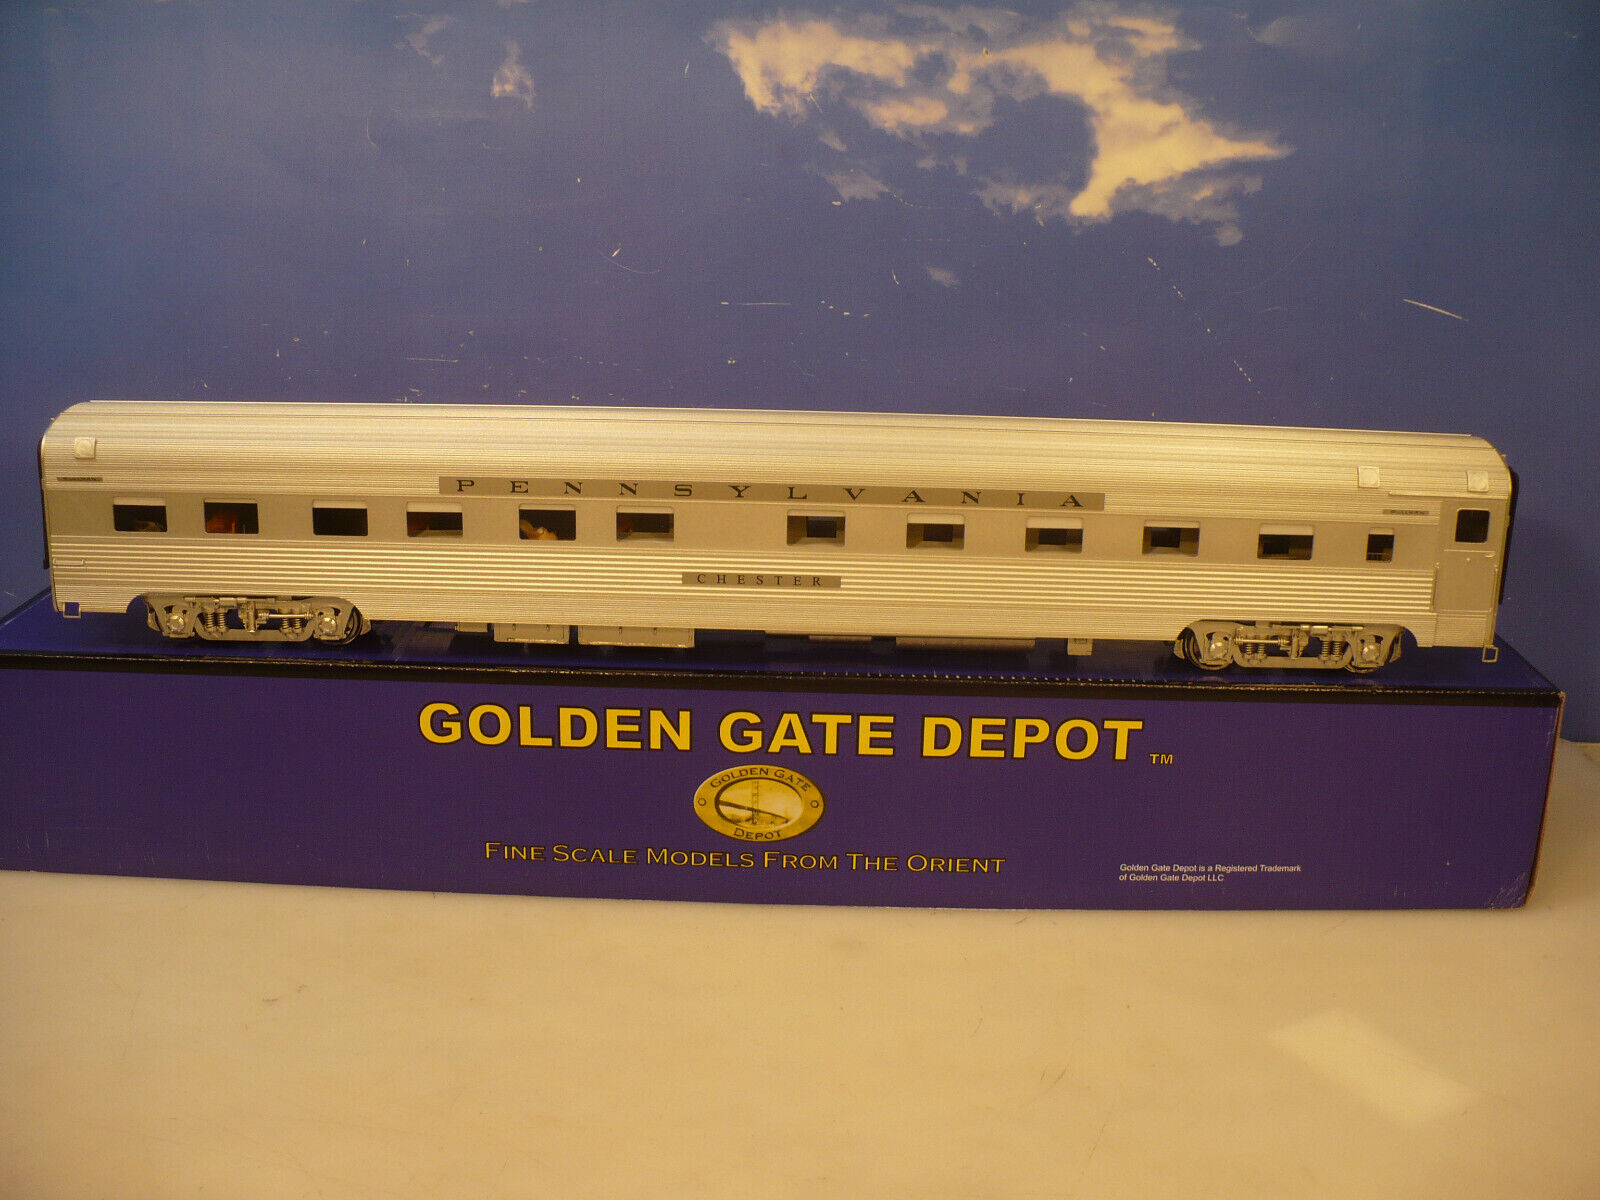
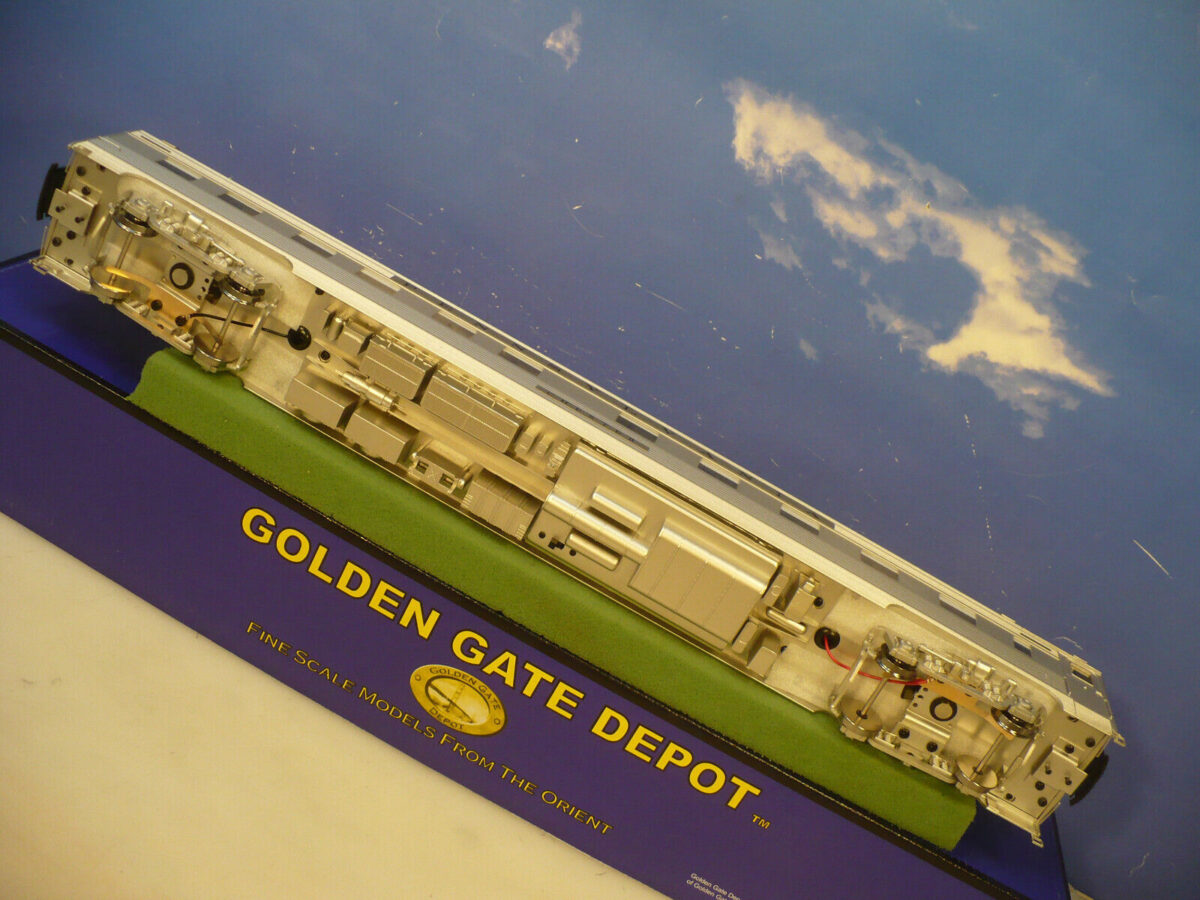
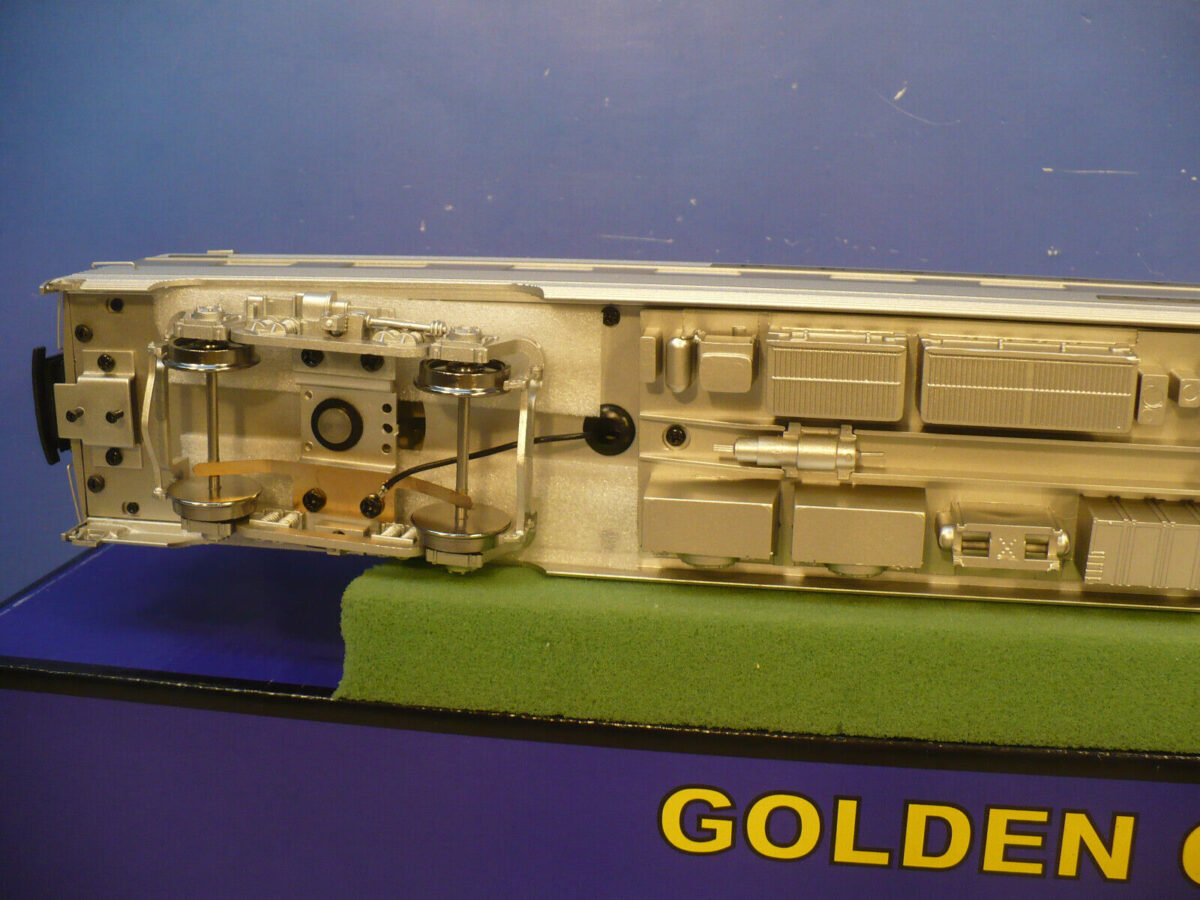
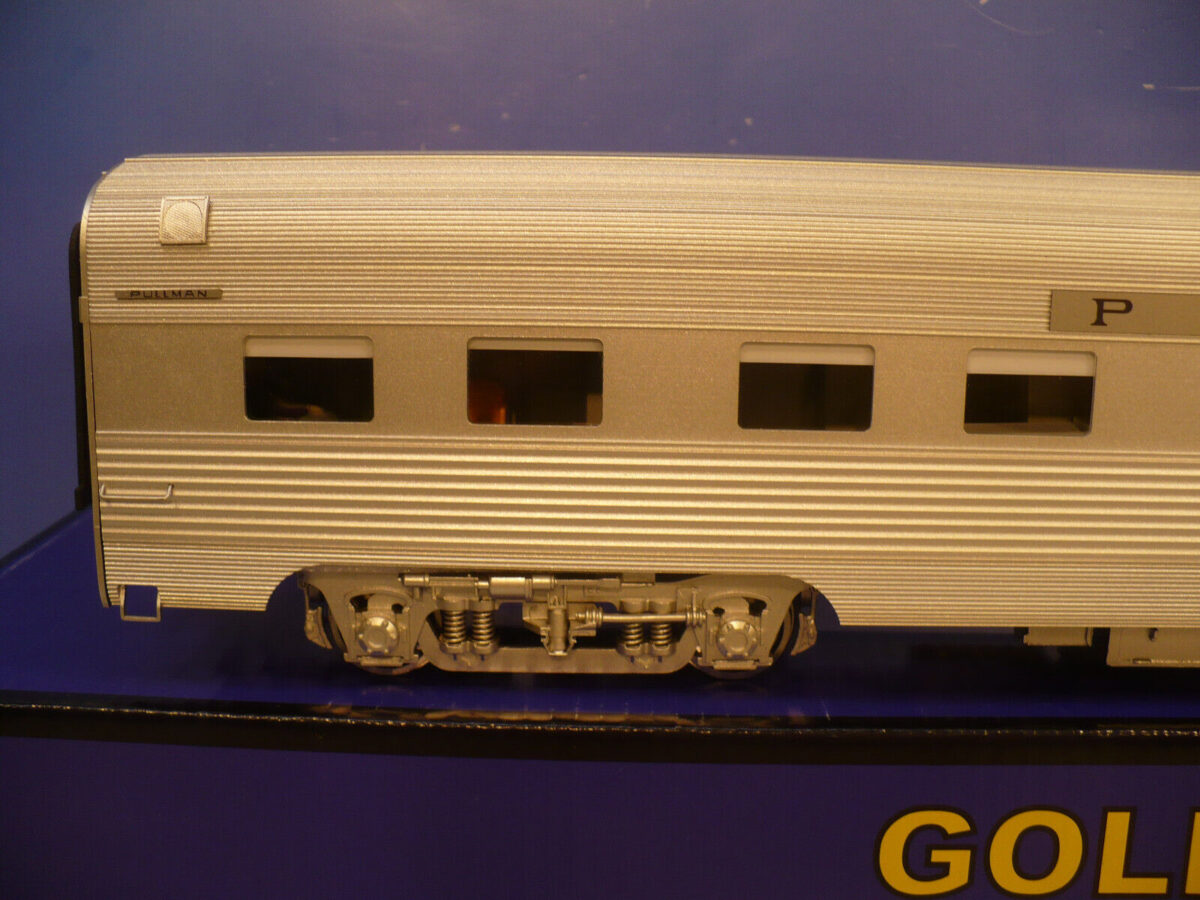
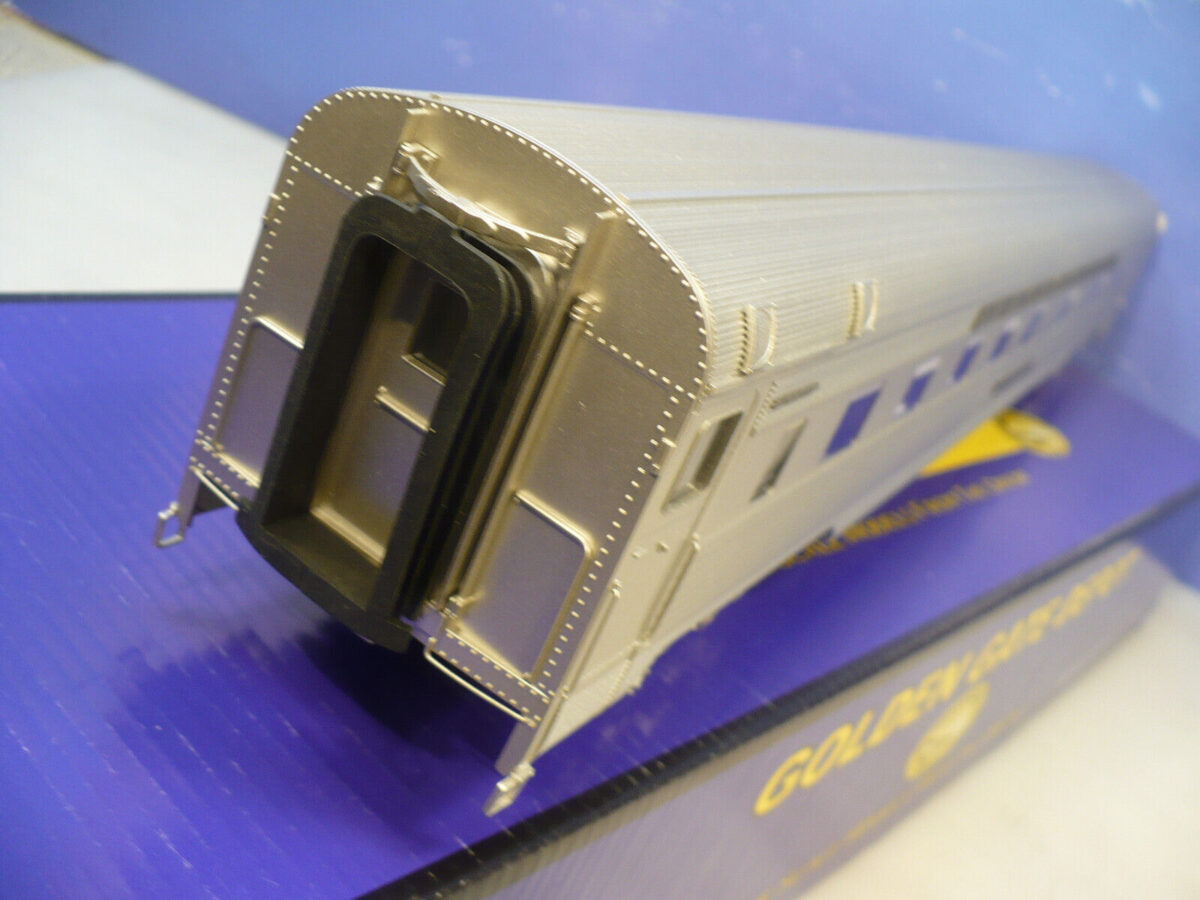
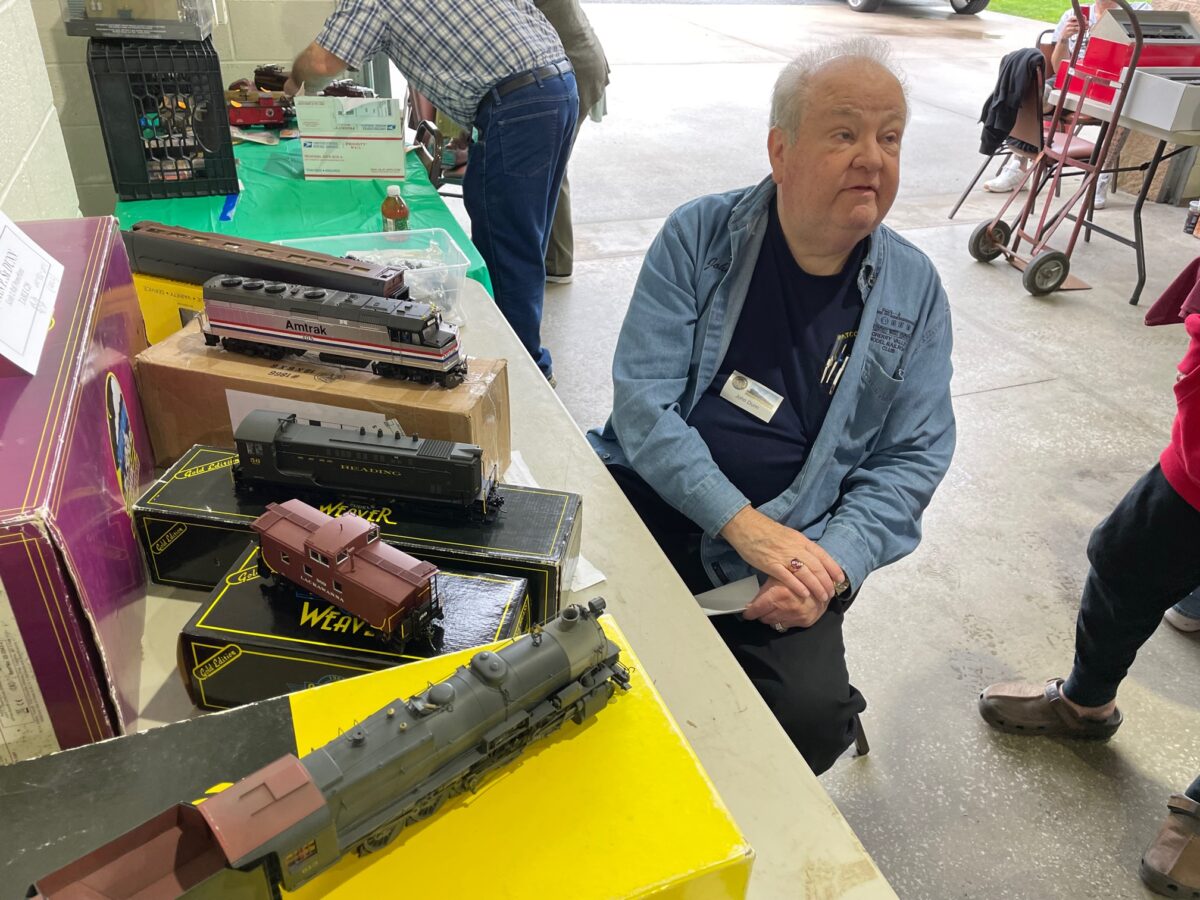
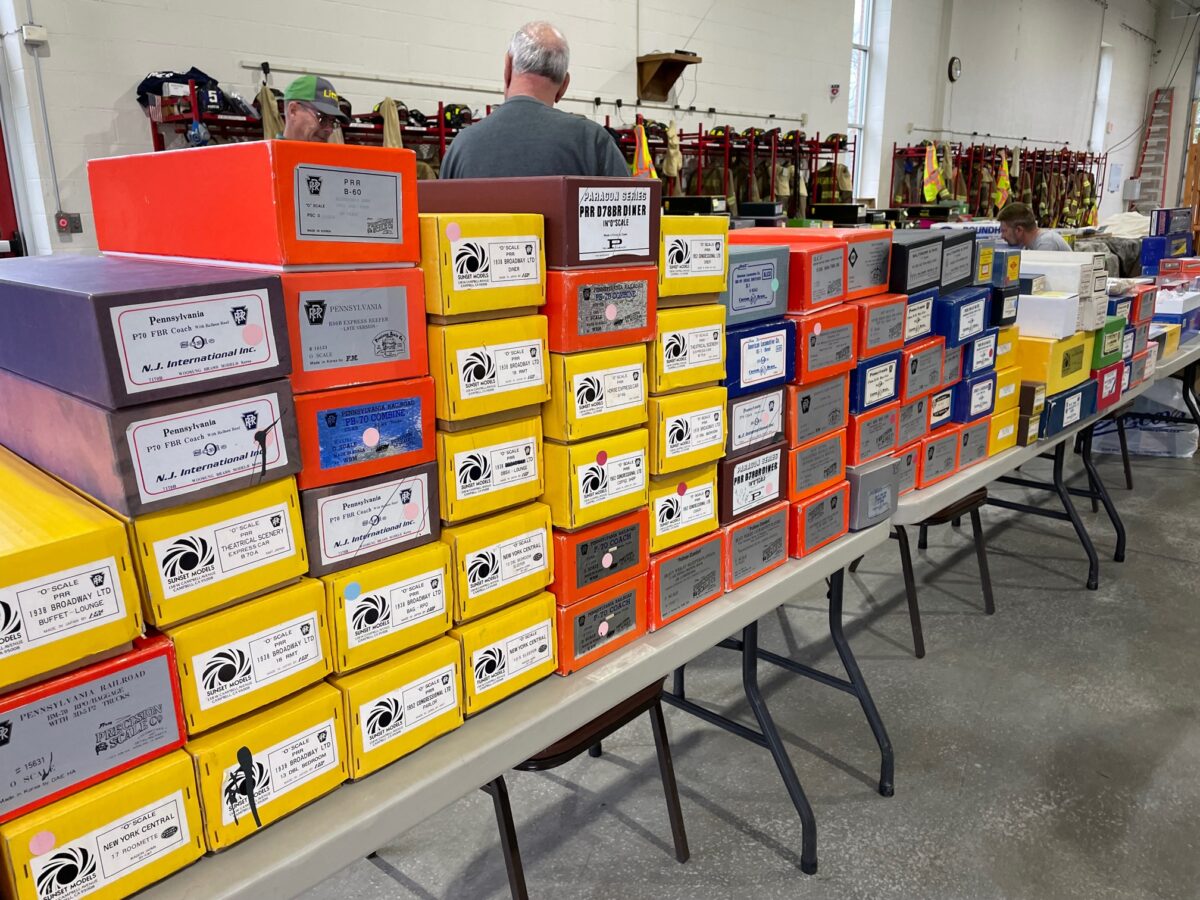
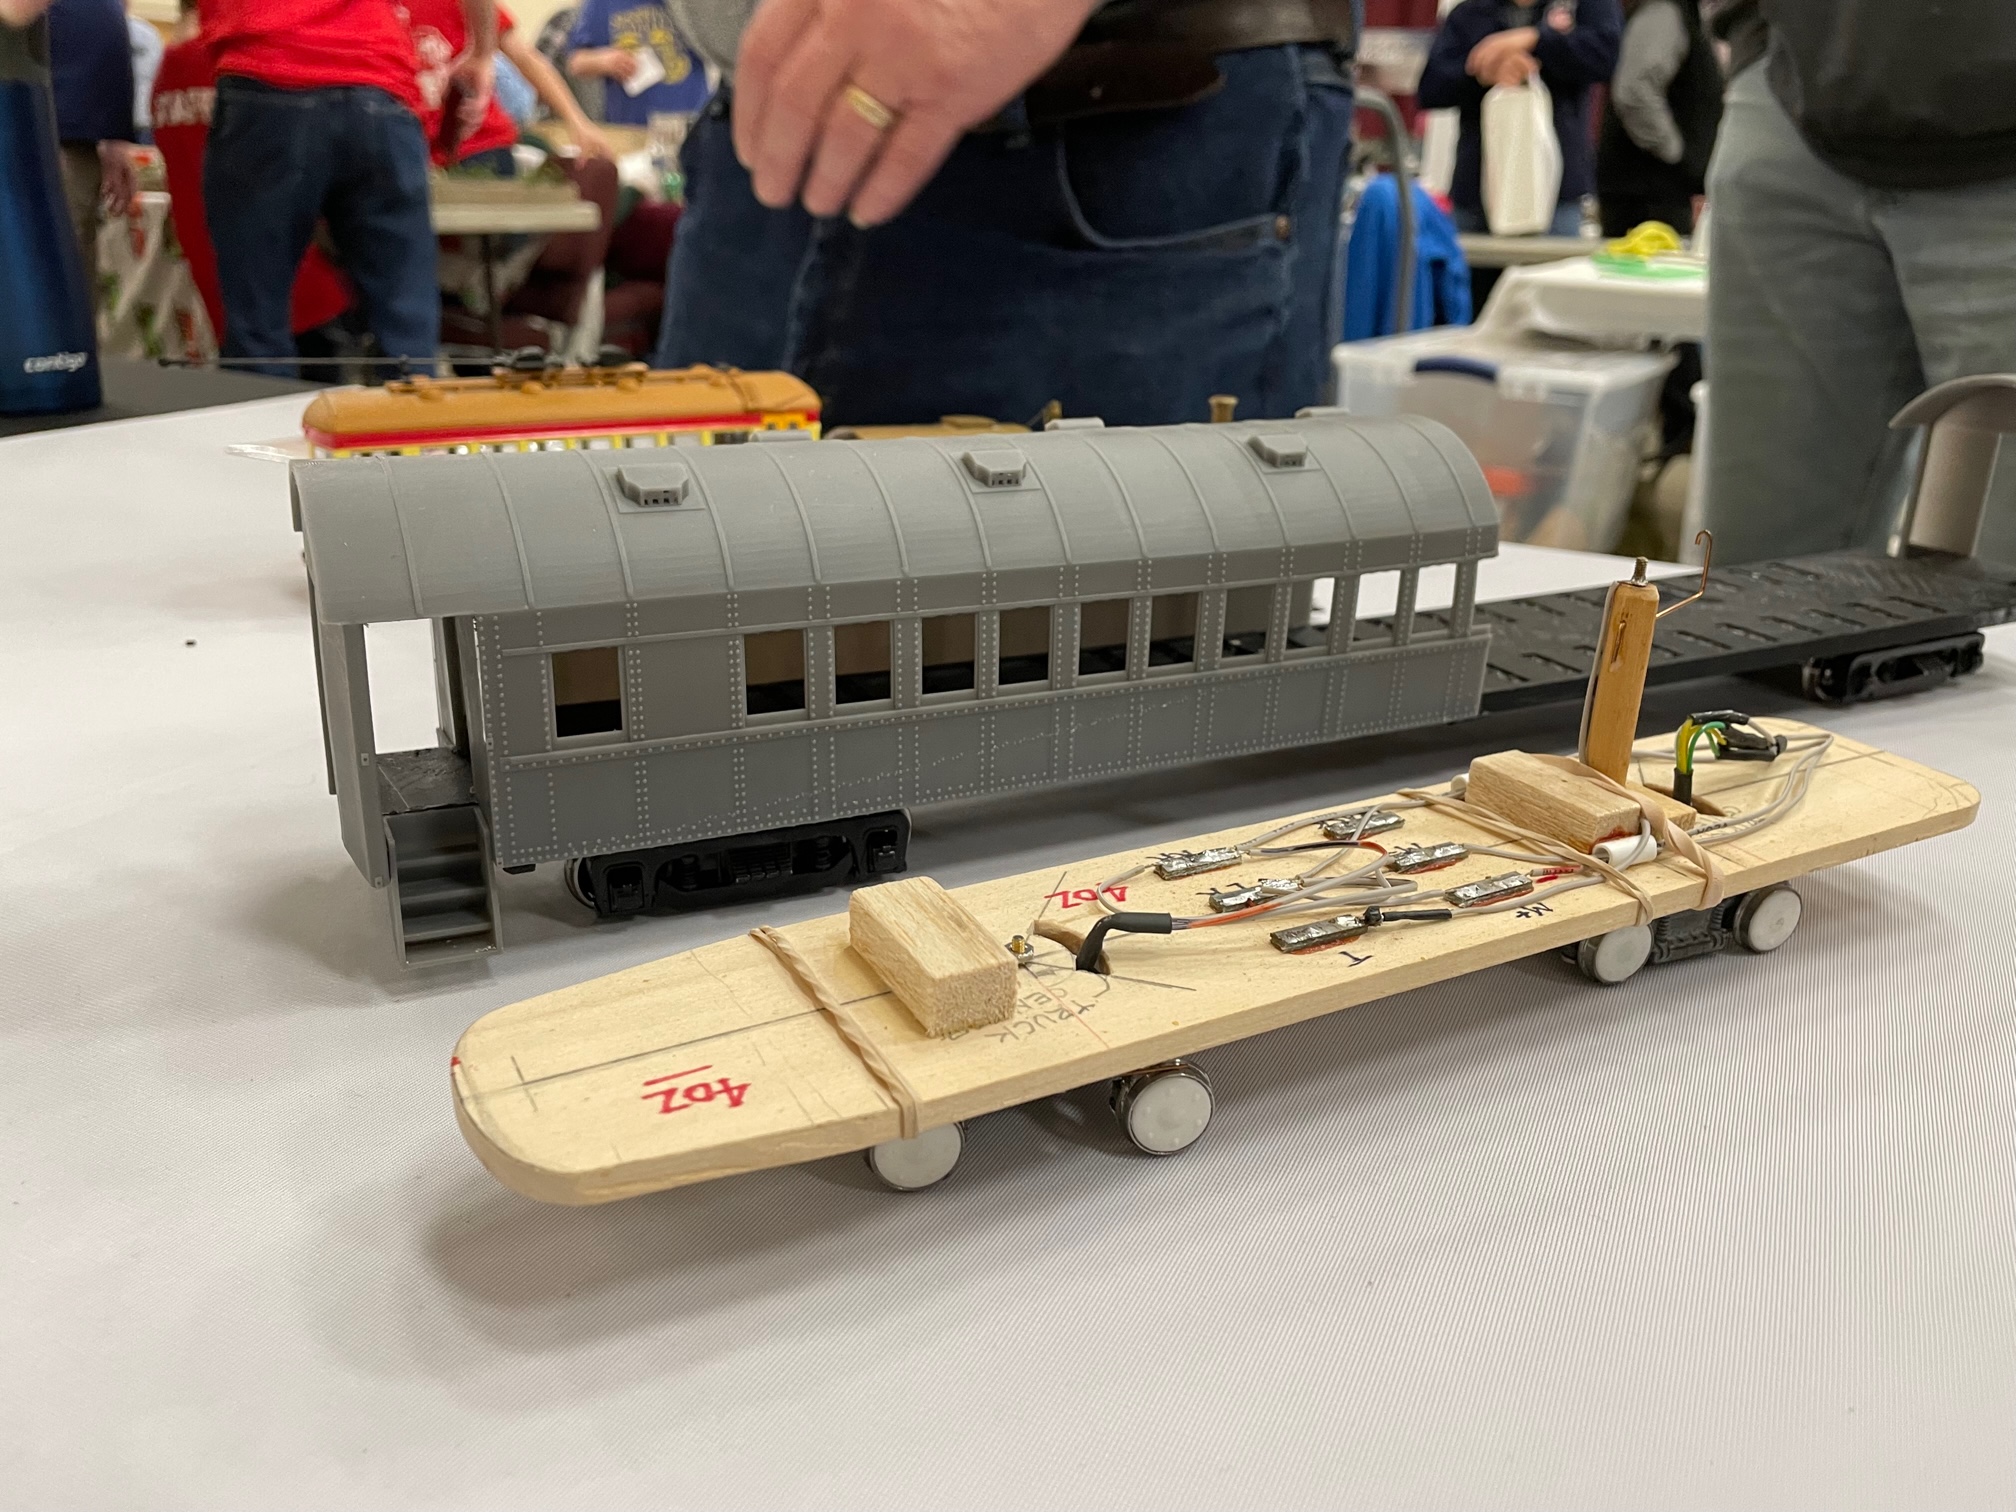
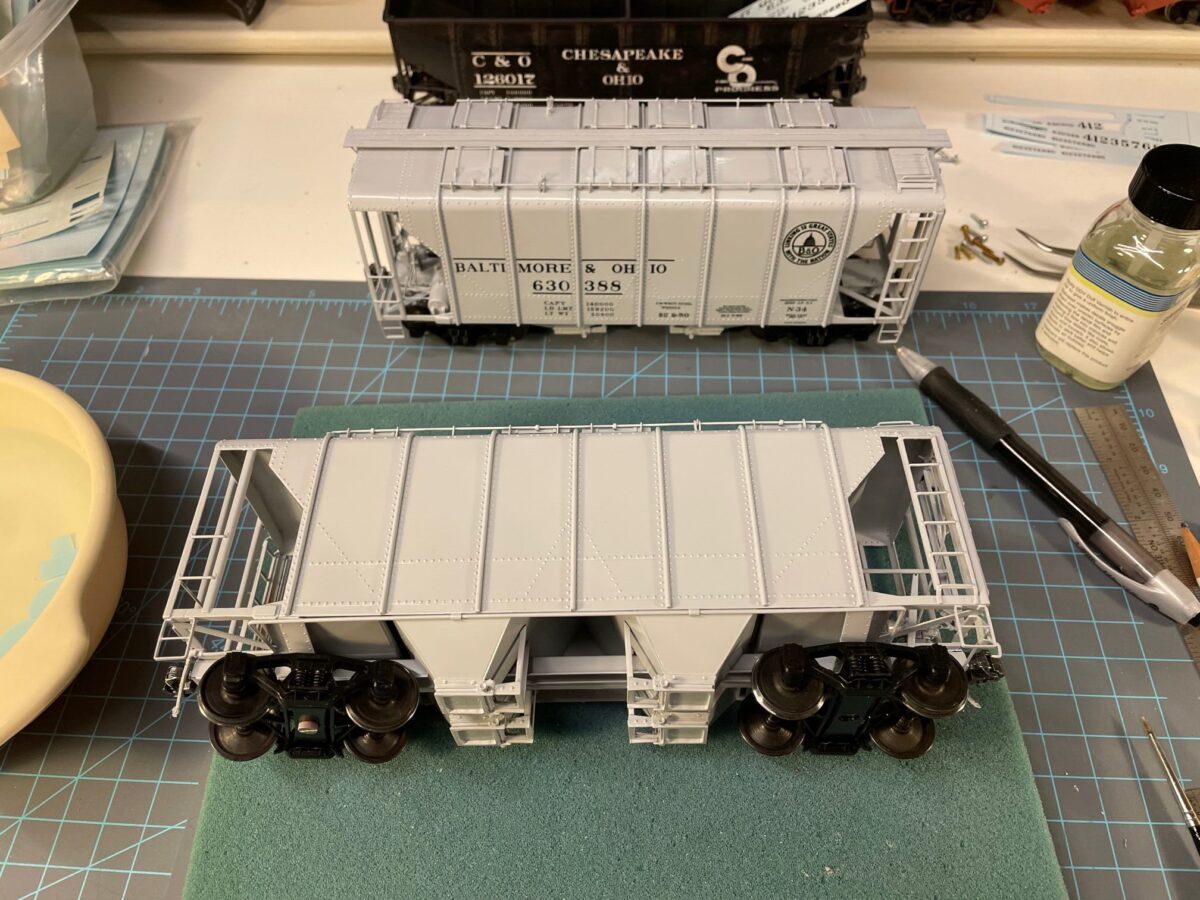
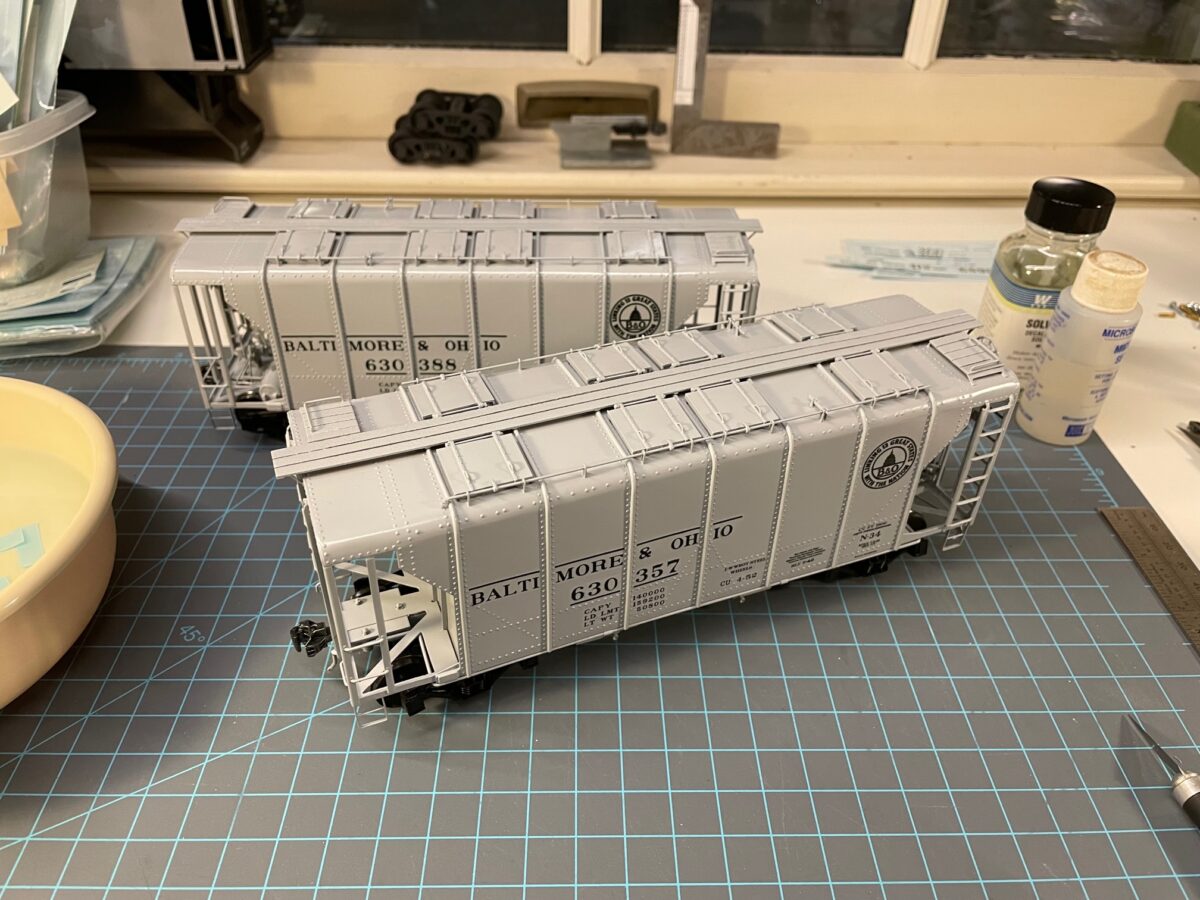
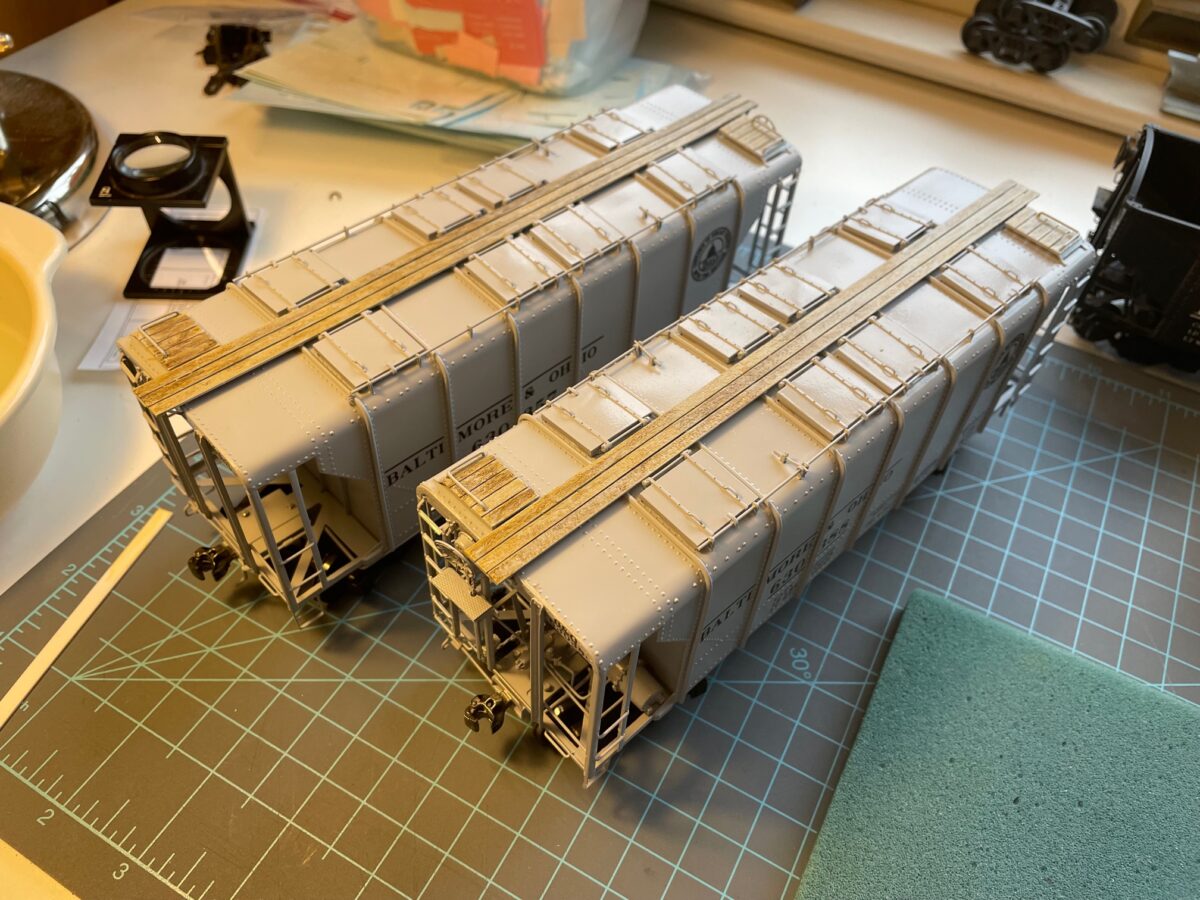
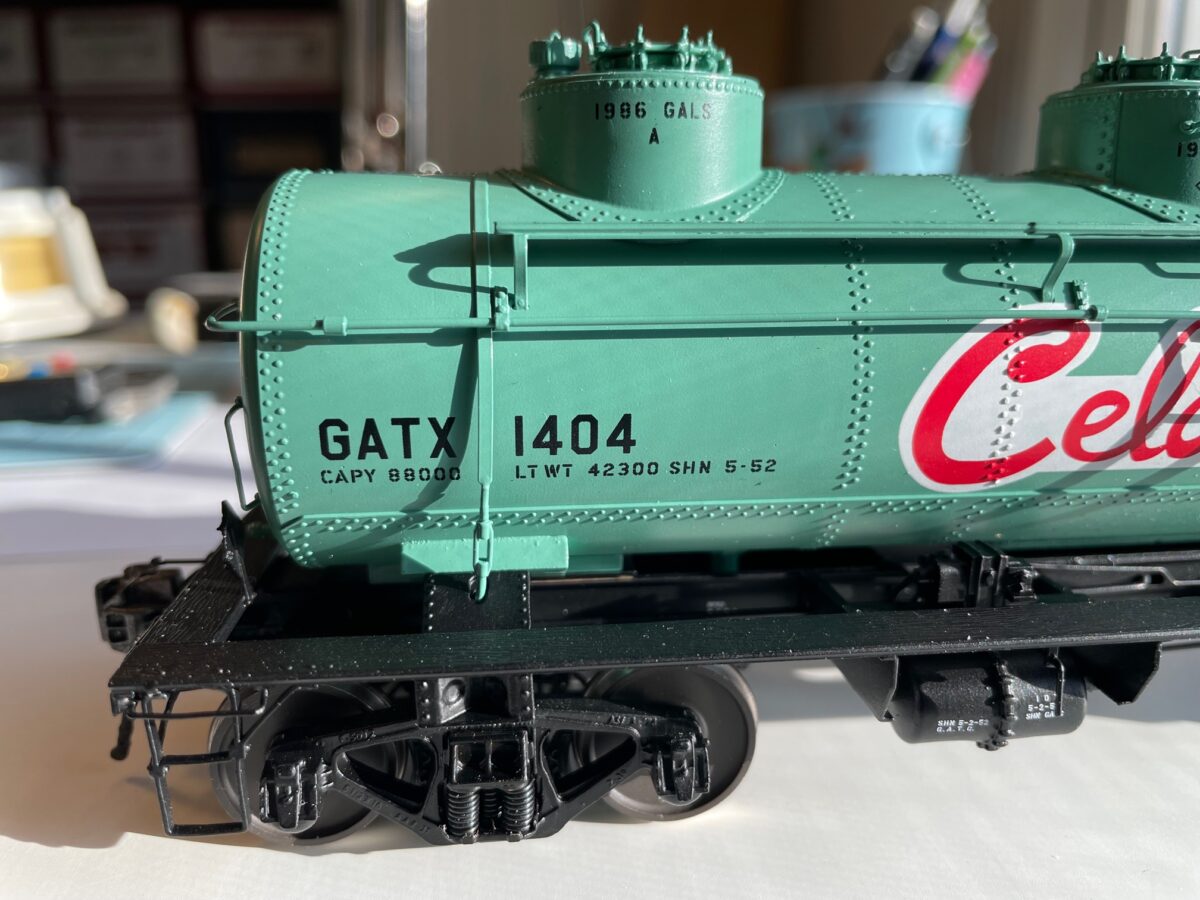
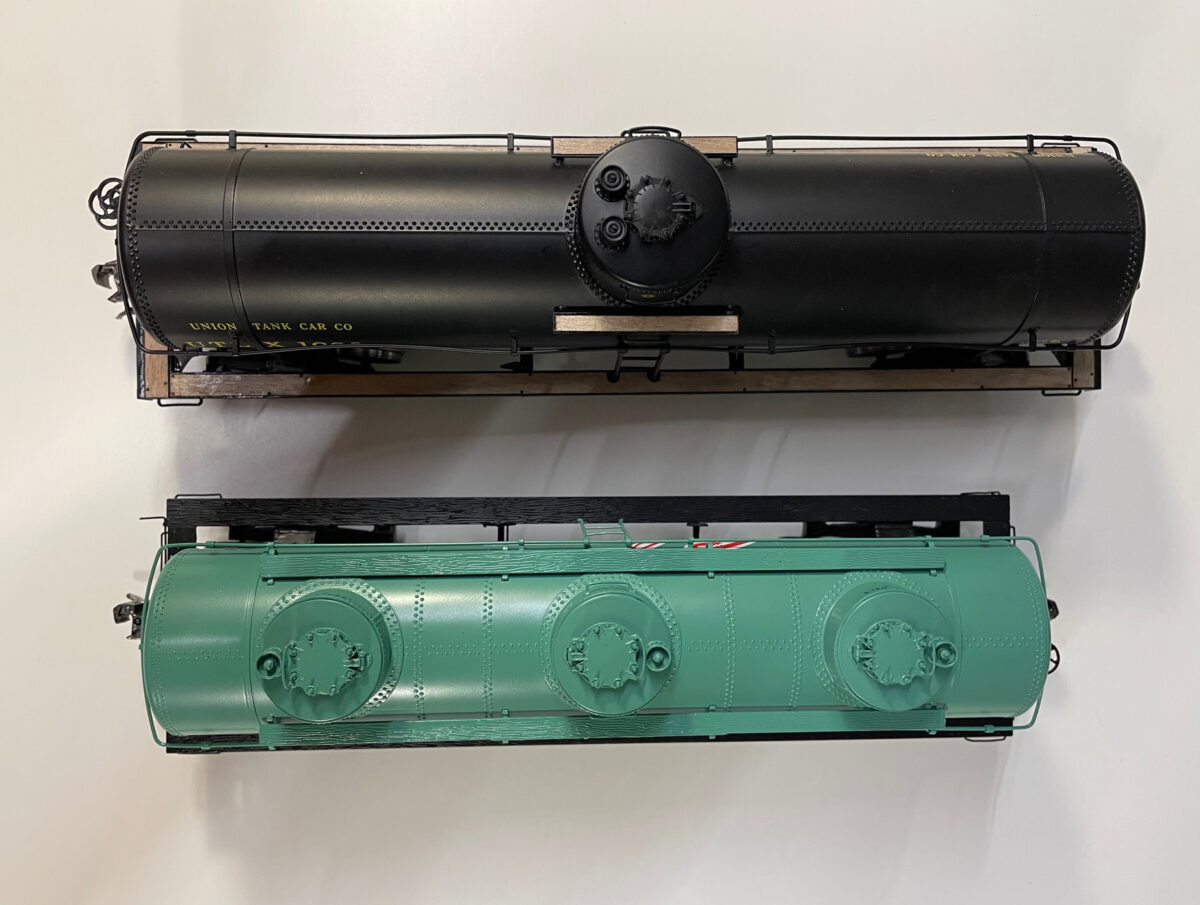
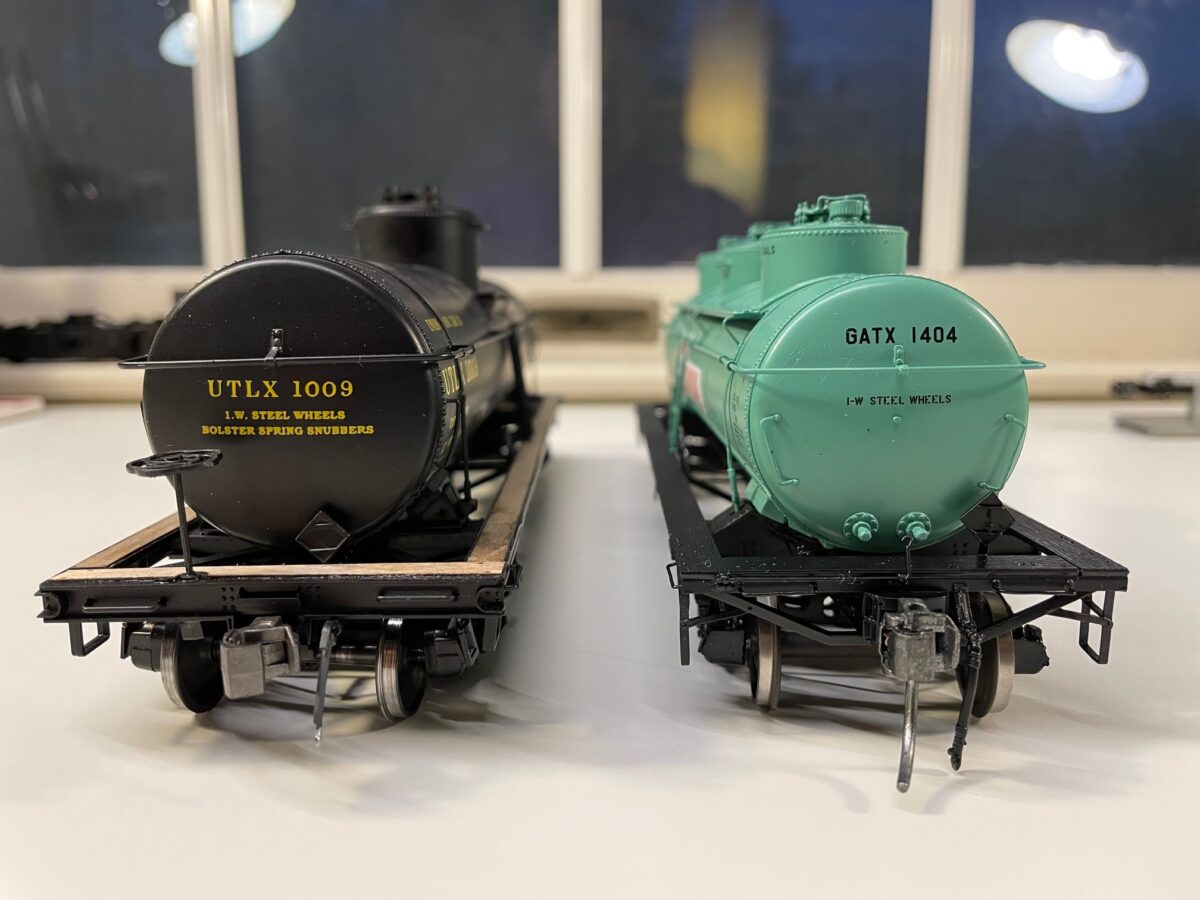
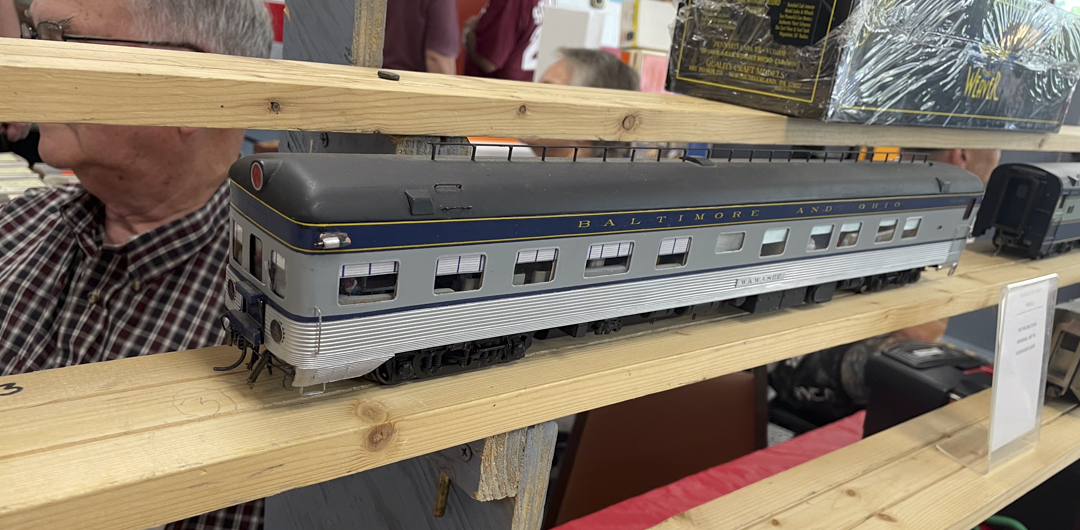
Bob Heil was there representing Sunset and golden gate Depot at the show. He had some B&O models that were made from older Mac Shop kits but they represent the B&O cars that Golden Gate is about to import.
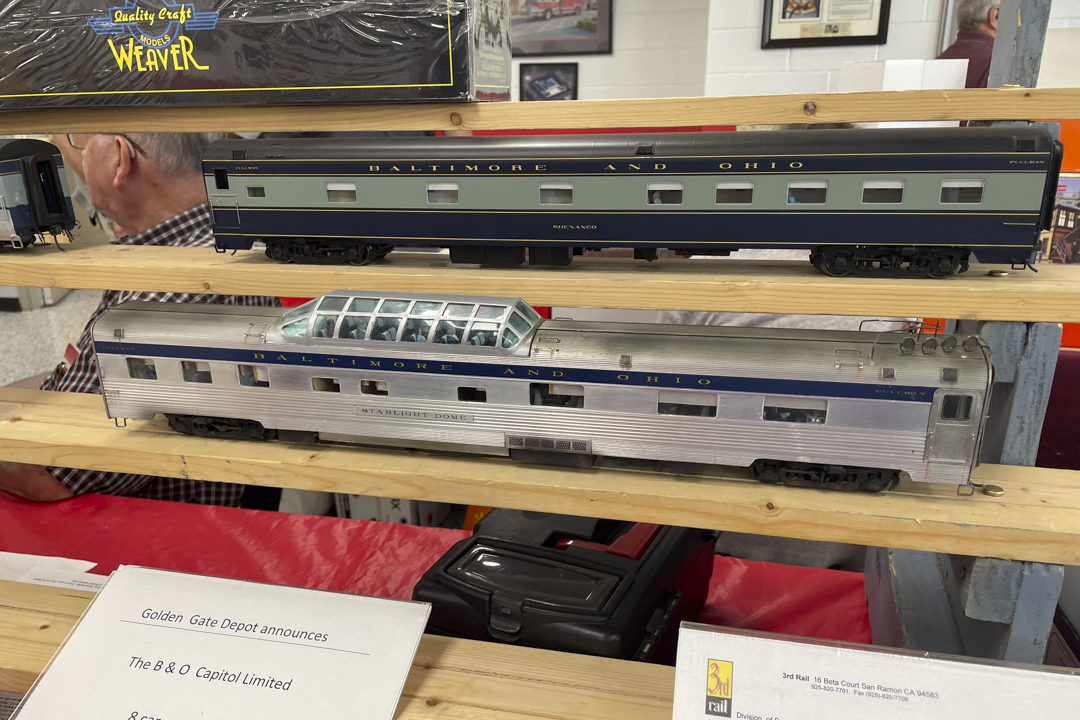
The car on the top is a Golden Gate car from a previous run. Bob mentioned that these are about to go into production.