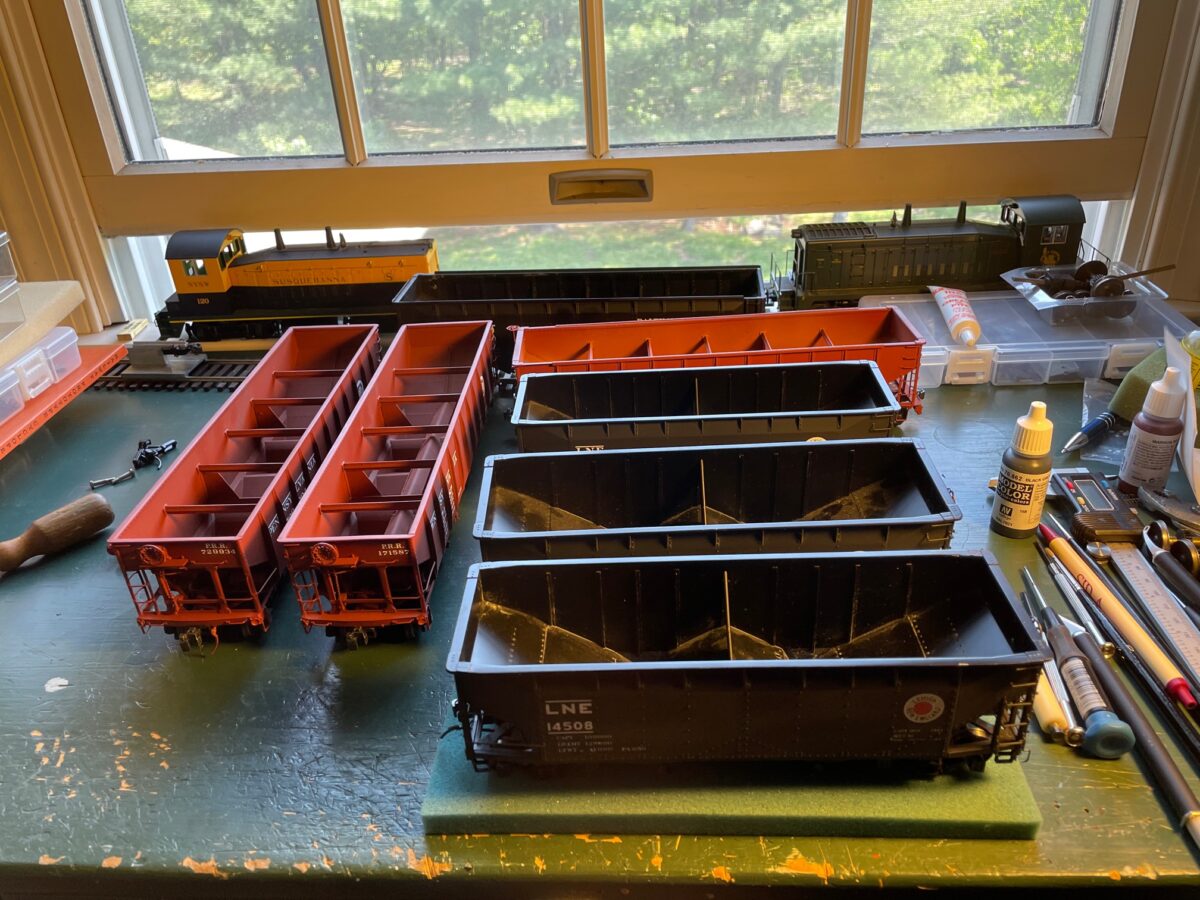
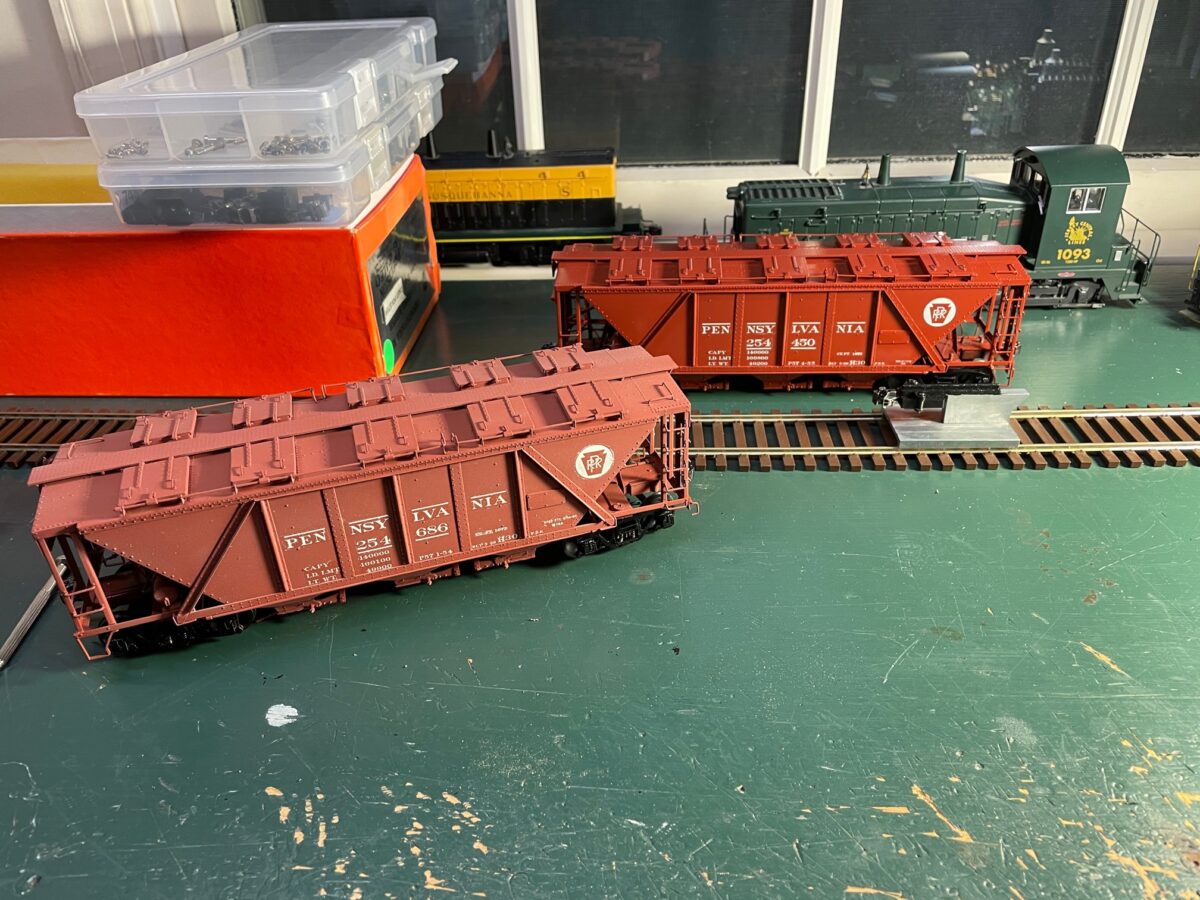
It’s February all ready. How did that happen?
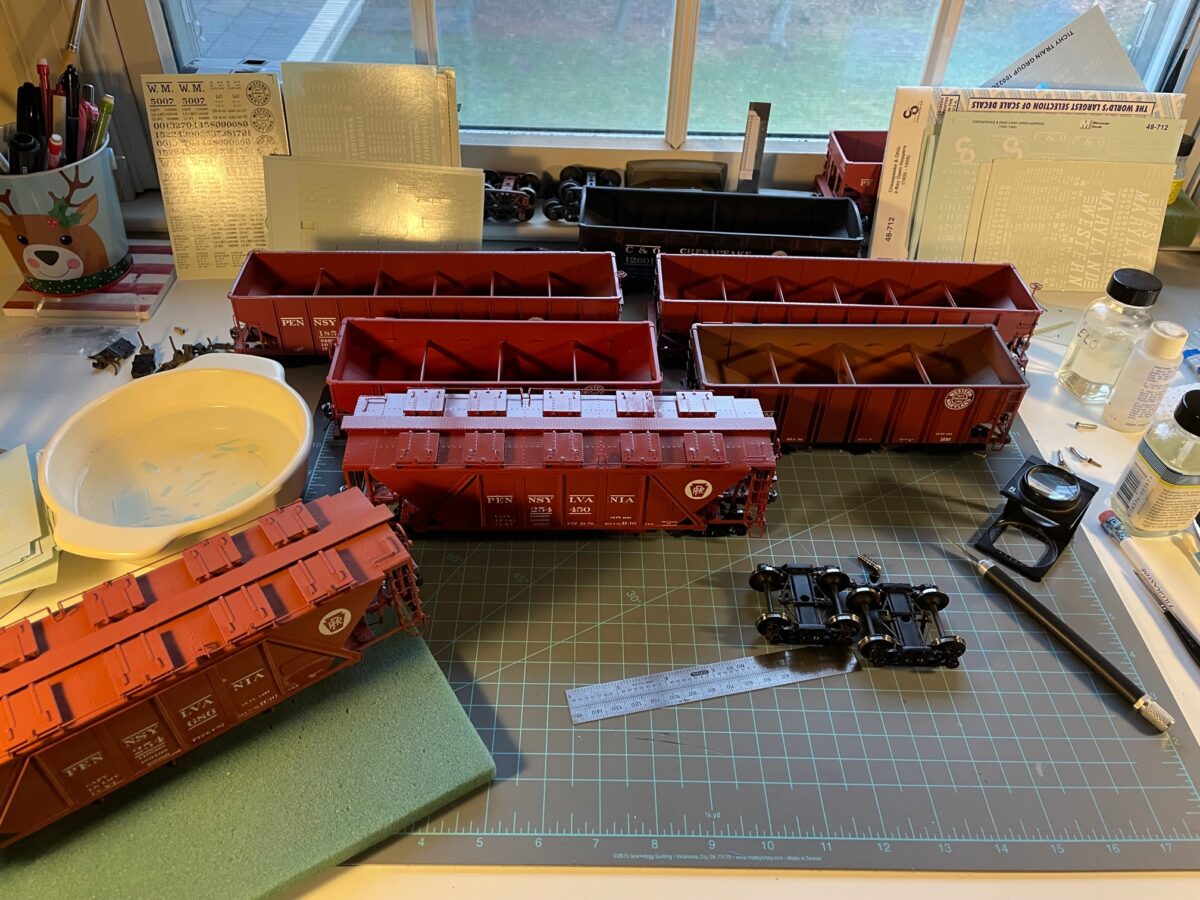
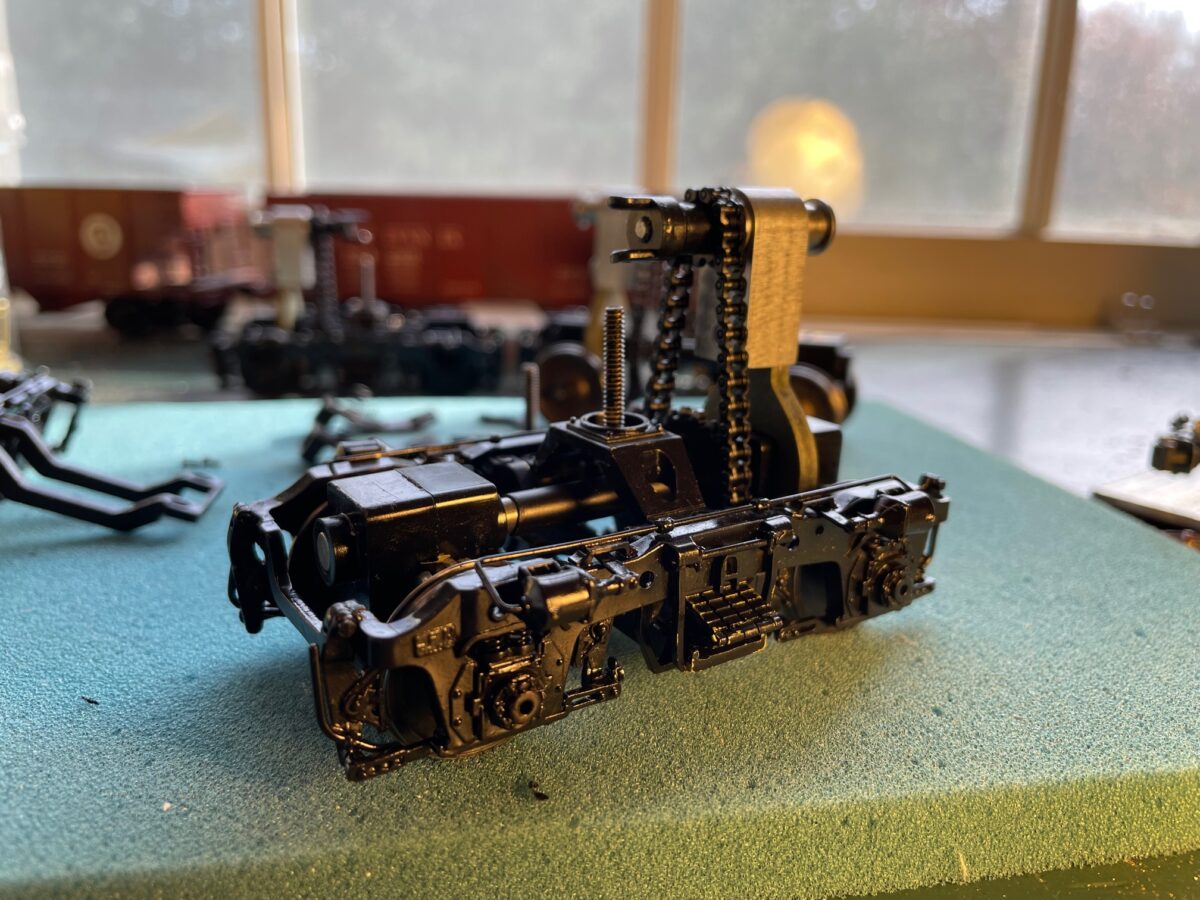
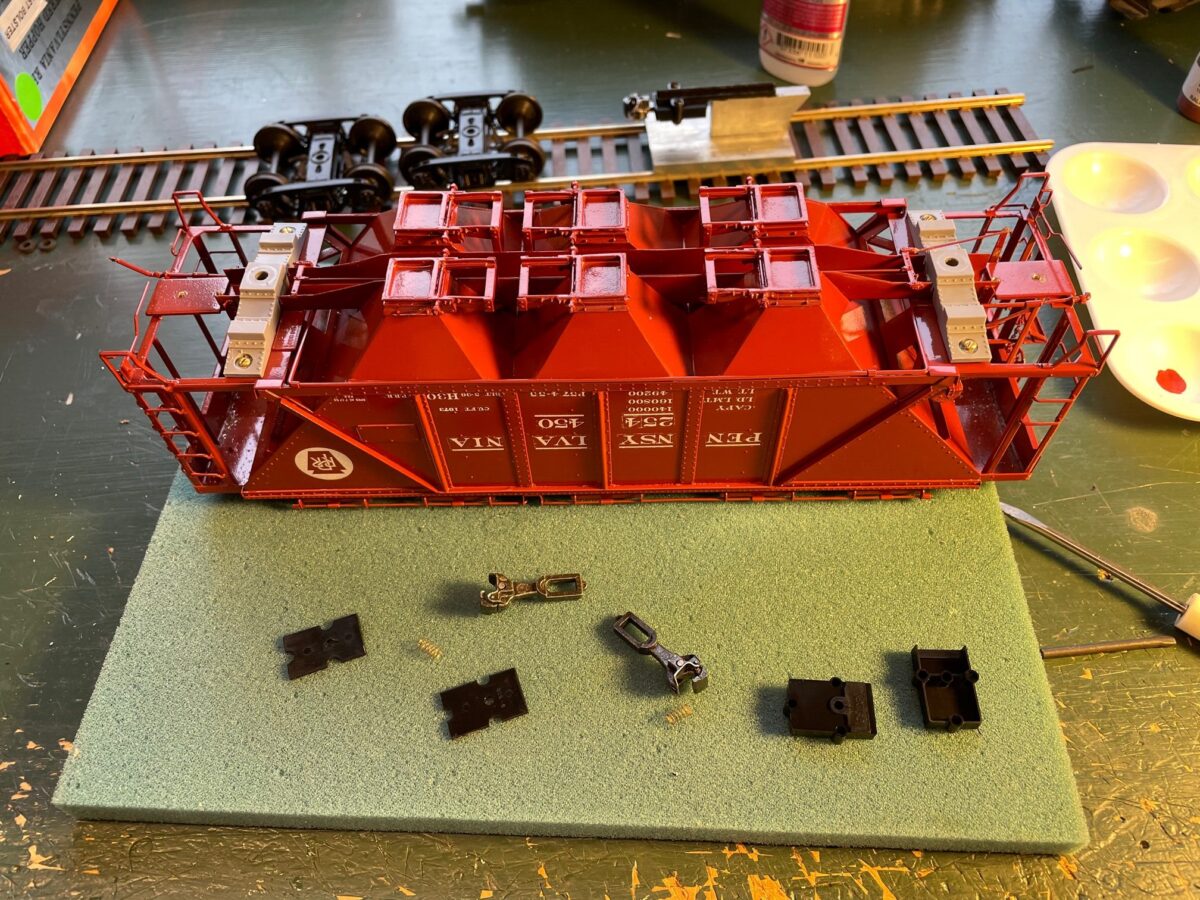
Current view on the workbench. I have a CN 50 ton flat car model from Nice Fish Model Company. It didn’t make the journey to NJ very well.
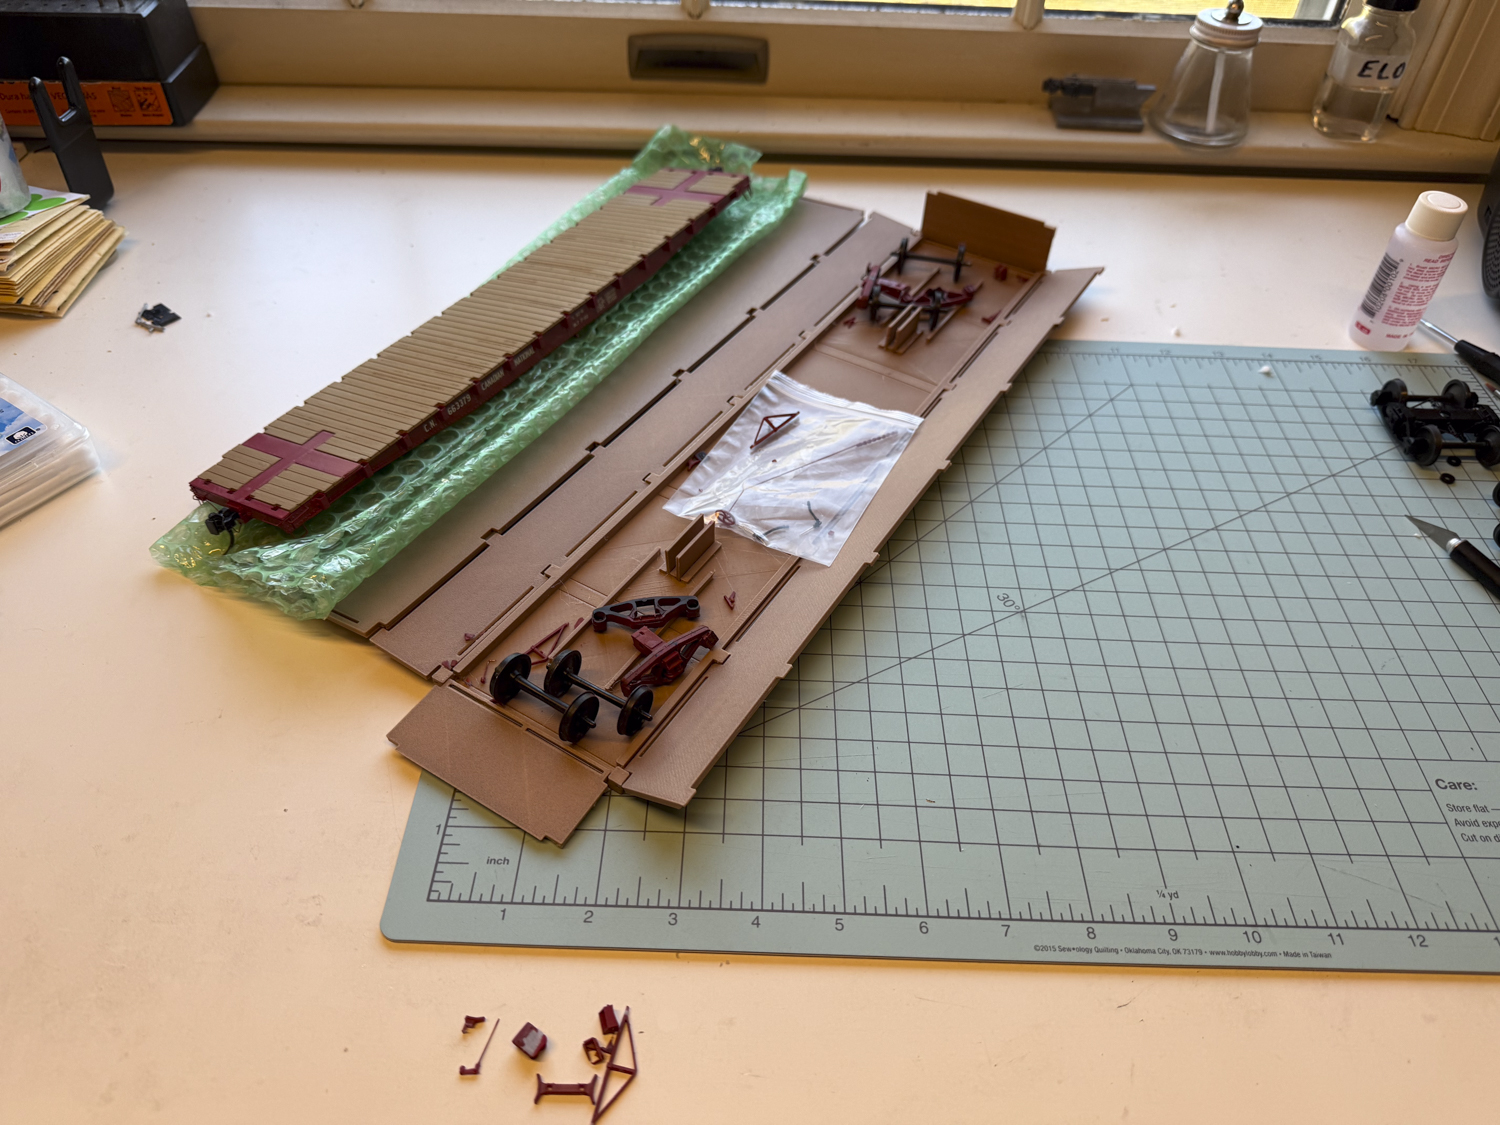
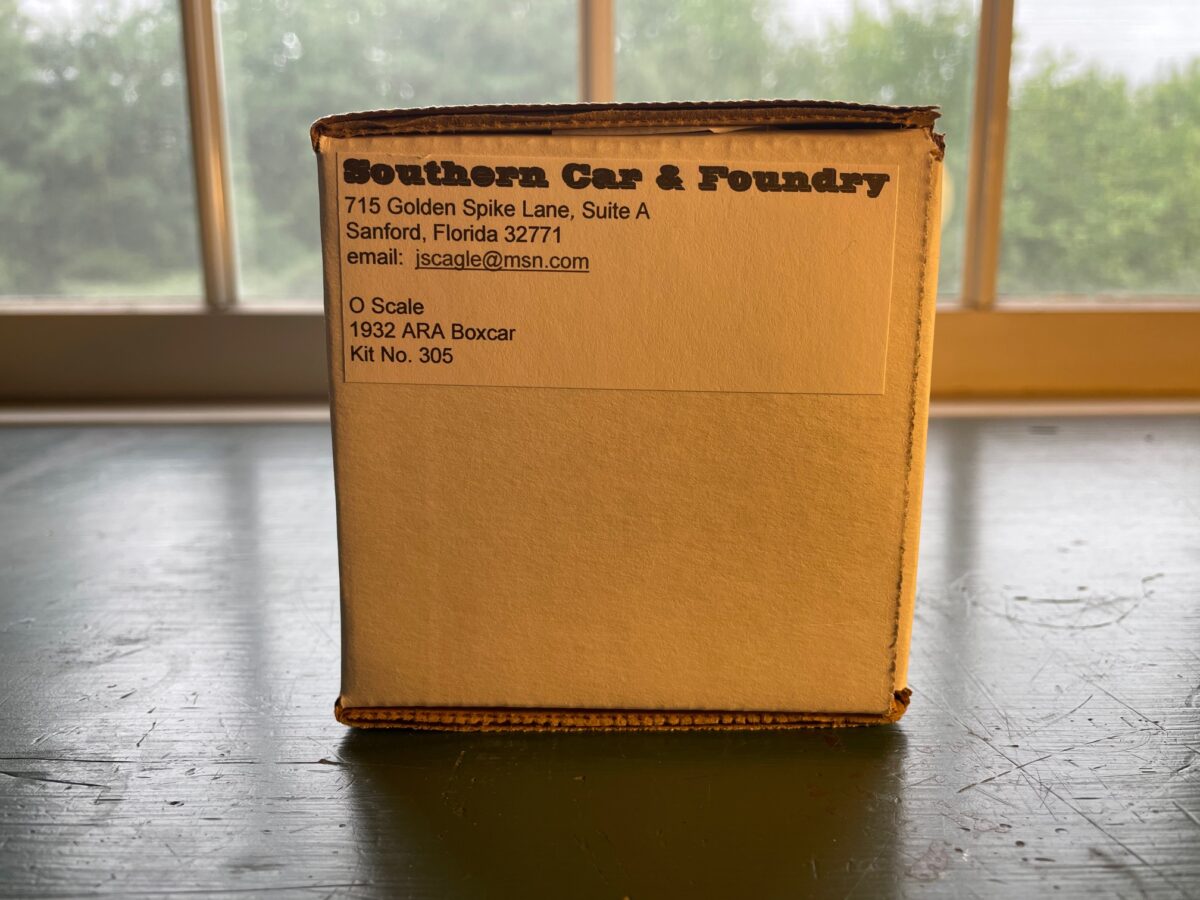
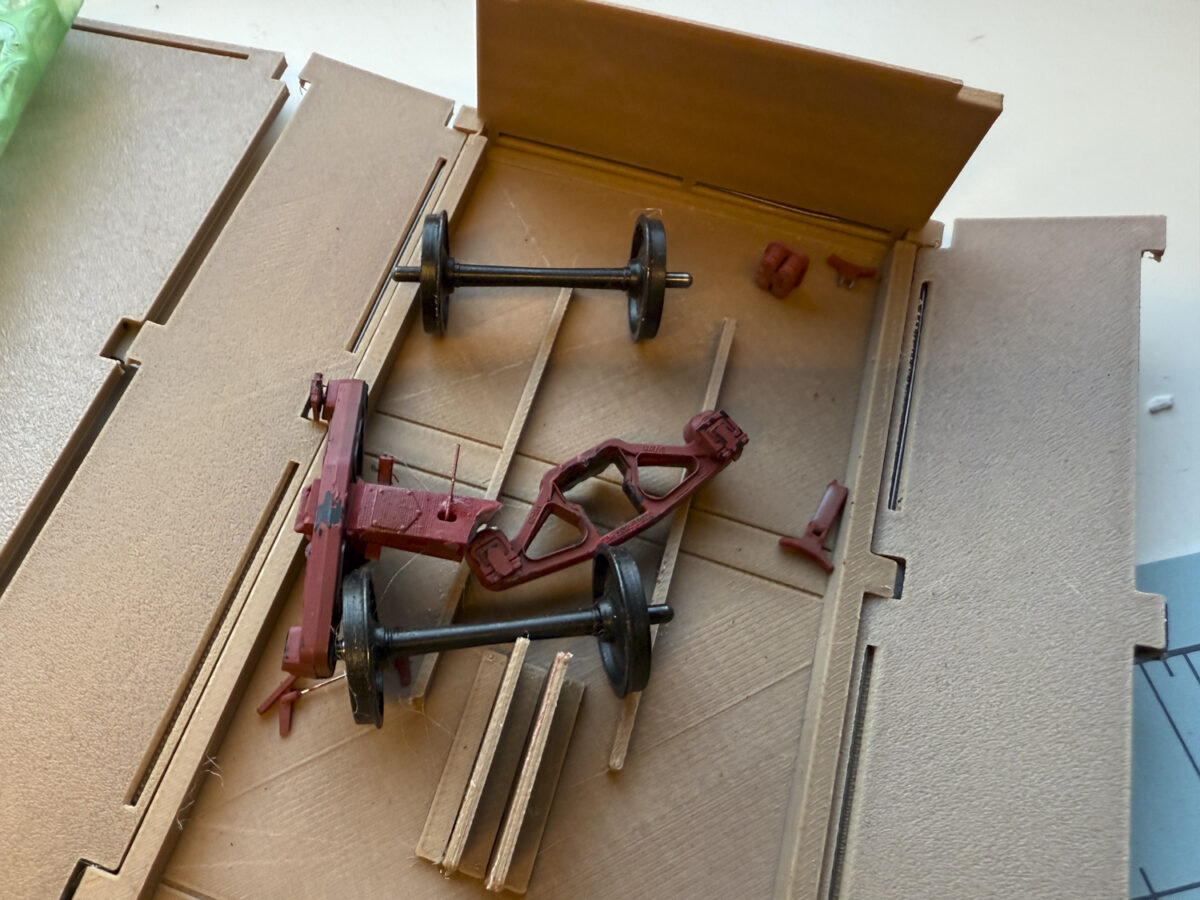
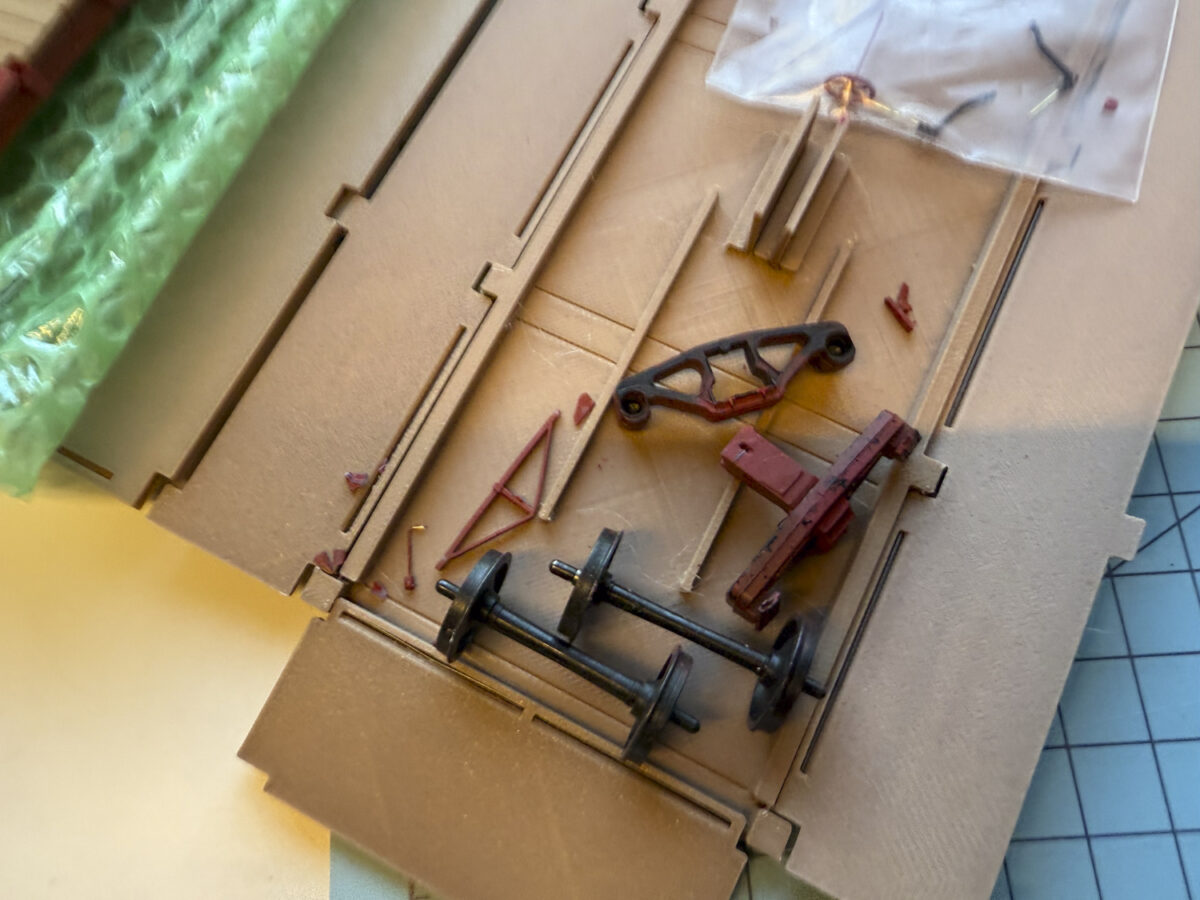
For some reason it was shipped inside a printed box. As I opened the box I heard sounds, not a great sign. Then I saw parts.
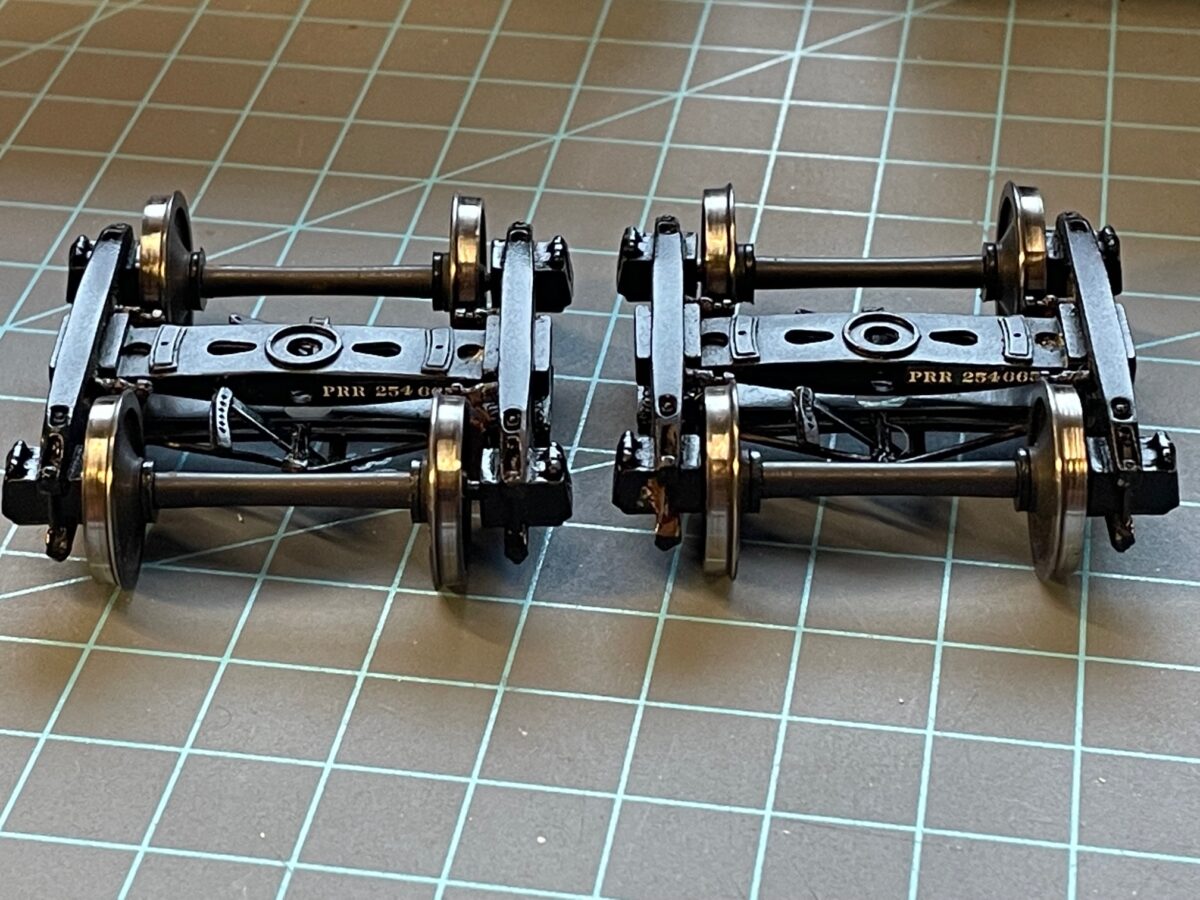
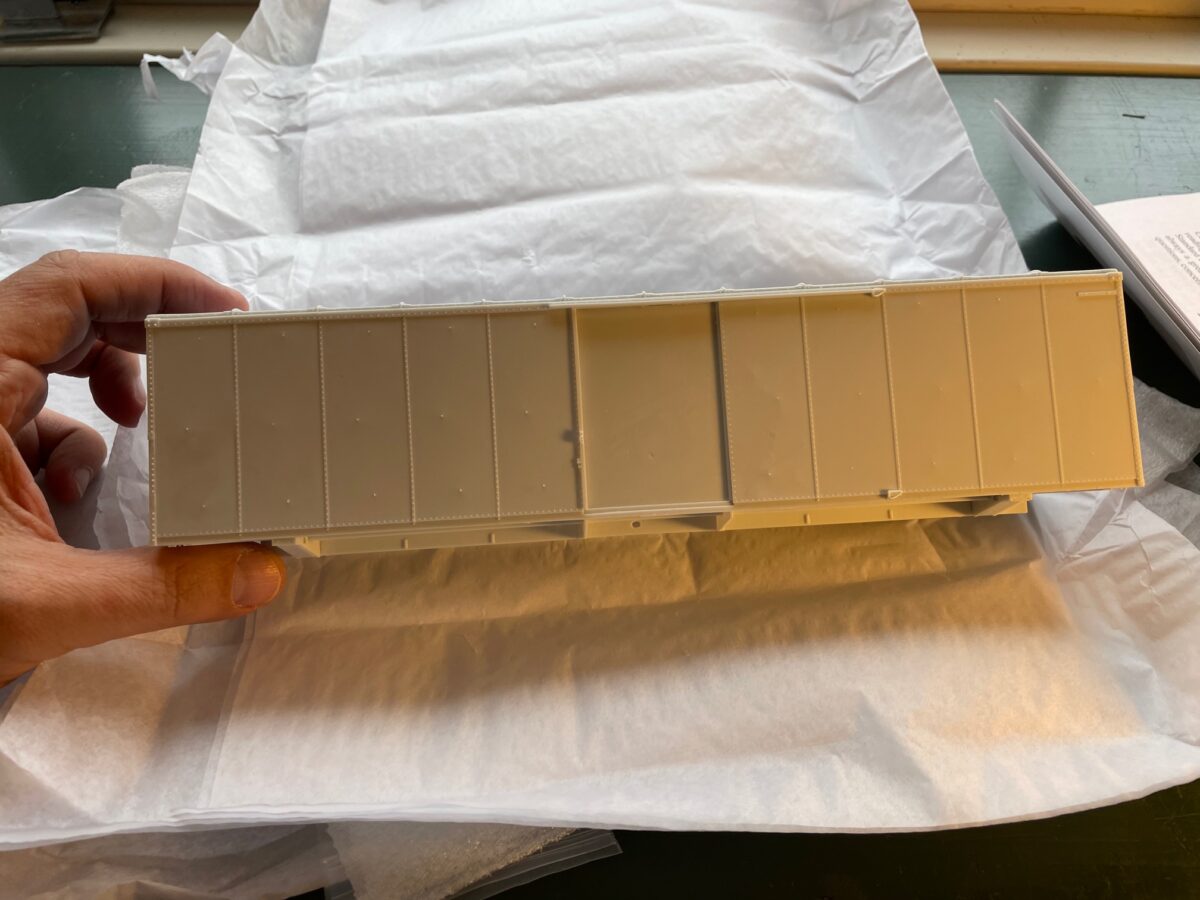
Turns out it was just the trucks. Disappointing? Yes, but not the end of the world. The trucks appear to be Intermountain side frames with Protocraft Wheelsets. The 3D printed bolster were the weak link. That does not speak well for 3D Printing.
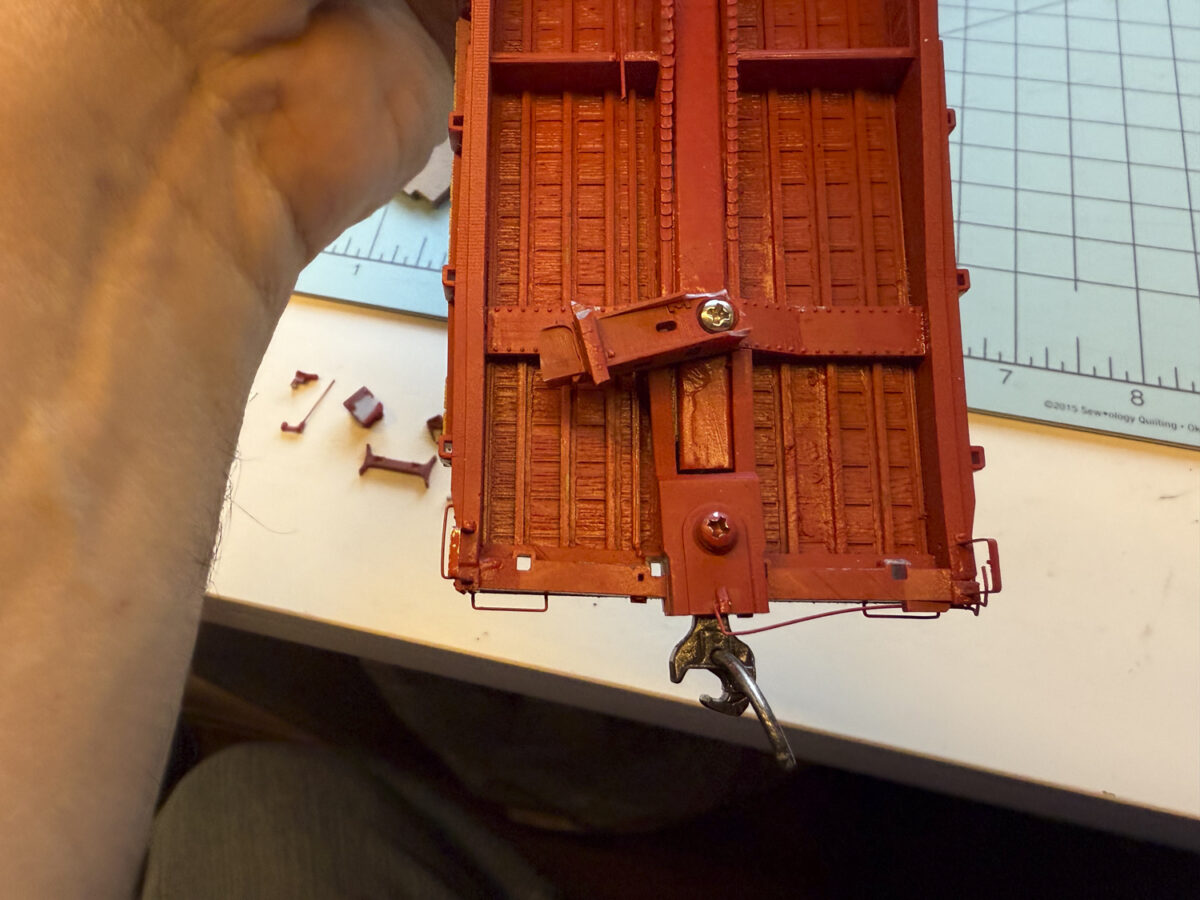
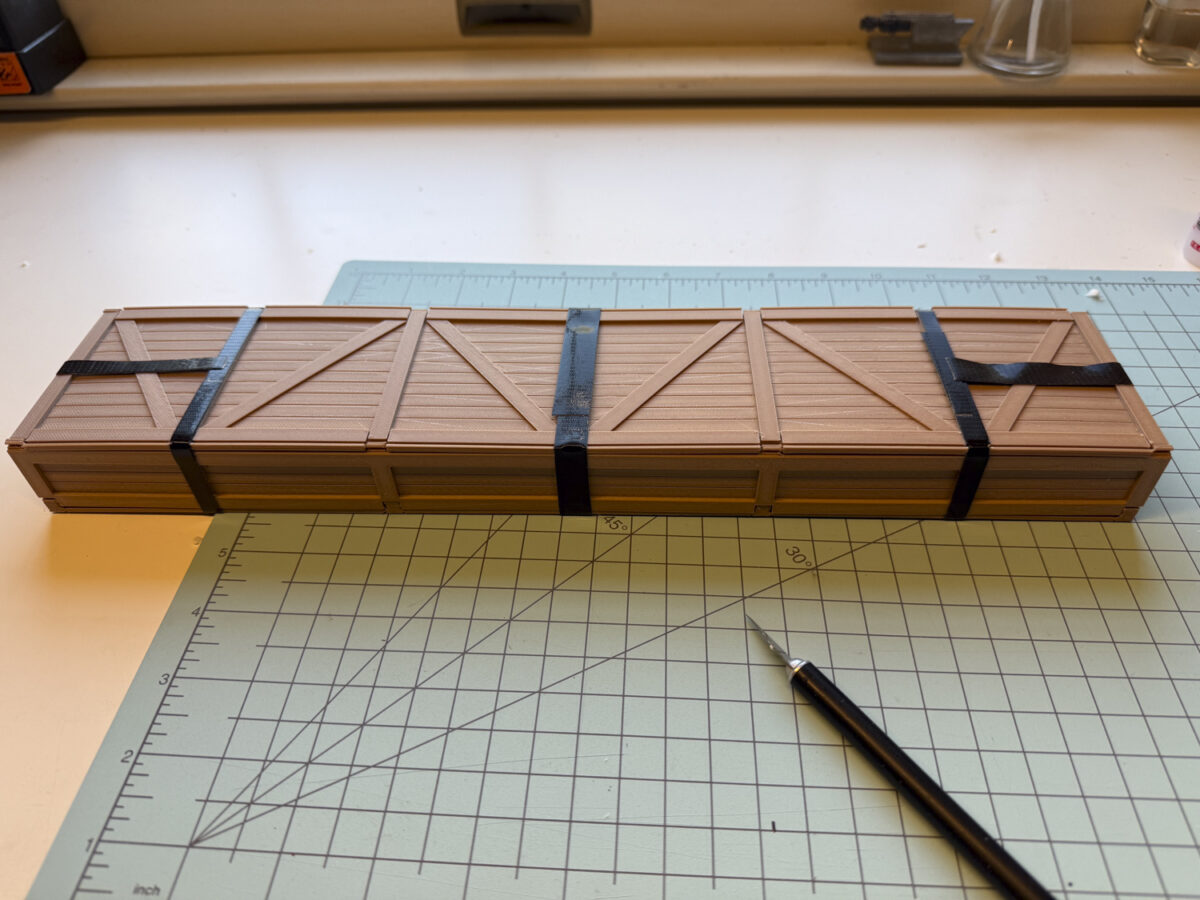
I will need to take a closer look at the draft gear. This appears a little misaligned.
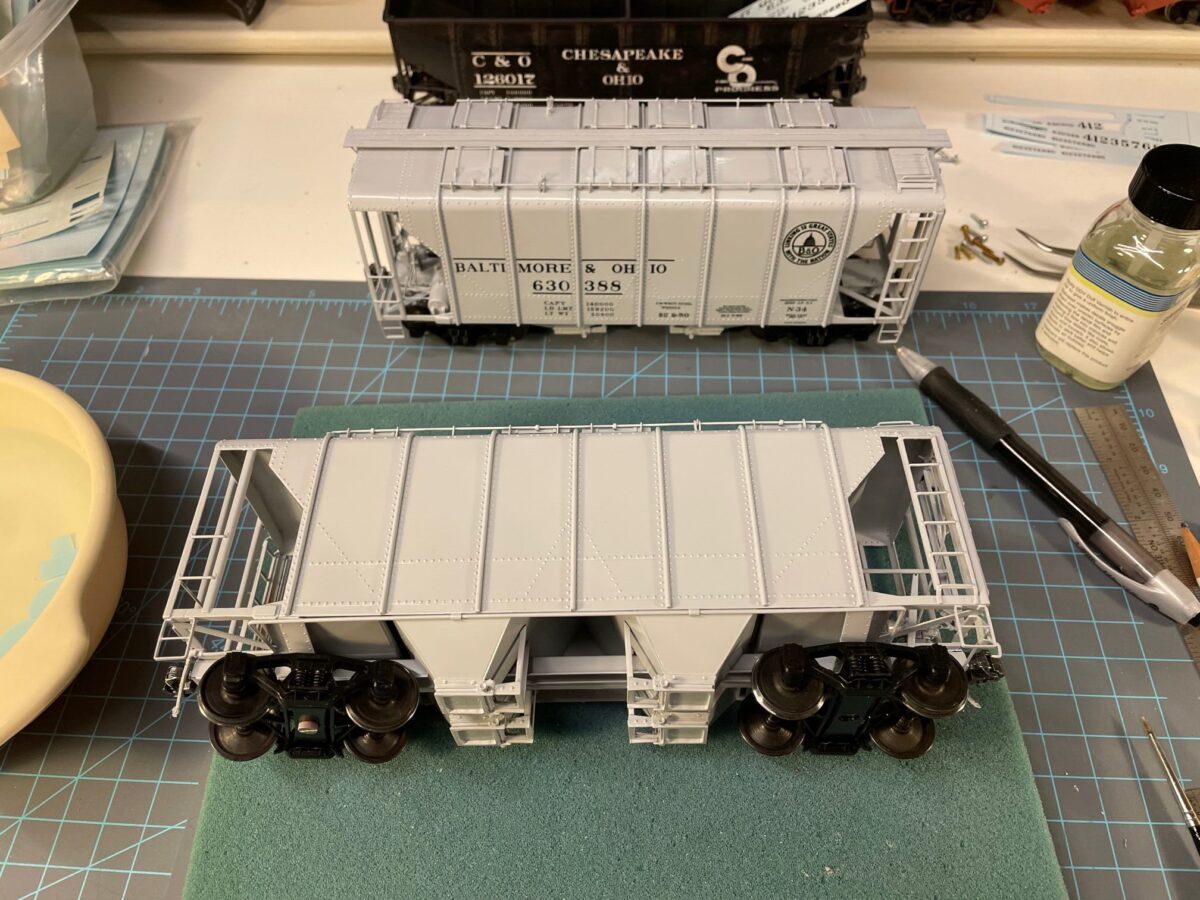
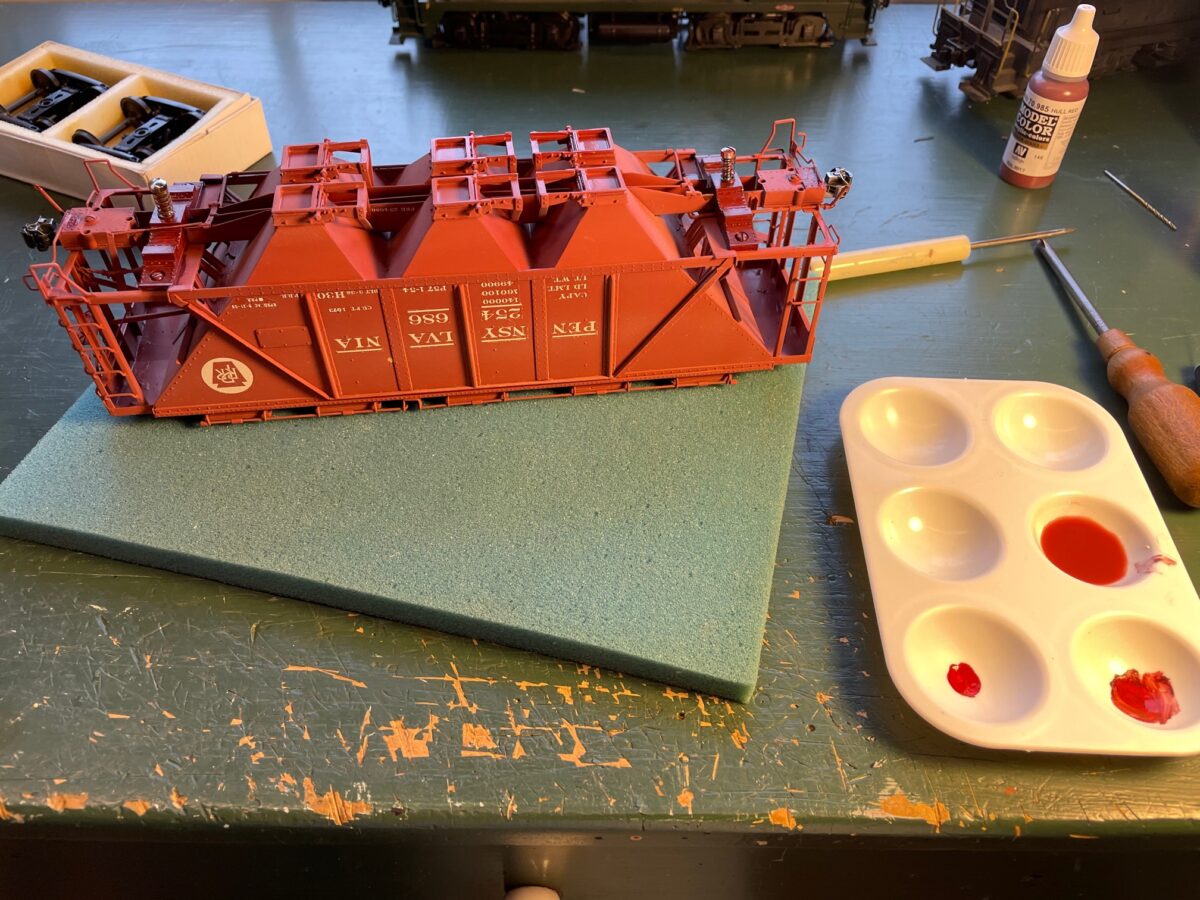
Nice model, I’ll let you know more of what I think when I can look at it more thoroughly. First impressions are not the greatest based on condition of what I received. Fancy box to ship the model in that did not do its job to protect the model in transit. That does not speak well of the engineering behind this.
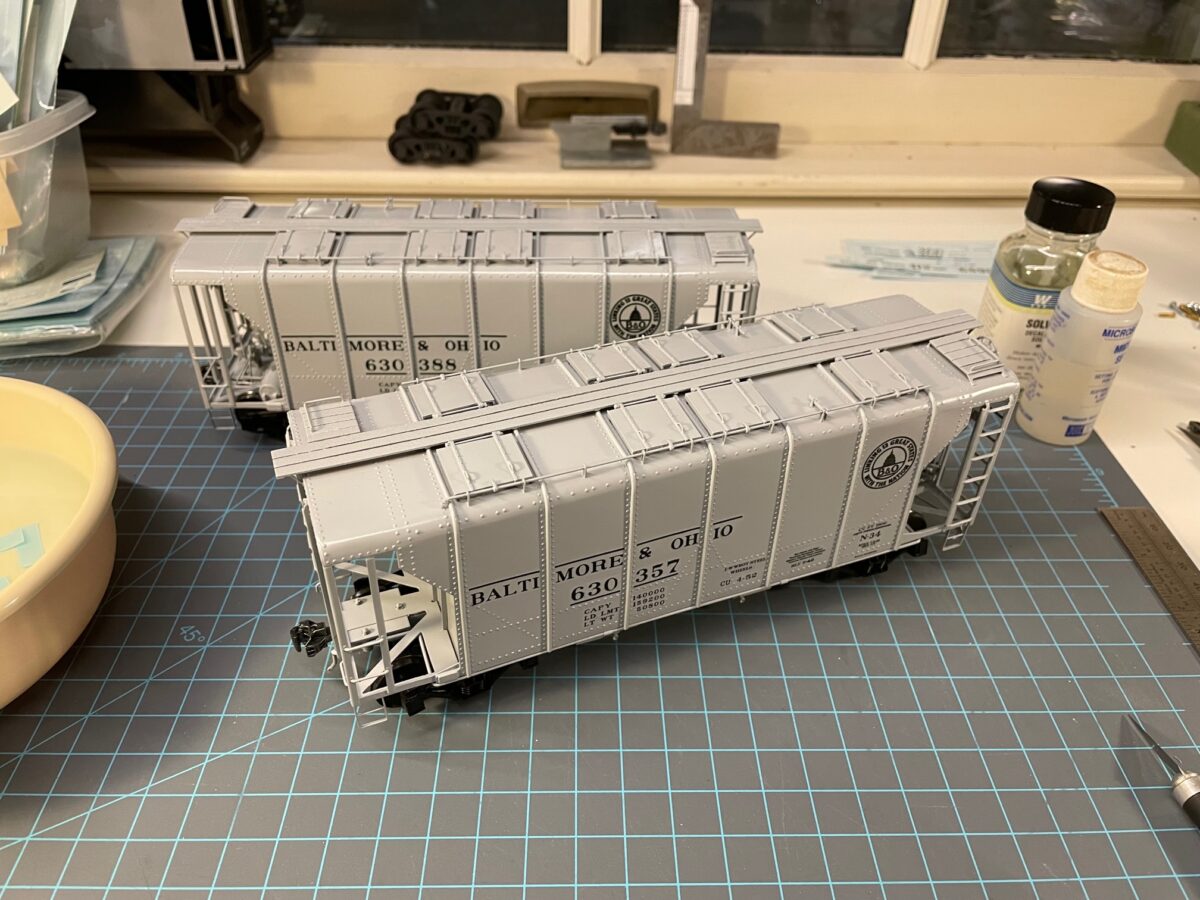
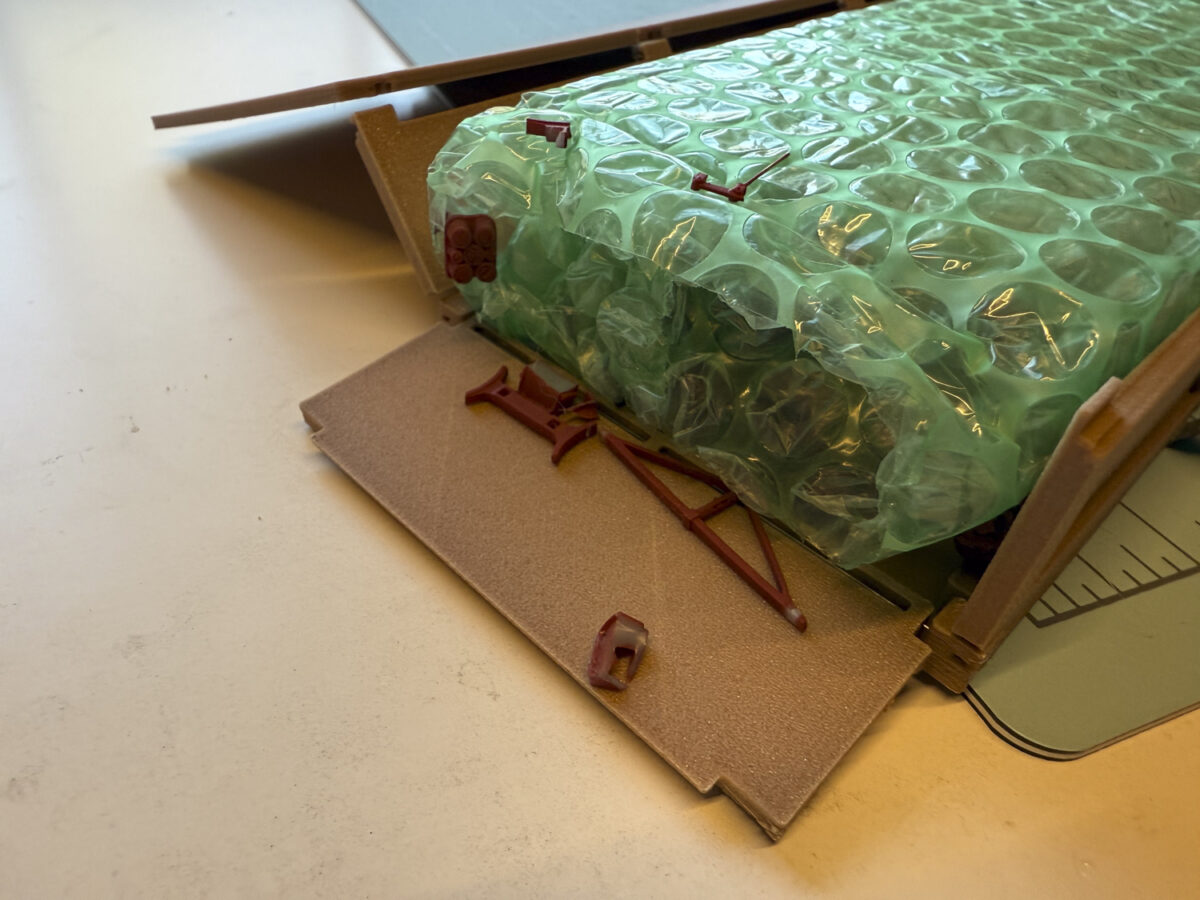
Sometimes a simple solution works. Small bubble wrap around the model and then larger bubble wrap around that has worked well for me in the past.