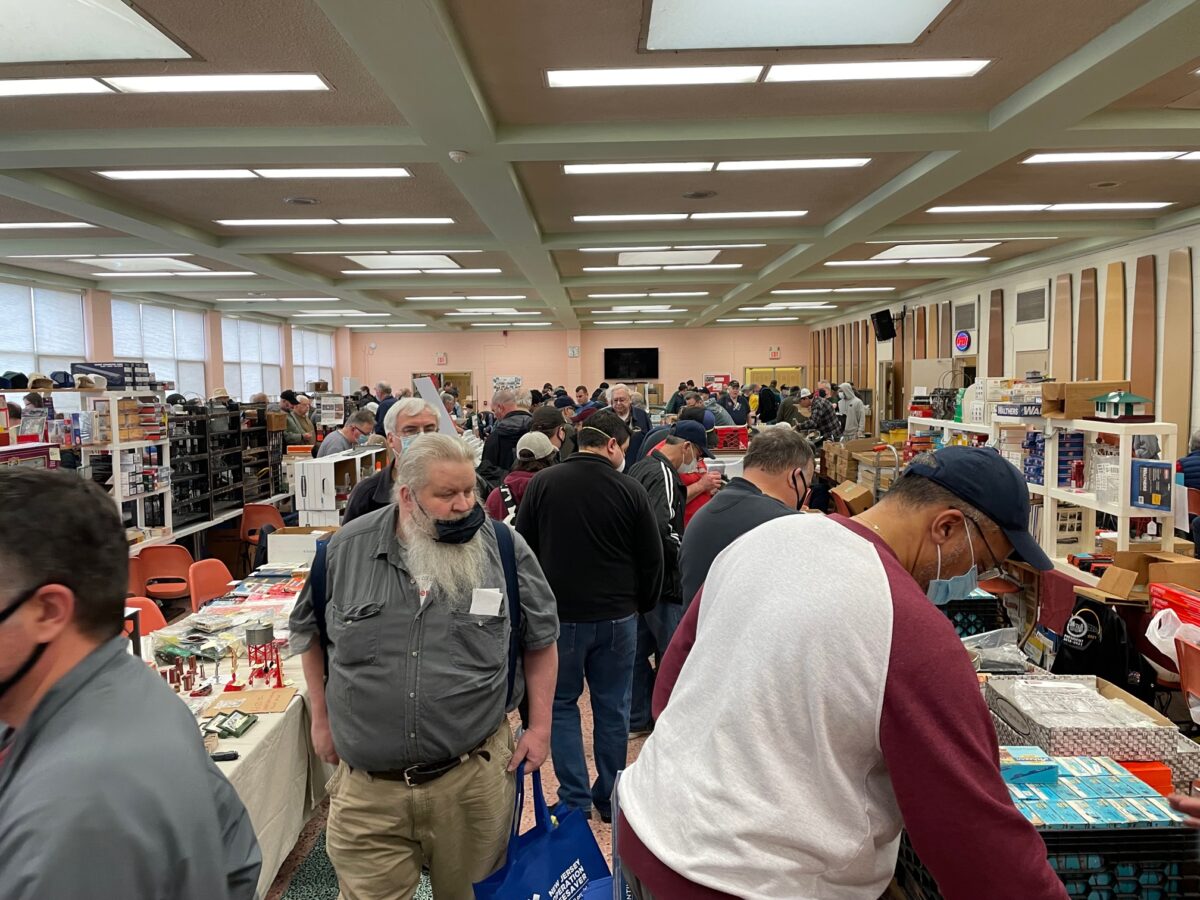
Just returned from the 2022 Chicago O Scale Show. I always think this show can’t get any better and it always does. Another great show!
There were some new models from various manufacturers at this show, as well as a host of used models. Here are some of the new models I saw at the show.
Atlas O Scale
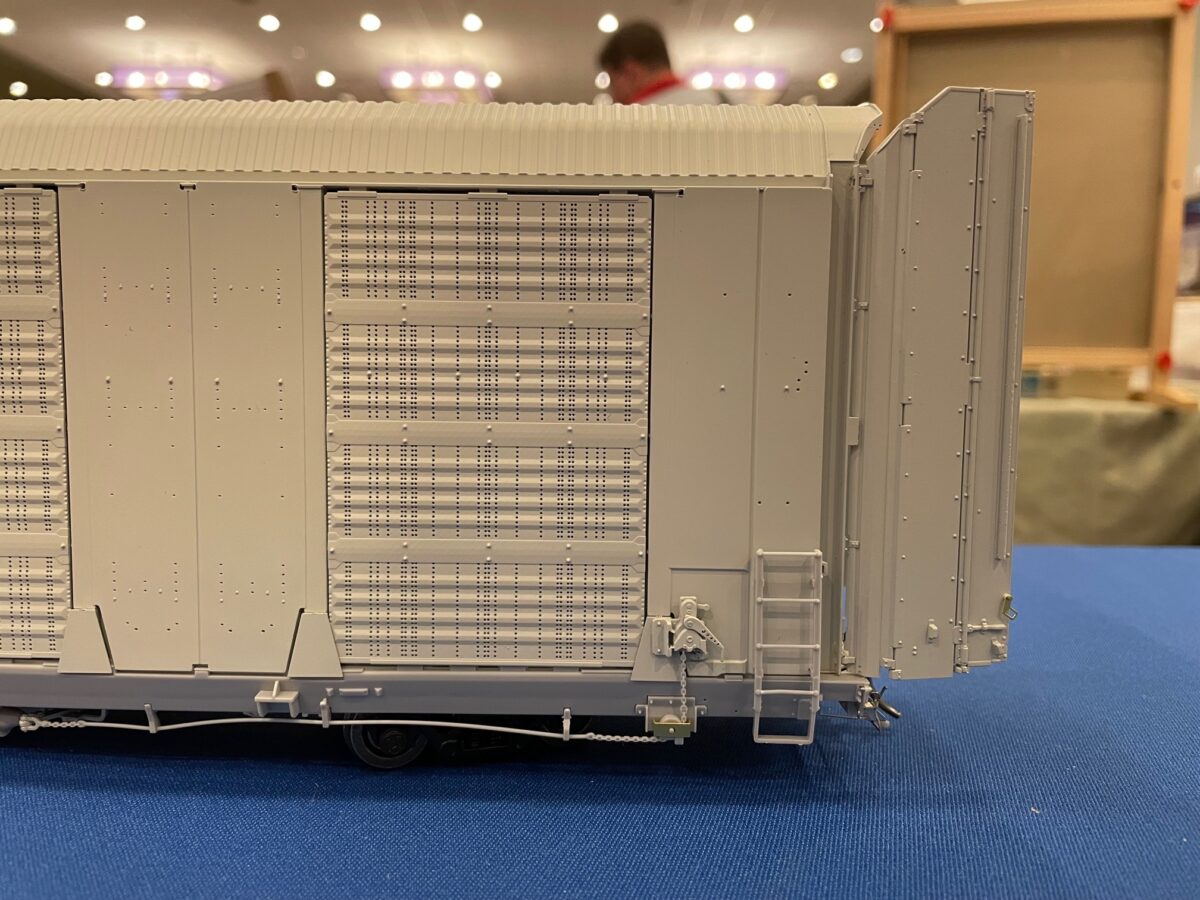
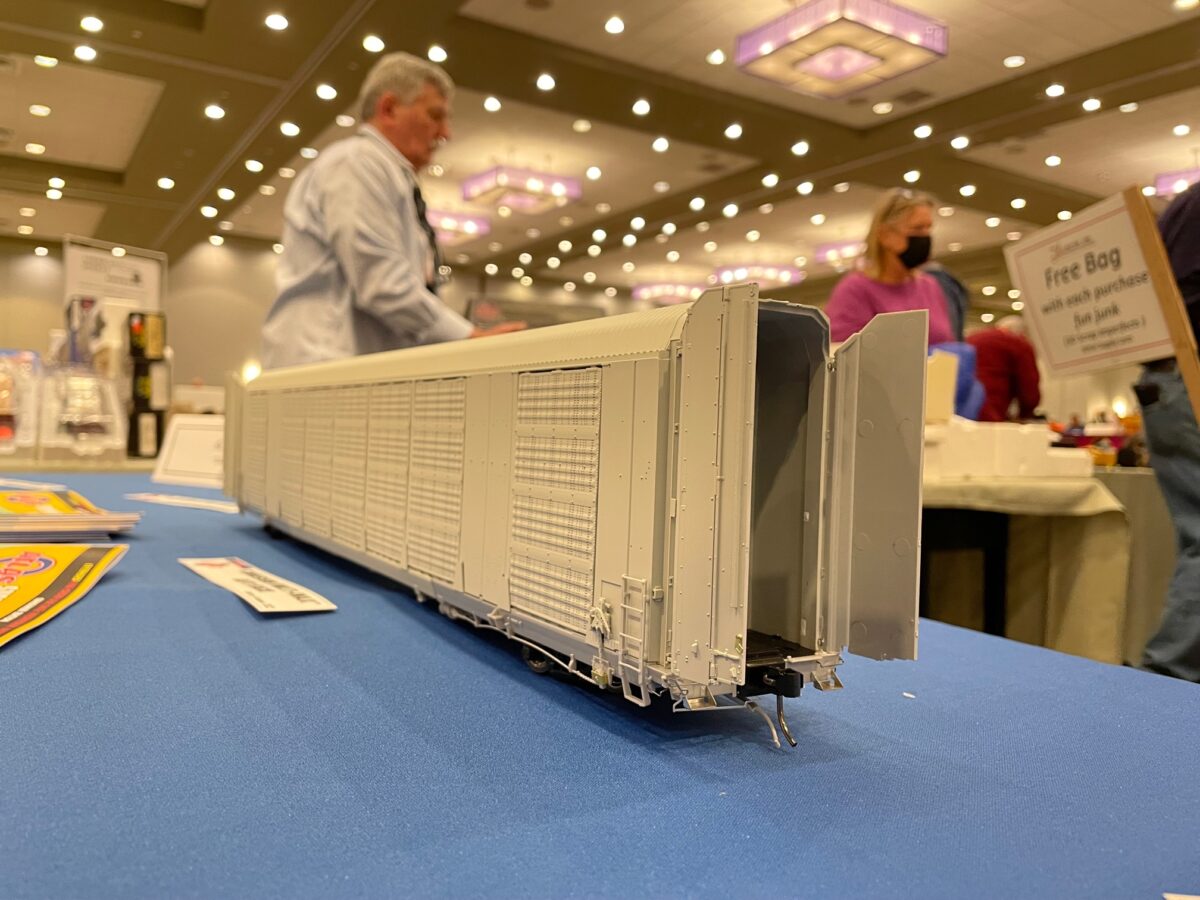
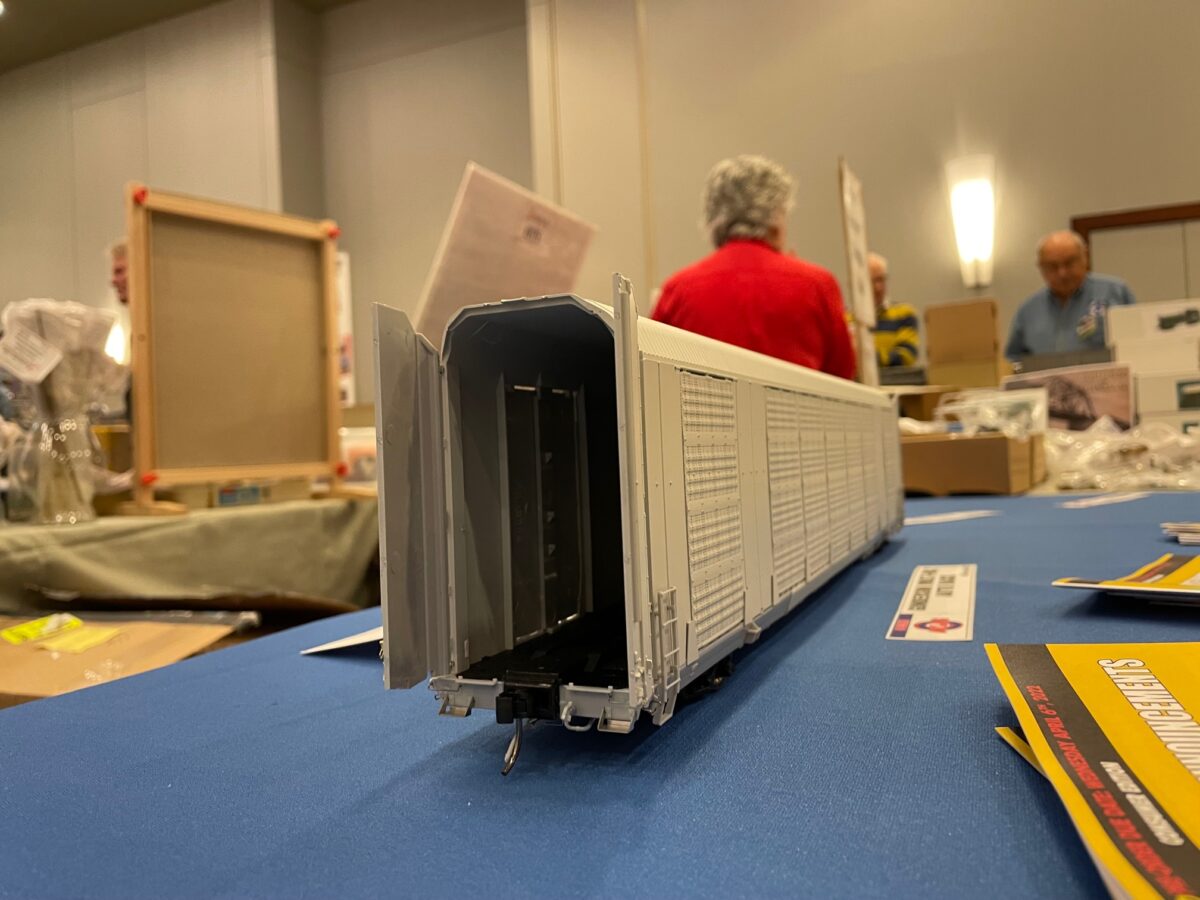
Bob Lavezzi had a display model of a new release for Atlas O Scale. It’s an 89′ Auto Rack. While too late for my modeling period of 1952, it is a fine looking model and great to see Atlas O releasing a fine looking new model in O Scale.
Southern Car & Foundry
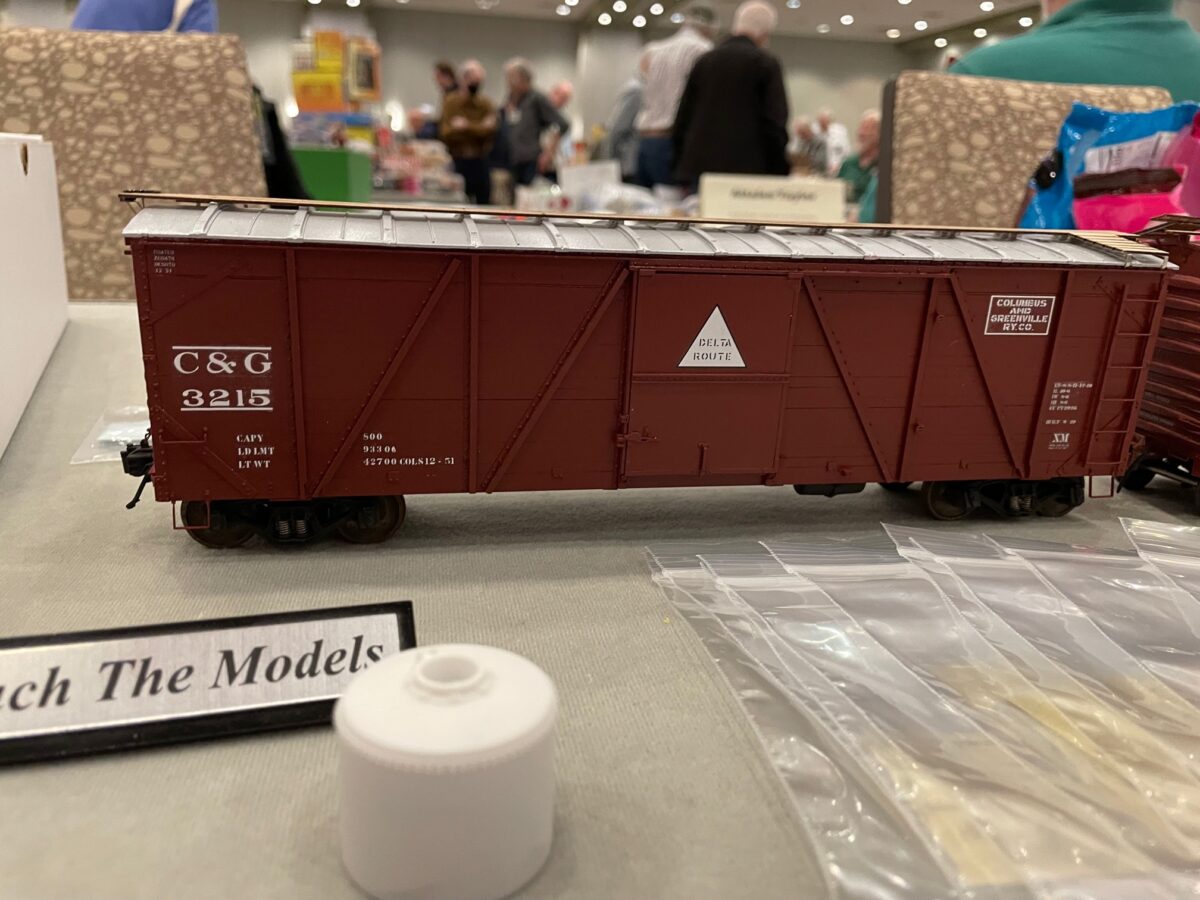
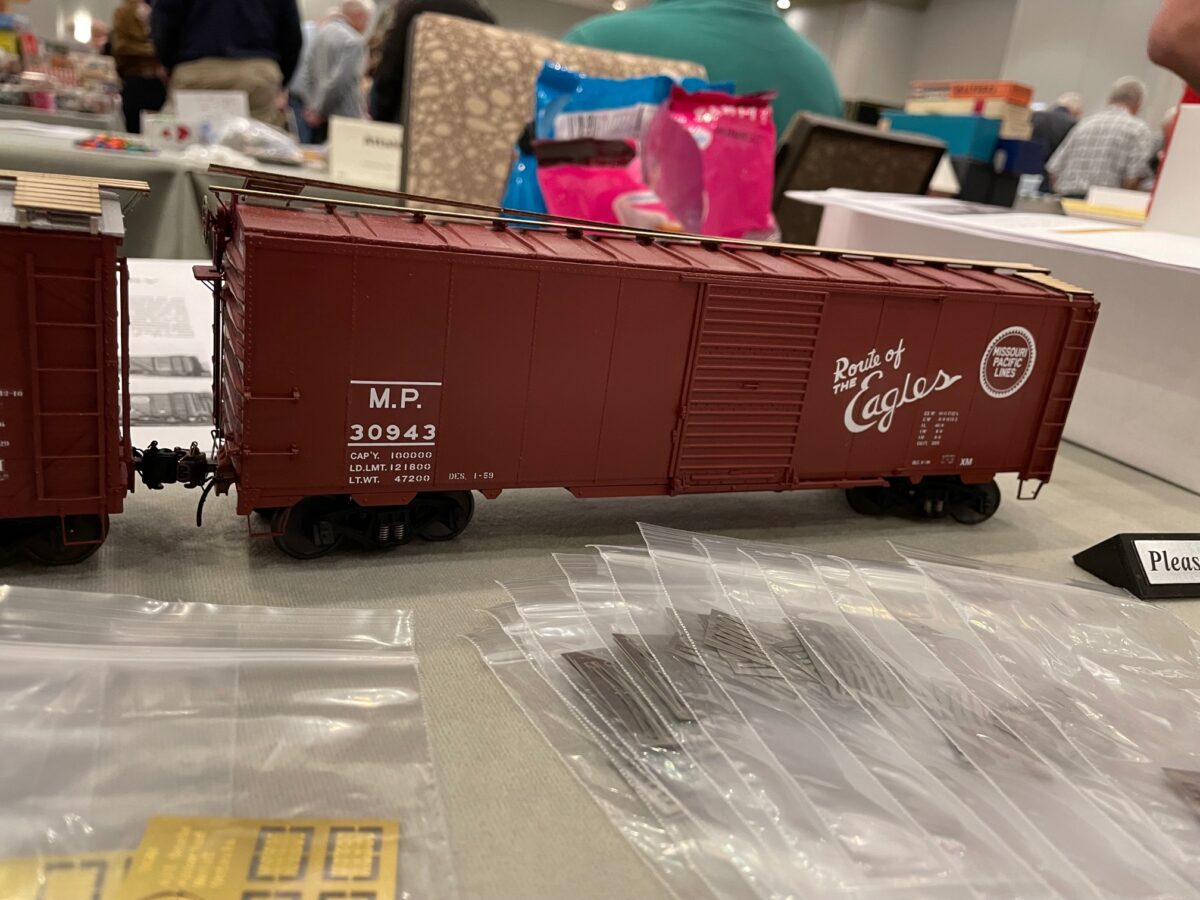
Jon Cagle from Southern Car & Foundry has released a new model of an ARA Standard Car with a Howe Truss. This model is similar to their previous release of the Sand Springs car but this is the composite version of that car. Jim Zwernemann did a wonderful job on the master work on this car. SC&F sold out of the kits he brought of this car on Saturday.
In addition SC&F had additional models of the previously released 1932 ARA Standard Boxcars available at the show.
Rails Unlimited
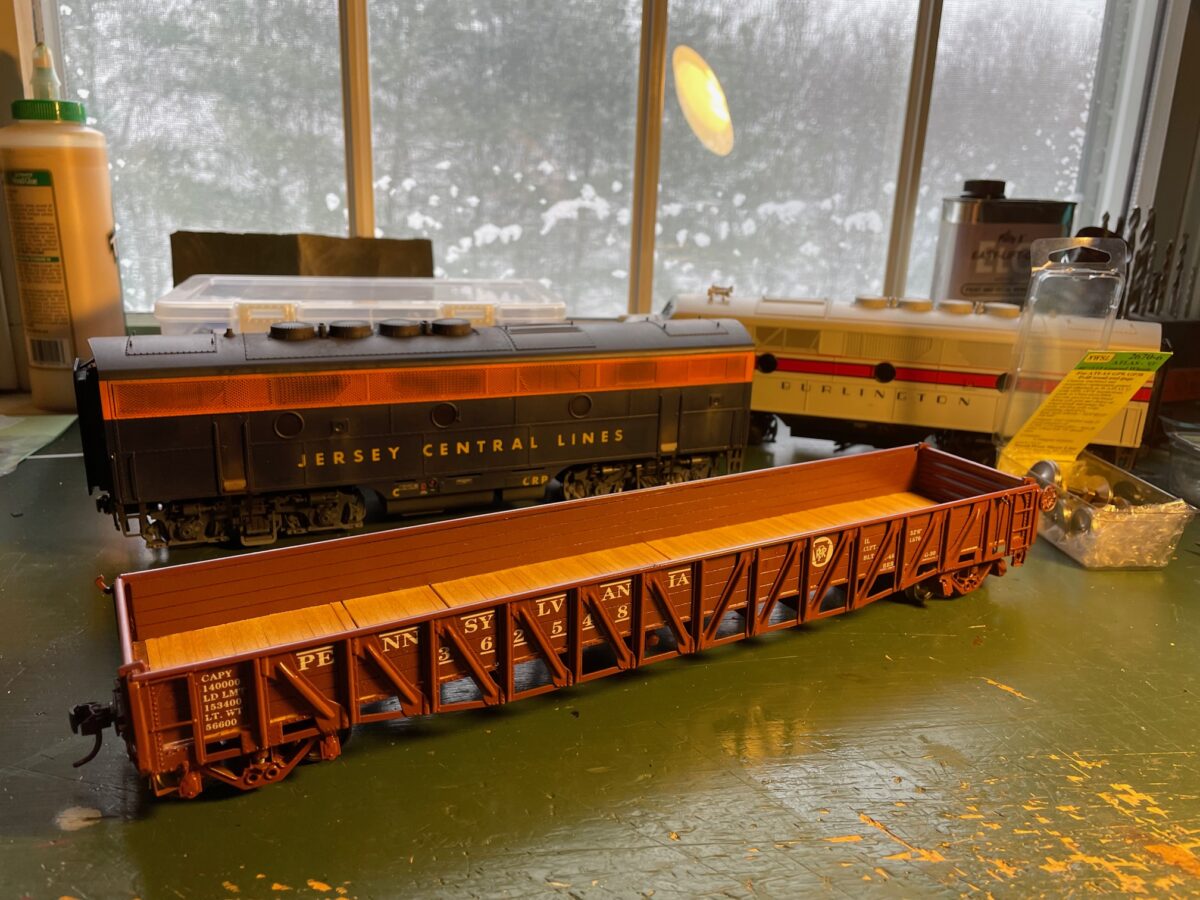
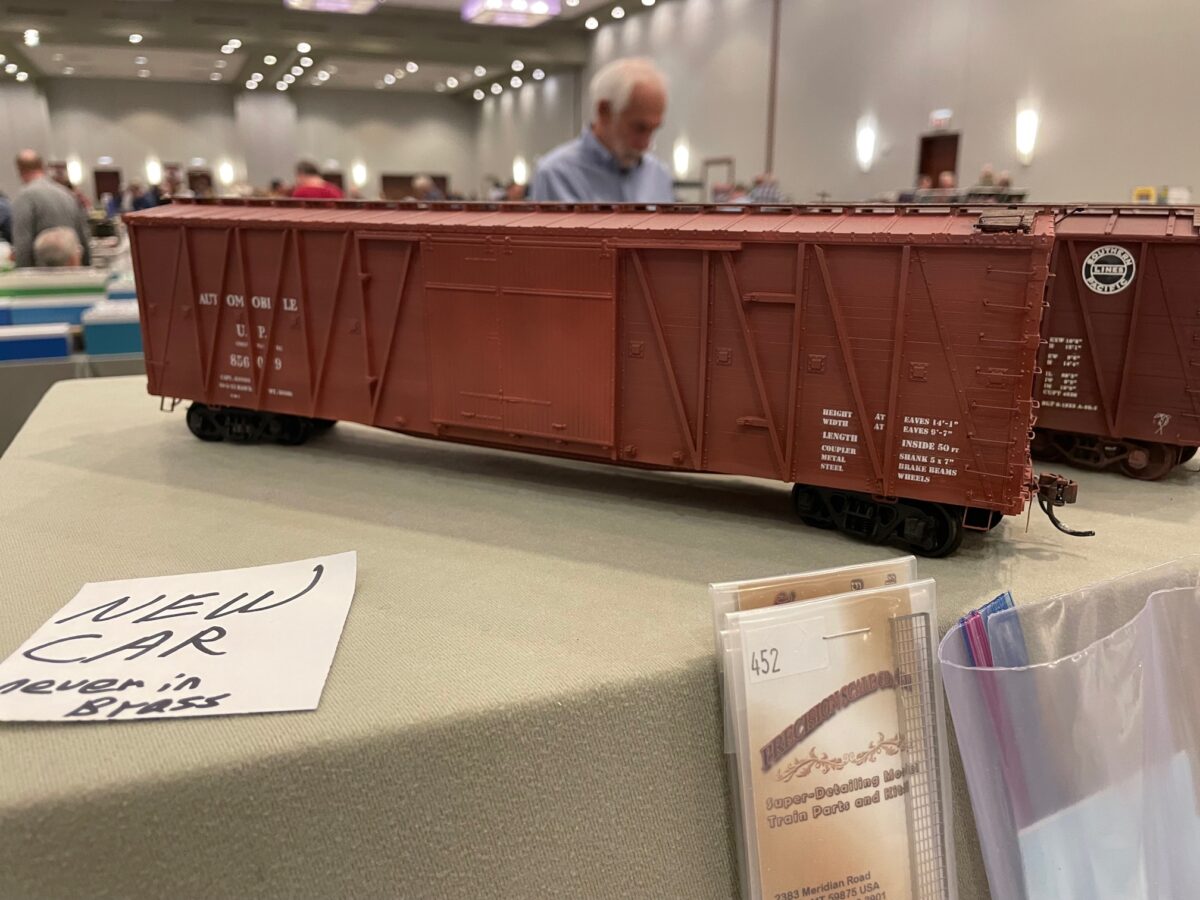
Ted Schnepf had a new release of a UP 50 foot composite boxcar.
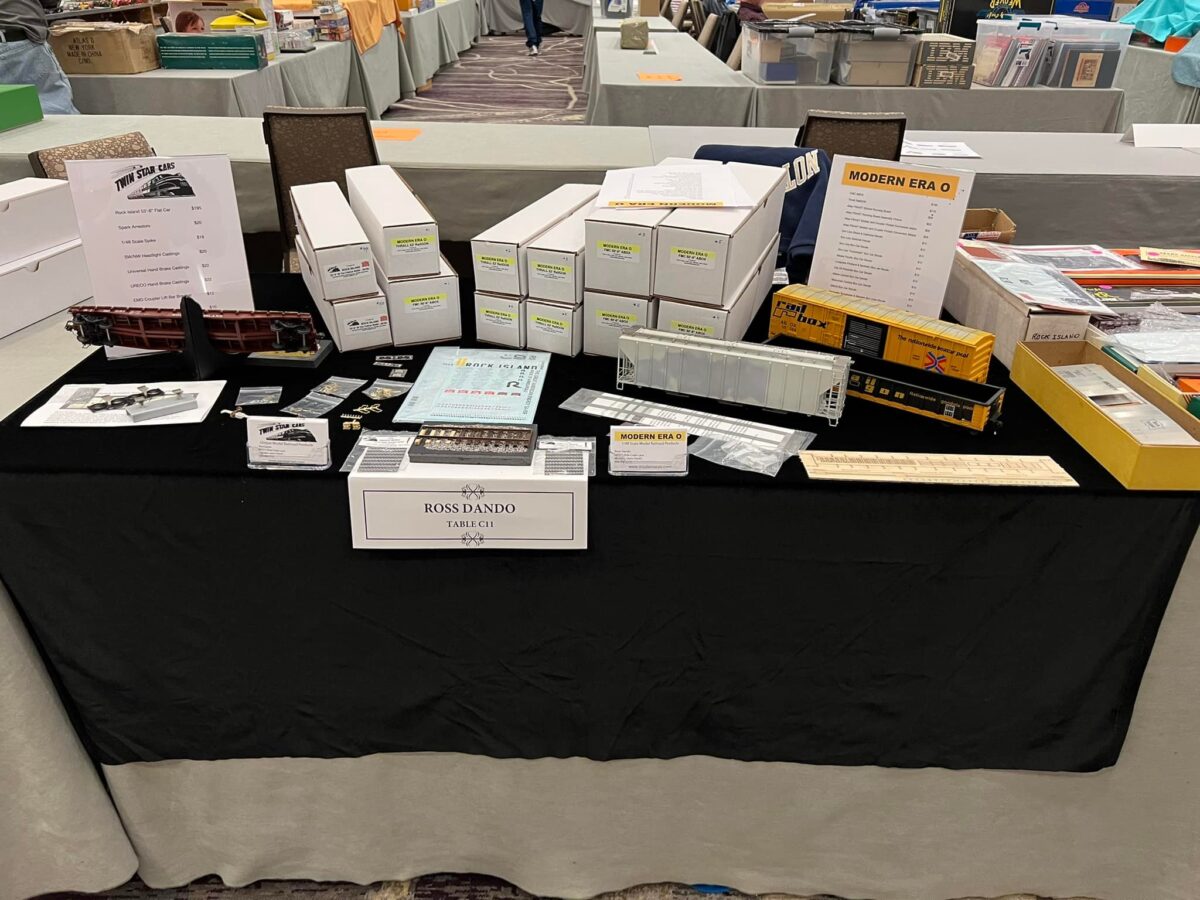
Twin Star Cars
Ross Dando had the last two kits for his beautiful Rock Island flat car for sale at the show. He did say that that kit would not be re-run in the future, So I hope those that wanted one bought one while it was available.
Ross has also picked up Bill Yancey’s line called Modern Era O Scale resin kits. Ross had details and new kits in the lane. The modern era O Scalers I’m sure are very happy to see that line continue.
Steve Grabowski
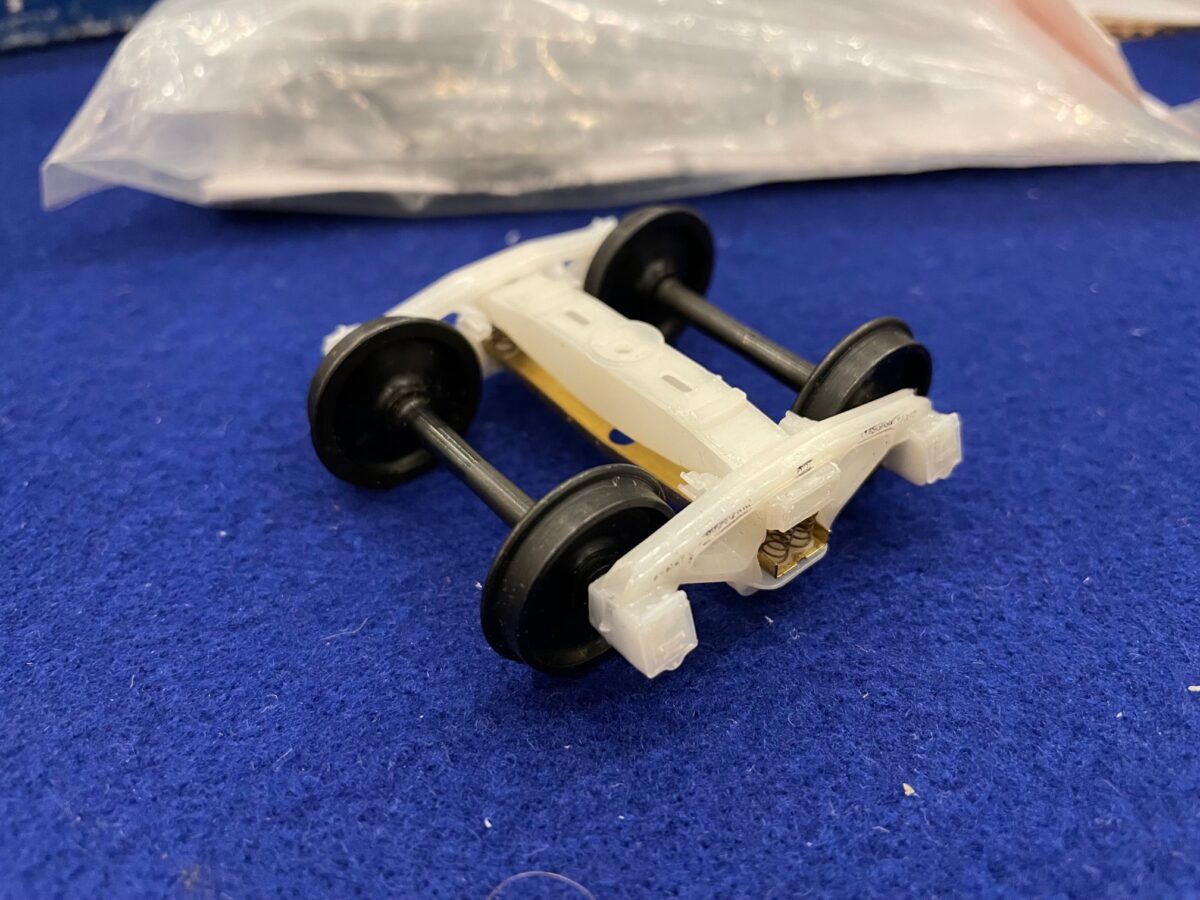
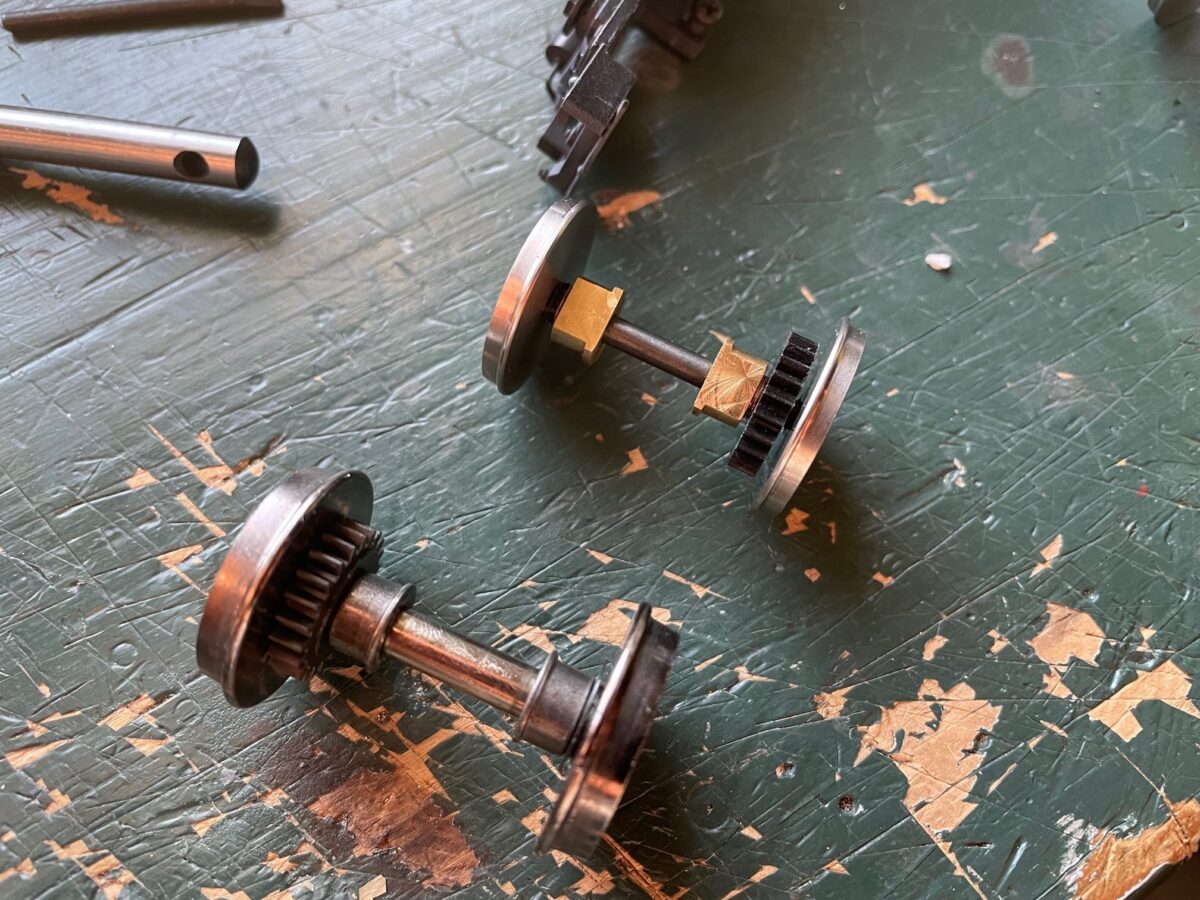
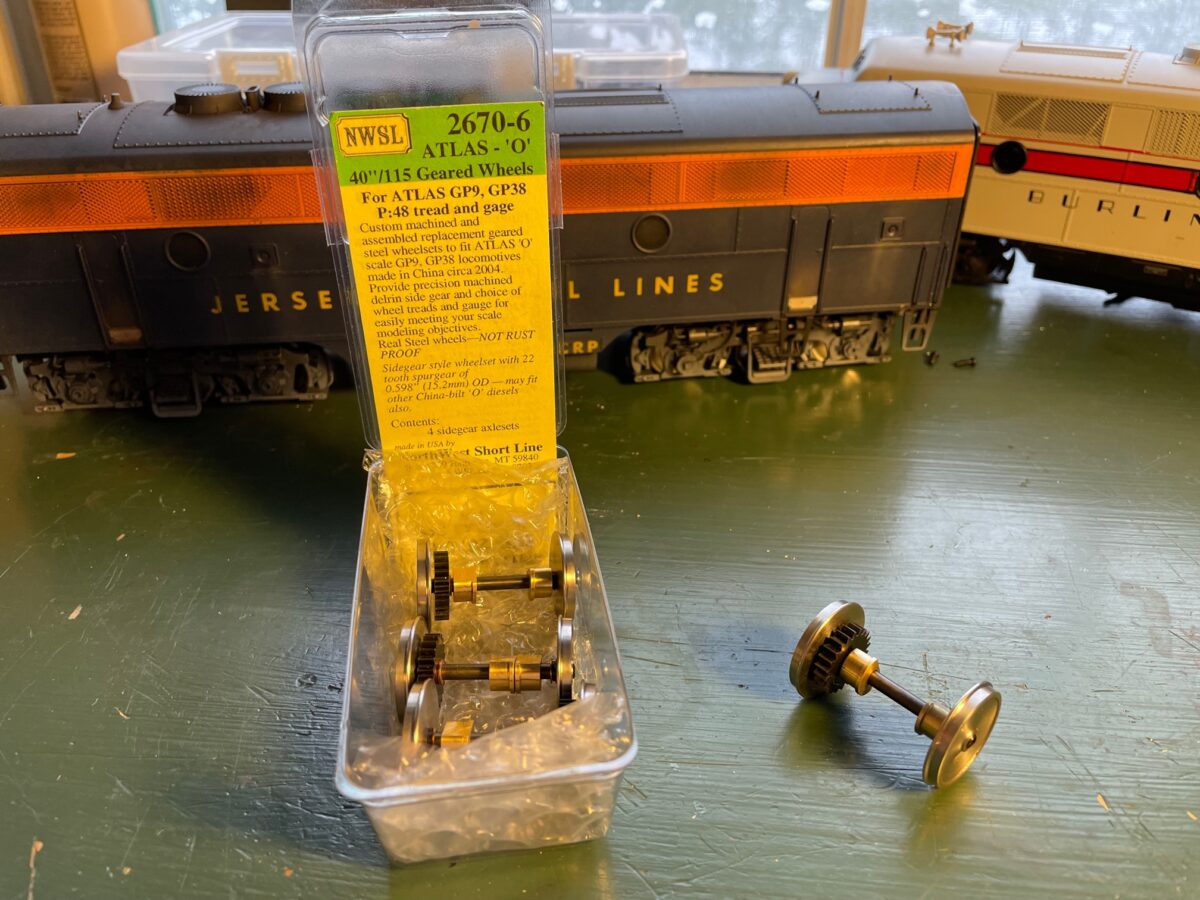
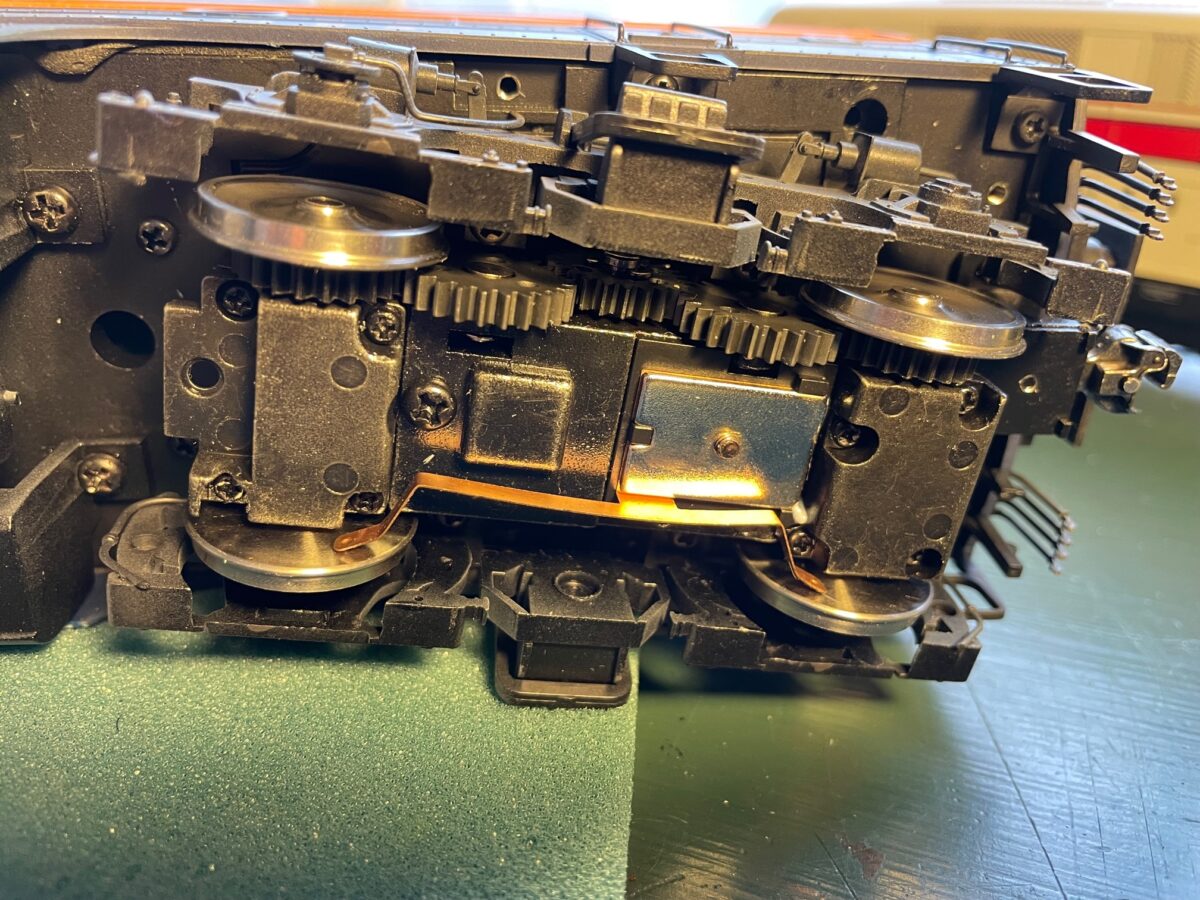
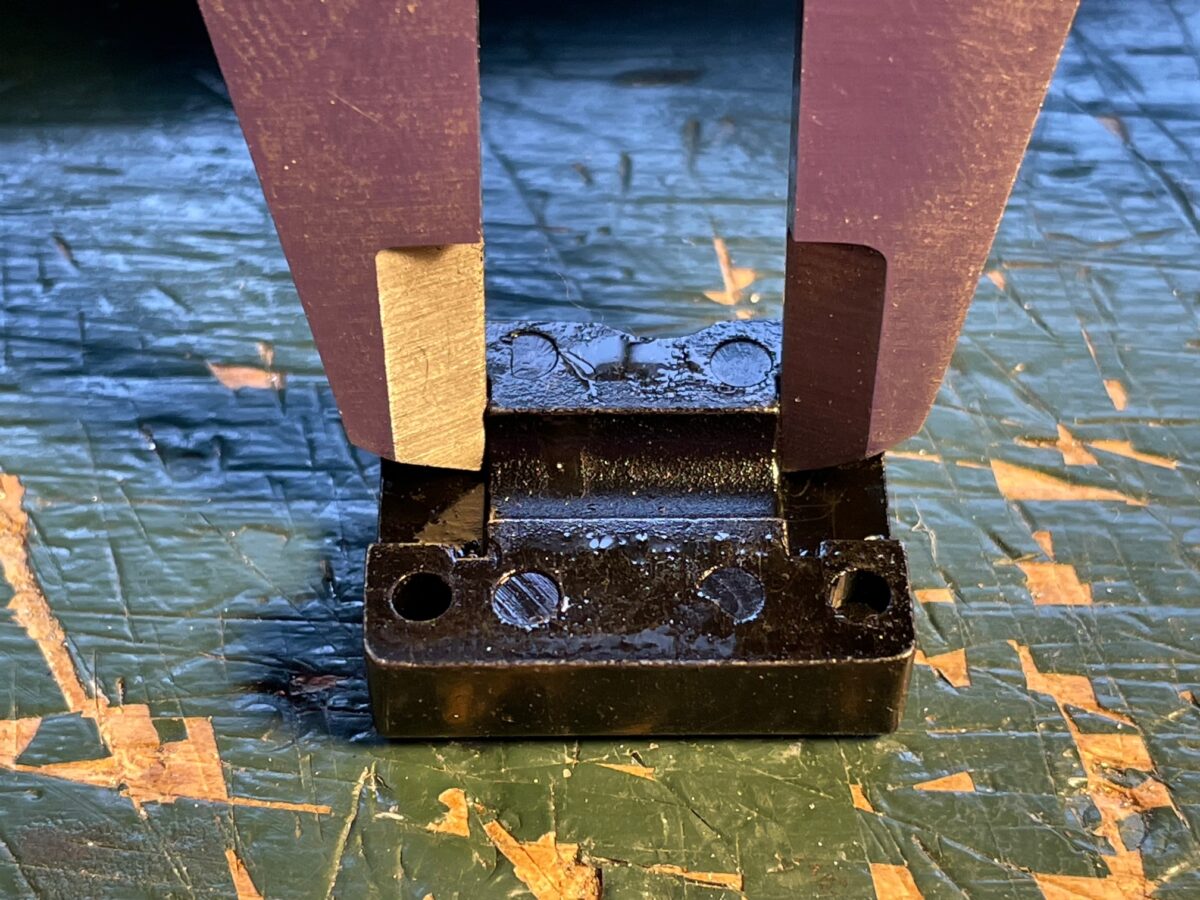
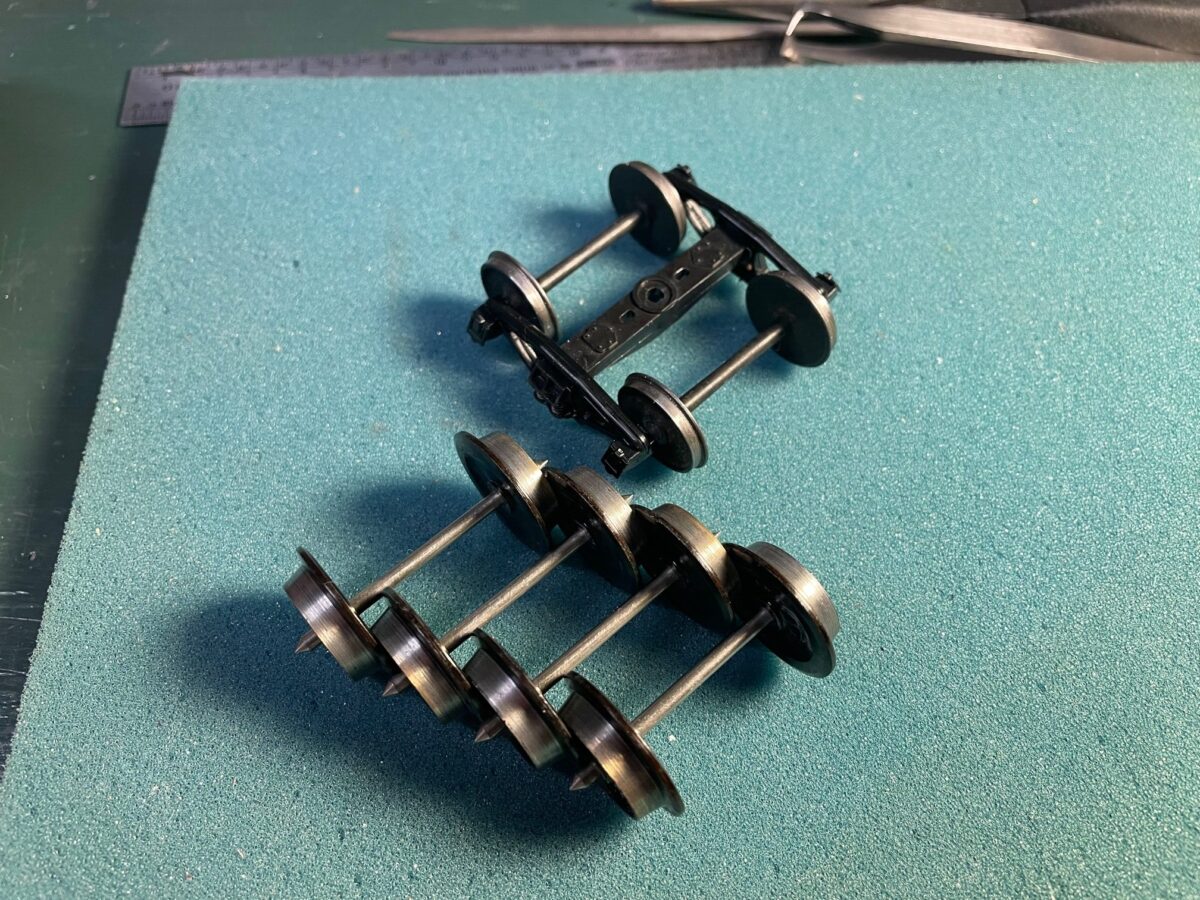
Steve had a sample of his PRR 2D-F8 truck at the show. He will be producing a limited run of plastic kits of this very common PRR truck in both Proto48 and O Scale. But you have to pre-order the trucks as the kits are going to be produced based on the orders and will not be a stocked item.