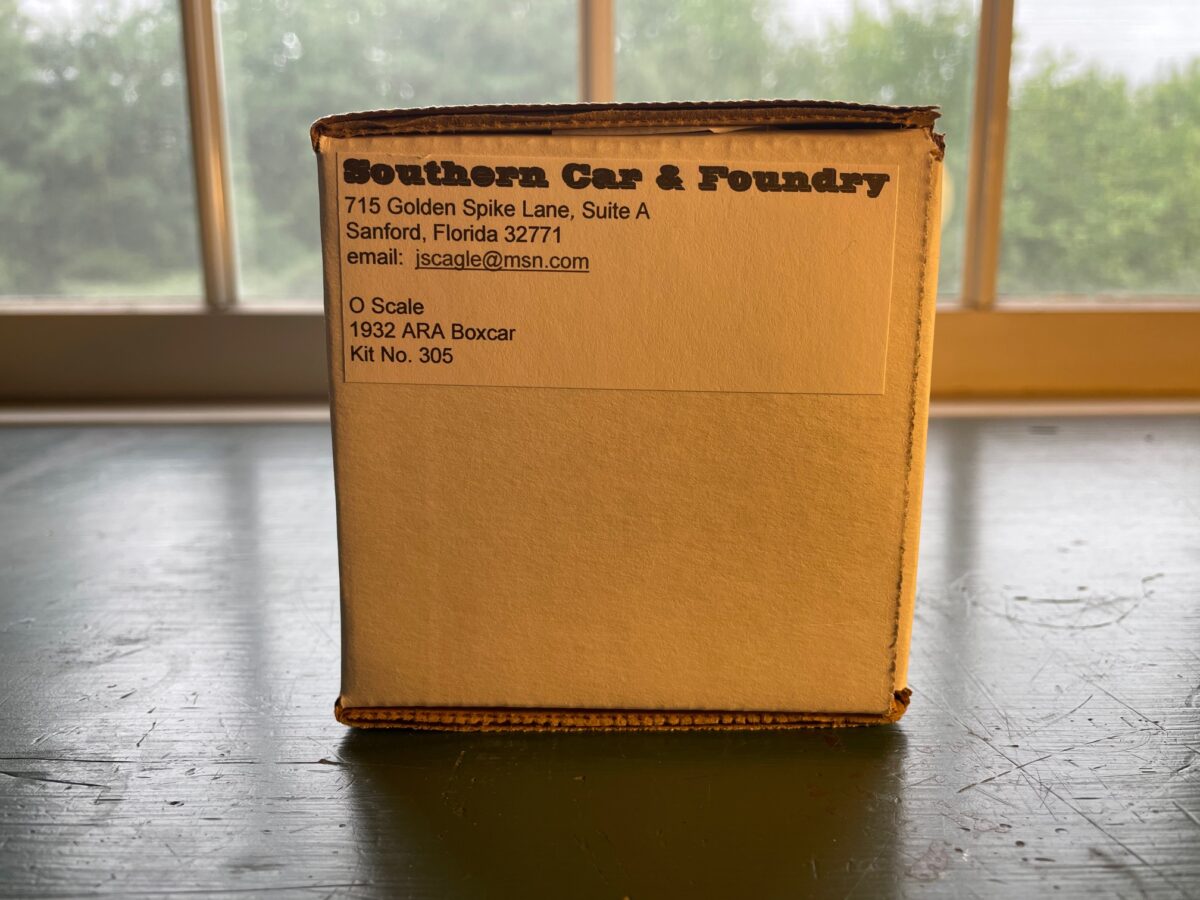
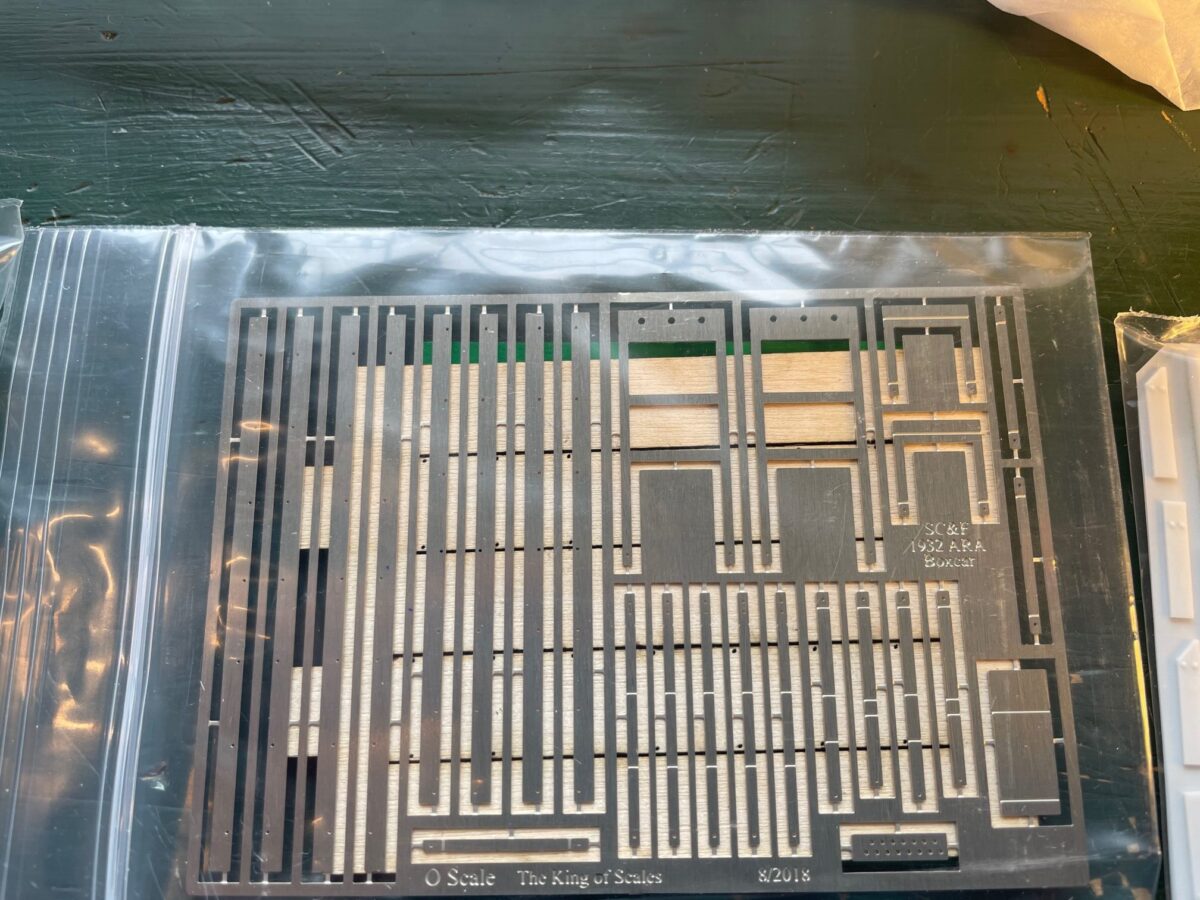
Jon Cagle of Southern Car & Foundry has released a new freight car kit, a 1932 ARA Boxcar. This makes me excited on two levels, first I’m happy to see a freight car kit manufacturer back with a new release in O Scale. And second, this is an important car in freight car development.
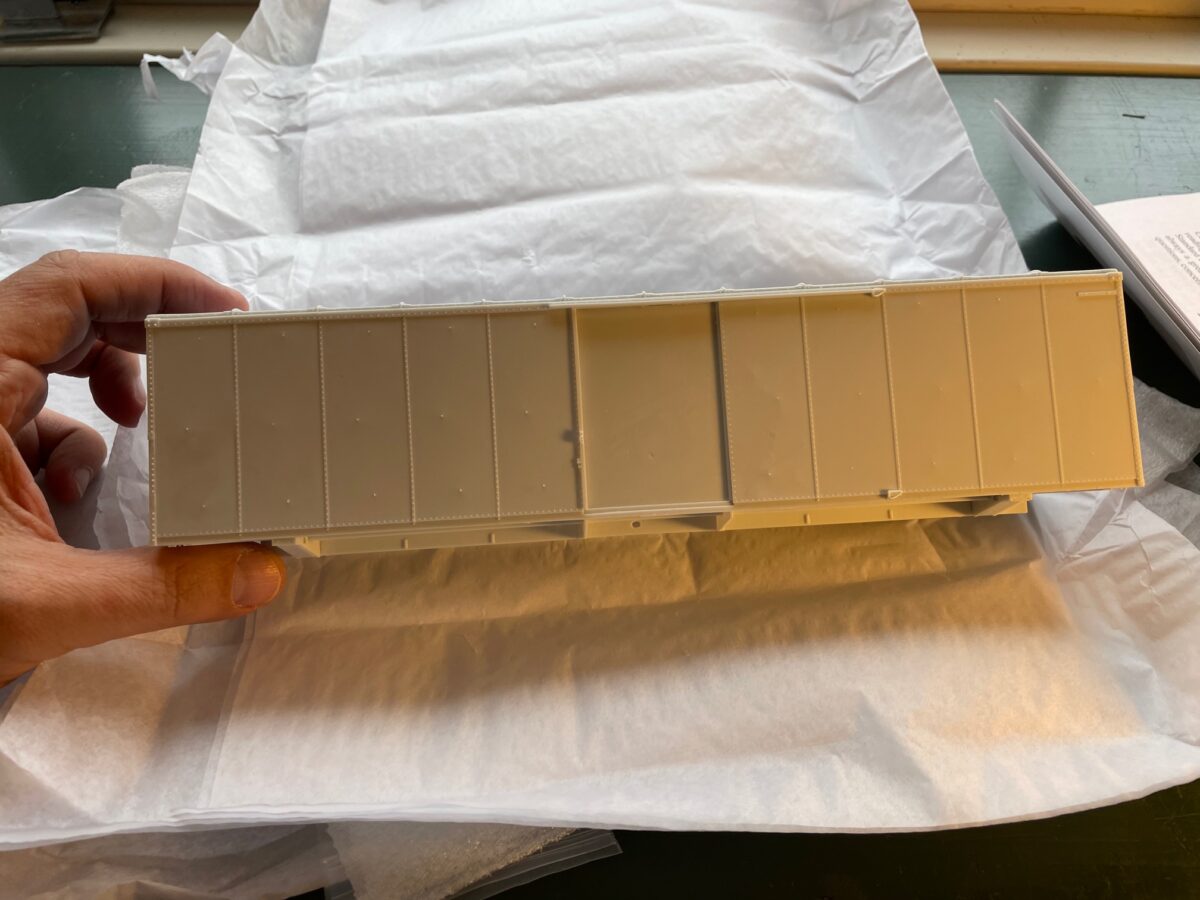
If you have built one of SC&F’s kits in the past, you know they are the best kits being made today. The castings are out of this world.
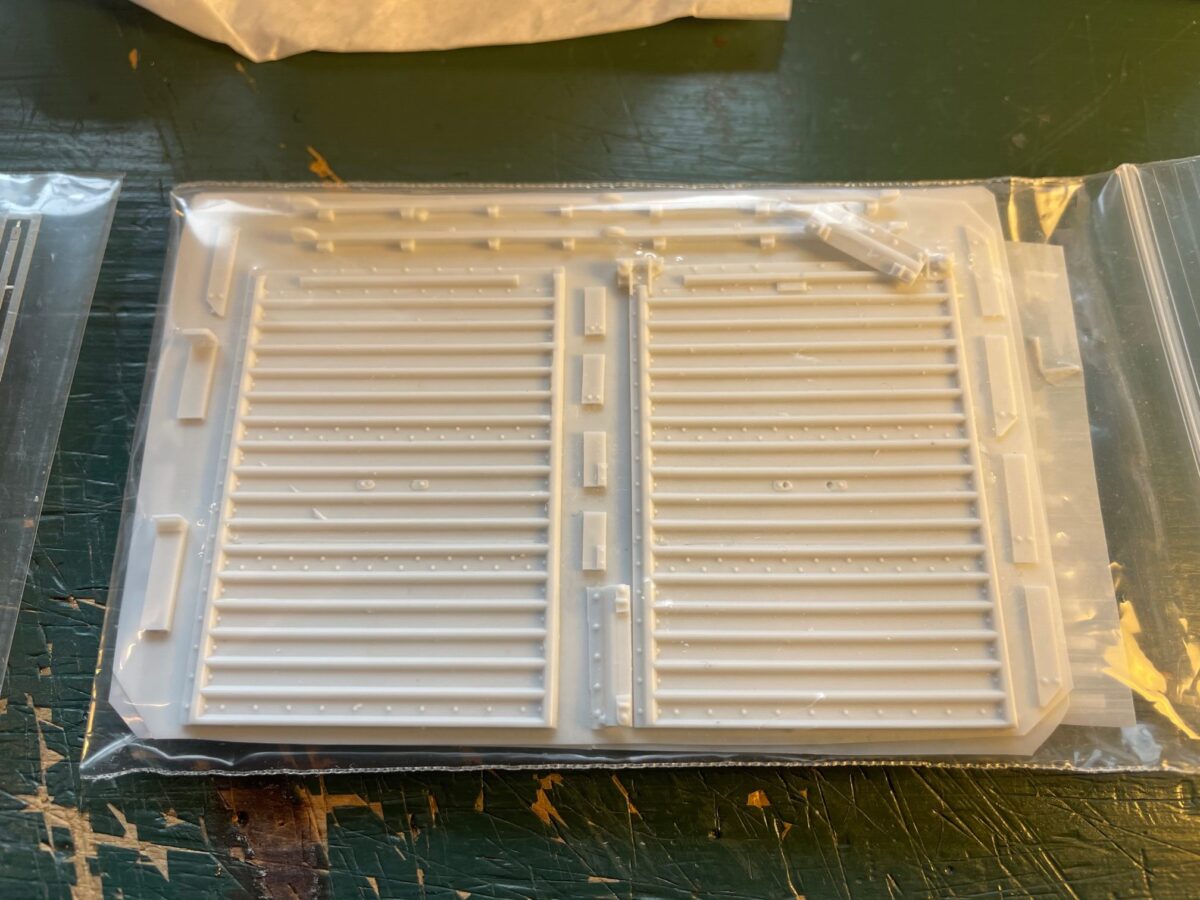
The ladders and yard steps are etched metal.
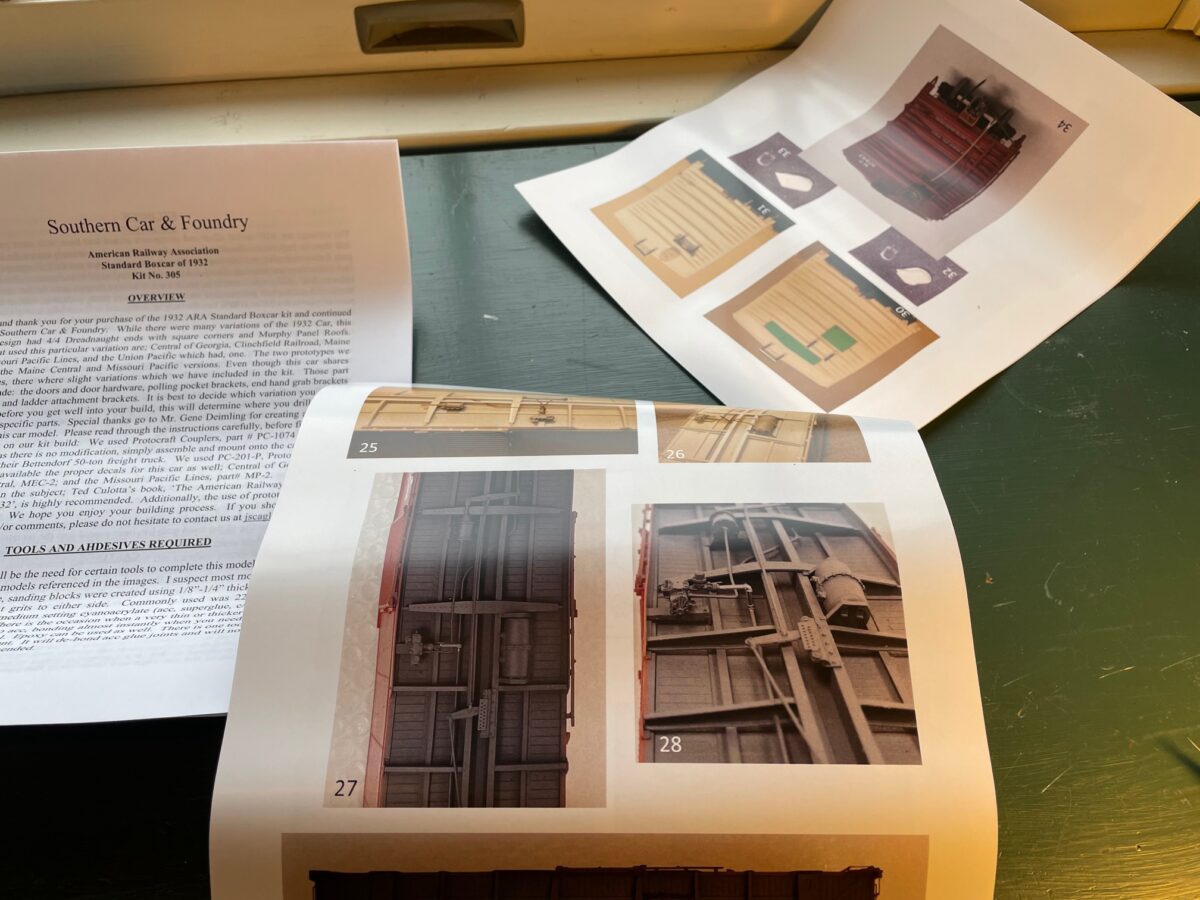
The instructions are lengthy and well detailed. This should make for interesting reading tonight. I’m really impressed by this kit. Looking forward to building it.
On a different front, Pierre Oiliver of Yarmouth Model Works teased out an image of a PRR X31f O Scale body this past week. I reached out to Pierre and he confirmed that he will be releasing this as a kit later this Summer. I’m looking forward to that release and hope it is the first of many new O Scale kits to be produced from this established HO resin freight car kit manufacturer. This is very promising.
This week I was finally able to get some Dull Coat sprayed on some recent work. Amazing how wet is has been around here when I have had time to work on these cars.
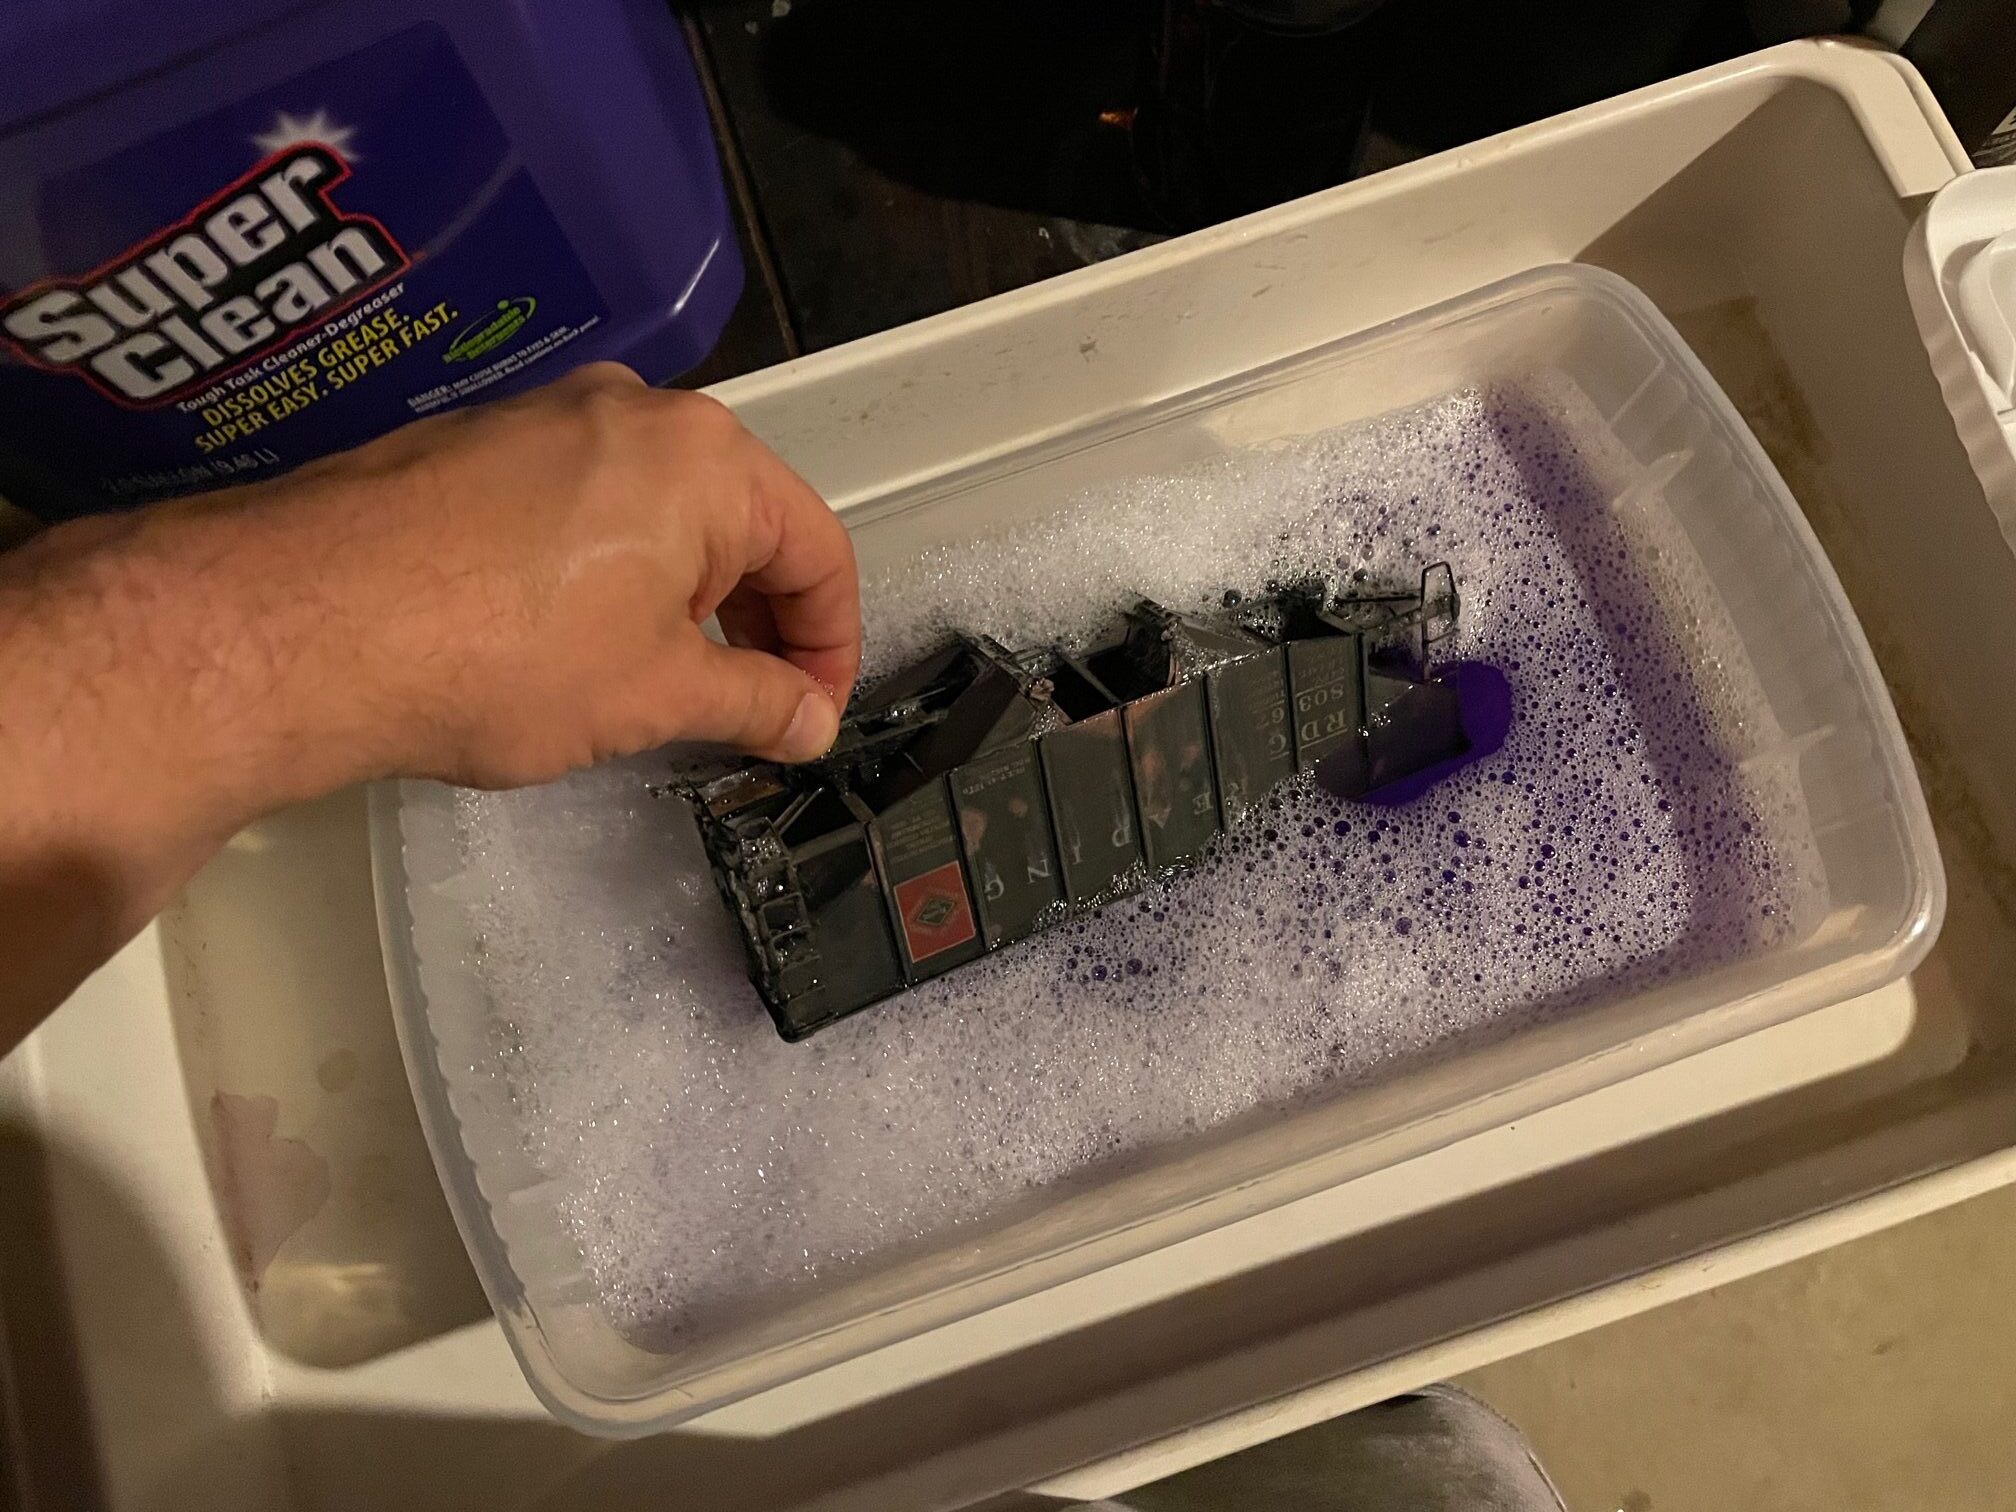
Remember that car that followed me home from the Strasburg Show? well it has been taking a bath.
The Black and the decals came off quickly. But there was a layer of red primer on this cars that was rather stubborn.
But it slowly coming off. The car is cleaning up nicely.
On the possibility of finding an elusive Locomotive Workshop CNJ Double Ender Kit that I mentioned before. The gentleman has located the kit, put a price on it and has agreed to sell it. He wants to hand deliver the kit to me at an upcoming show. I can do that. One step closer.
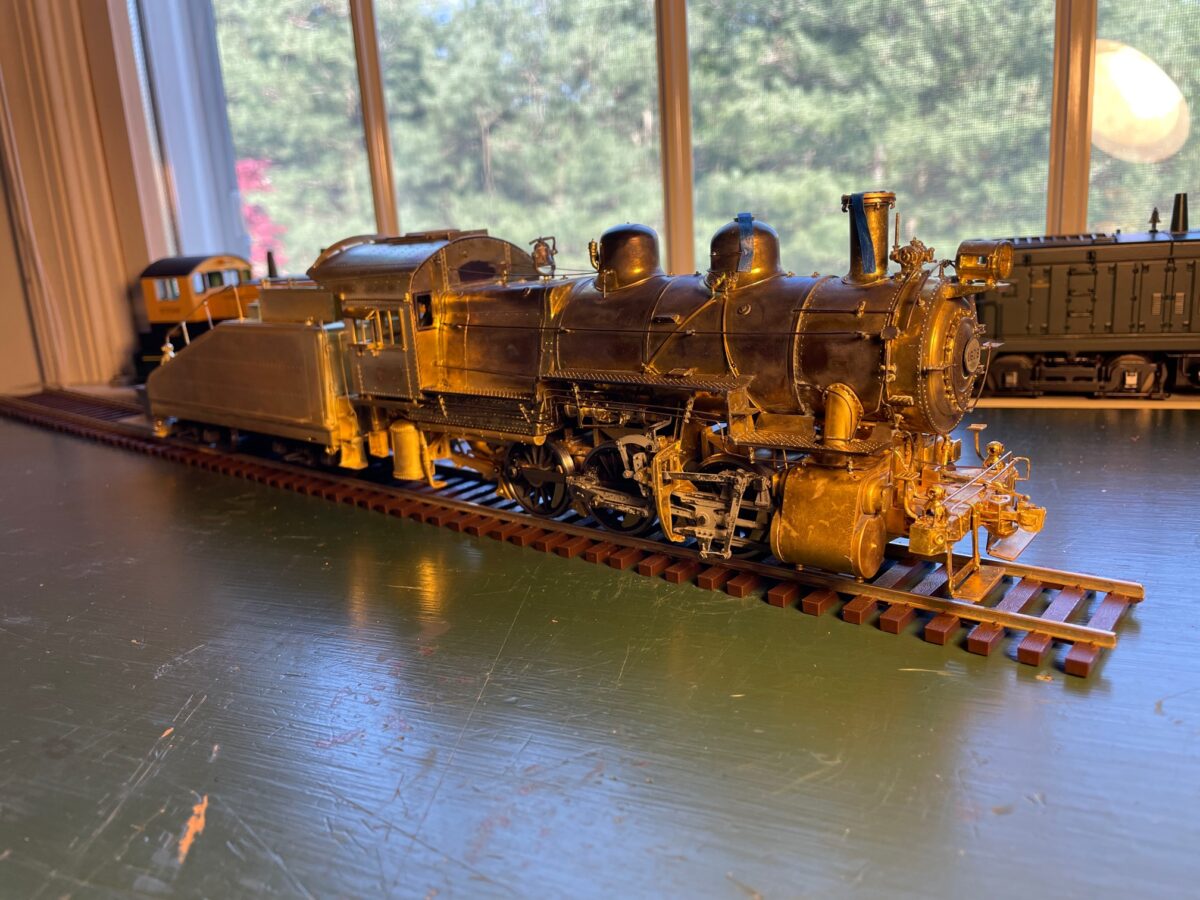
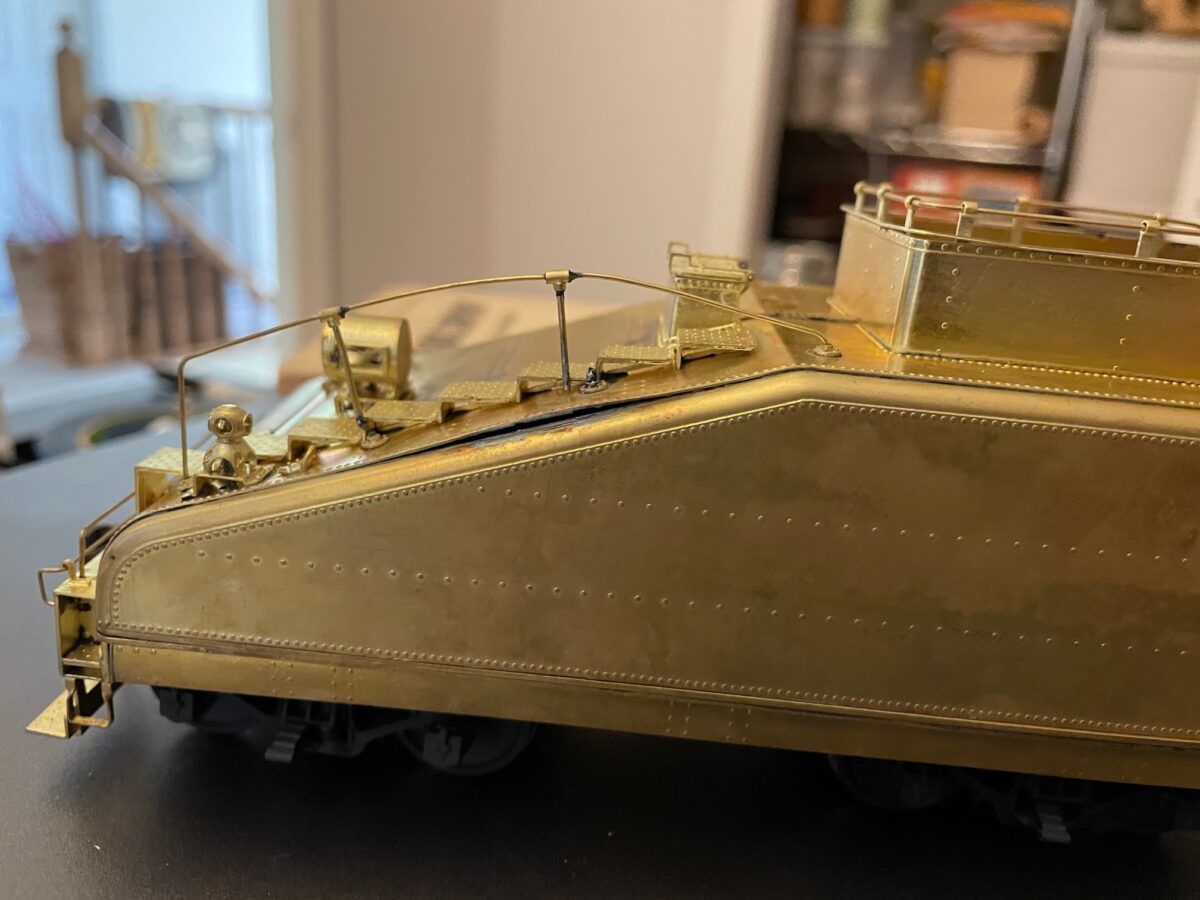
A strange thing happened to me at the Chicago Show in 2019, a PRR B6sb followed me home. First is was priced so well, I couldn’t pass it up. That was mostly because it had a very bad paint job.
After spending some time being converted to Proto48 by Carl Jackson, this fine looking model came home with me on Saturday. During the time the model was with Carl it had the chance to take a bath in his stripping tank. It needed it!
Now that all that ugly paint is gone, it revealed a couple of things the bad paint was hiding. It appears the previous owner had a mishap with the tender. The railings appear to have been damaged at one time. A repair attempt has resulted with too much heat being applied, which caused the rear tender deck to seperate from the side. There is also a little separation along the top rim of the coal bunker. So, I have some repair work to do before I can think about painting this model.
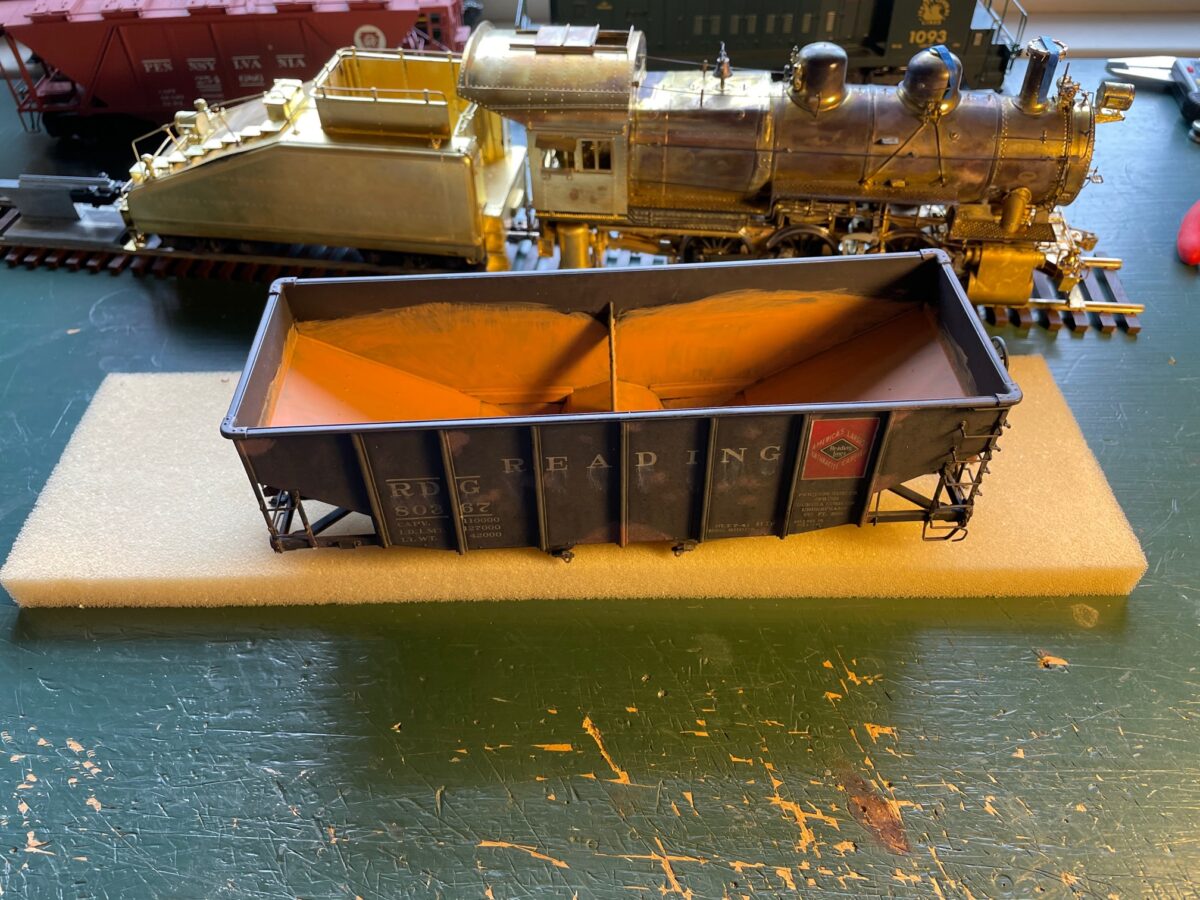
Next up was another model that came home from this past weekend’s show. It’s an RY Models Reading welded 55 ton twin hopper. It also is suffering from a case of bad paint. This time the issue was in the weathering attempt.
This is a good reason why you learn to paint and weather freight cars using a $20 Weaver car, not a brass model.
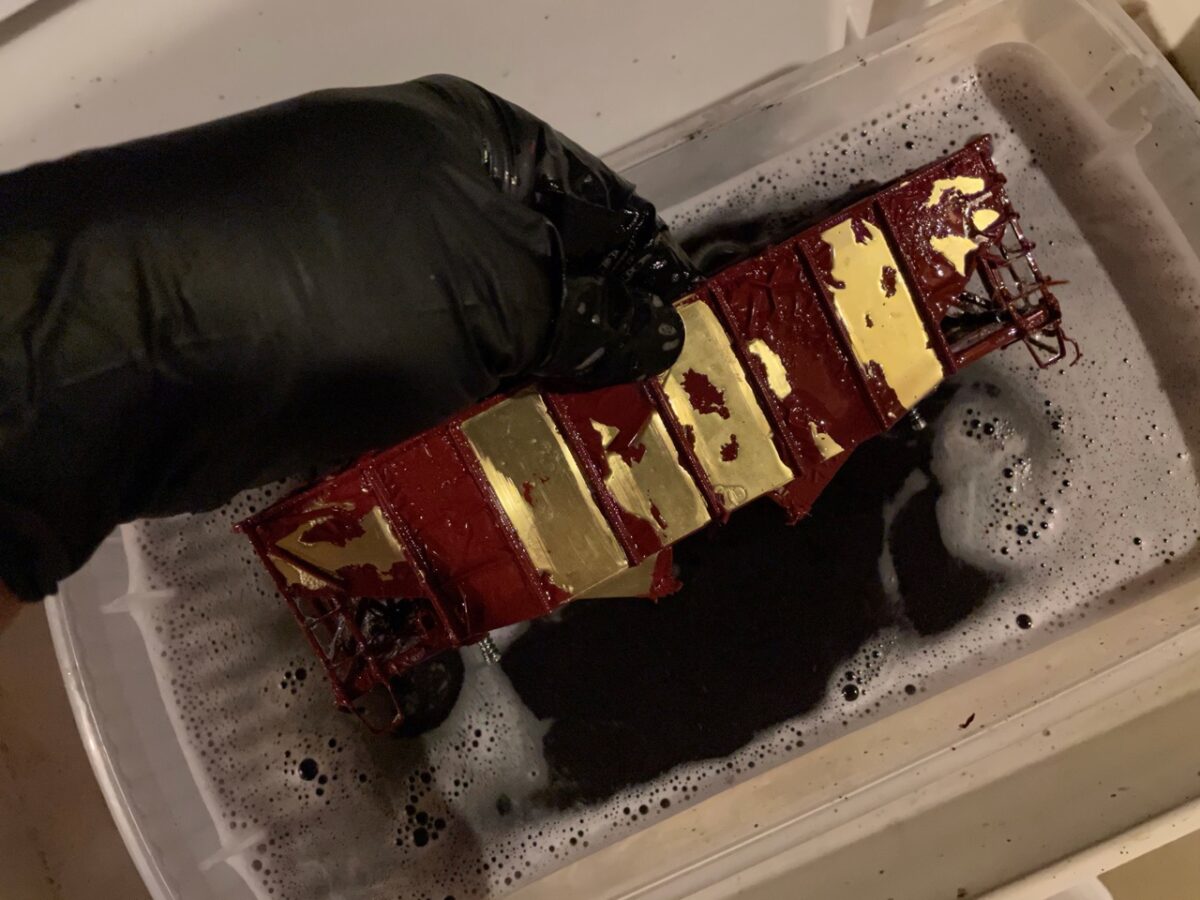
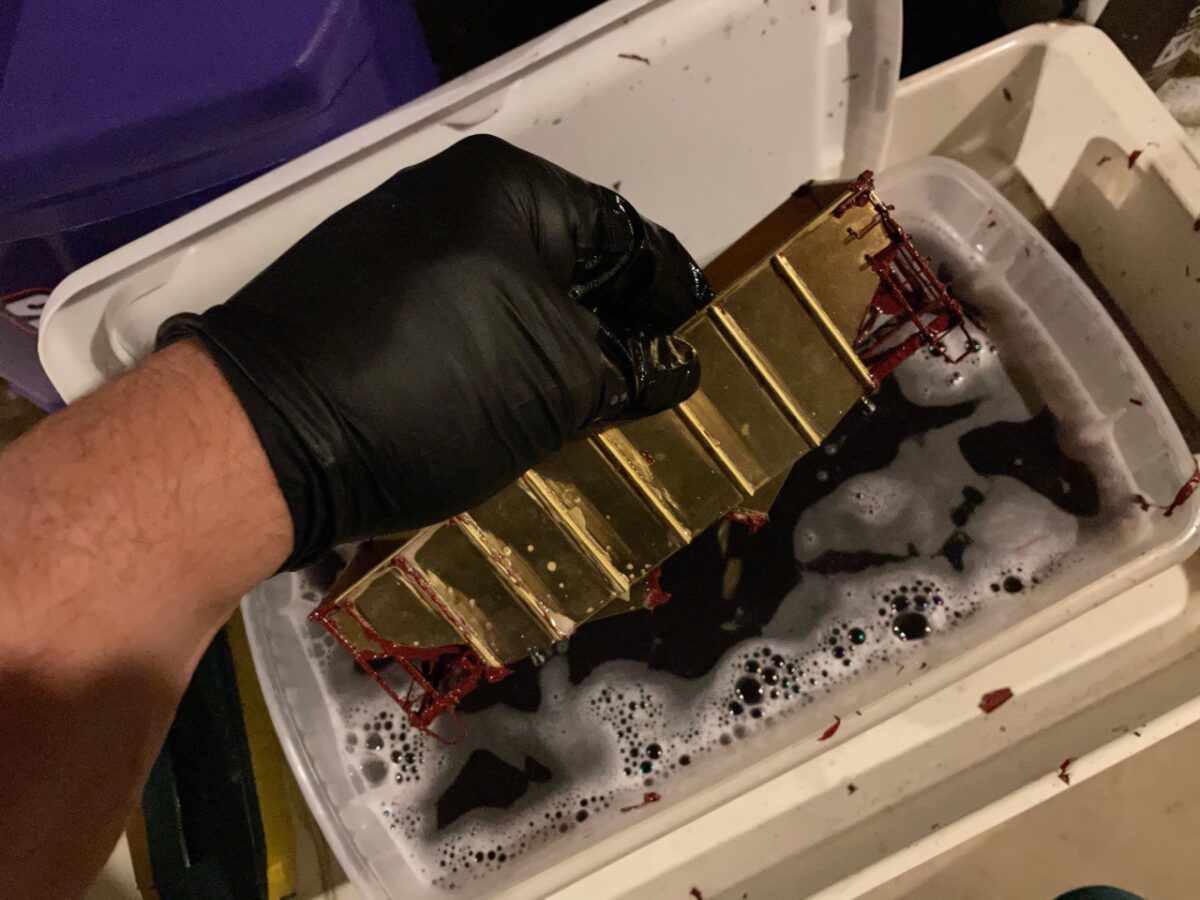
My first thought was to try to salvage the paint by just cleaning up the weathering. Better sense took over, rather than try to fix the bad weathering, I’ll just start over. So into the stripping tank for this one. I can say that with a little help from a toothbrush every few hours this model is now almost back to brass. I figure it will be done later today.
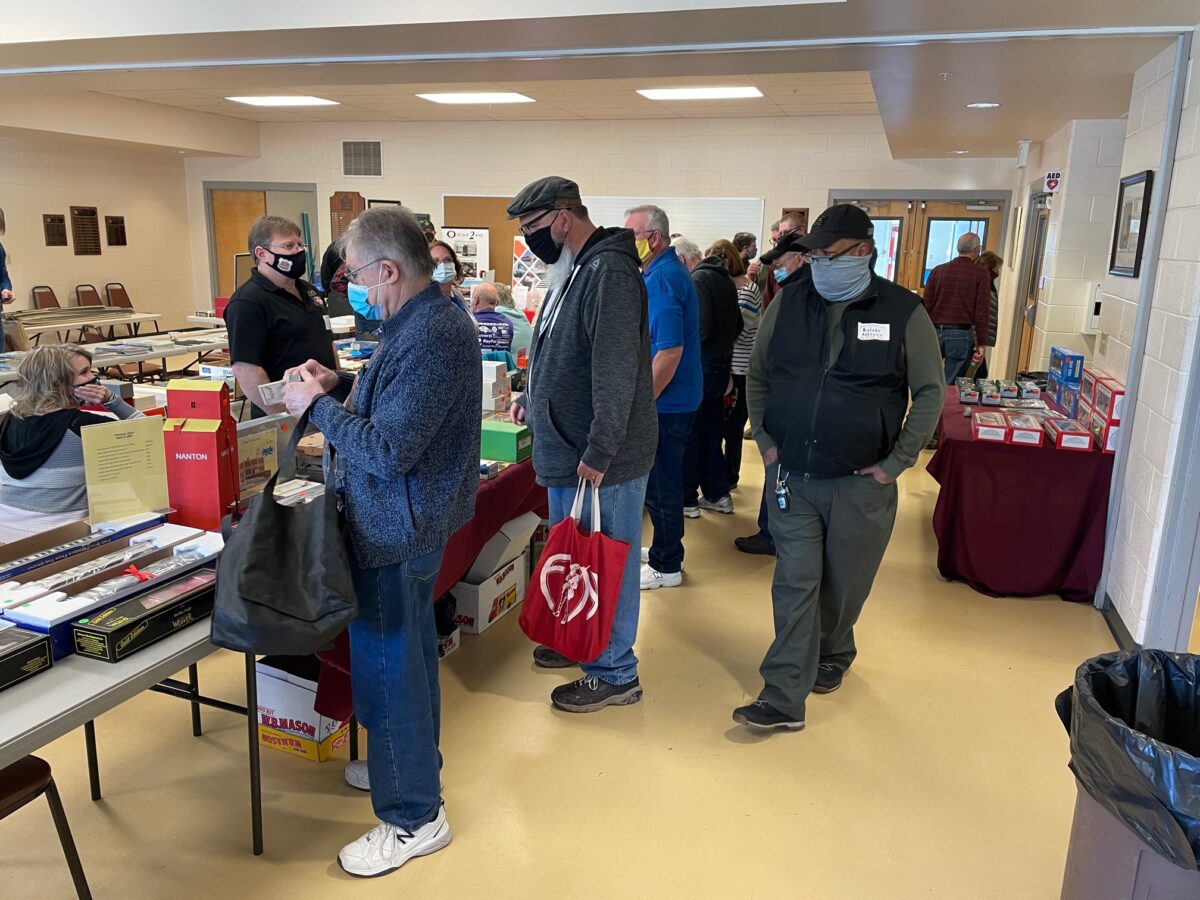
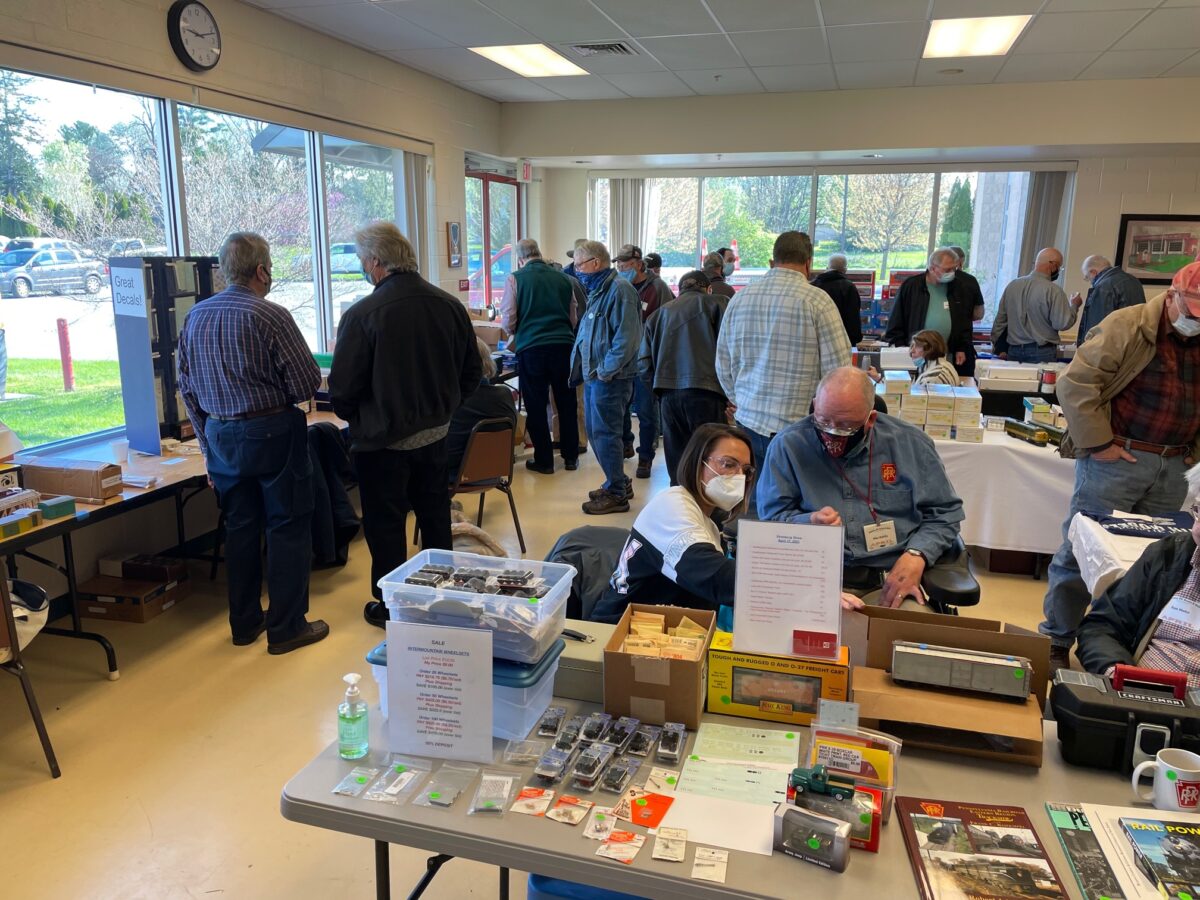
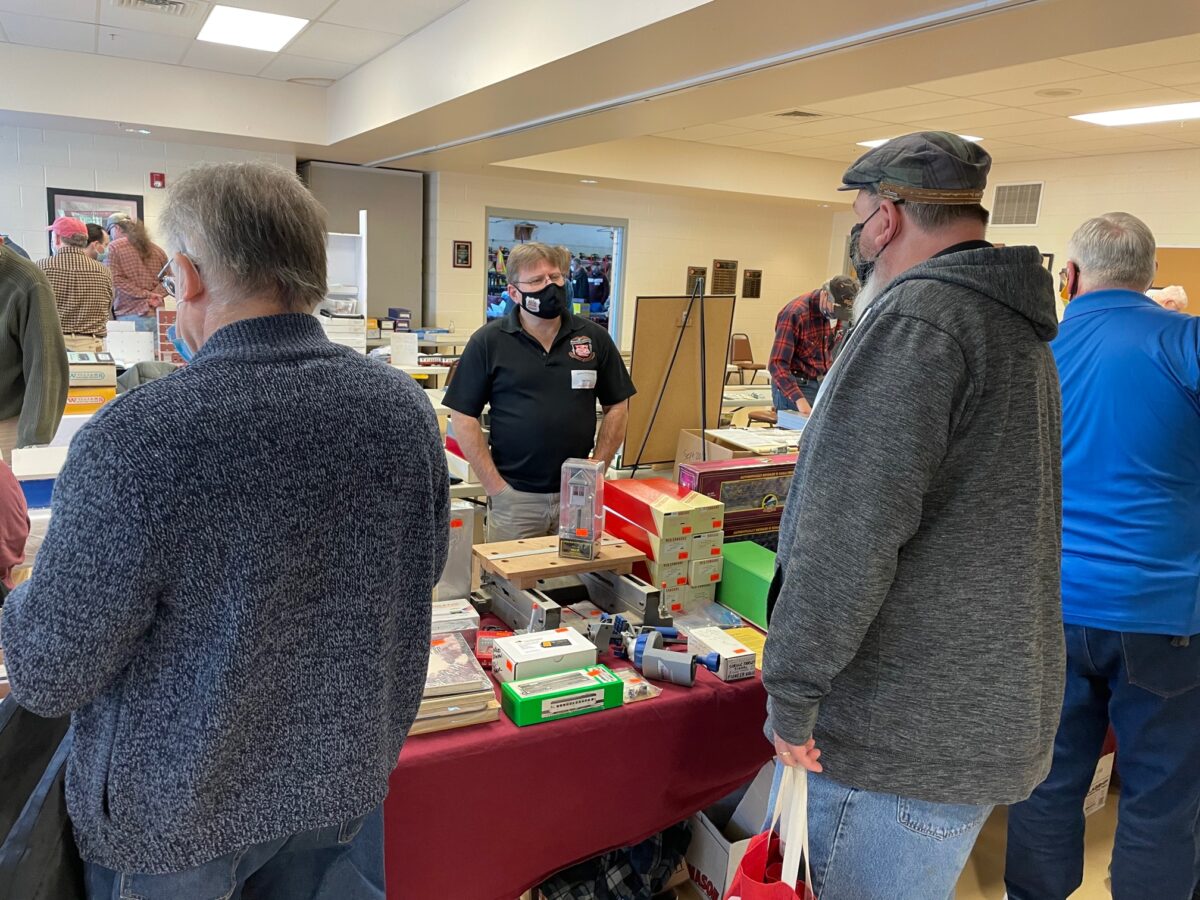
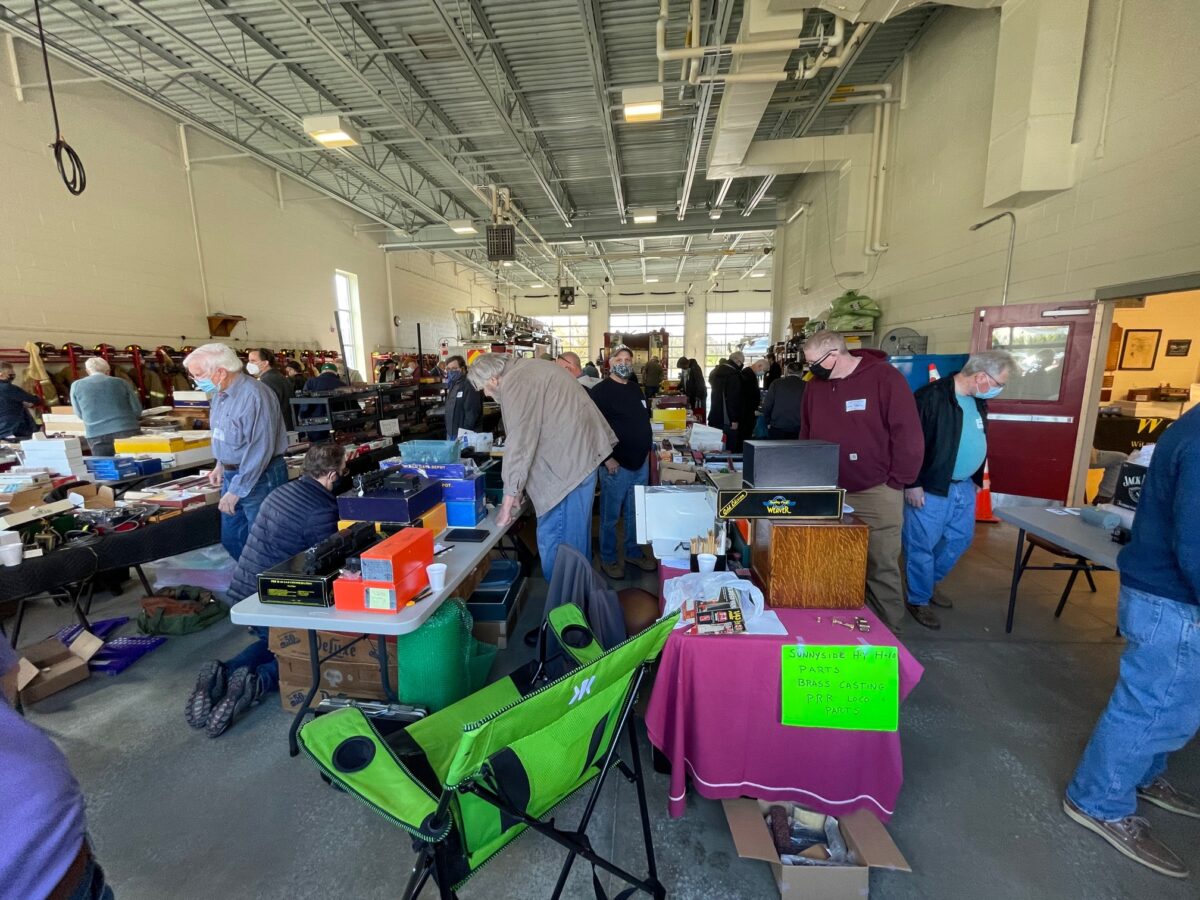
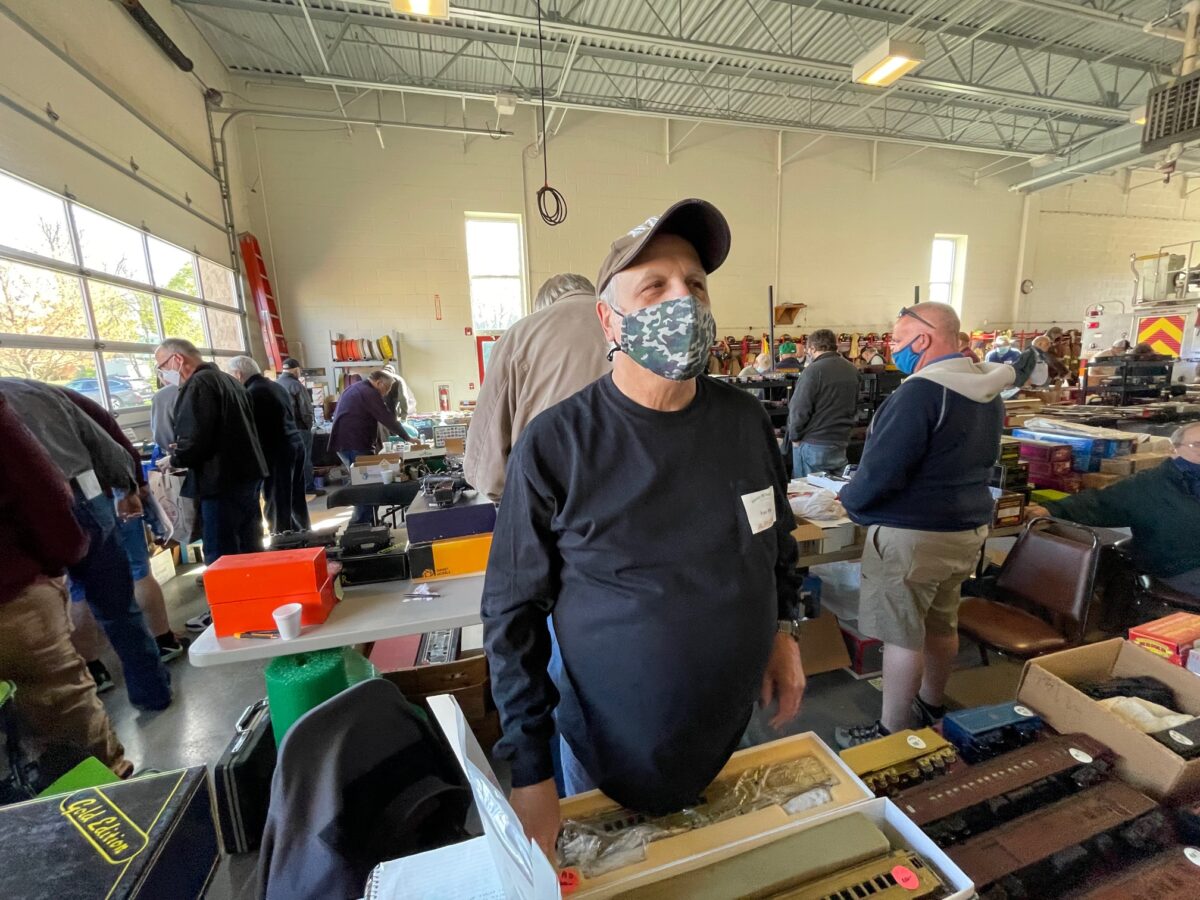
Yesterday was the Strasburg O Scale Train Show. I have to say first that it just felt good to attend a show again after this past year. Masks were worn, and the crowds came. It was a very good show.
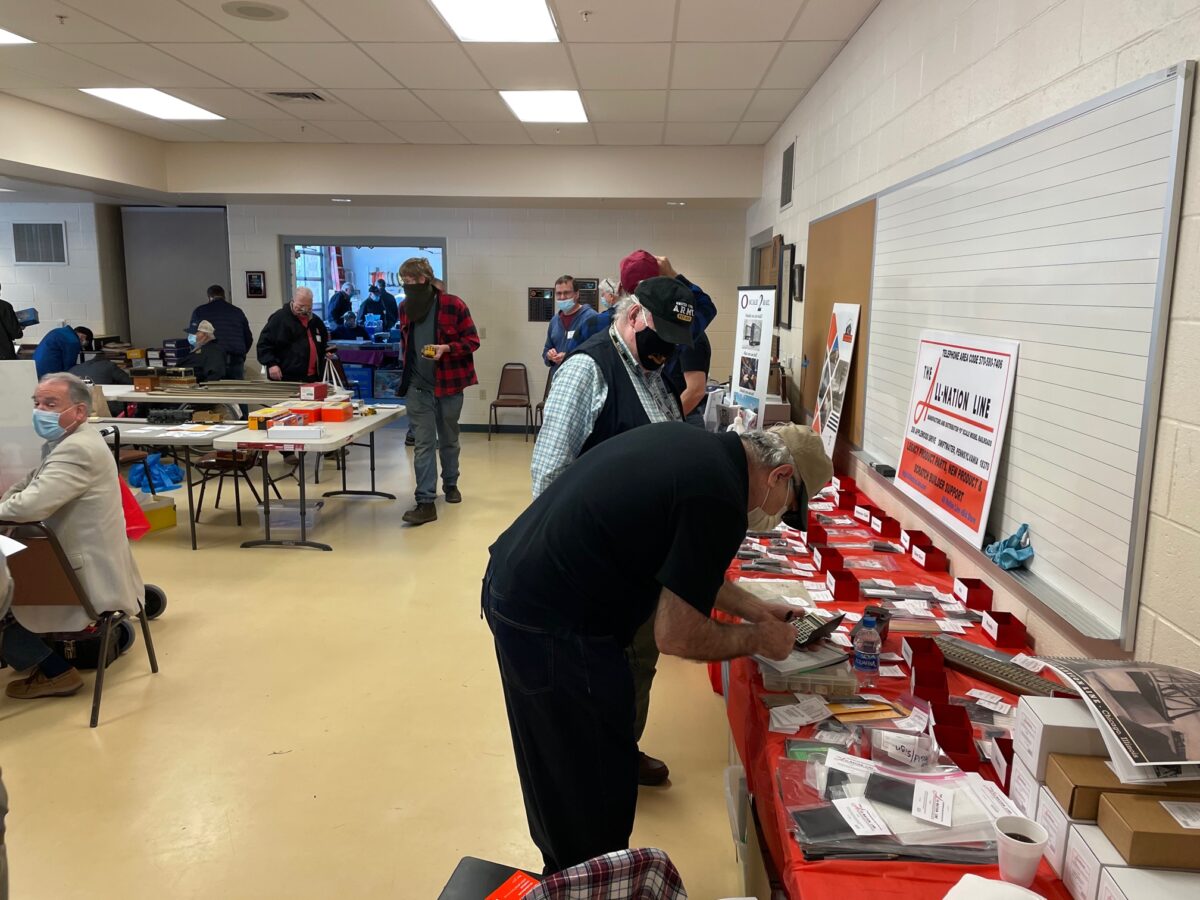
We did have some new vendors attend the show. The new owners of the All-Nation Line had a number of tables at the show. They were displaying parts from the old line and new parts that were 3d printed. This is very promising that they are not just selling from the old line, they are bringing it into the modern day and making it grow. Lots of stuff to look at.
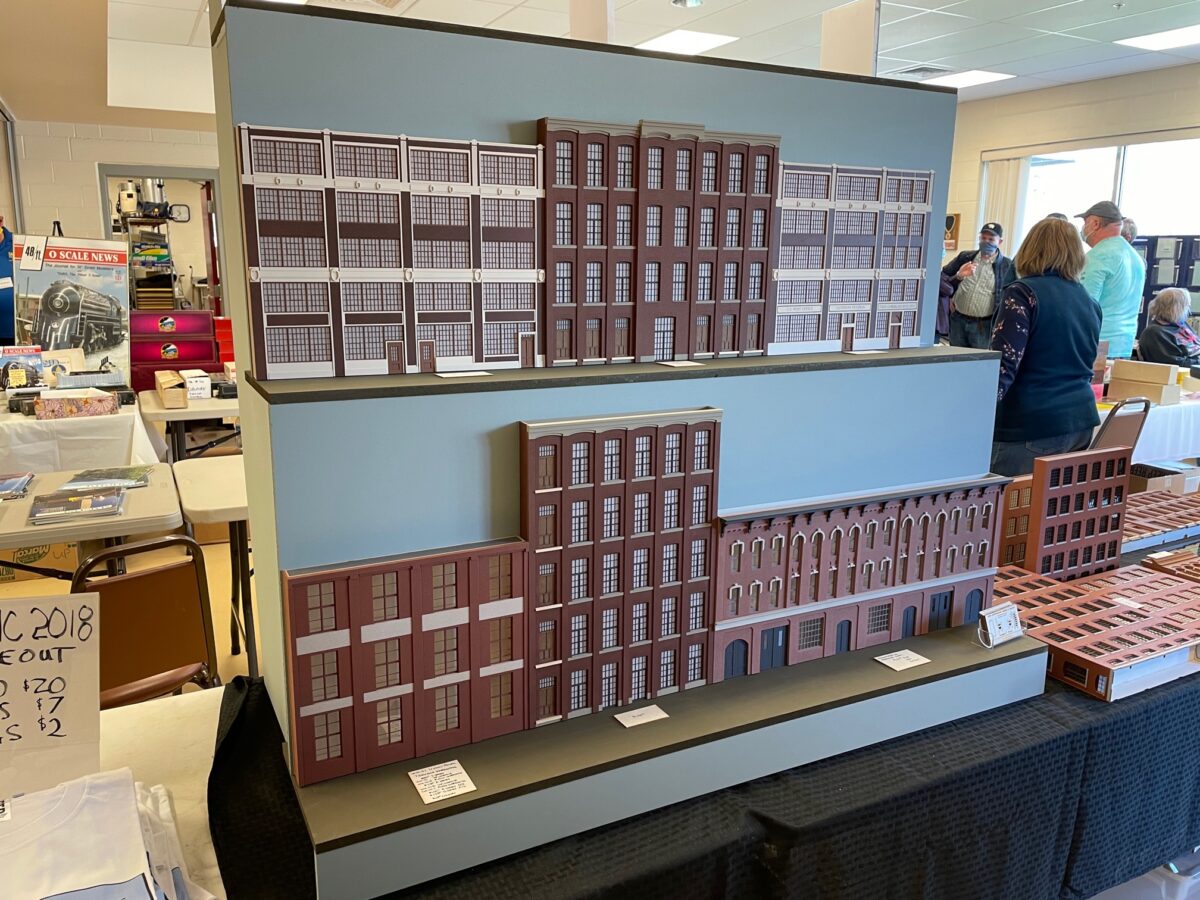
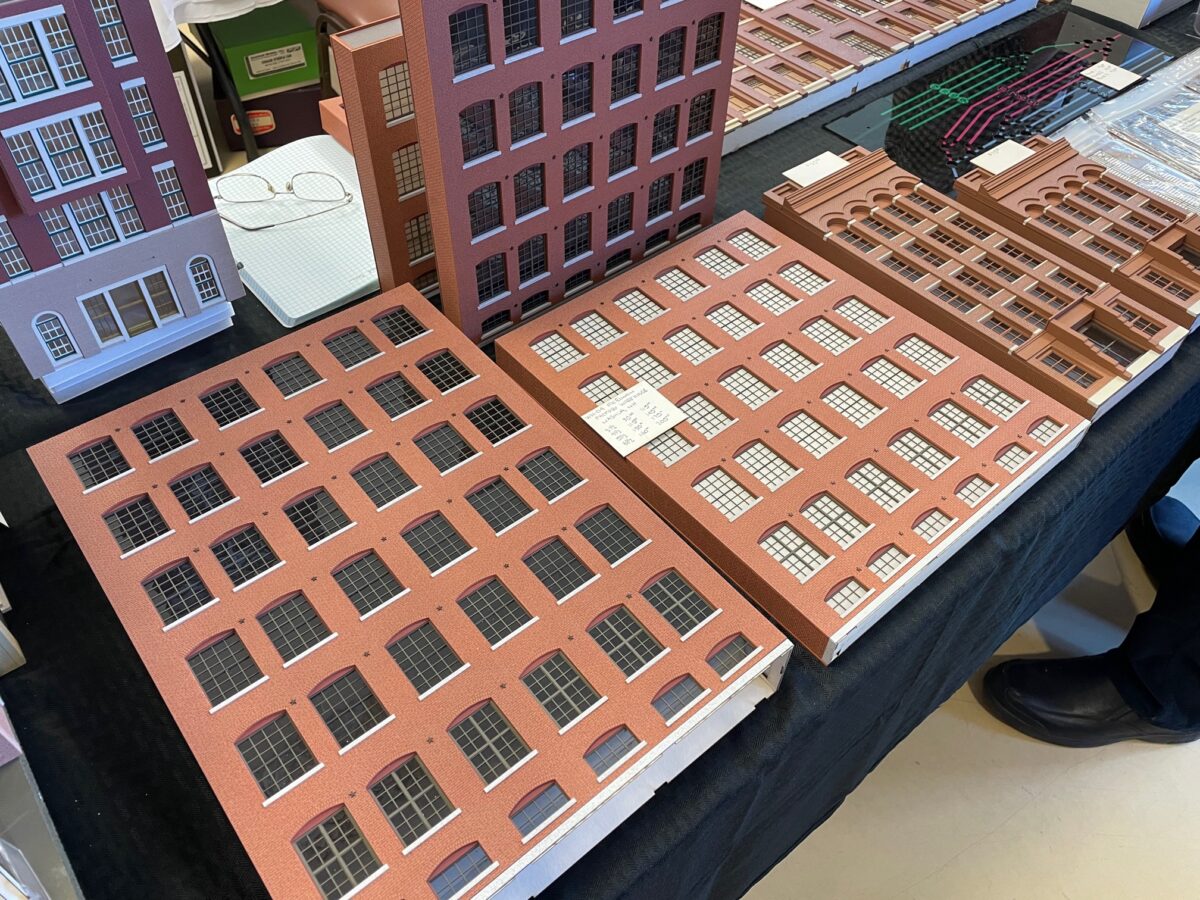
Todd Architectural Models & Layouts was also there with a wonderful series of laser cut buildings and window parts. It was great to see a new vendor at the show, but I have to admit my mind was not thinking about buildings.
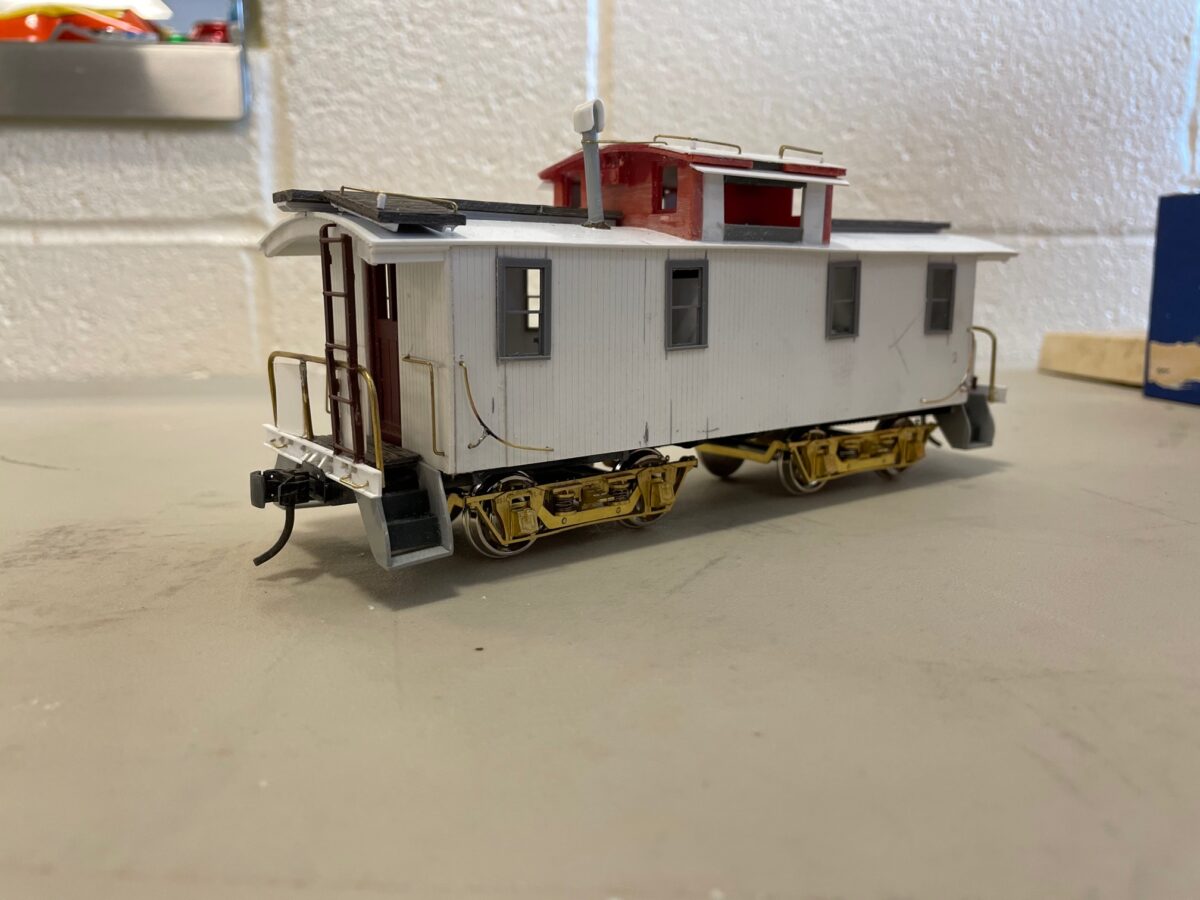
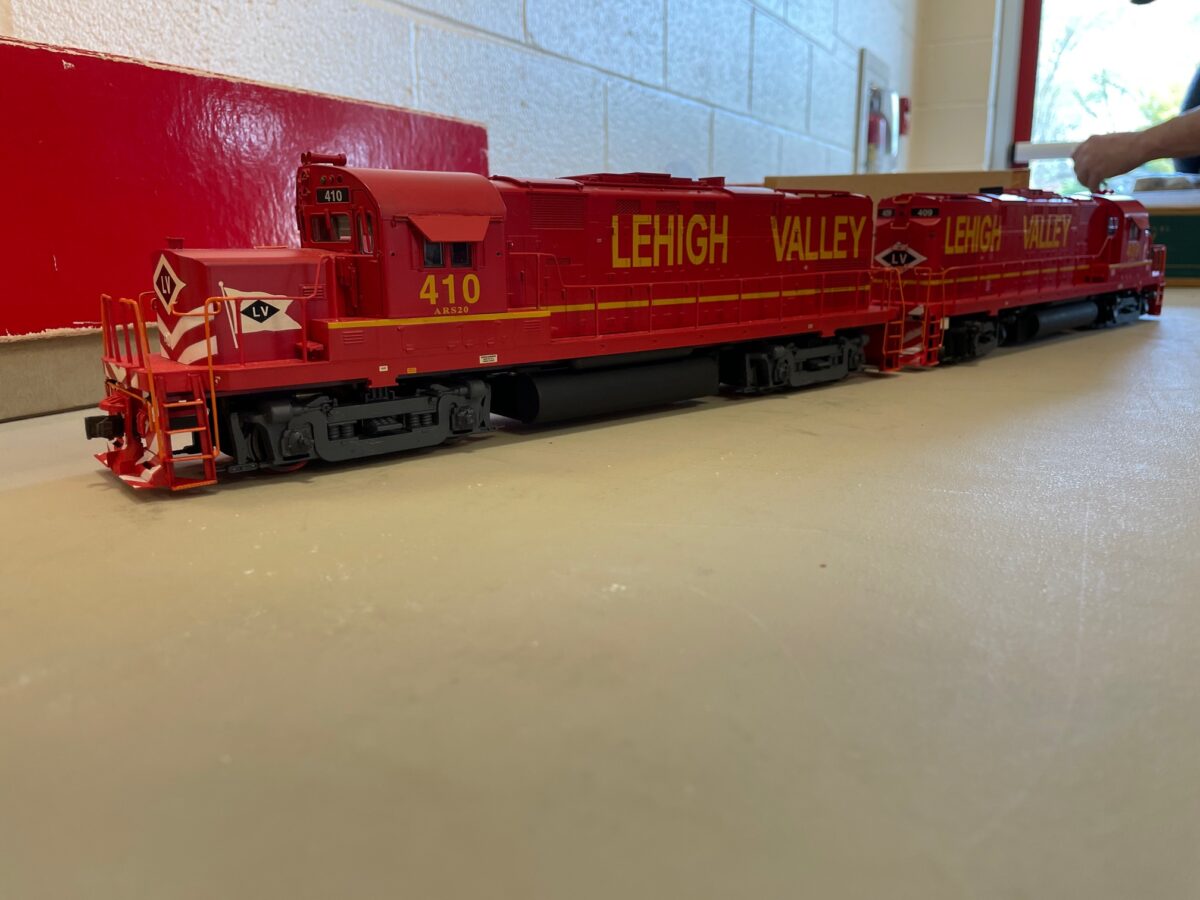
Paul Yanosik brought some new models to share with me. He had a nice DL&W cabin, a pair LNE FA-1’s and a pair of LV ALCo’s. Sorry the only image I made of the LNE FA-1’s were of the models upside down.
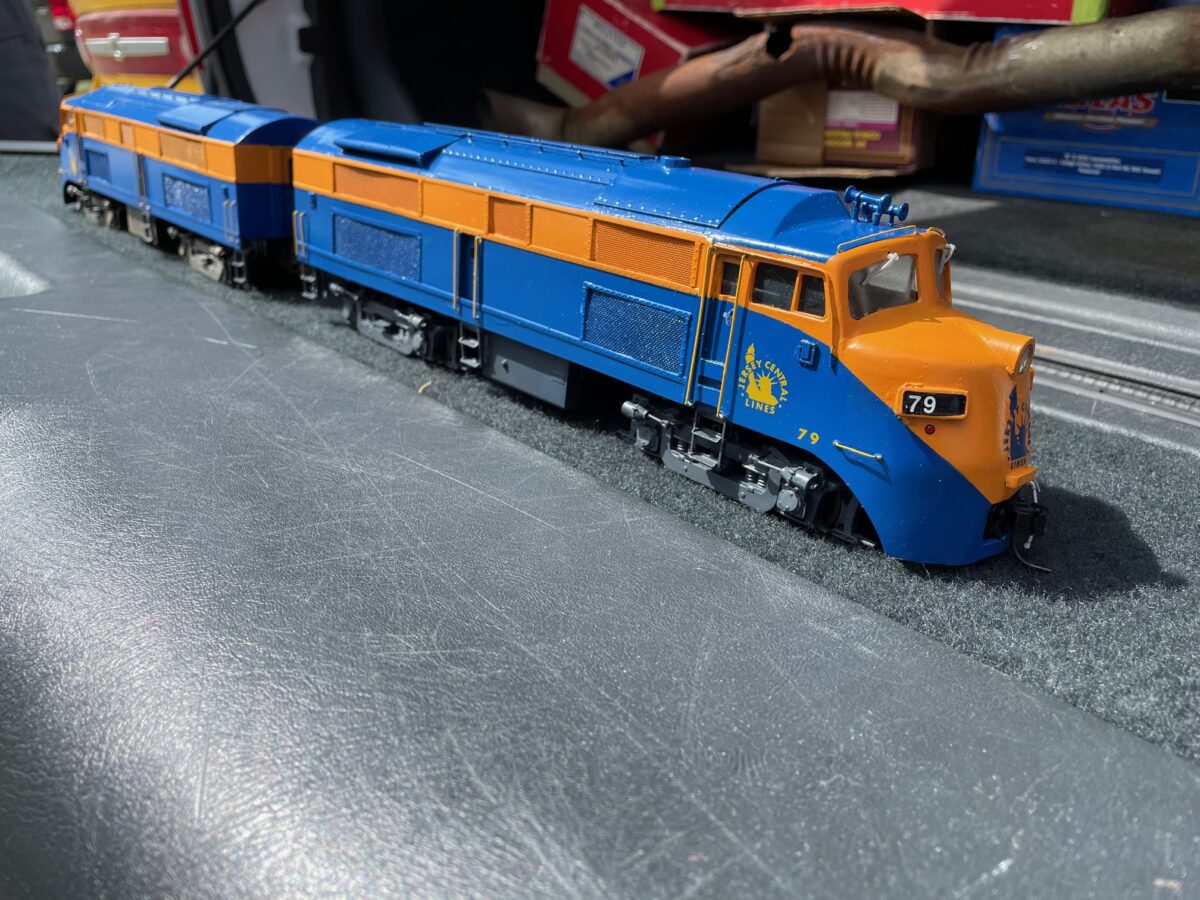
Afterwards we went out to his car where he also showed my his second pair of the CNJ Baldwin Babyfaced Freighters. these were built using the noses from the old Locomotive Workshop Kit for the CNJ double ender.
Funny how these locomotives attract CNJ fans. As we were talking, a CNJ modeler came up with a friend of his. He admired Paul’s models and when we started talking about the LW kits. He mentioned that he had built three of the kits in the past. More importantly, he mentioned that he still had one of the kits unbuilt. Talks are underway to see if that kit can find a new home.
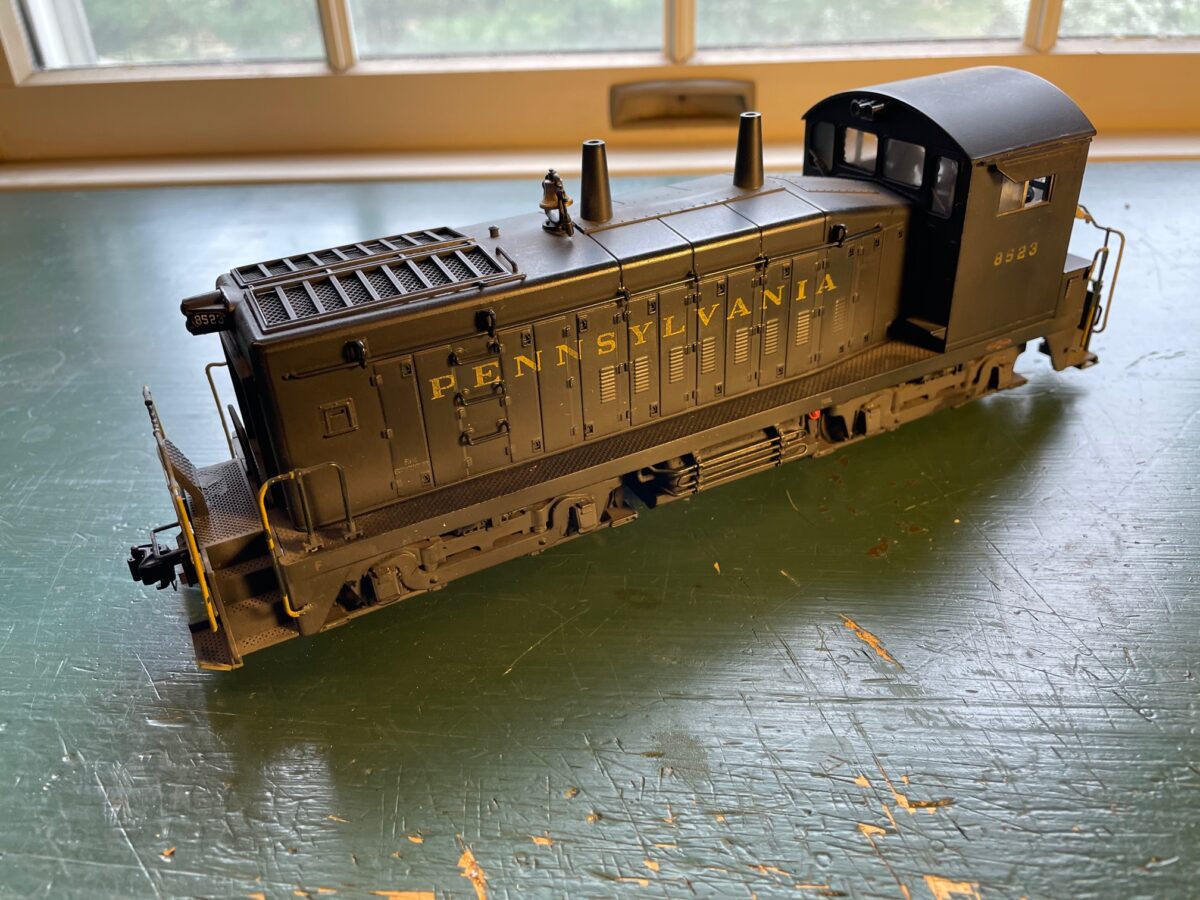
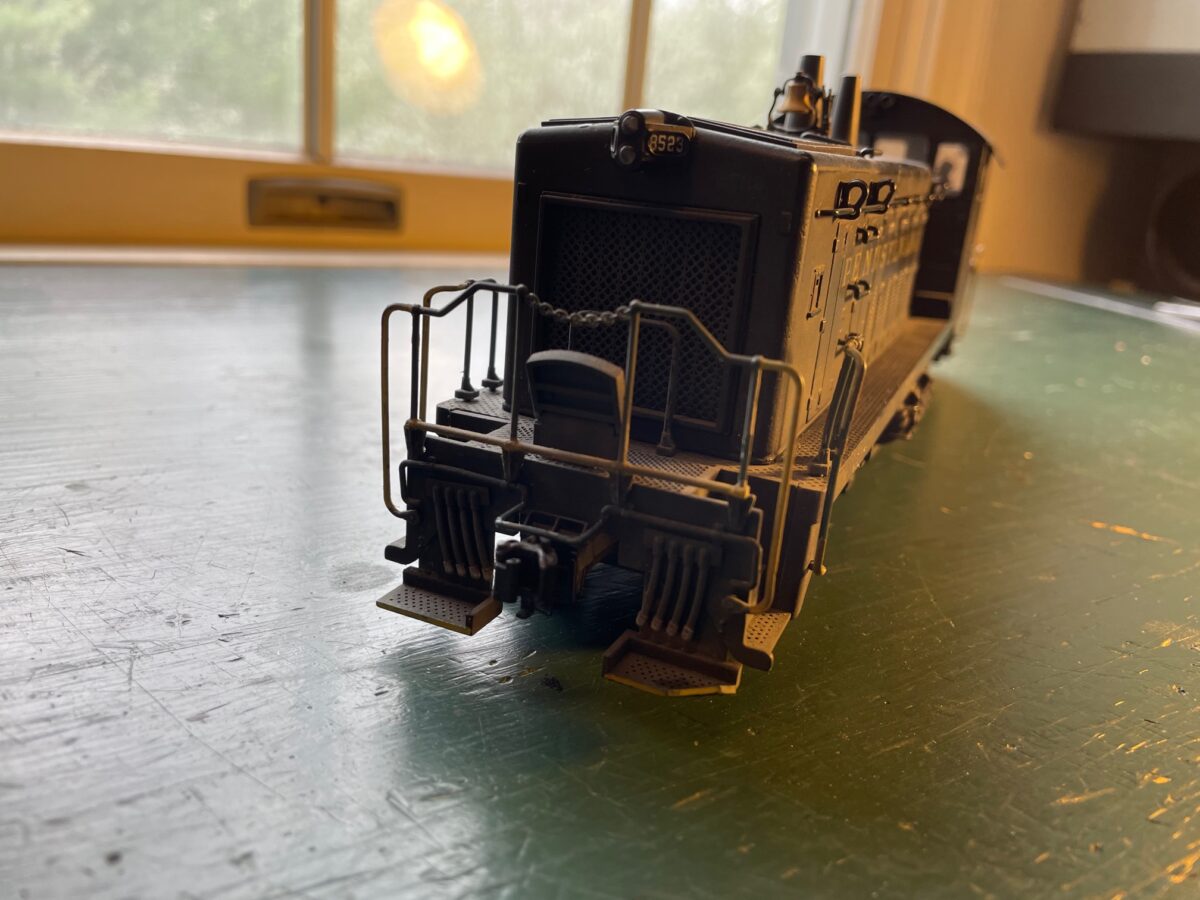
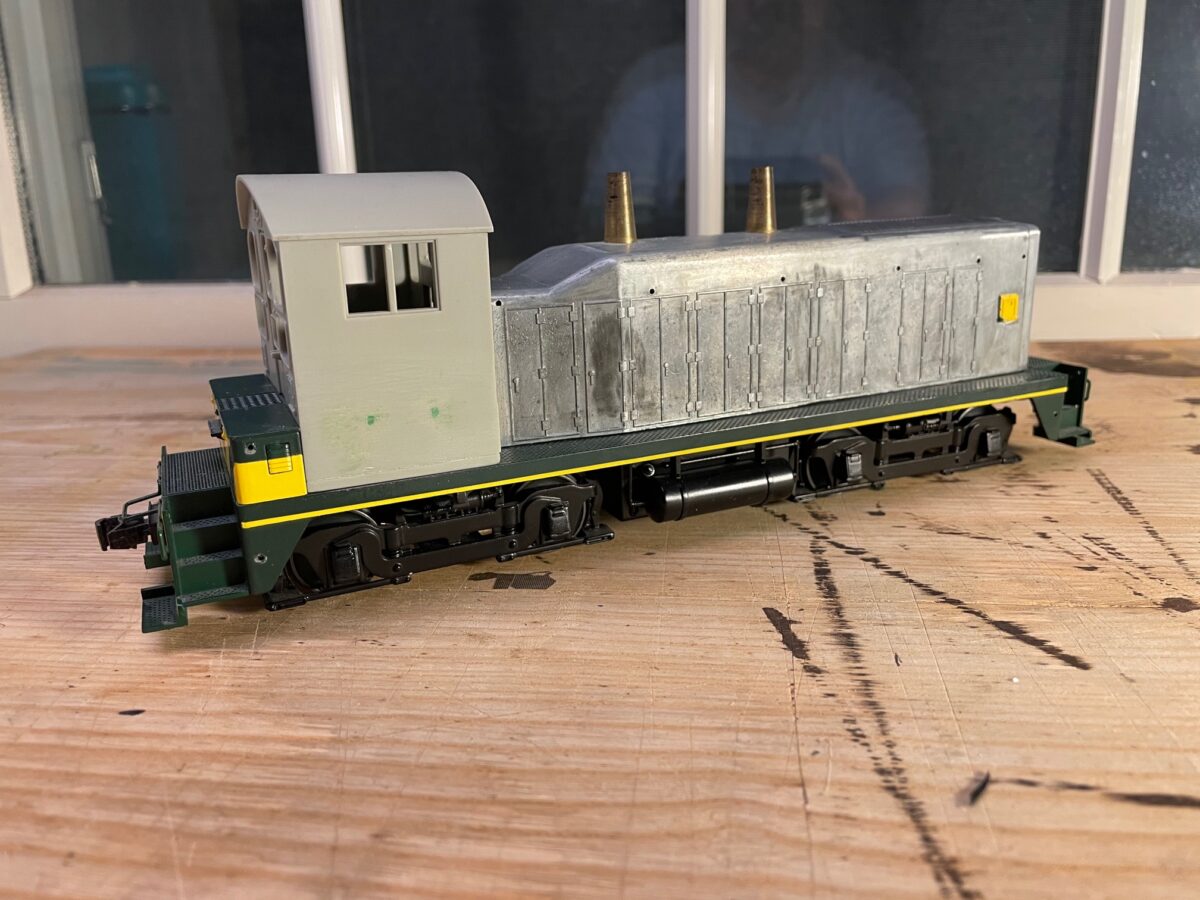
I had a visitor to my workbench this week. My friend Michael Rahilly’s PRR SW-9 came in for some quick work. He wanted to change the wheelsets and it needed a repair to the footboards on the from pilot. These were the before images.
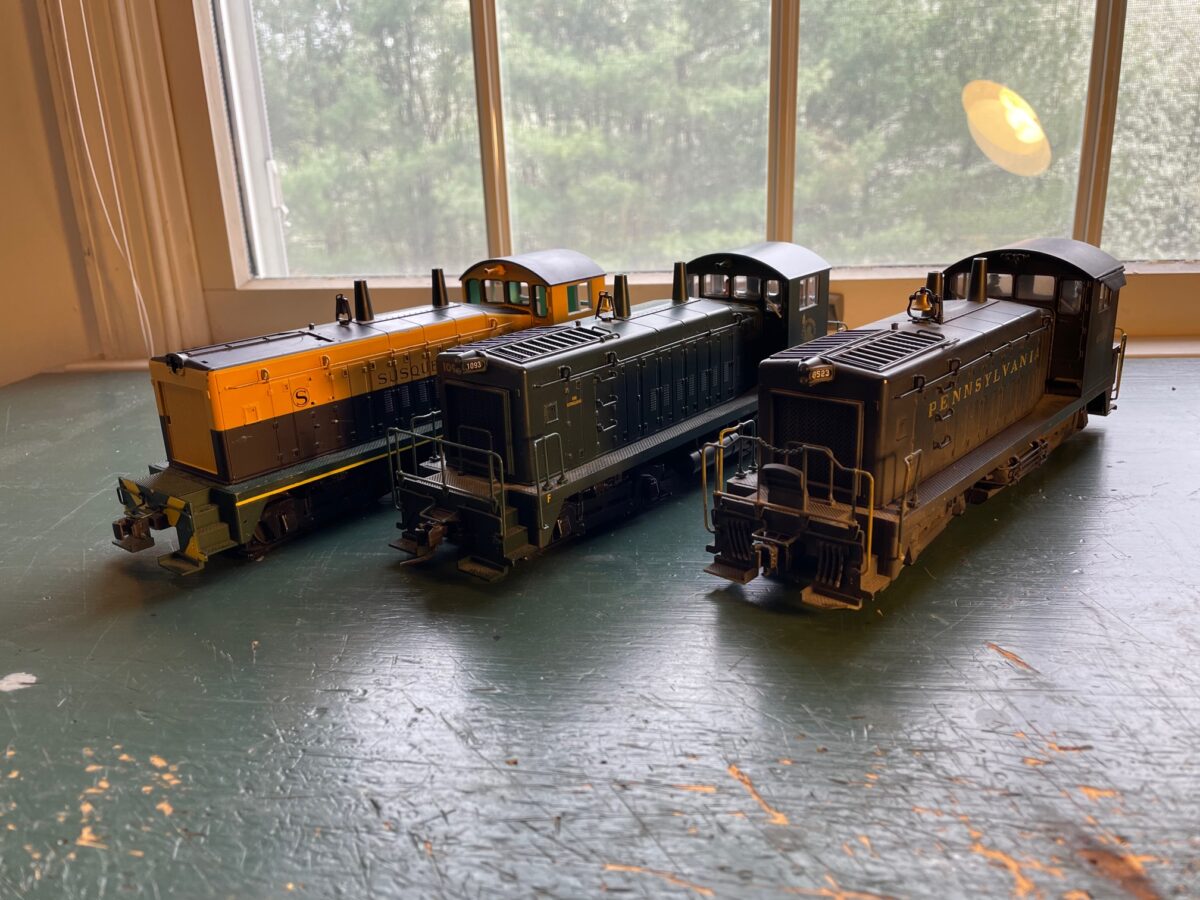
It happened that it was sharing time on the workbench with a couple of other SW9’s. That is former SW9/NW2 project looking more like a SW9 again on the left. The CNJ unit was getting the Right-O-Way retainer plates installed.
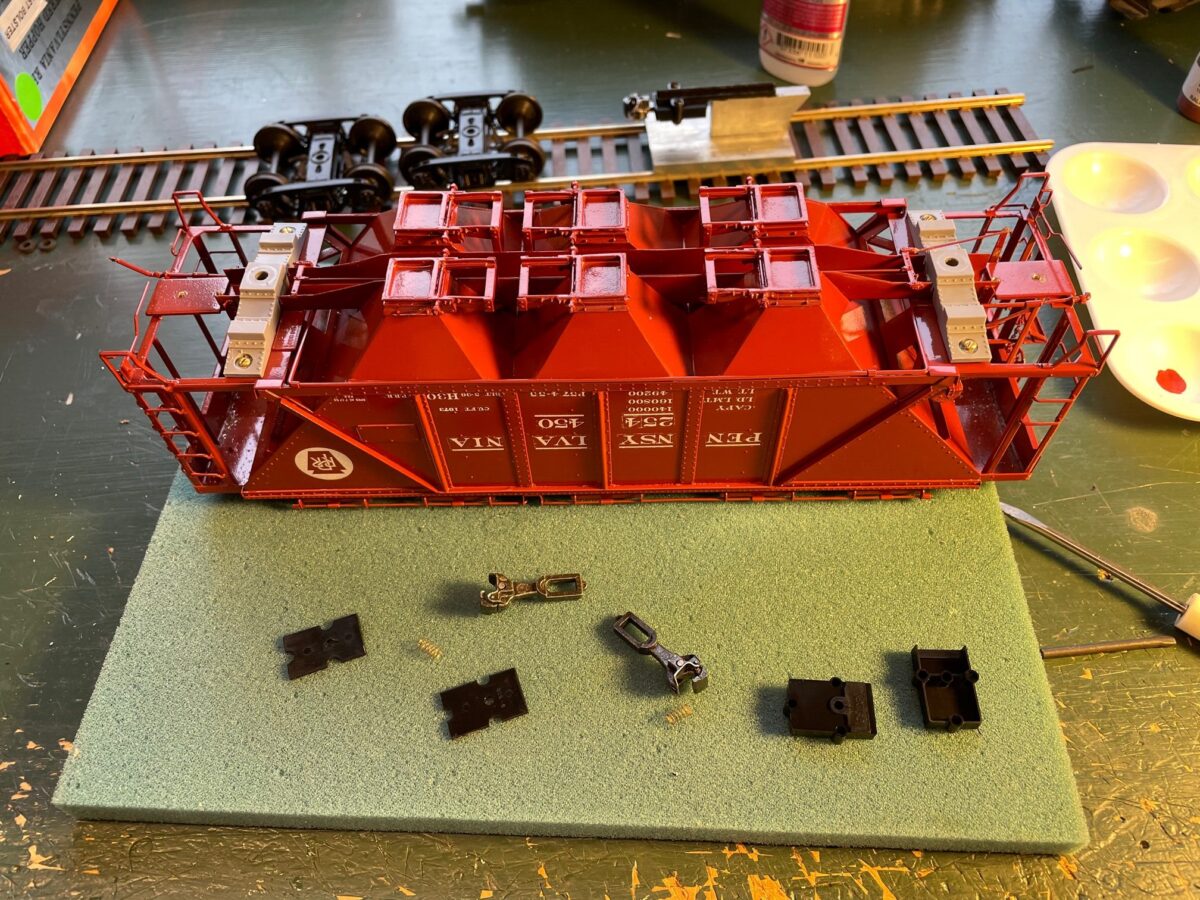
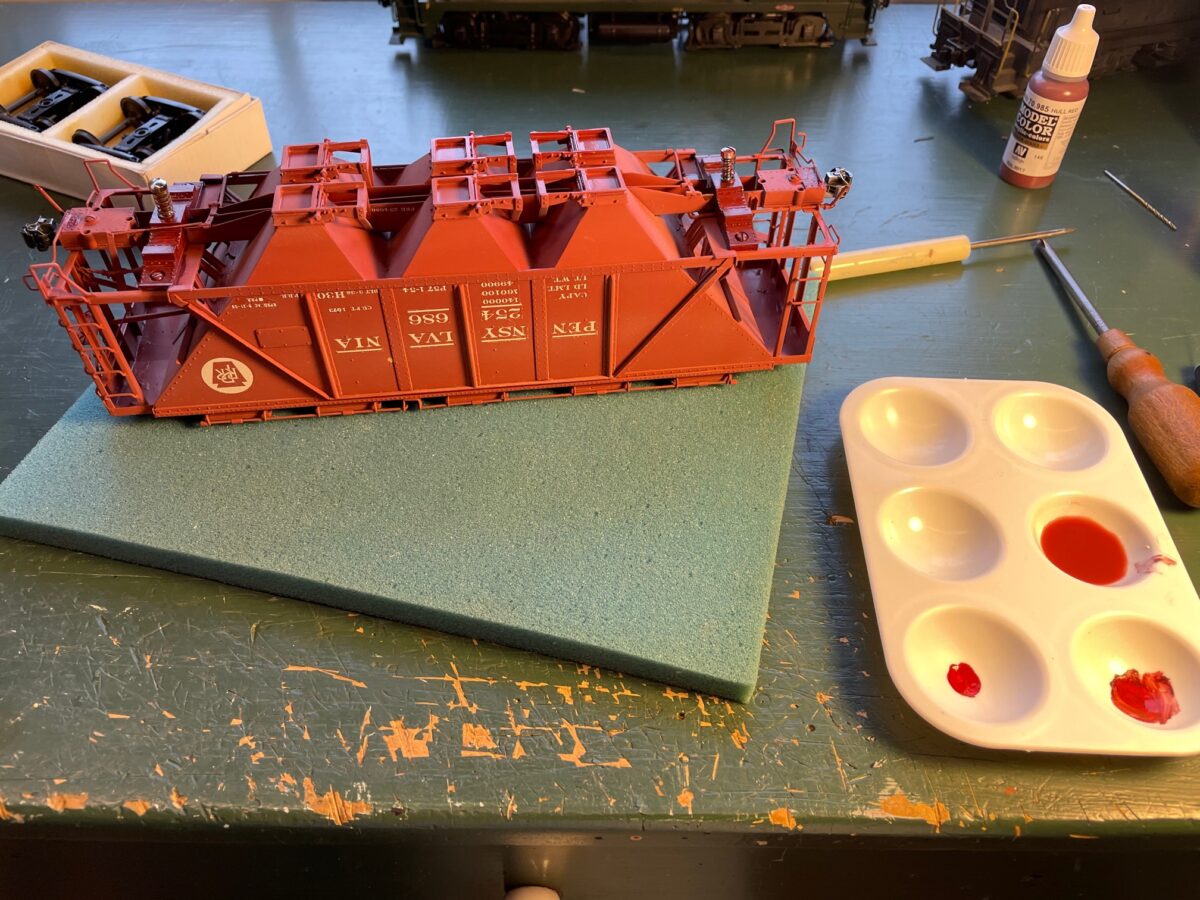
I started to go through the models that were painted, decaled but awaiting weathering. When I discovered that my H30 still needed trucks and couplers installed.
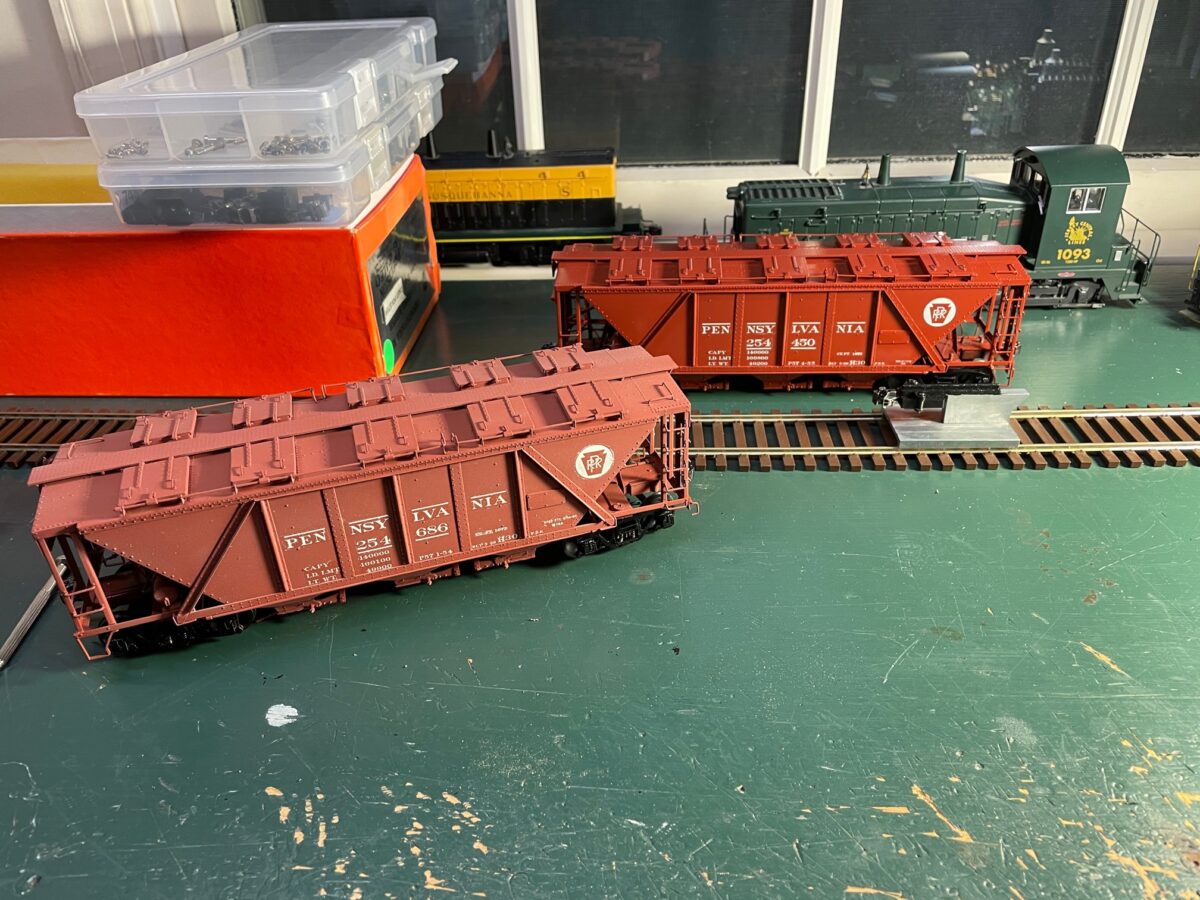
Bolsters added and painted. Couplers installed and checked with the height gauge. All is good with the world. These will be next in line when I get a chance to weather some models. Hopefully soon.
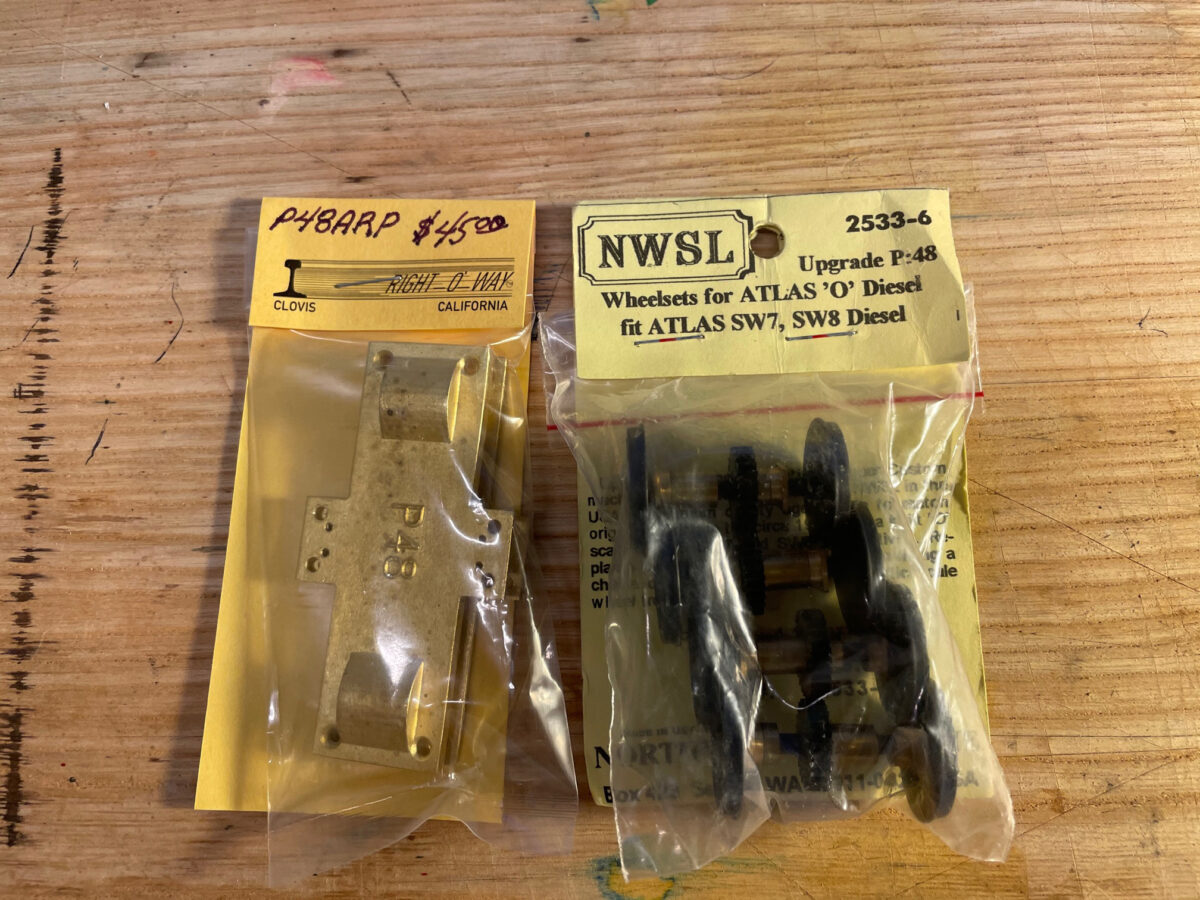
I have two Atlas “O” switchers, I thought my one project drive had been converted already. But when I got a phone call from a friend asking about Atlas SW wheelsets, I checked the model and it did have an upgrade set of wheels but they were the .145 NMRA wheels.
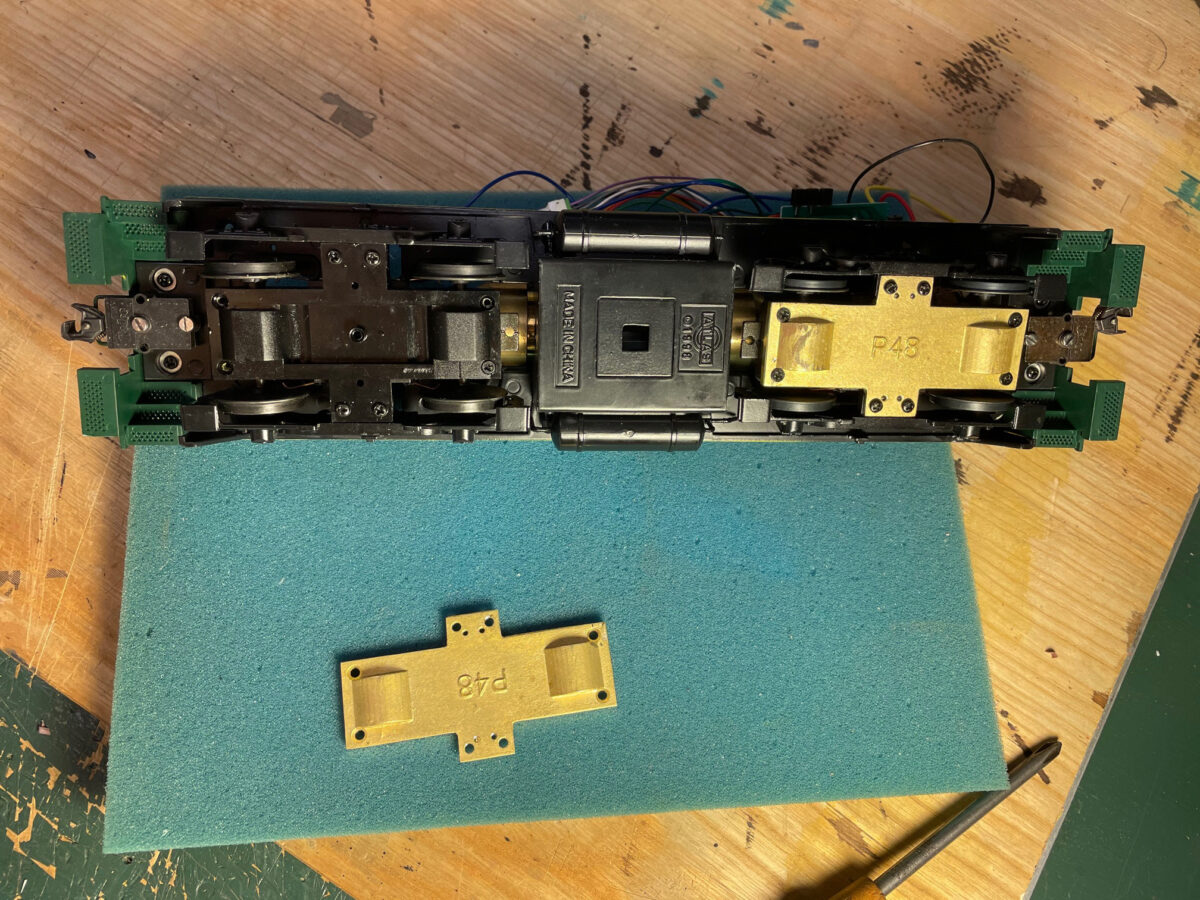
No problem, I had a set of P48 wheels on the shelf for a while (check out the old packaging), but the retainer plates I just got in a couple of weeks ago from Right-O-Way.
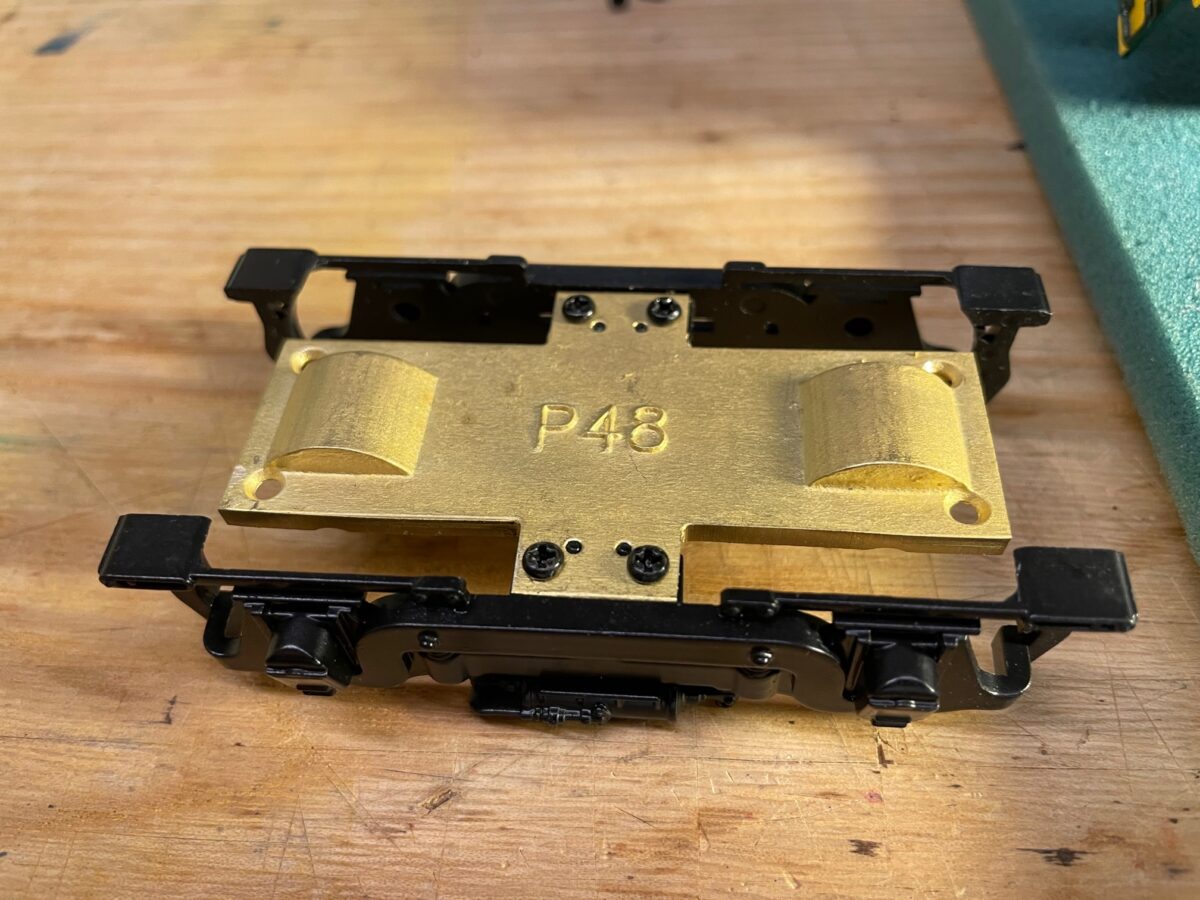
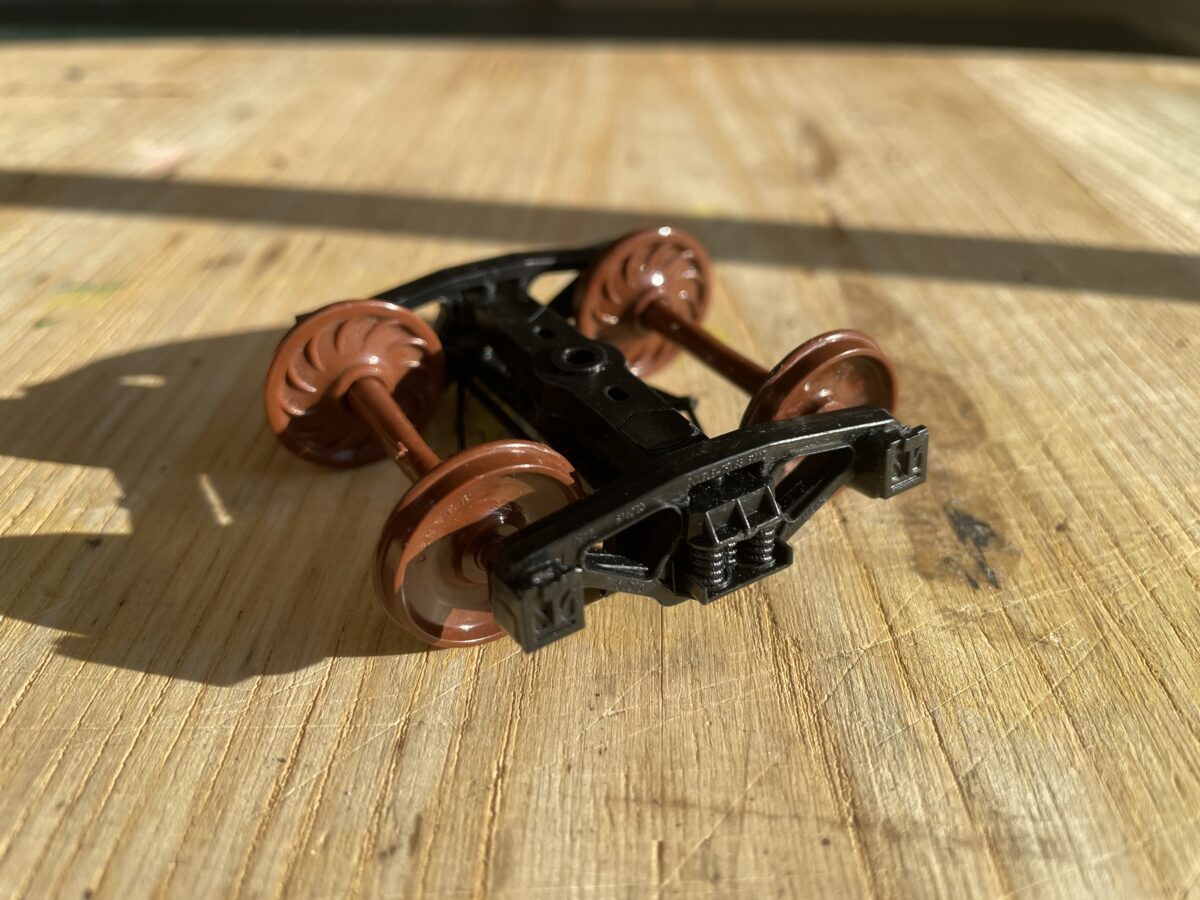
The retainer plate replace the original Atlas part. They are very simple to install, just unscrew the original plate and replace it with the new one.
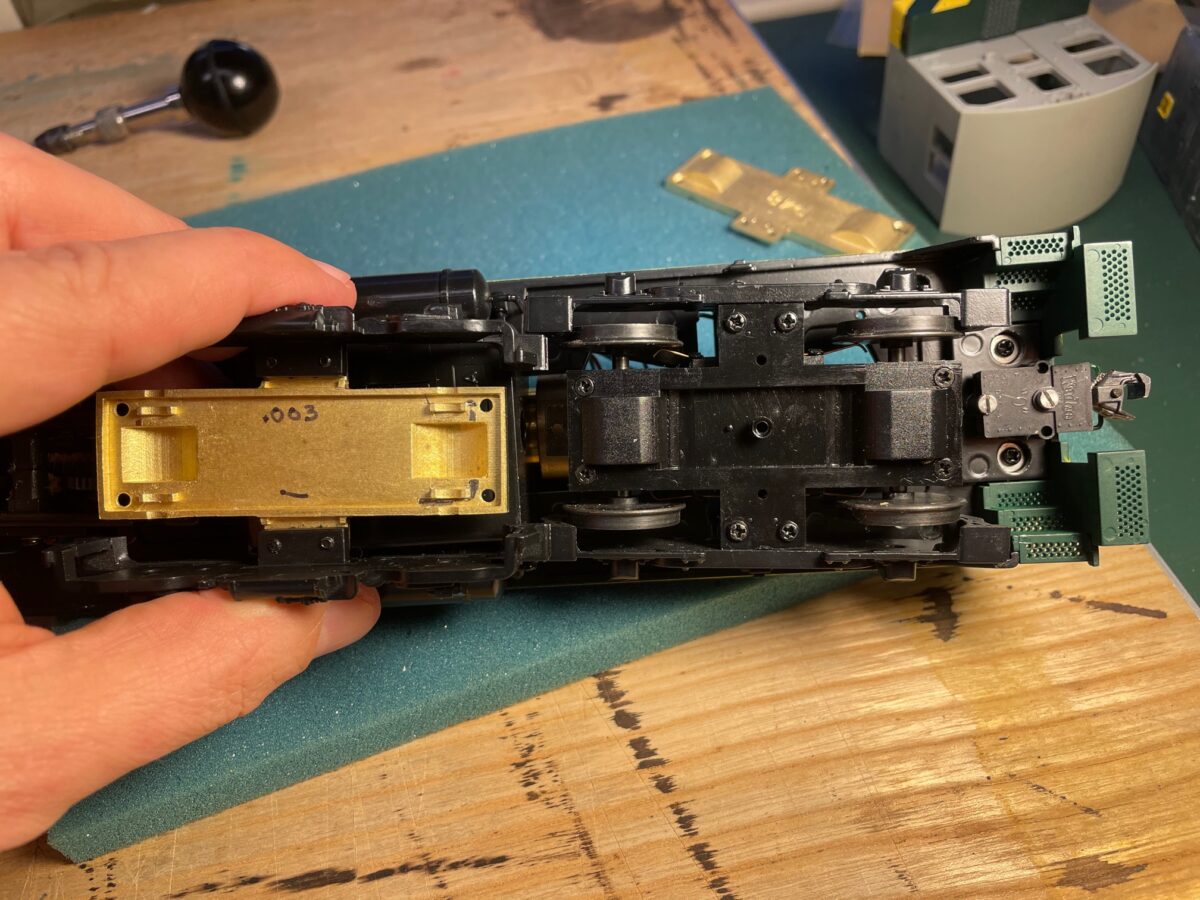
Here you can see how much the ROW retainer Plates pull in the truck side frames. It’s a very simple conversion, four screws remove the retainer plate and four more hold the side frames.
I really should have painted them BEFORE installing them. But my “mistake” allows you to see them more clearly.
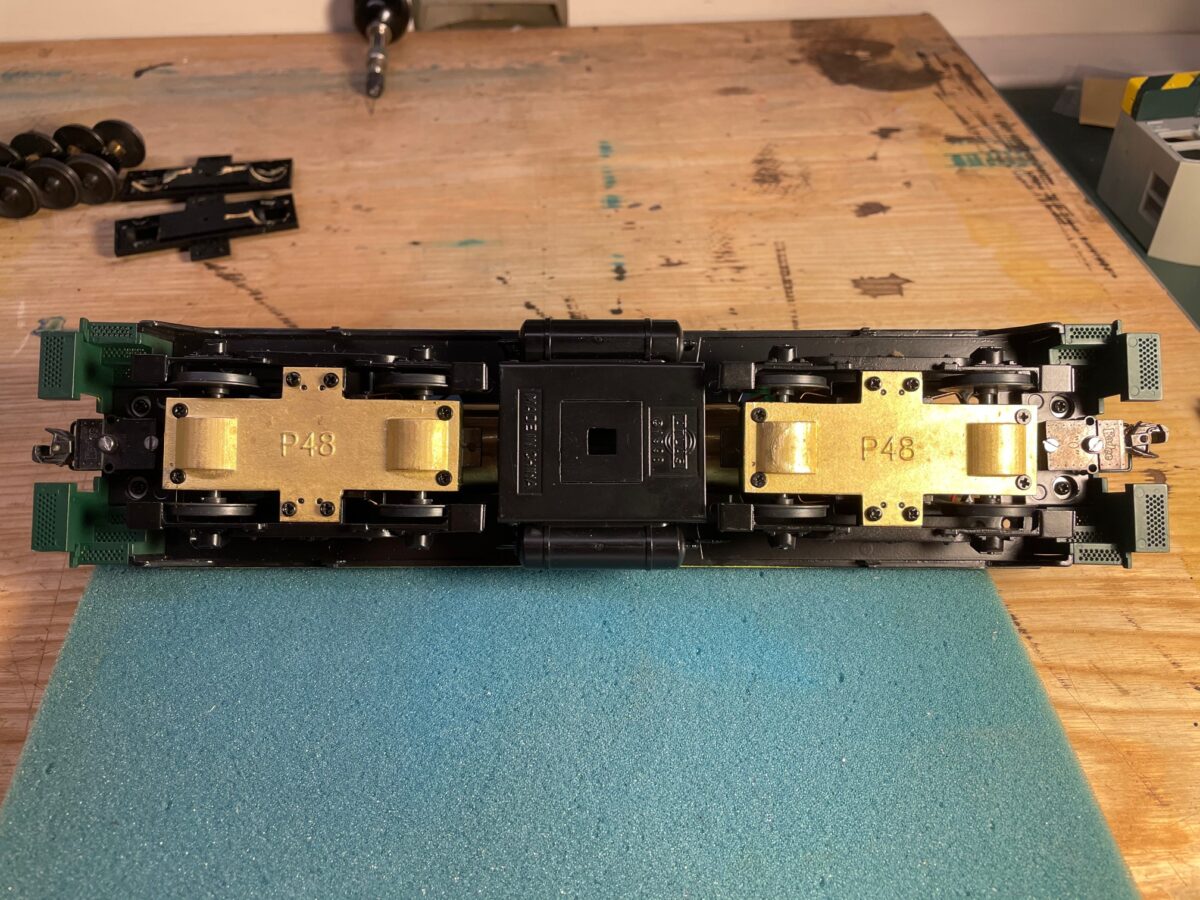
All done. My Frankenstein SW9/NW2 project back together. Still not sure this project will continue or be turned back into an SW9.
The Right-O-Way Proto48 Retainer Plates combined with the NWSL Proto48 Conversion Wheelsets really make this a simple and much improved looking conversion. I’ll time it next time, when I do the other switcher. It could not have taken more than a half hour to complete. The only tool required was a Phillips screwdriver.
Right-O-Way sells the retainer plates by themselves or with the conversion wheelsets. They really do make a big difference in the appearence of the trucks.
Well, the thing that dominated this past week was getting my second shot of the Covid vaccine. It had me moving a little slow this past week.
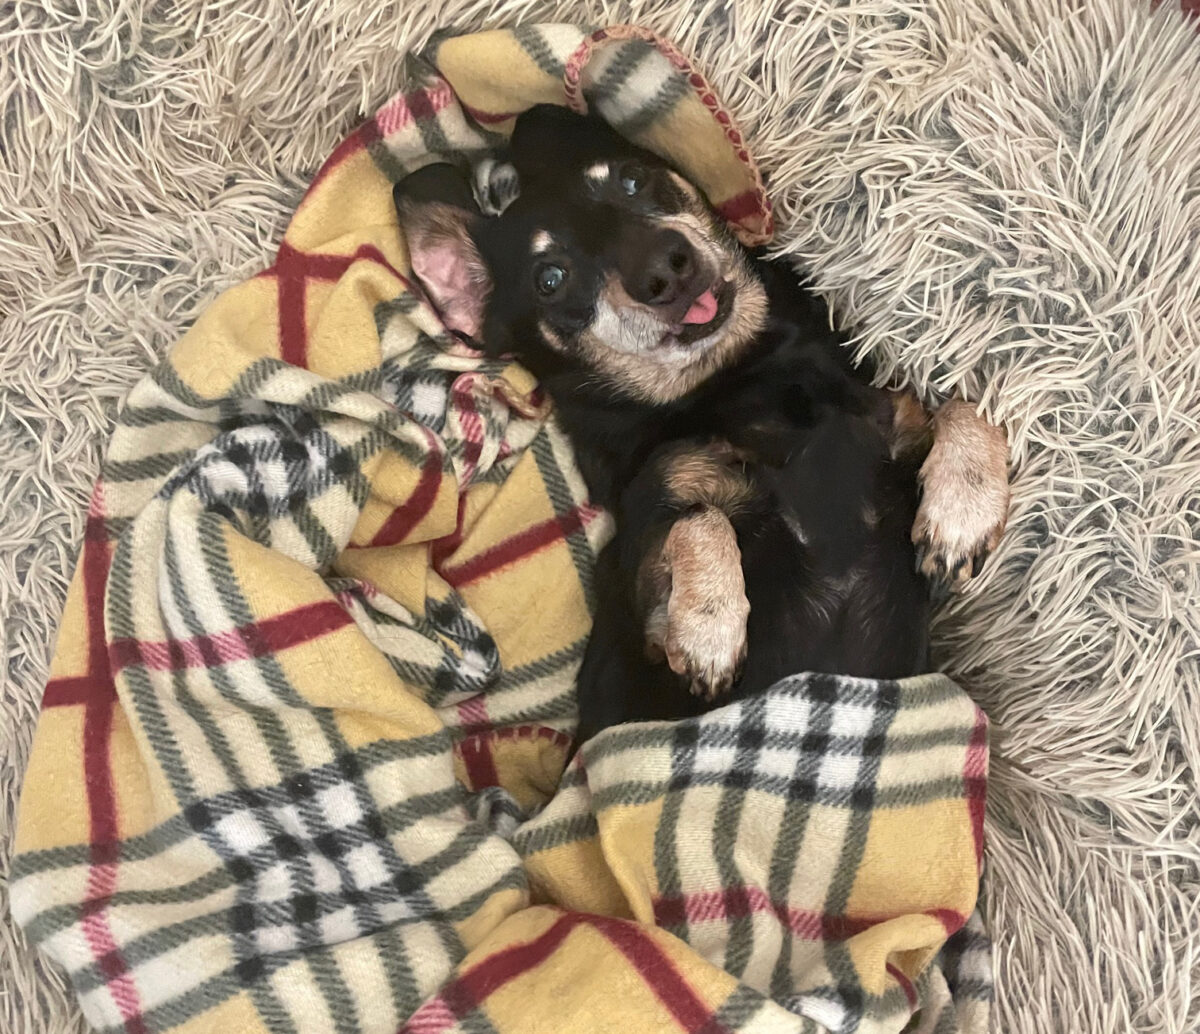
My Pearl kept me company. She stayed with me as I moved from room to room looking kind of silly at times.
The LNE offset twin hoppers were still on the bench. I was hoping to get them through the weathering stage this week. That didn’t get as far along as I had hoped.
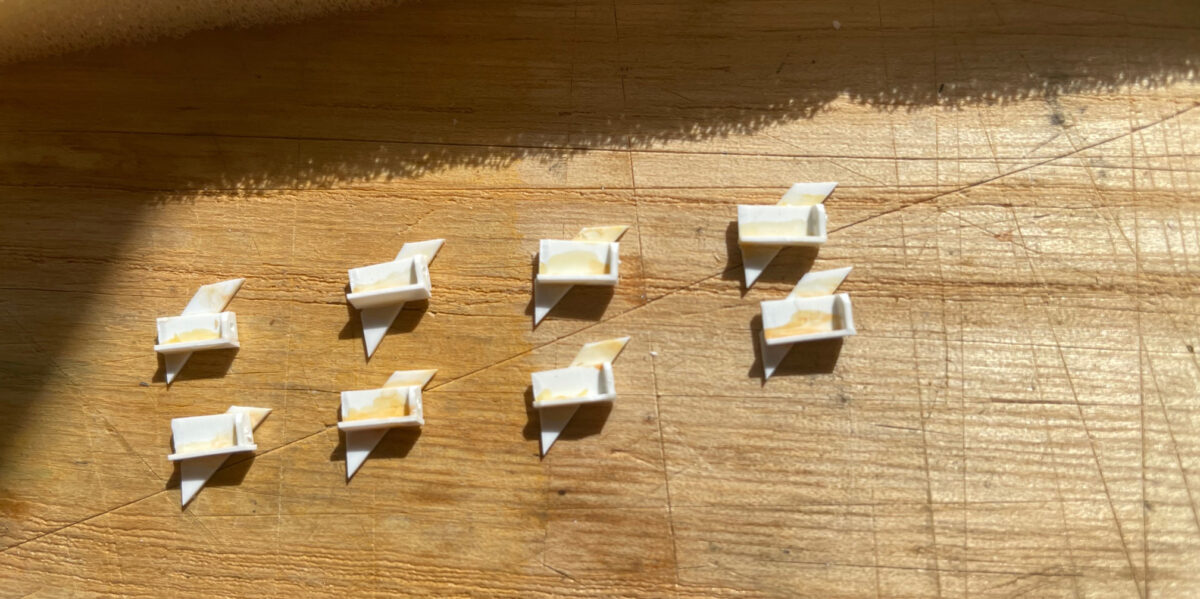
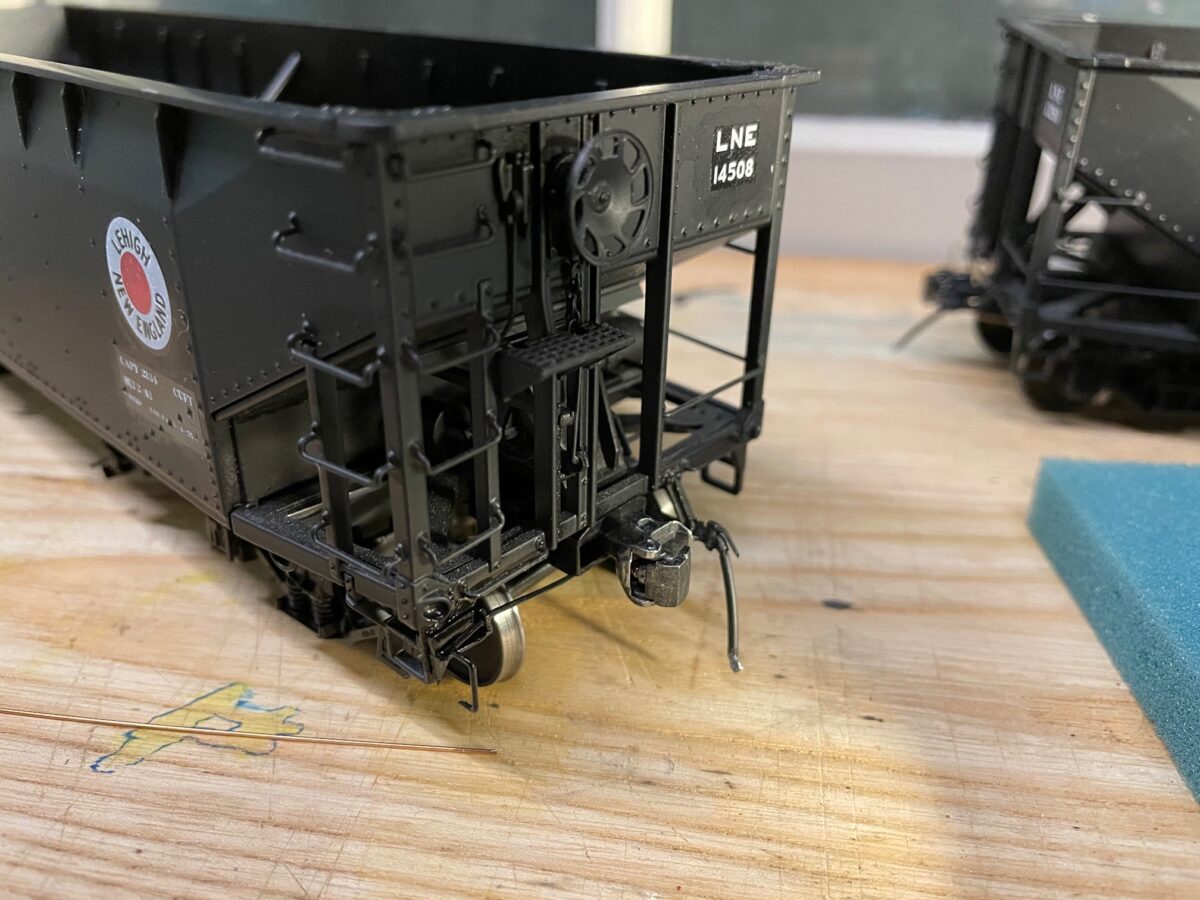
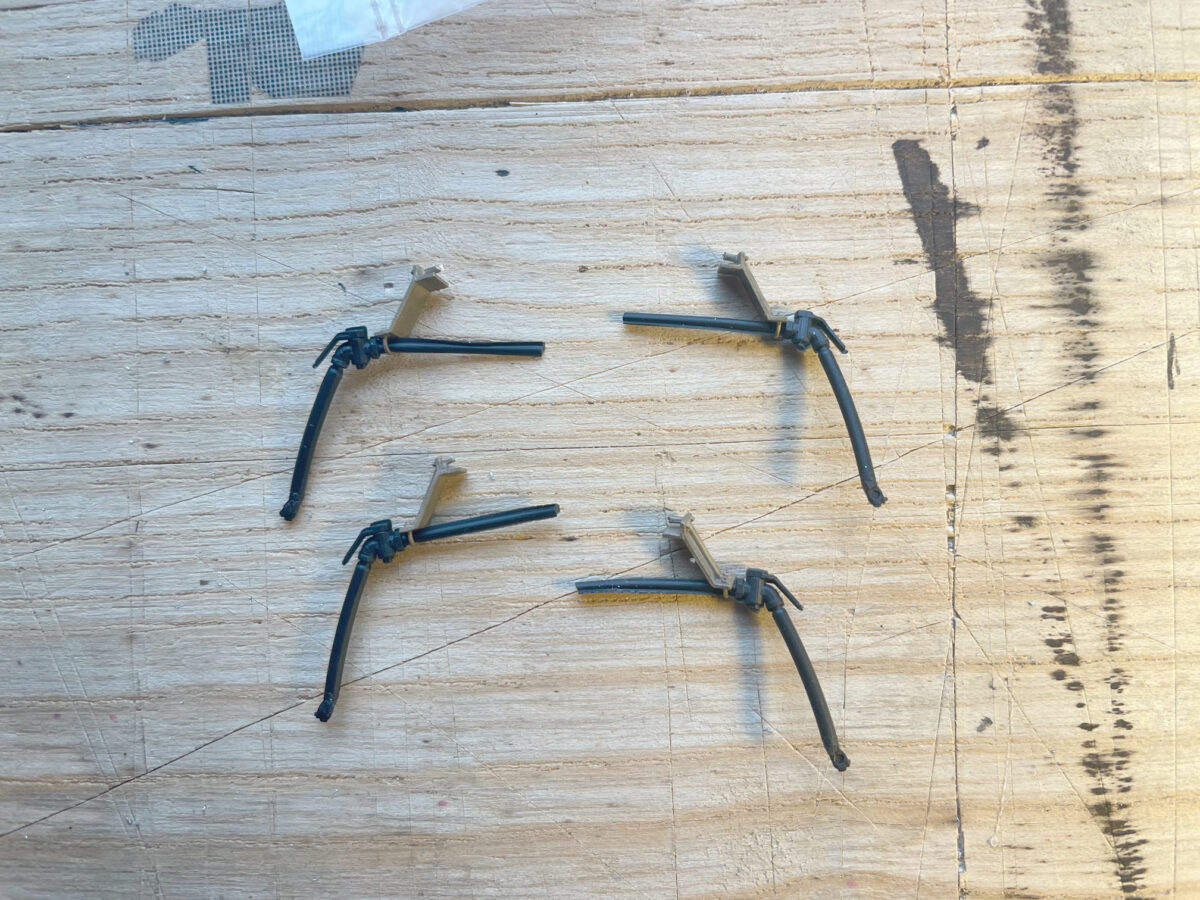
Before that could happen, I needed to add the coupler cut levers to the cars. After examining some photos, I was able to determine that the bracket that held the coupler lever was mounted to a diagonal plate running from the step to the end sill.
Here are four sets of the brackets I built up. I should have paid more attention to the brush I grabbed to apply the solvent. Apparently, there was still some paint residue on the brush. The set on the left got swapped out for some of the extras, but some how it made it into the photo. Don’t know why I didn’t photograph it again.
Then it was time to bend the levers and attach them to the cars. Here I’m attaching the cut lever. I secured the one end with a tiny amount of ACC to the coupler box. You can see the bottle of Dull Coating used to hold the lever in place while I glued it up.
A little touch of black paint and it looks like it was always been there. It is amazing, you take the time to install these details and when the black goes on, it’s like they disappear.
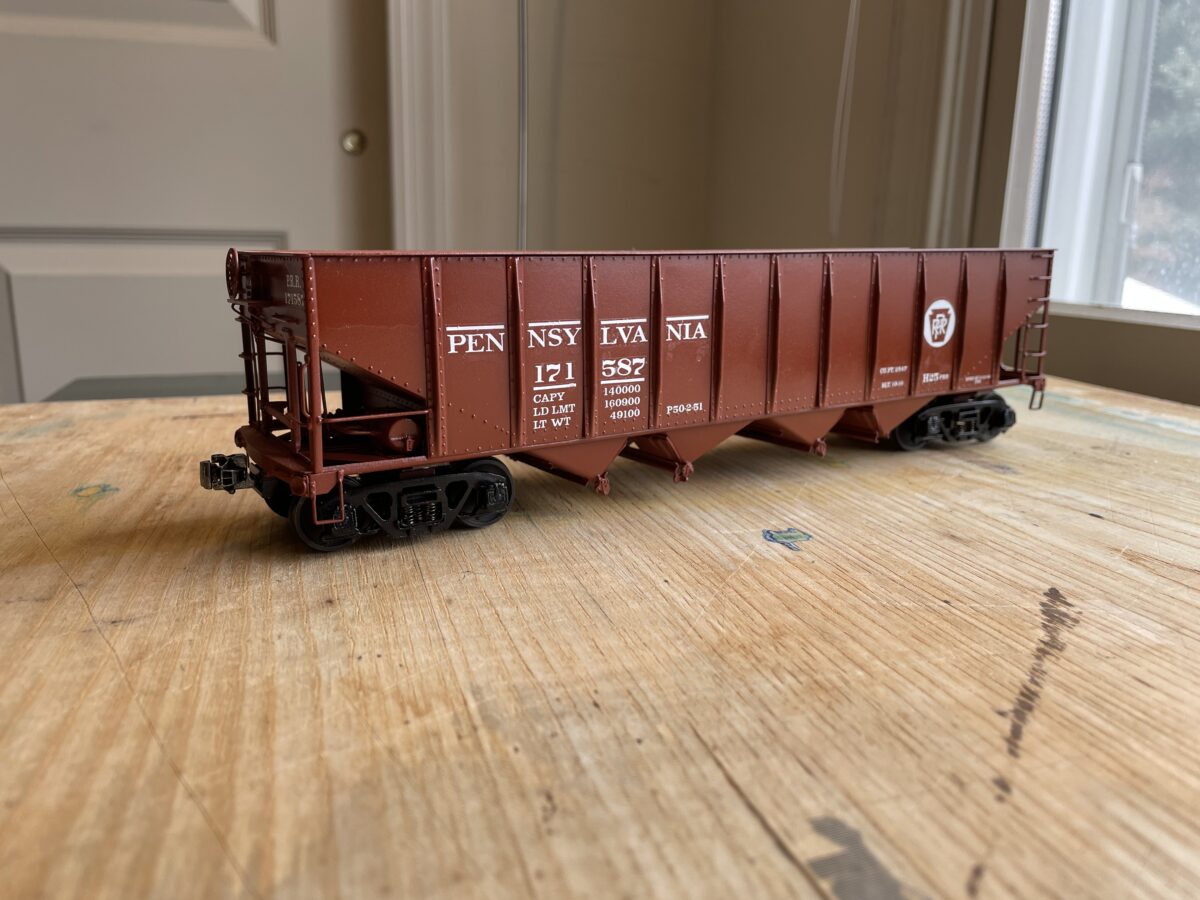
Not looking bad for Lionel cars. Next up, DullCoat and weathering. I hope.
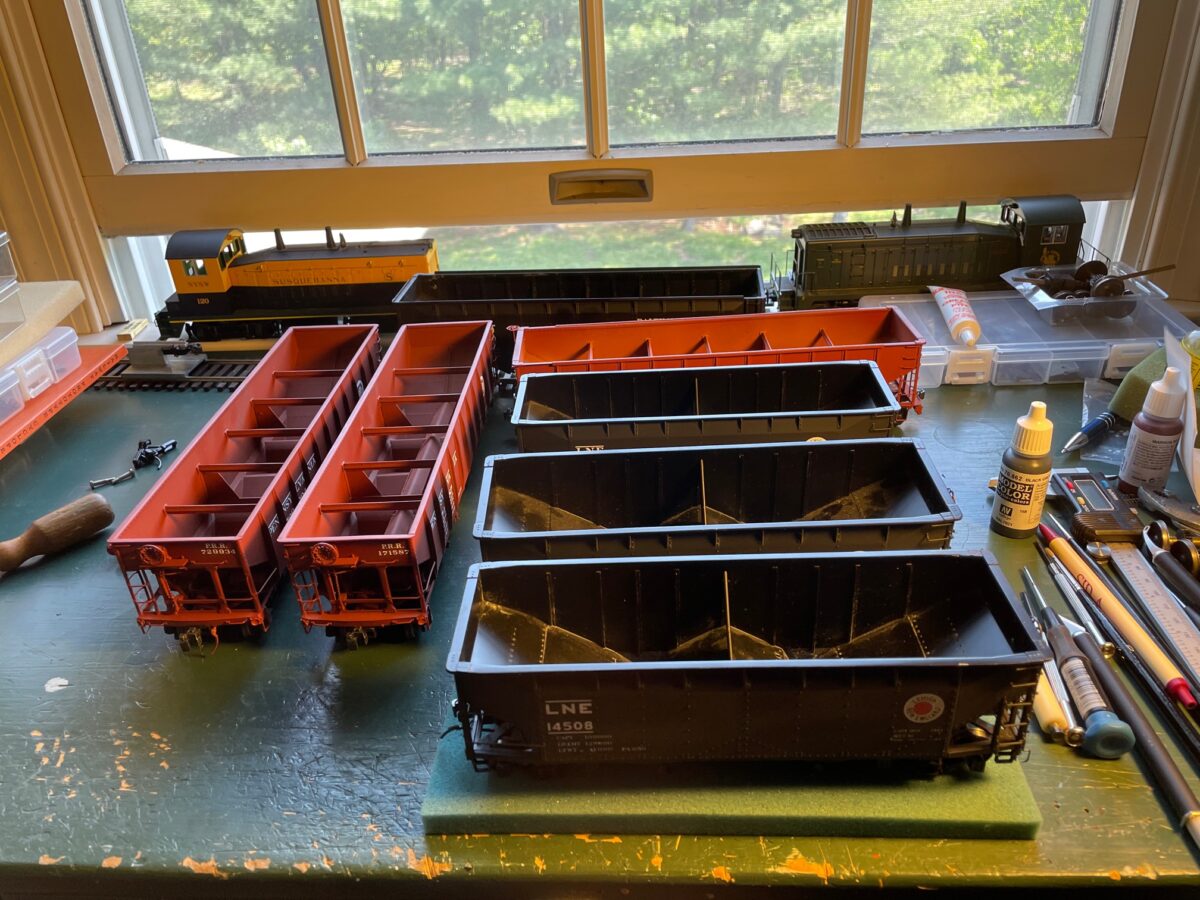
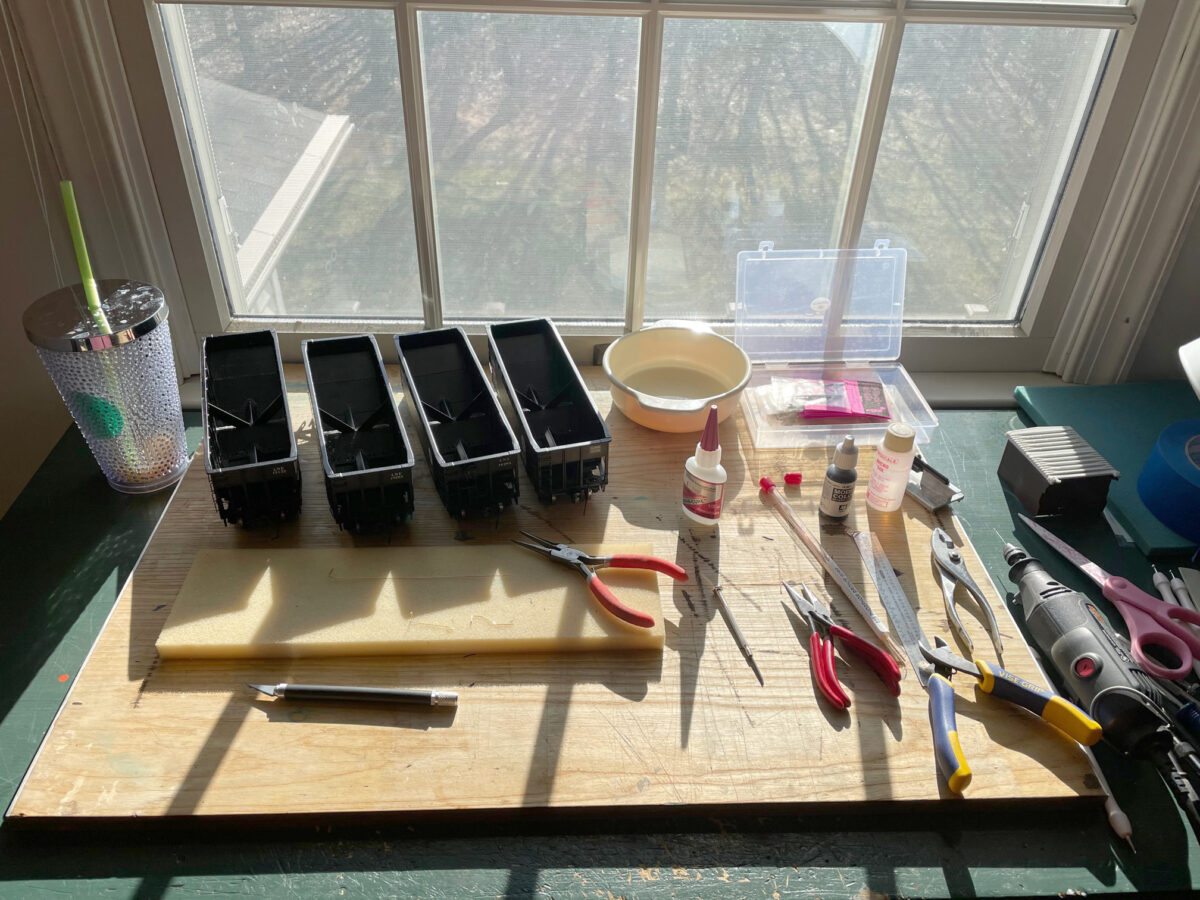
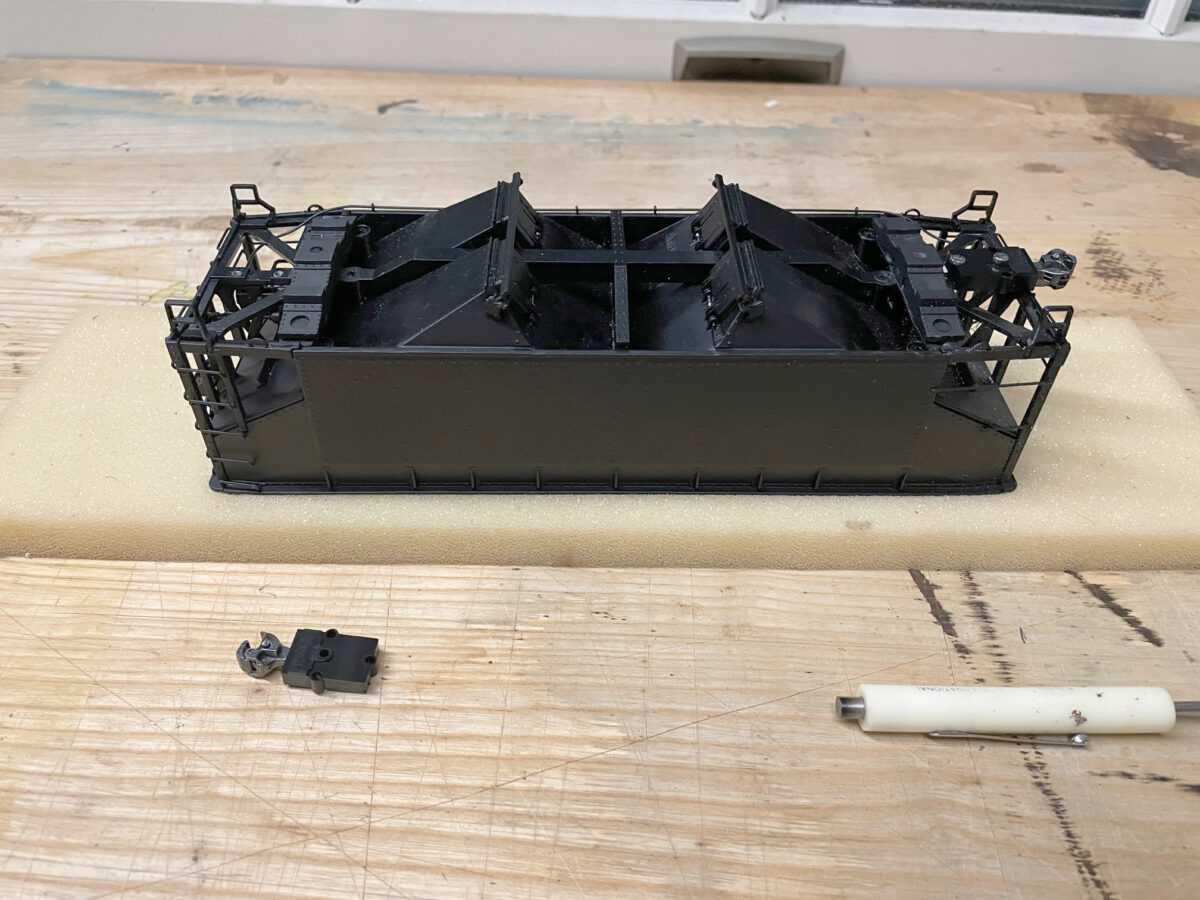
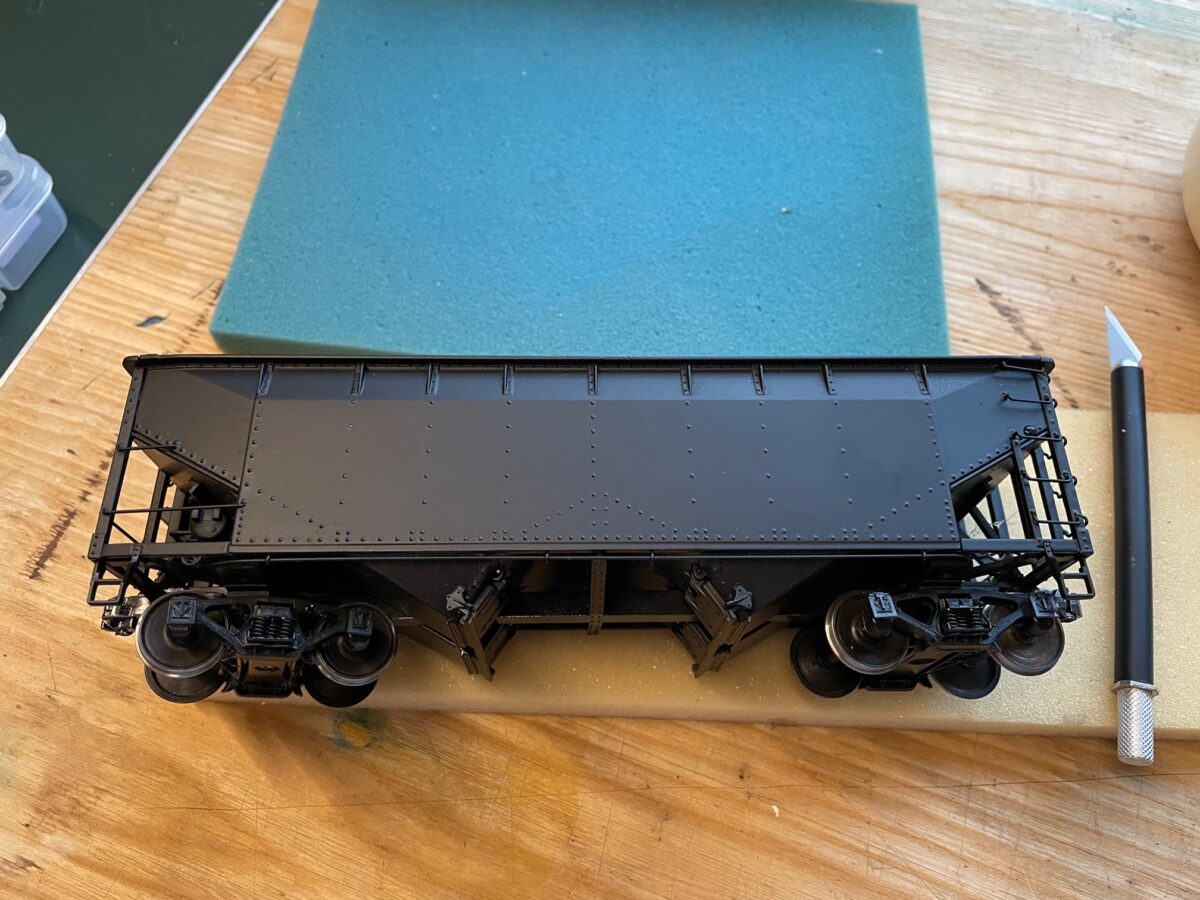
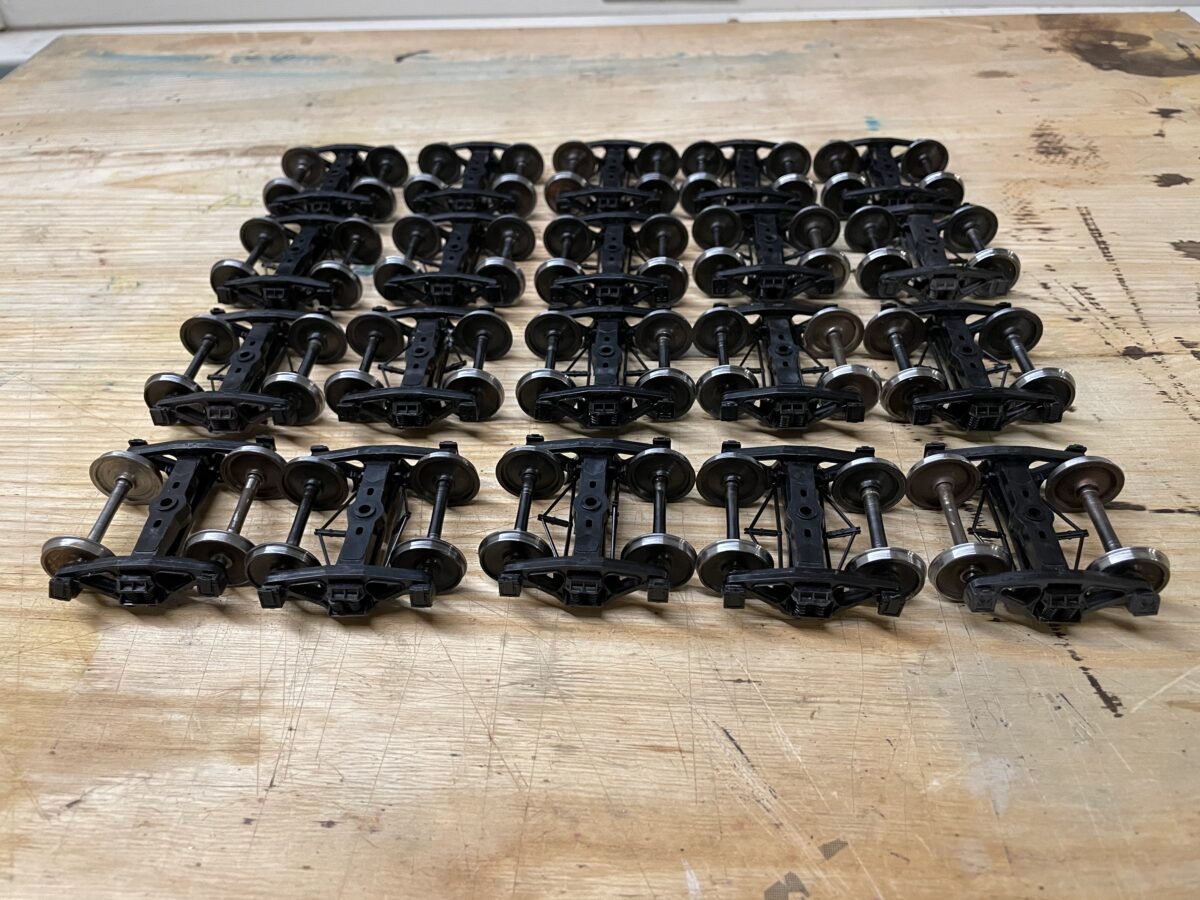
Last week, I finished up ten pairs of Intermountain Trucks with Protocraft Wheelsets installed. Well, I had to find some models to place them under. So, I dug out some Lionel offset twins I’ve been working on.
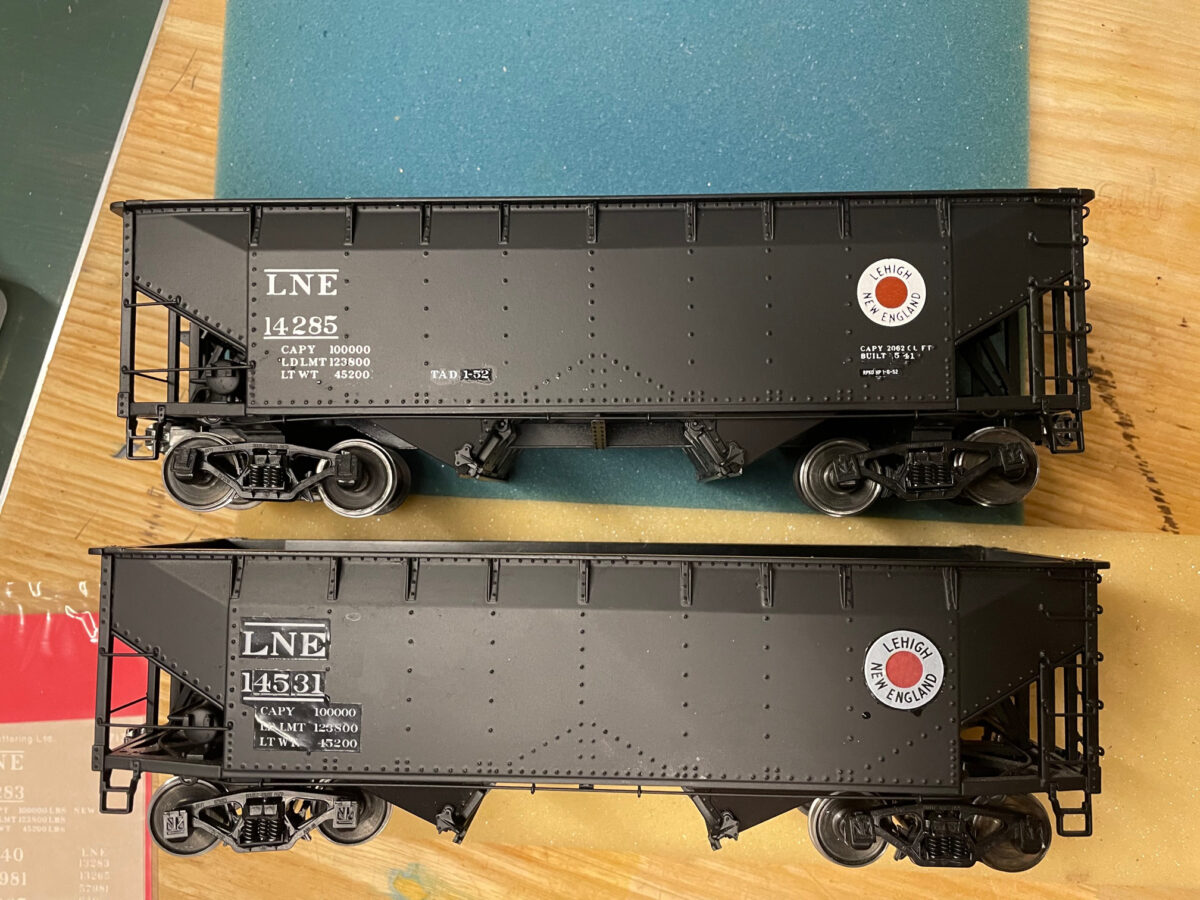
I had four of the twins that I had mounted couplers and installed PSC bolsters on a number of years ago. I forget what they were decorated from the factory, that lettering was removed long ago and they were painted black on their way to become something new. About a month ago, I used CDS dry transfers to decorate three of the cars for Leigh & New England. This fourth car was still waiting.
You can see from this view. These were not extensivly rebuilt from their 3-rail origins. The center sill is drilled and tapped so that a Kadee coupler could be installed. The 3-rail bolster was ground flat and a Precision Scale bolster glued onto the car. I’ve done about a dozen cars in this way, but I’m looking into doing a different type of conversion the next time. One which rebuilds the bolster sheet into something a little more prototypically accurate.
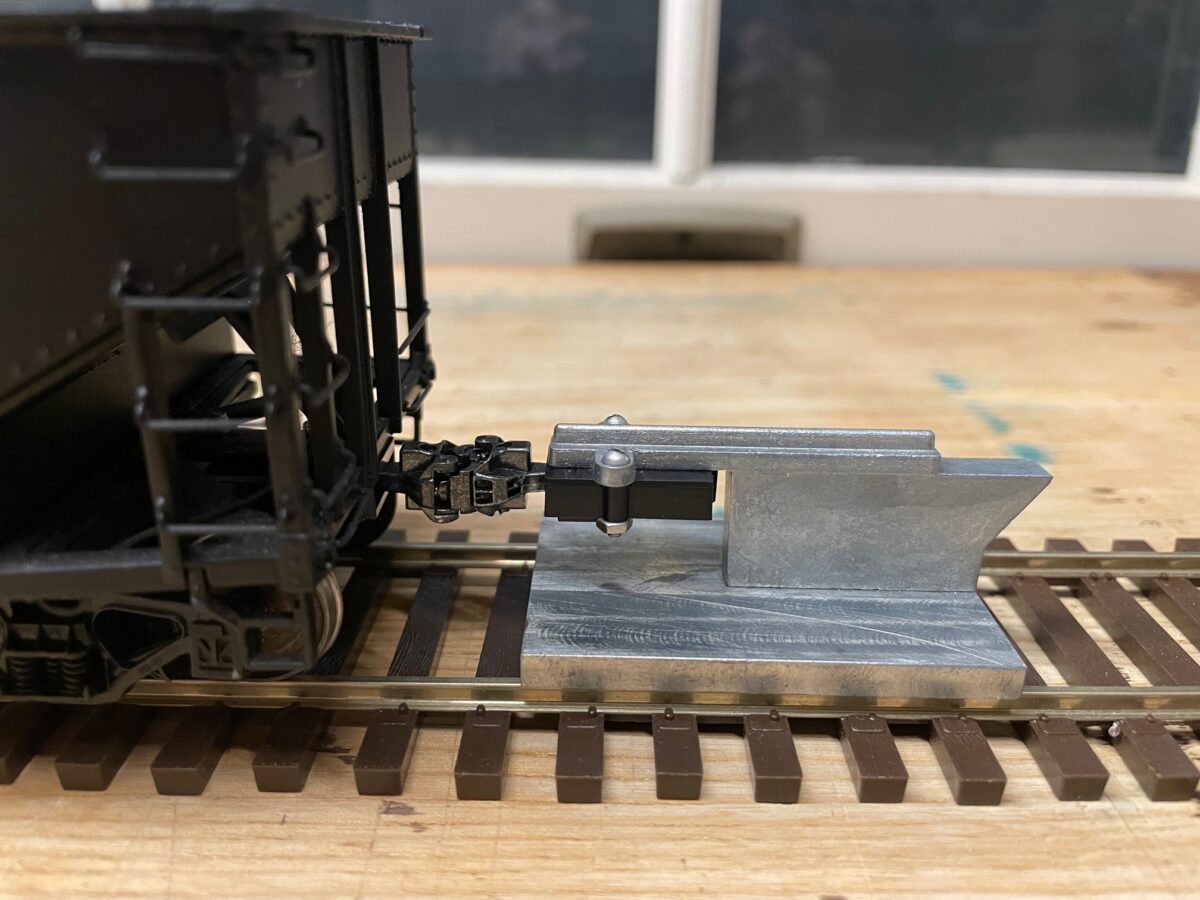
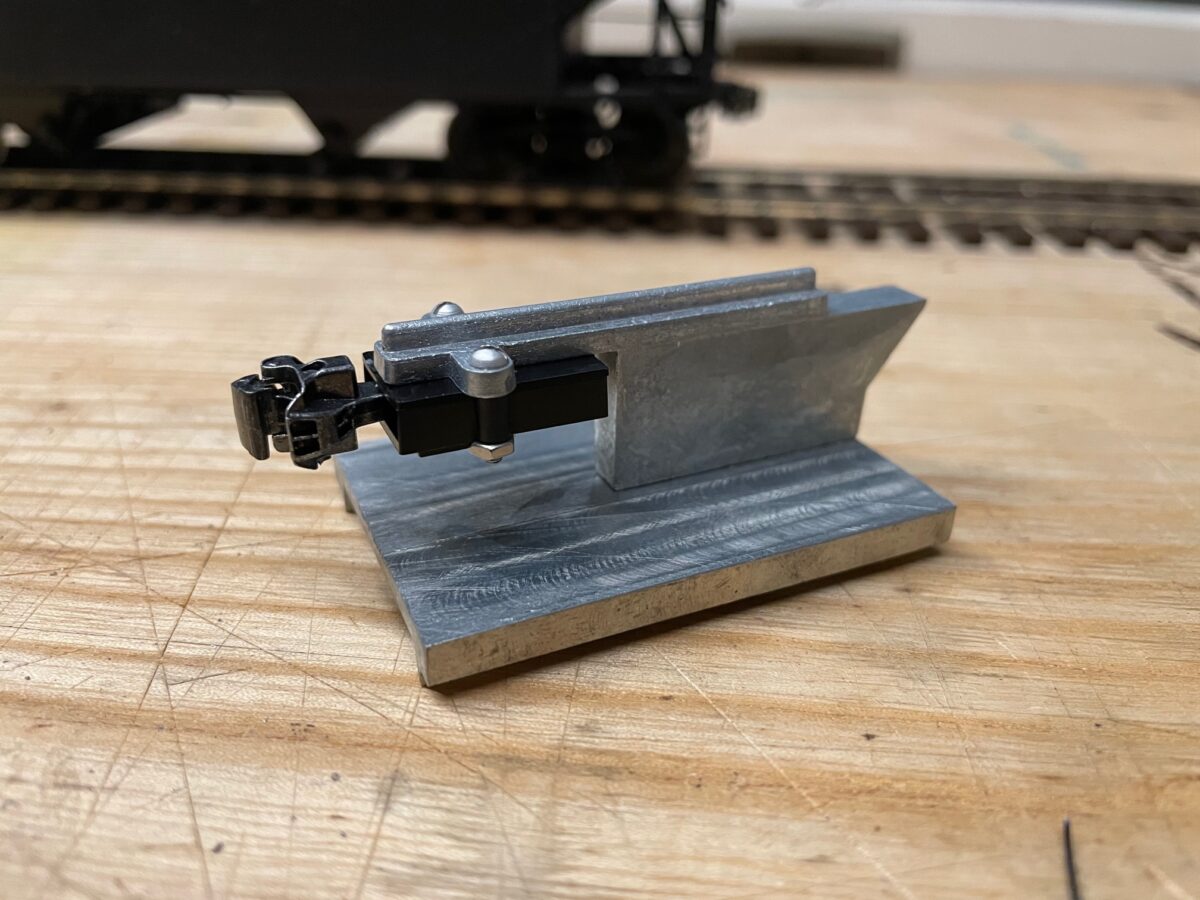
I was going to just mount the trucks on the cars, but the couplers needed to be changed out and checked against the gauge.
I was thinking of just using the last set of transfers I had for the LNE on this car but I do have a love/hate relationship with dry transfers. I love they way they look on a car. We won’t talk about applying transfers to ribbed cars. That is one experience I can live without ever again.
I really wasn’t looking forward to doing another car with the CDS set. The transfers are getting old and one of the sets I used wasn’t sealed properly. It really gave me a hard time applying them to the car.
As I looked closer on the cars I thought were done, I still had the ends to do on two of the cars. So they still needed a little work in addition to the truck installation.
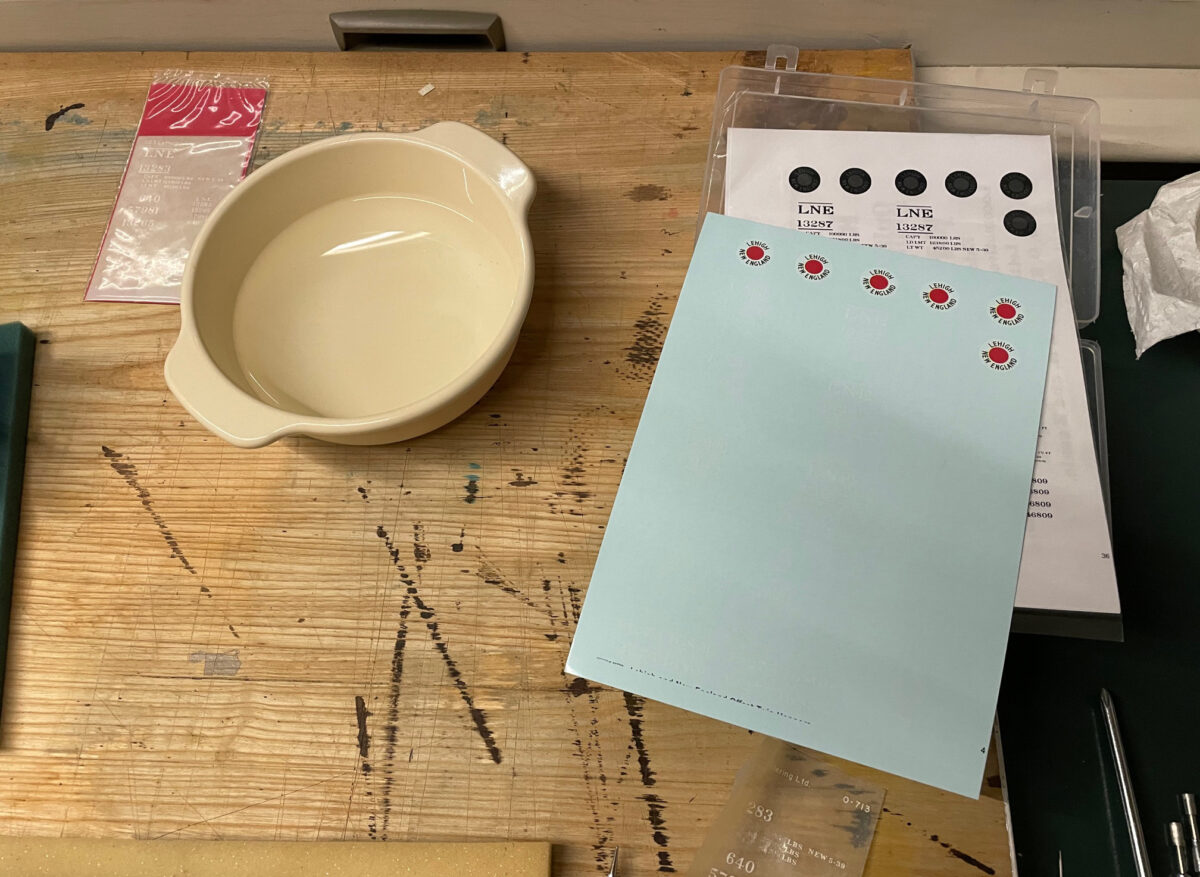
I had picked up a set of decals from K4 Decals with the thoughts that I might be able to use some of the little bits to complete the cars lettered with the transfers. I thought it might be a good time to try out to letter the fourth car.
I started applying the decals and I really wasn’t happy. The logo was thin and oversize compared to the car lettered with the CDS transfers on top. The reporting marks were a different font even though they were the same scheme. It reminded me of using a set of Champ decals.
Nope, they had to go. Back to the black car.
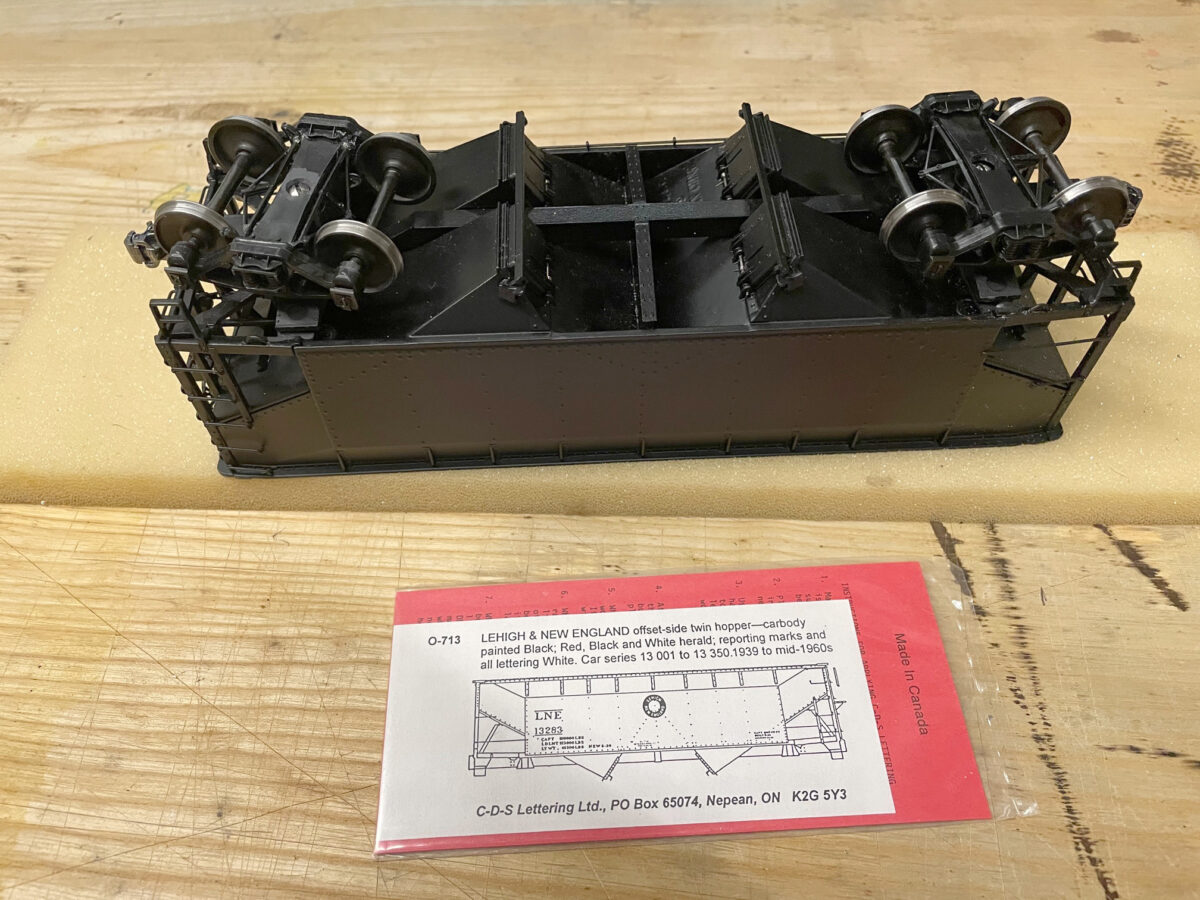
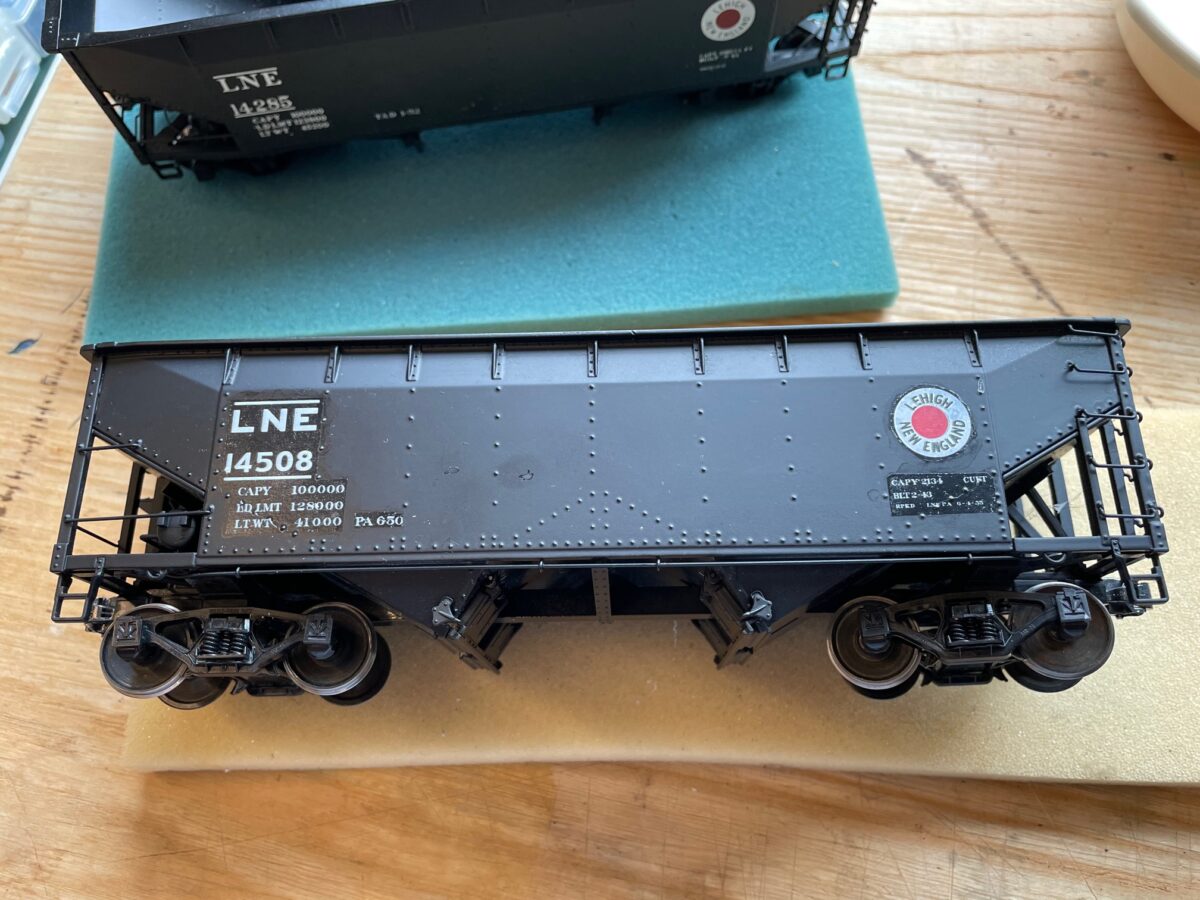
I thought about using the last set of CDS transfers I had on the car. Instead, I decided to used a set of decals from the same company for the San Serif scheme. The logo was smaller than the first set, closer in size to the CDS logo. And since the other three are done in the Roman scheme any problem with the decal lettering won’t stand out as much.
That looks better.
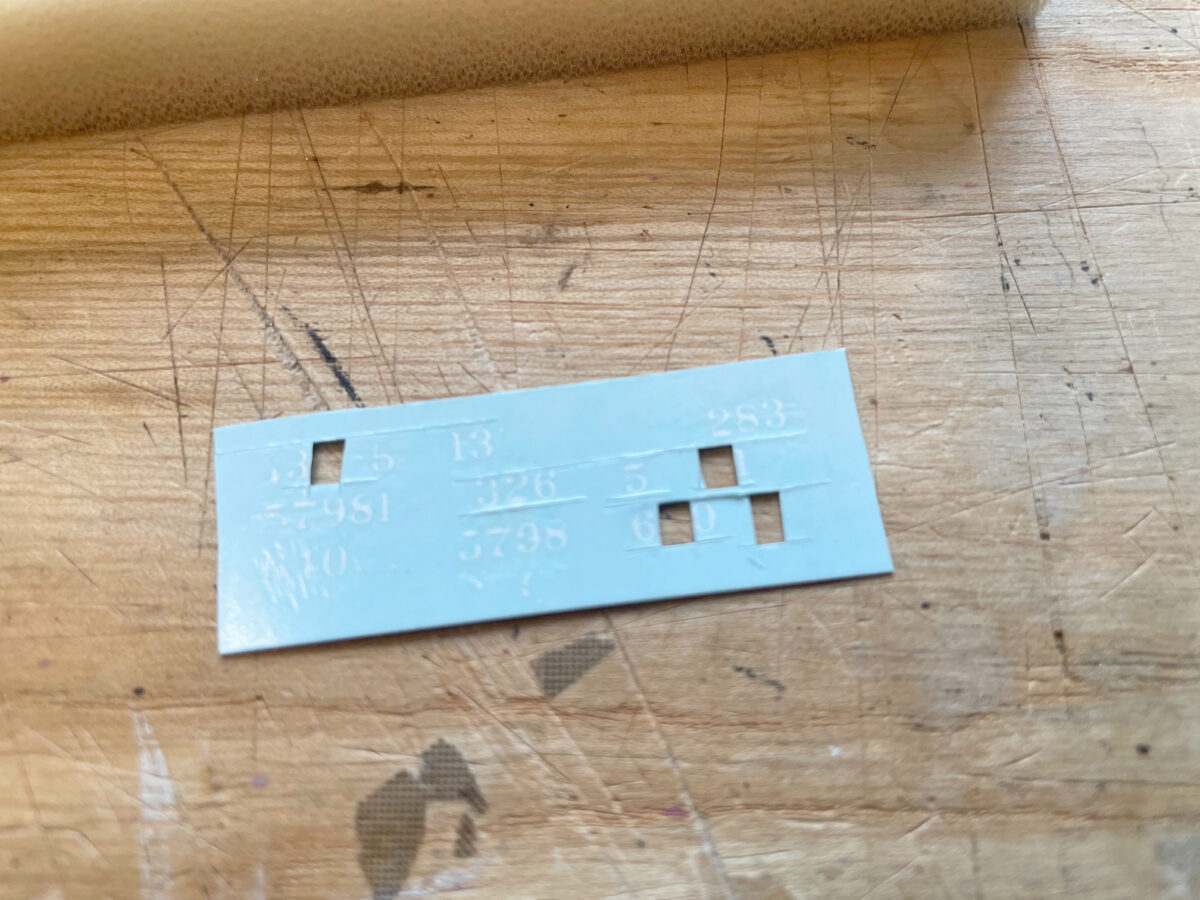
I finished up the lettering on the ends of the other cars also. I needed to change the numbers around and it’s a struggle to do that while looking through the transfer sheet.
I burnished the numbers onto a blank section of the decals. Then I could just apply them like decals on the ends of the cars and change the number sequence as I needed to.
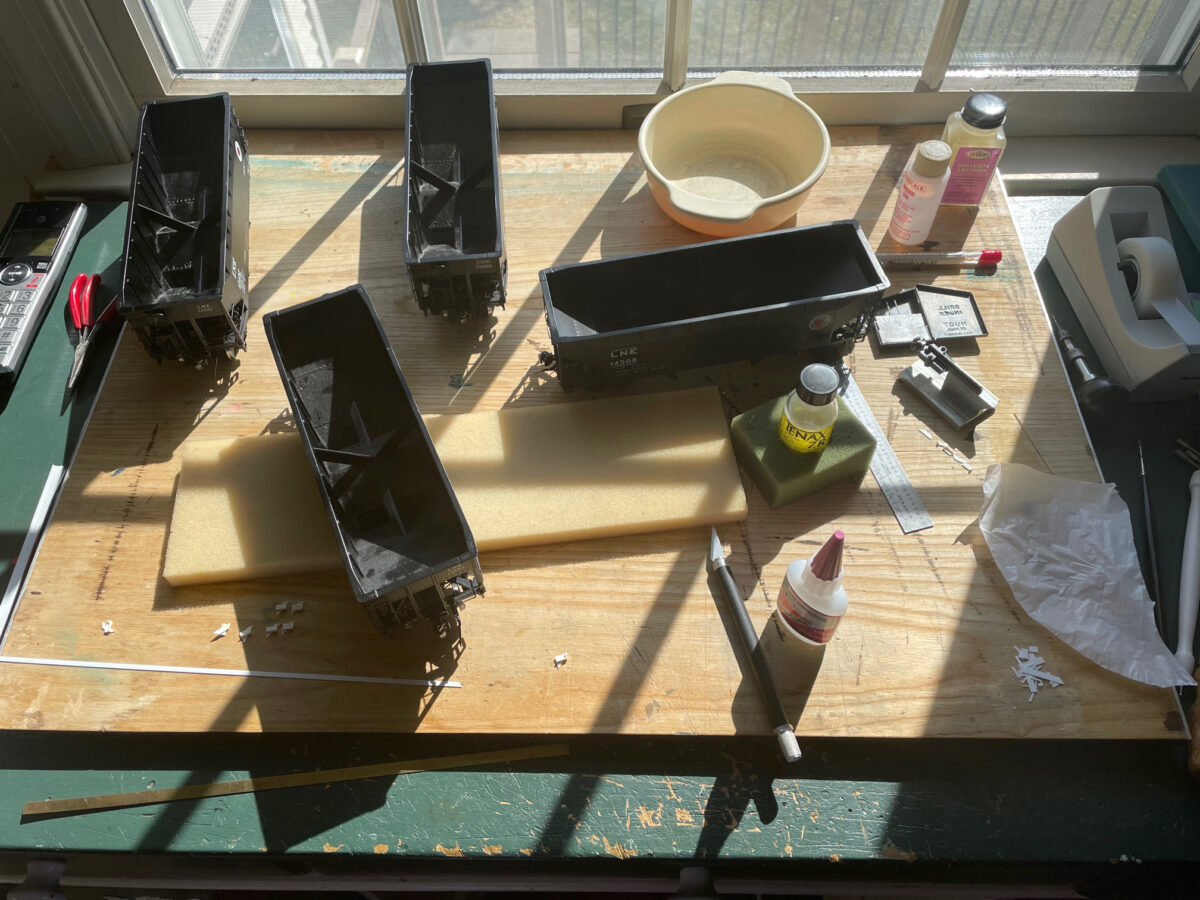
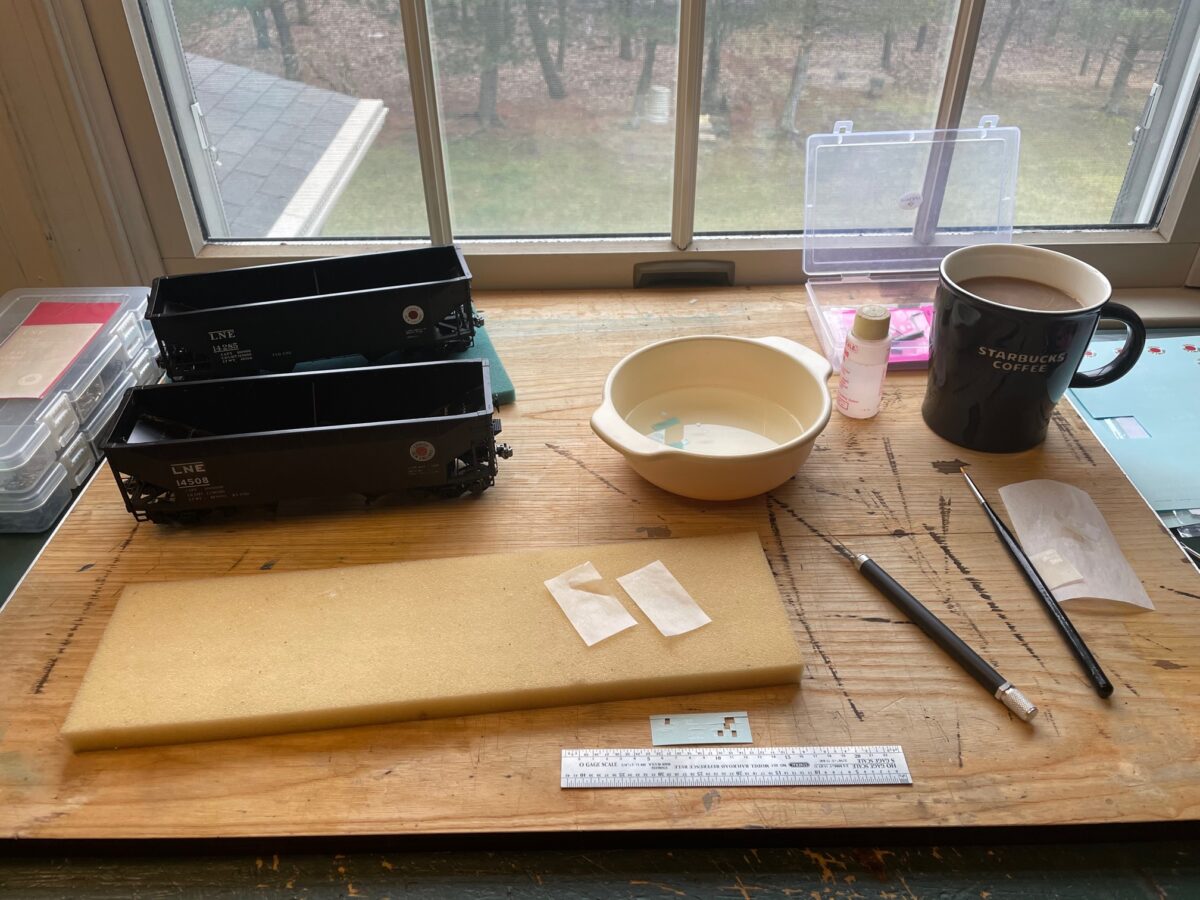
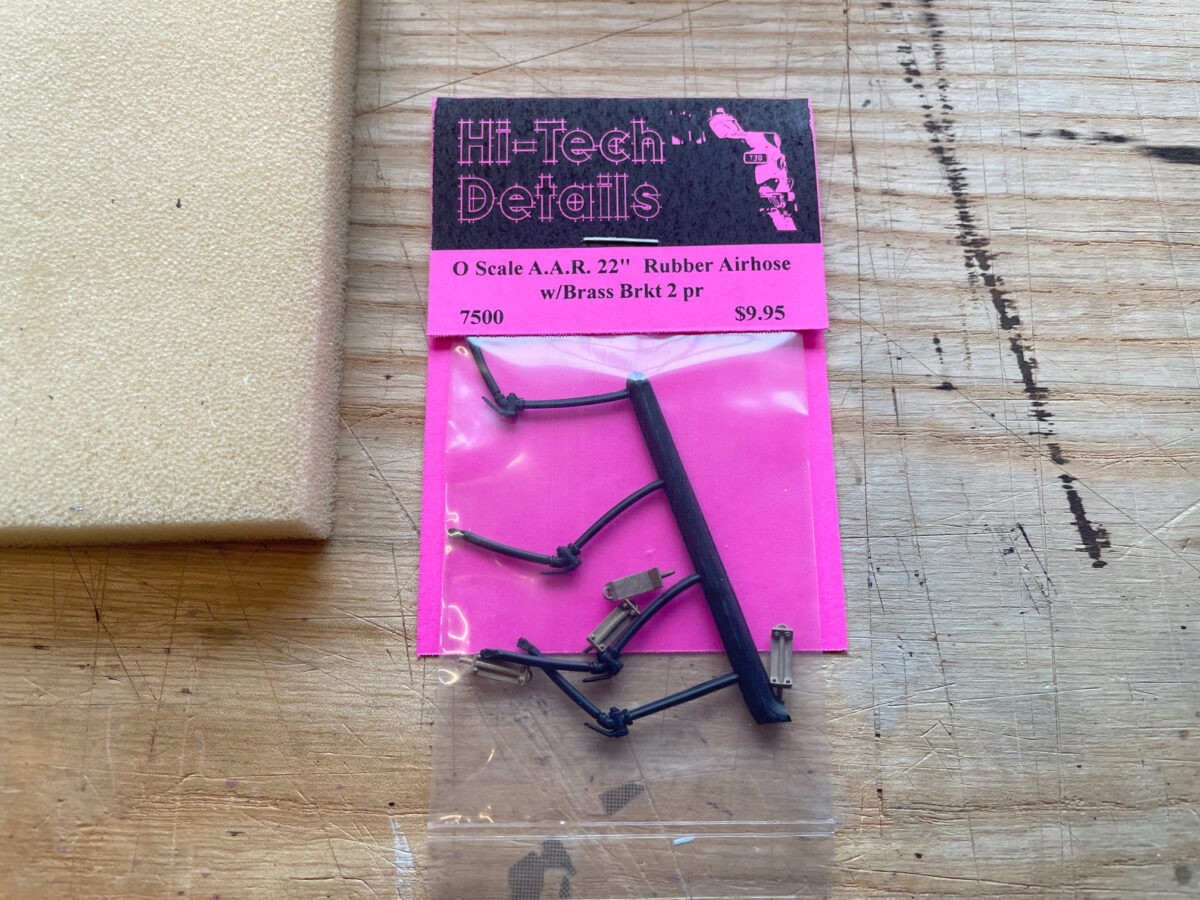
Since the cars were sitting on the workbench and my order for the air hoses from Hi-tech Details came in. I thought I’d instal them next.
They are very simple to install. The bracket mounts onto the end sill and the air line feeds through the opening on the bracket. I usually just tie the air line into the cars air line by just glueing them onto the side of the existing air line.
Two cars completed, two more to go.
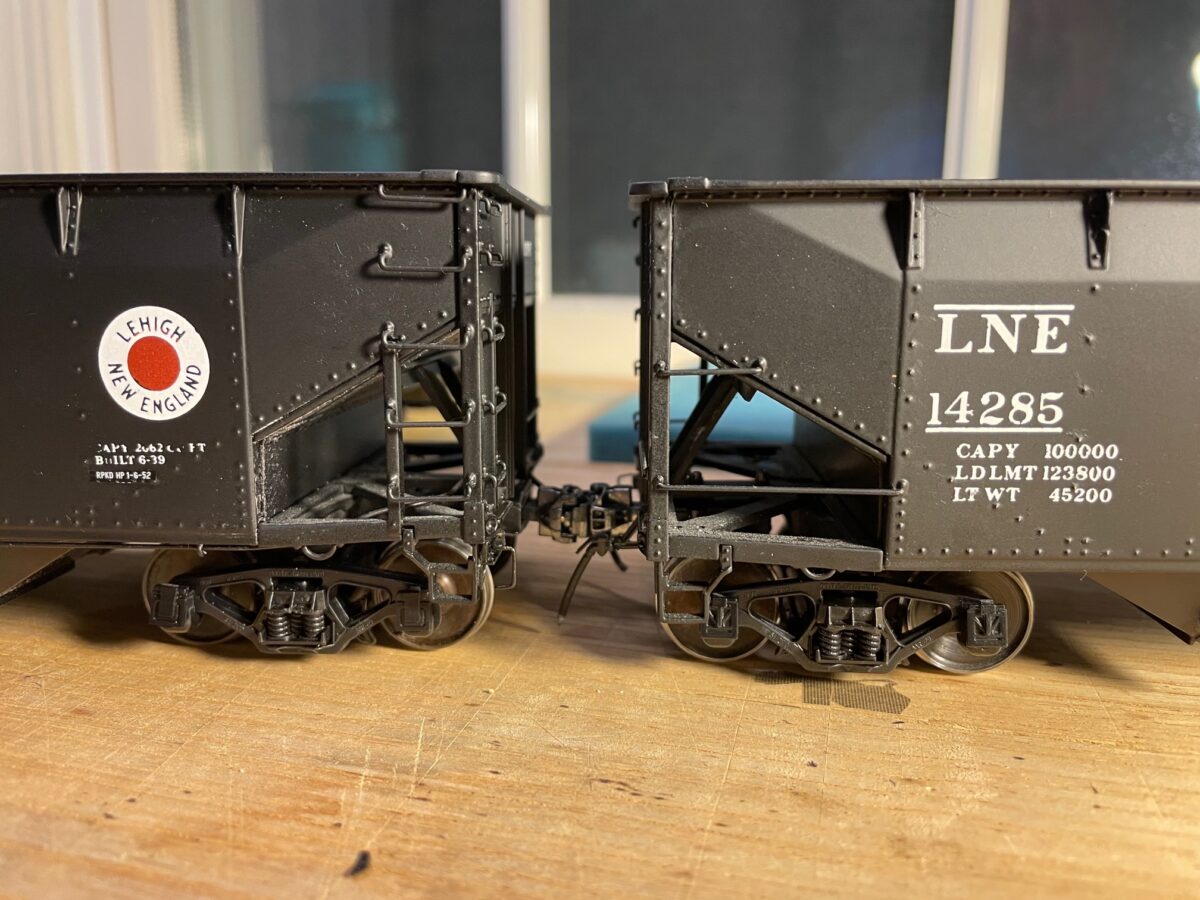
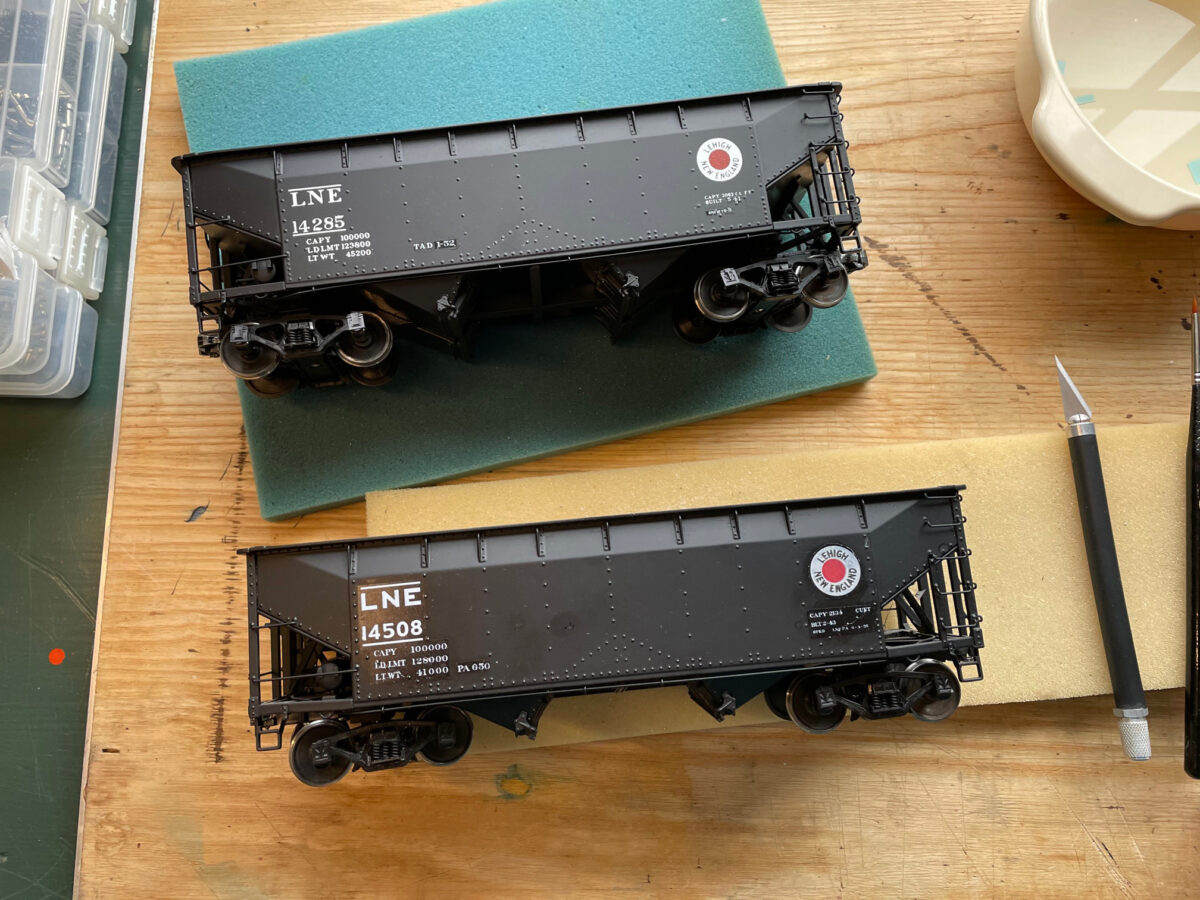
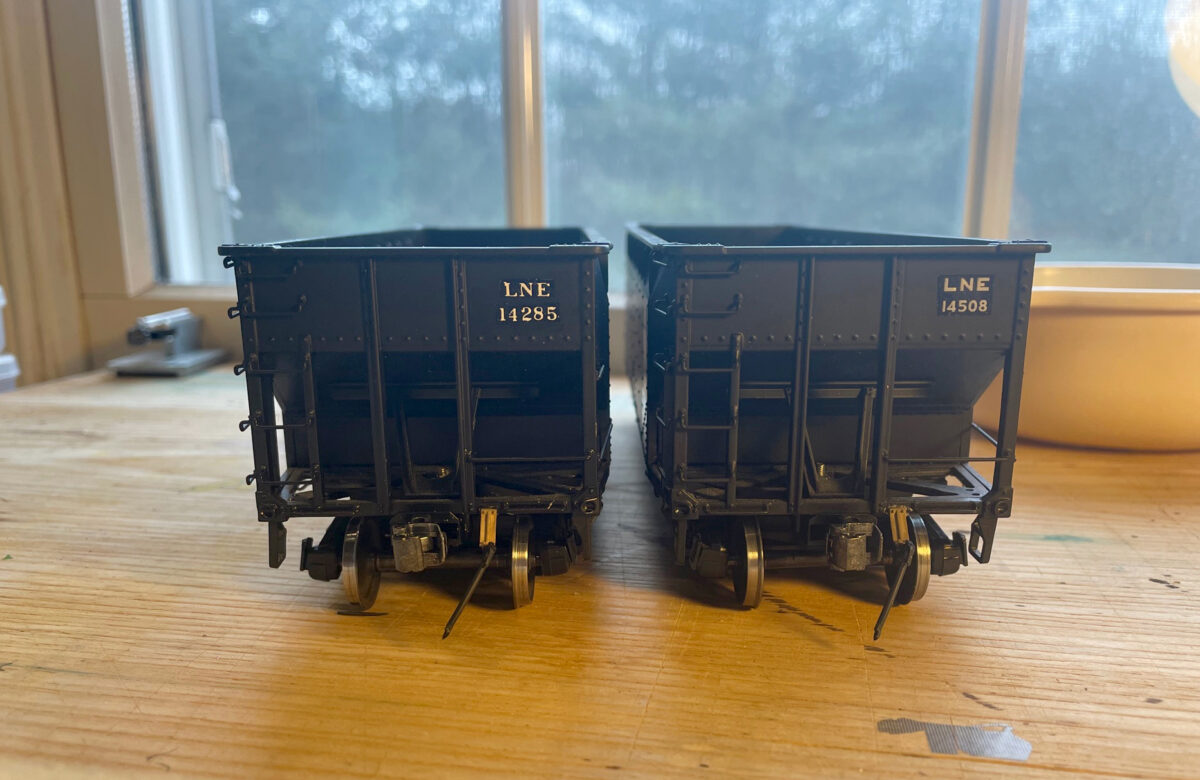
Here are the four car with the air hoses installed. They have been touch-up with a little bit of Vallejo Model Color Glossy Black 70.861. Their lettering is a combination of decals and transfers. Next up for these cars is to install the uncoupling levers, overspray the decals with Dull Coat and then it’s time to weather the cars.
It’s funny how sometimes the simplest of things will lead you down a rabbit hole. I am continuing to clean the train room and put stuff away. I noticed an Intermountain truck I had assembled with San Juan plastic Proto48 wheelsets sitting in it. They fit perfectly and roll great. But they are plastic wheel sets so you can’t polish the wheel surface and plastic wheels tend to pick up a lot of dirt.
Having that truck in my hand and a having a clean workbench, led to pulling out a Protocraft wheelset to look at. Which led to measuring the wheelsets and then the next thing you know out comes the wheel puller and more mearuring to see if the wheels could be placed on the San Juan axels. Nope, they would need to be machined to fit properly, not a quick solution.
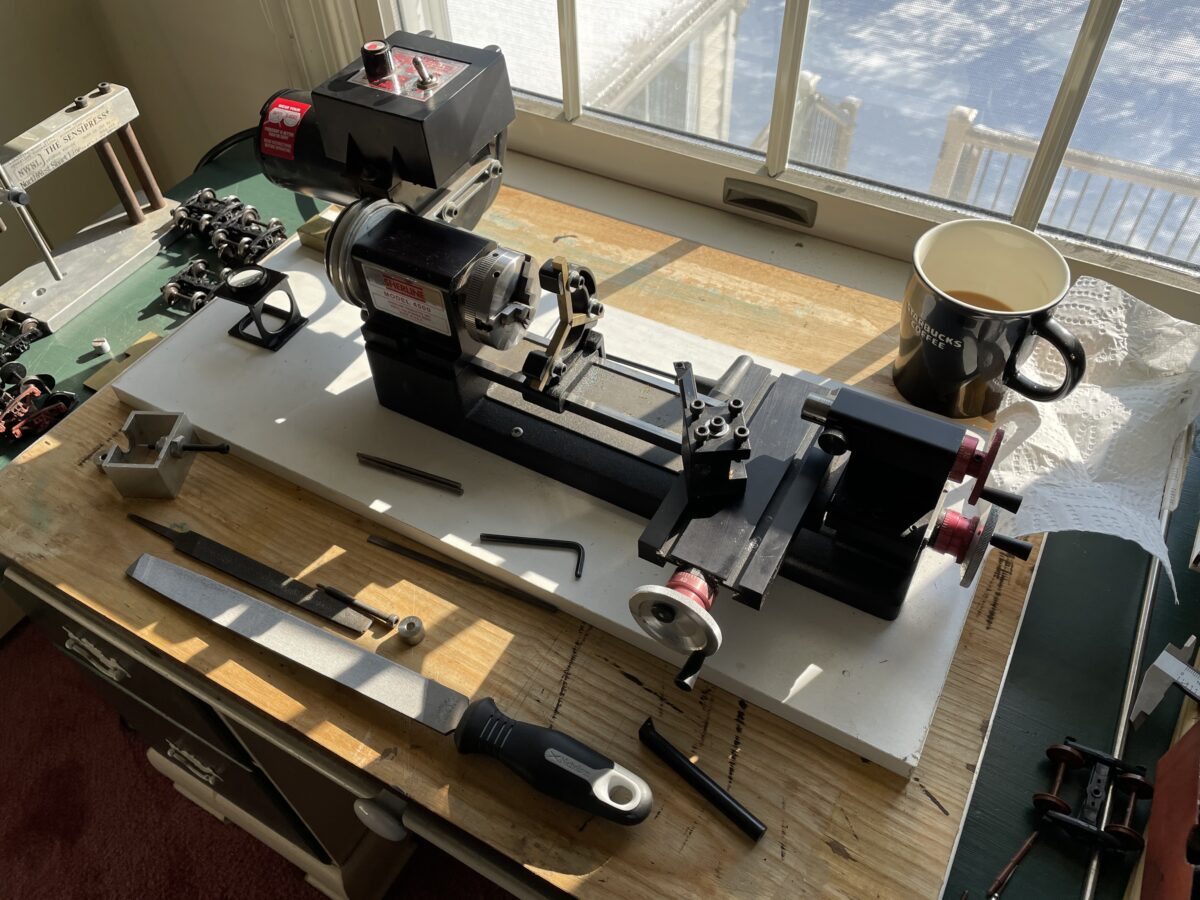
This led to thinking about adding a point to the ends of the Protocraft axels. Which meant the Shereline lathe came out onto the workbench. Which led to the question, how can I hold that tiny axel in the lathe?
I looked at trying to hold Protocraft axel in the chuck. Not the best of ideas because of all the erregular surfaces of the protocraft axel. Might have worked with a straight axle. Which led to should I make new axels? No, this is meant to be a simple solution. Which lead to finding my collets…. which lead to a whole other search. Turned out the collets were where they should be and I just looked right past them. That really wasn’t the best way (for my set up) to hold them either. Which led to thinking about a set up I’ve used to polish wheel treads using the chuck and a steady rest.
Now before the machinists in the crowd start rolling their eyes, I should remind you that I did not take metal shop in High School, I took art classes. And as a machinist, I turned out to be a good Graphic Designer.
Well it worked, but putting the wheels back on the axel turned out to be more to think about. They were is perfect gauge from the manufacturer and when the day started. A simpler solution was needed.
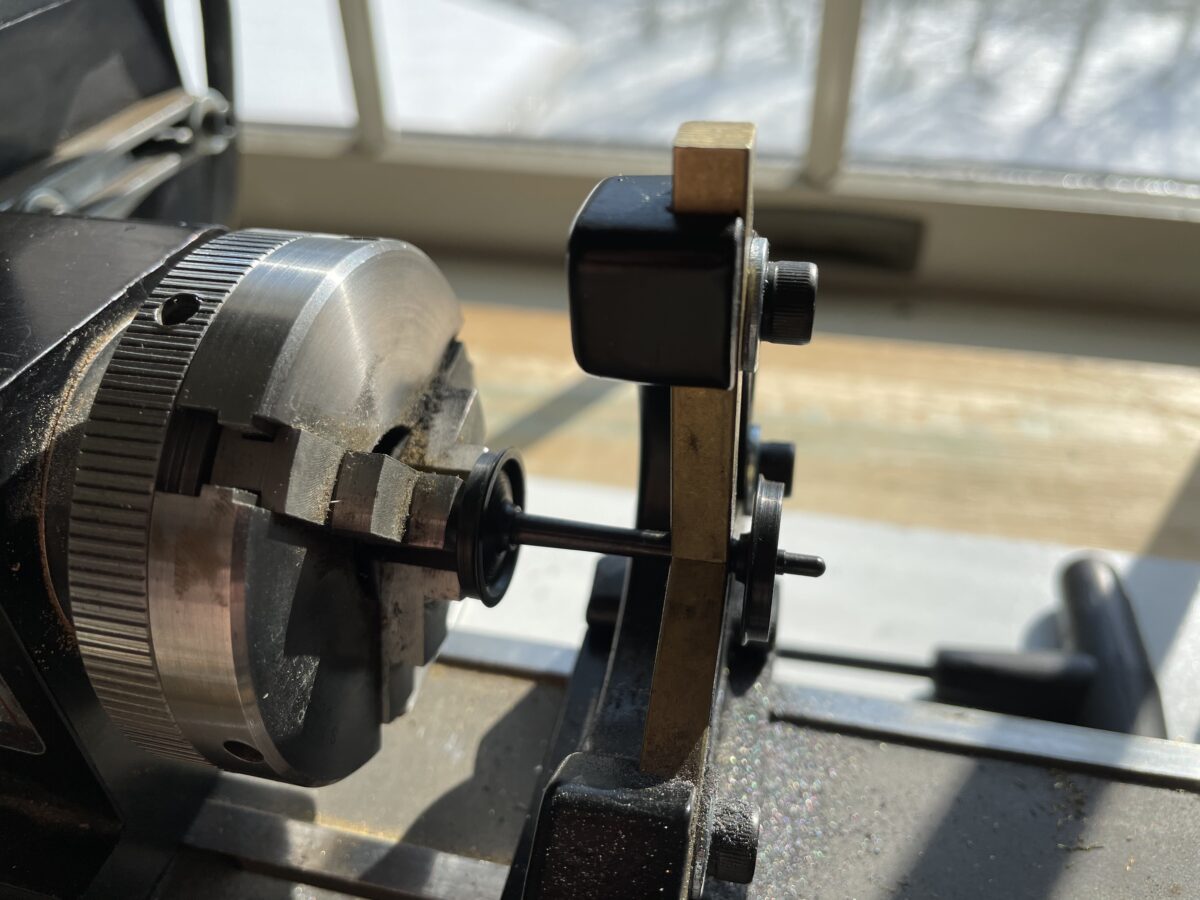
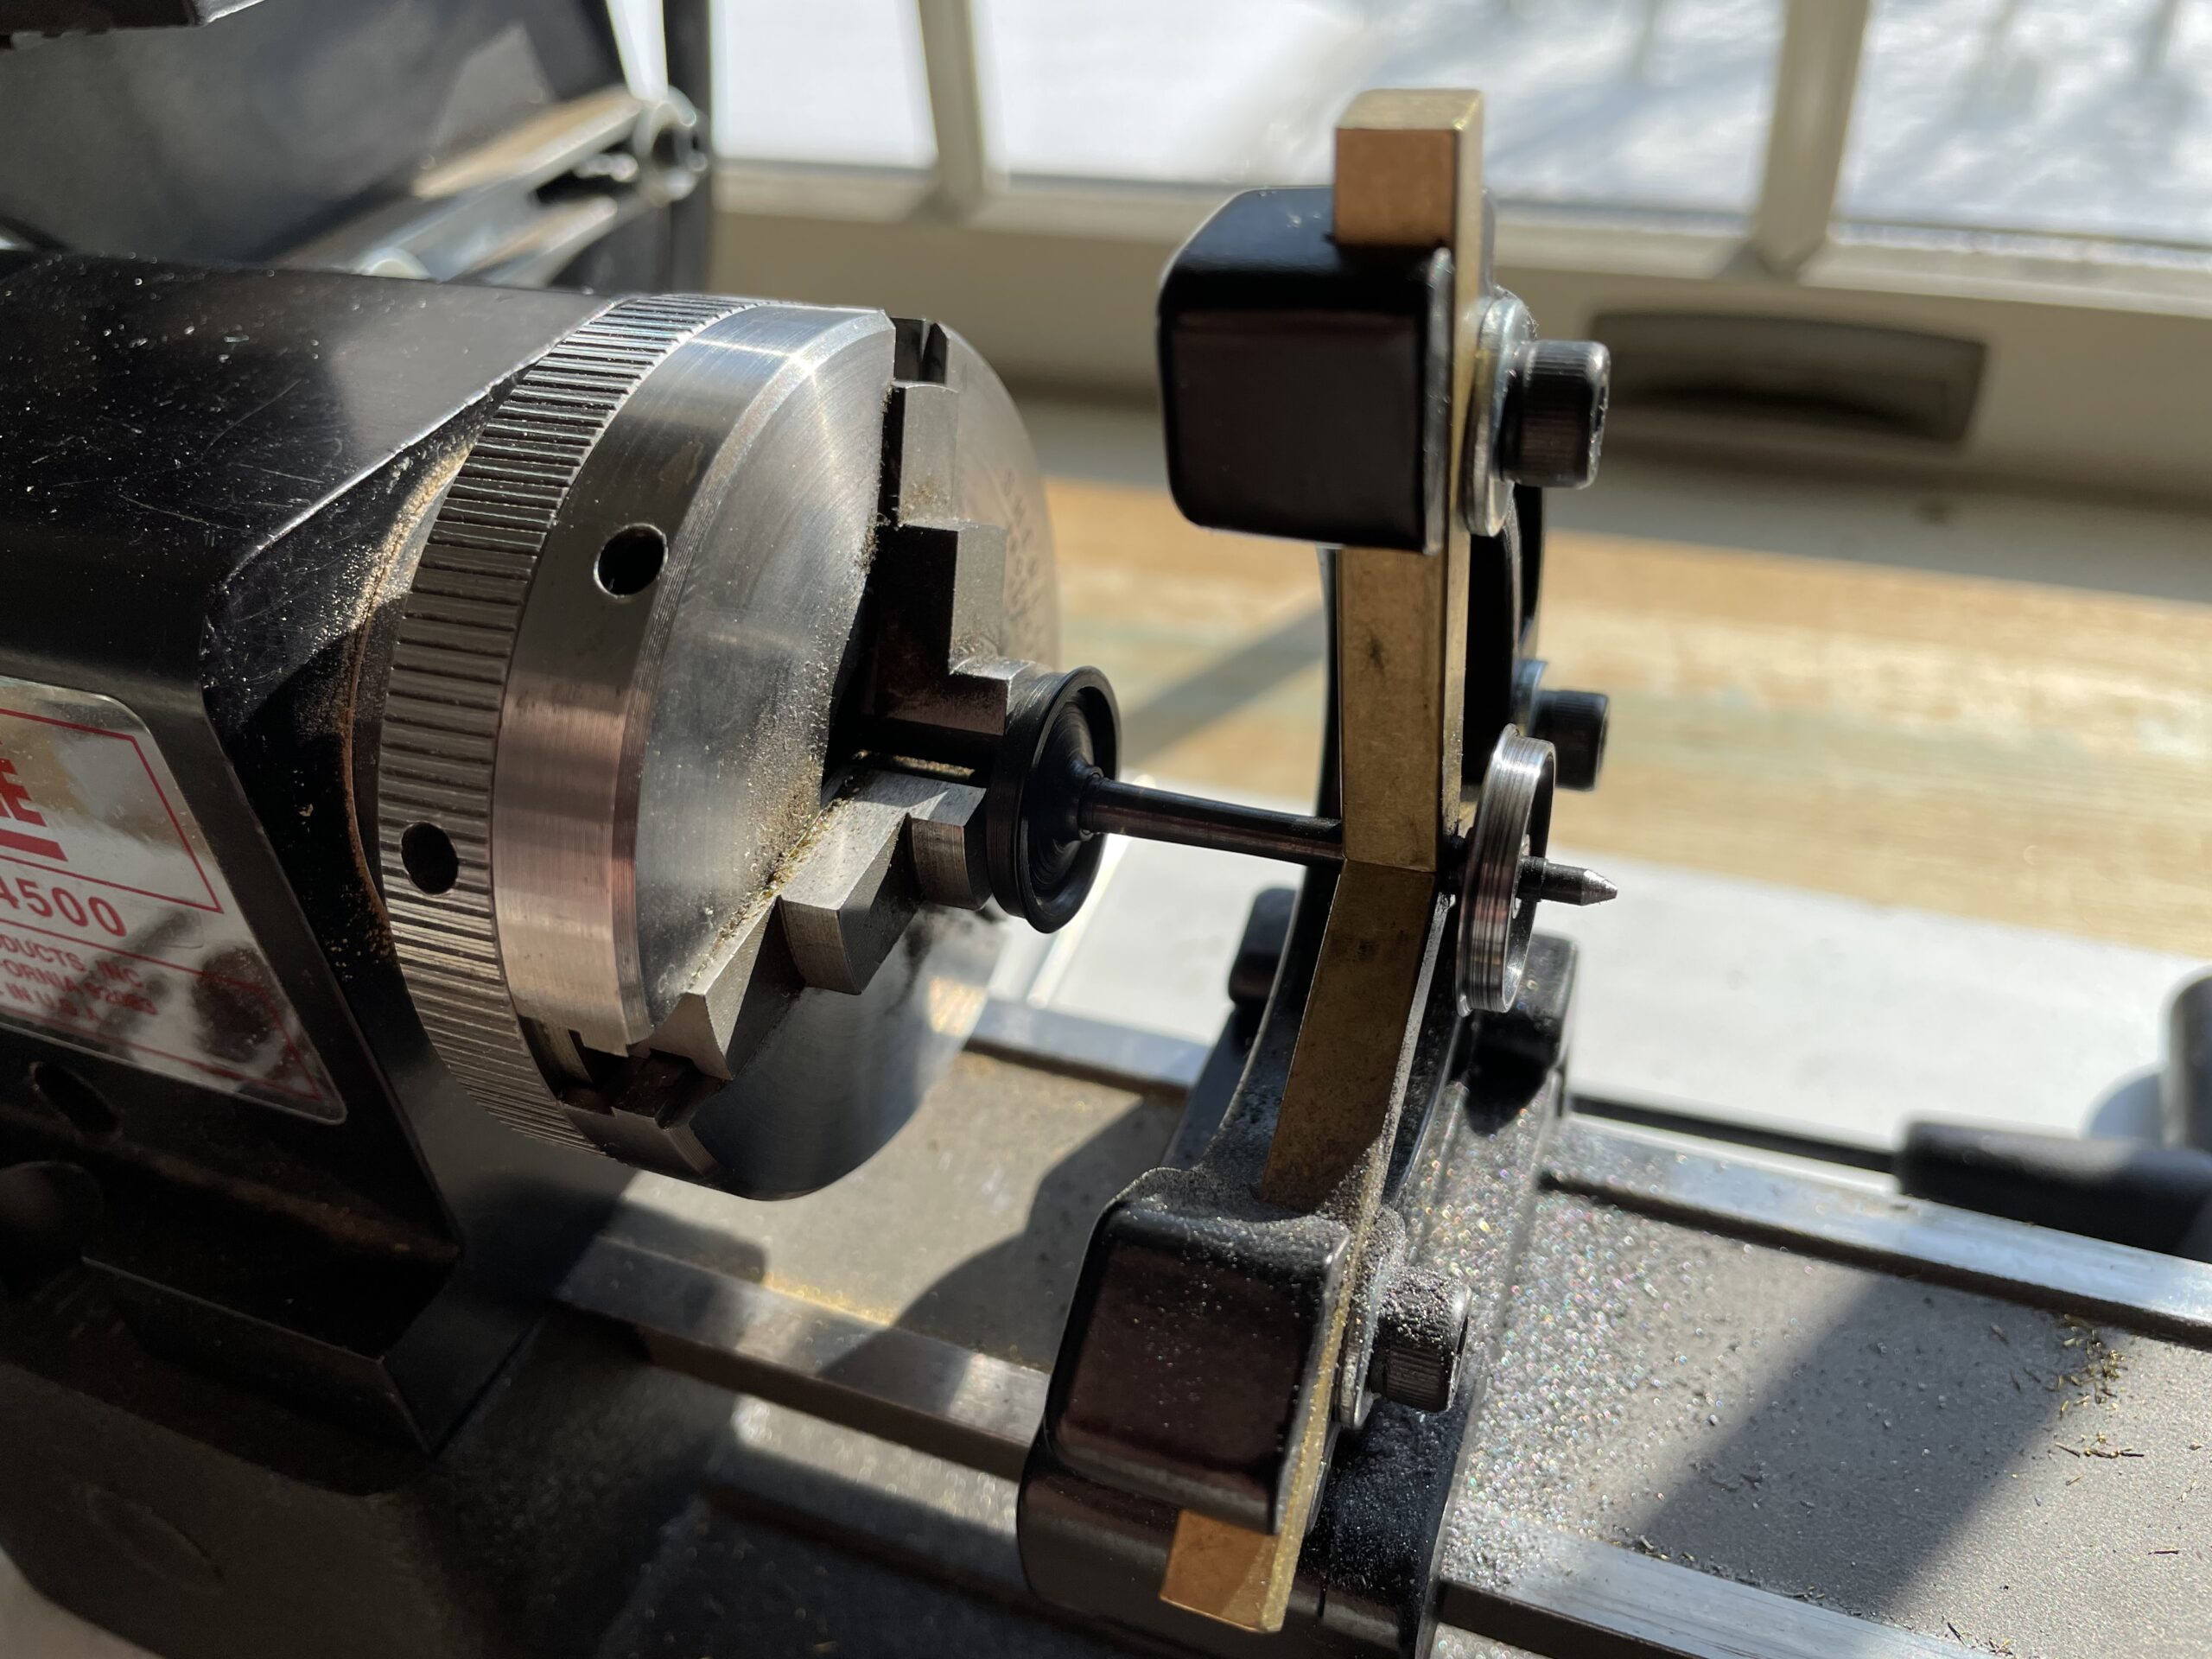
As you can see I found a simpler solution, leave the wheels mounted on the axels. The axel is held by the chuck, supported on the other end by the steady rest. The wheel treads get polished and a file is used to add the point on the axel.
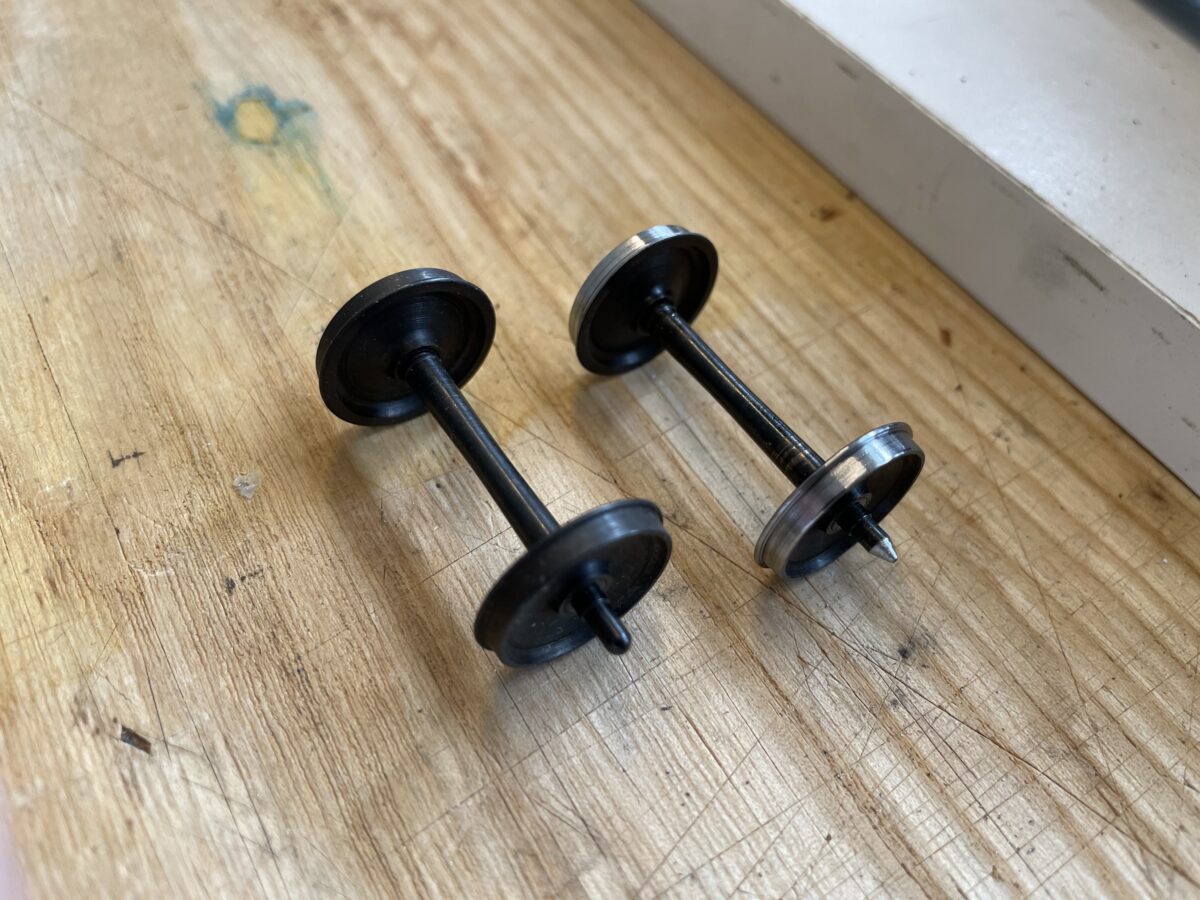
Here is the before and after of the Protocraft axels. They now drop into the Intermountain truck and it rolls great.
I tried cutting the point but that put forces on the axel in this set up which caused it to move. If I had used a collet and just held the axel then that would have worked. But I didn’t need close tolerances on the point, I just needed a point on the end of the axel.
I also want to mention that I said in the last post that the workbench would not stay as clean as it was. It didn’t.
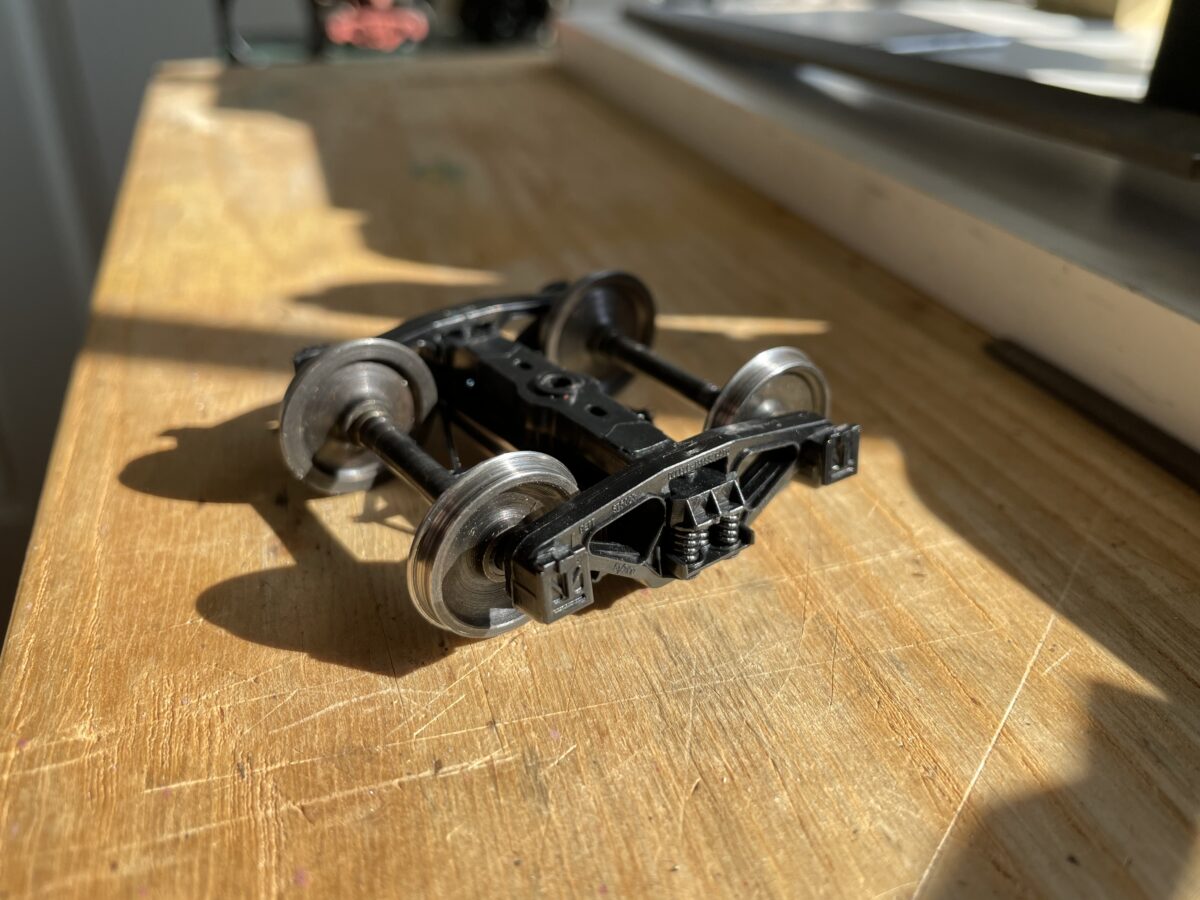
That worked so well, I built up ten pairs of trucks.
The imported trucks from Protocraft and RY Models are GREAT! I own more pairs of them than I want to admit. Sometimes, you just don’t want to put a $52 pair of trucks under a $20 freight car.
Putting away one Intermountain truck with San Juan plastic wheels led to this. But notice, I was good about putting away the lathe and I’m back to a clean workbench.
Now, what cars do I want to put these trucks under…..
I realize I haven’t posted much recently, it doesn’t mean I haven’t been working on anything. It really just means I haven’t had time to write about anything I’m working on.
Rather then just post images with no words, as some do very effectively. I thought I’d start a new on-going series about what’s on the workbench. I’ll try to write just a few words so there is a better chance of it getting me to post in a timely manor.
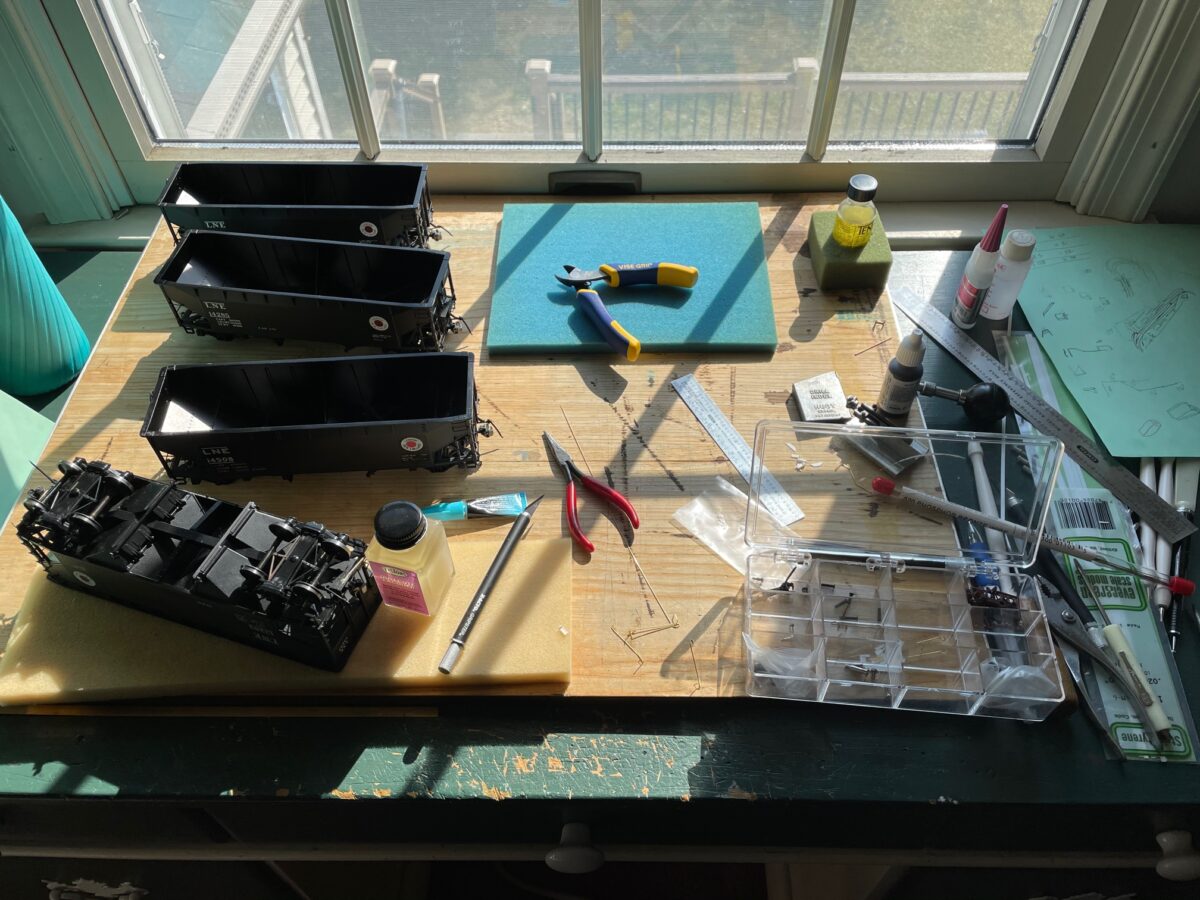
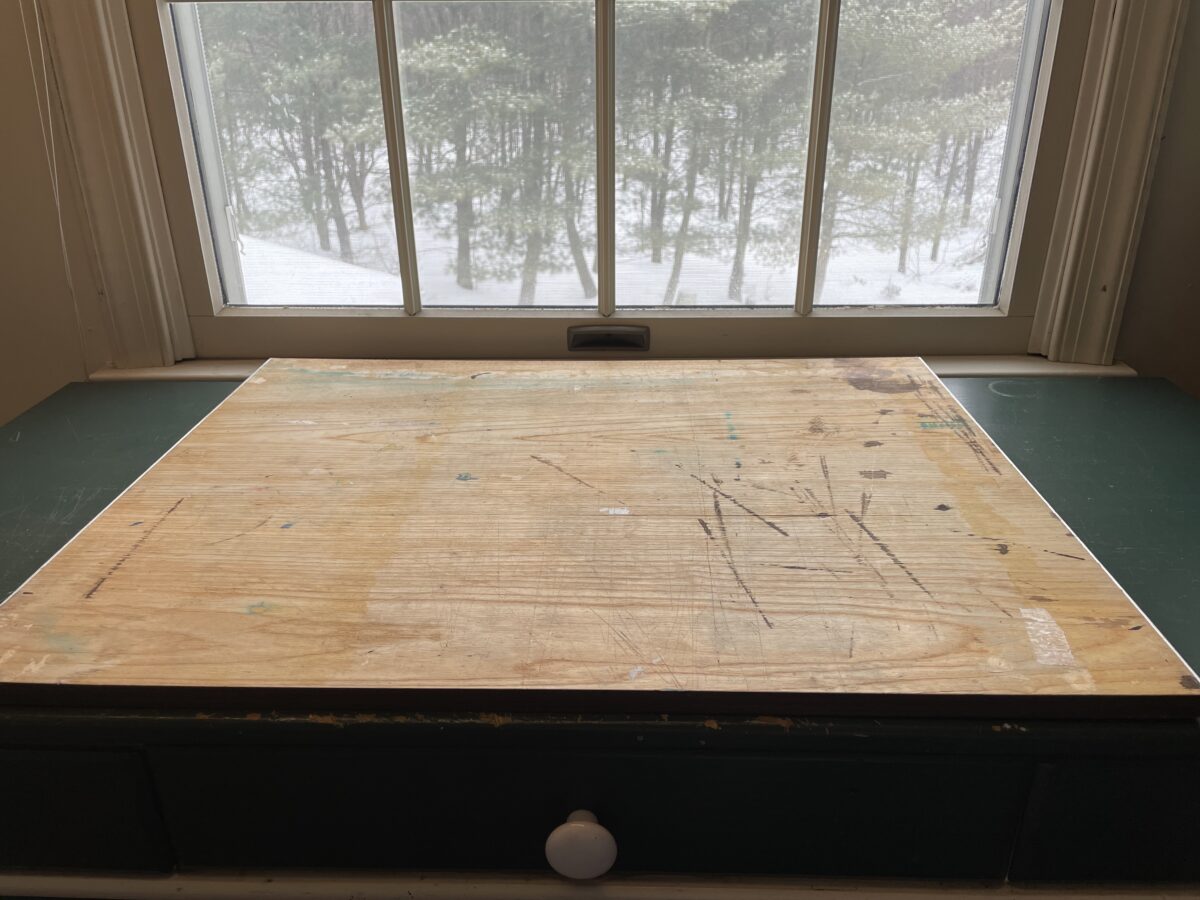
I’ll start this off with a simple image of the workbench today. It’s way too clean. I can guarantee it won’t stay this clean.
I have spent the last few days moving the desk, bookcases, drawing table and just about everything in my train room in an effort to make the space work better for me.
Just before I did start cleaning, I did manage to get some decals down on a PSC PRR H25. I had painted the car a long while back and it had sat on the shelf waiting to take the next step.
I used a set of Rich Yoder’s PRR H21a decals to letter the car. It still needs more work. The decals need to be over sprayed, air hoses attached and weathering done. But at least it’s no longer sitting with naked paint on the shelf. It most likely will be back here again as it progresses through the shop.