Well it’s nasty outside this morning. Here in New Jersey we are experiencing a nor’easter moving past us just off the coast. They have blizzard conditions down at the shore. Just snowing and high winds here. I’m waiting for the snow to stop to go clear the walks later today. A great time to sit down at the workbench.
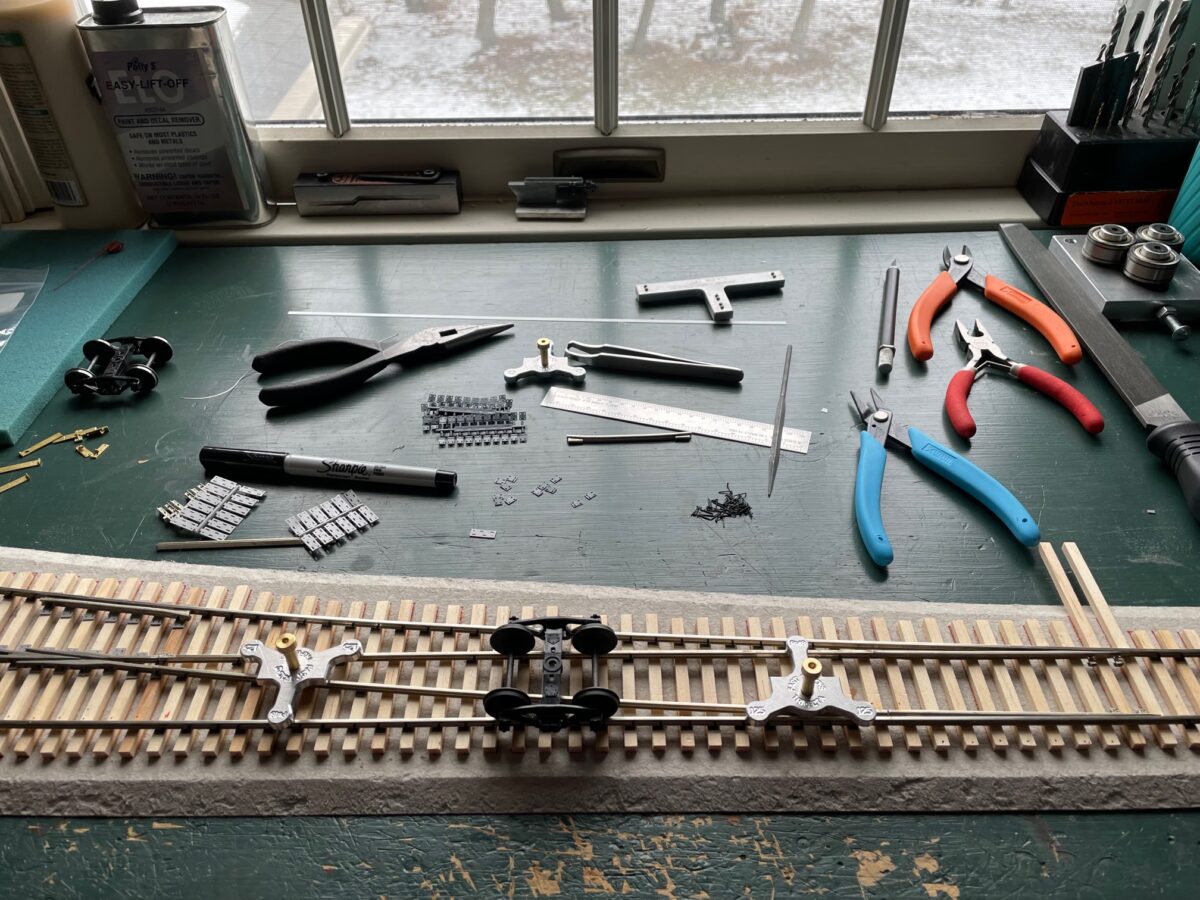
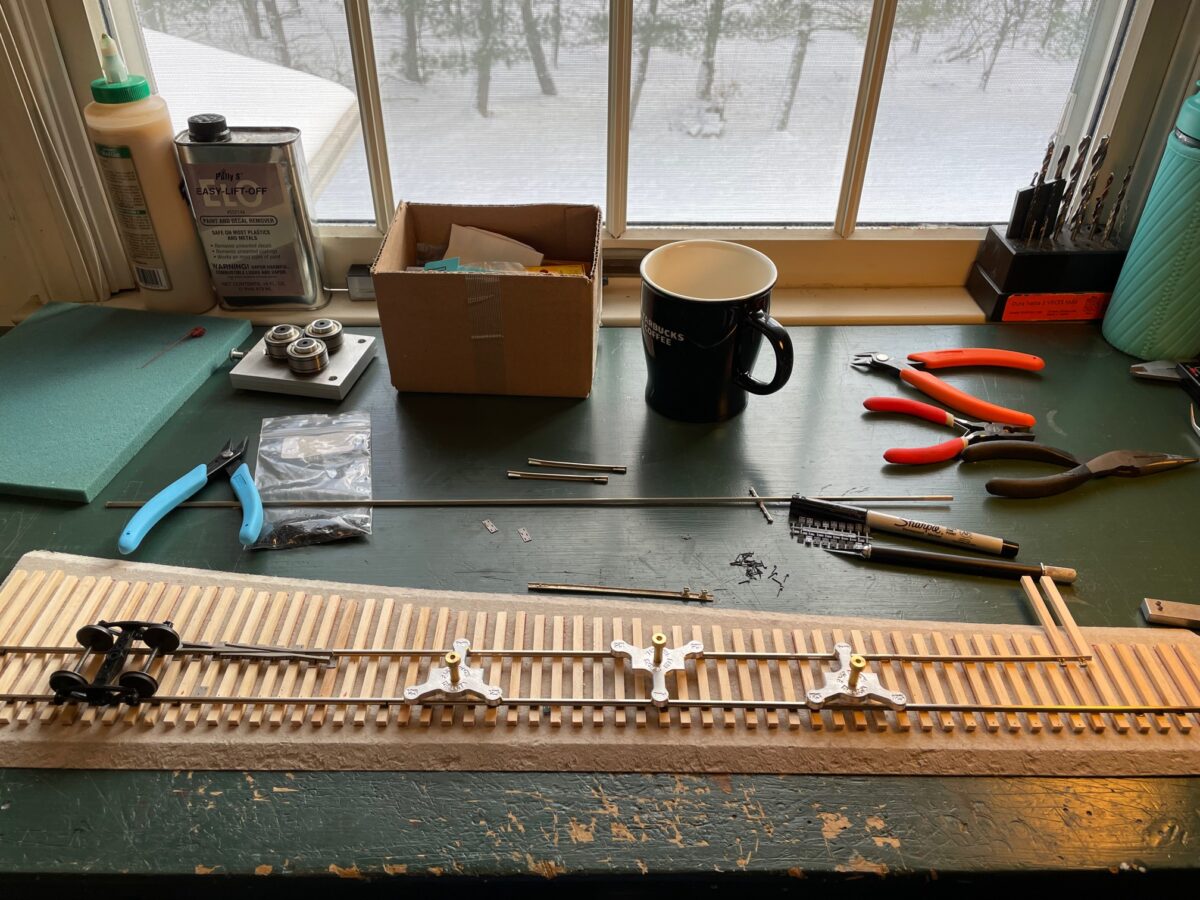
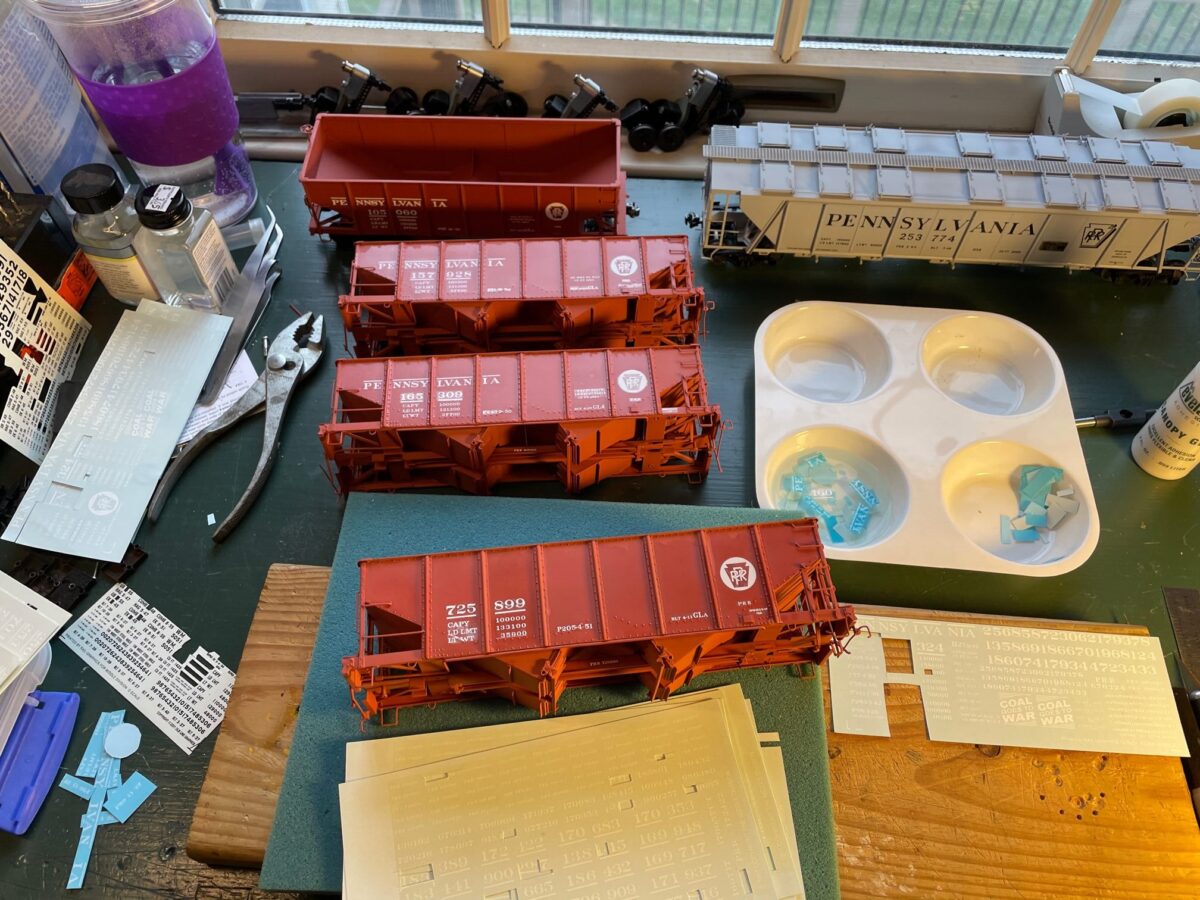
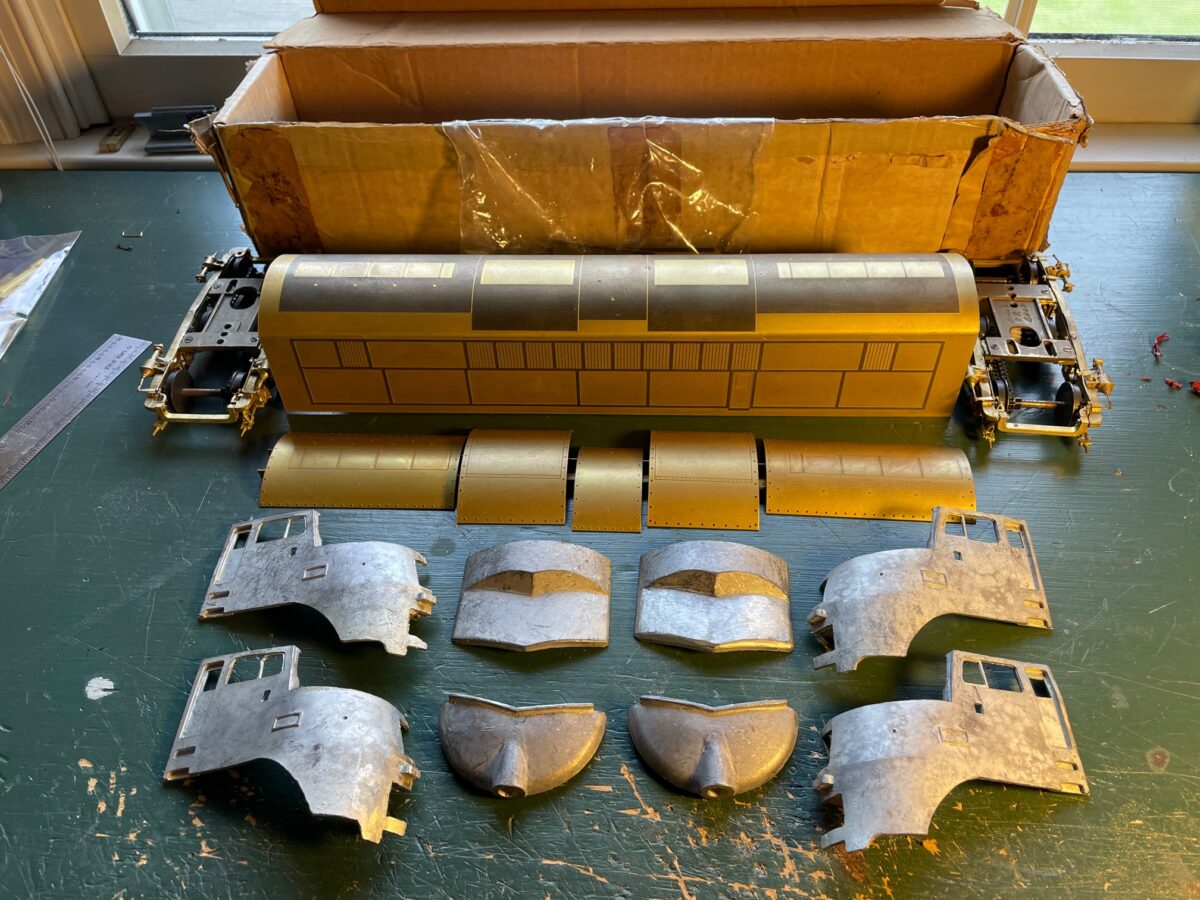
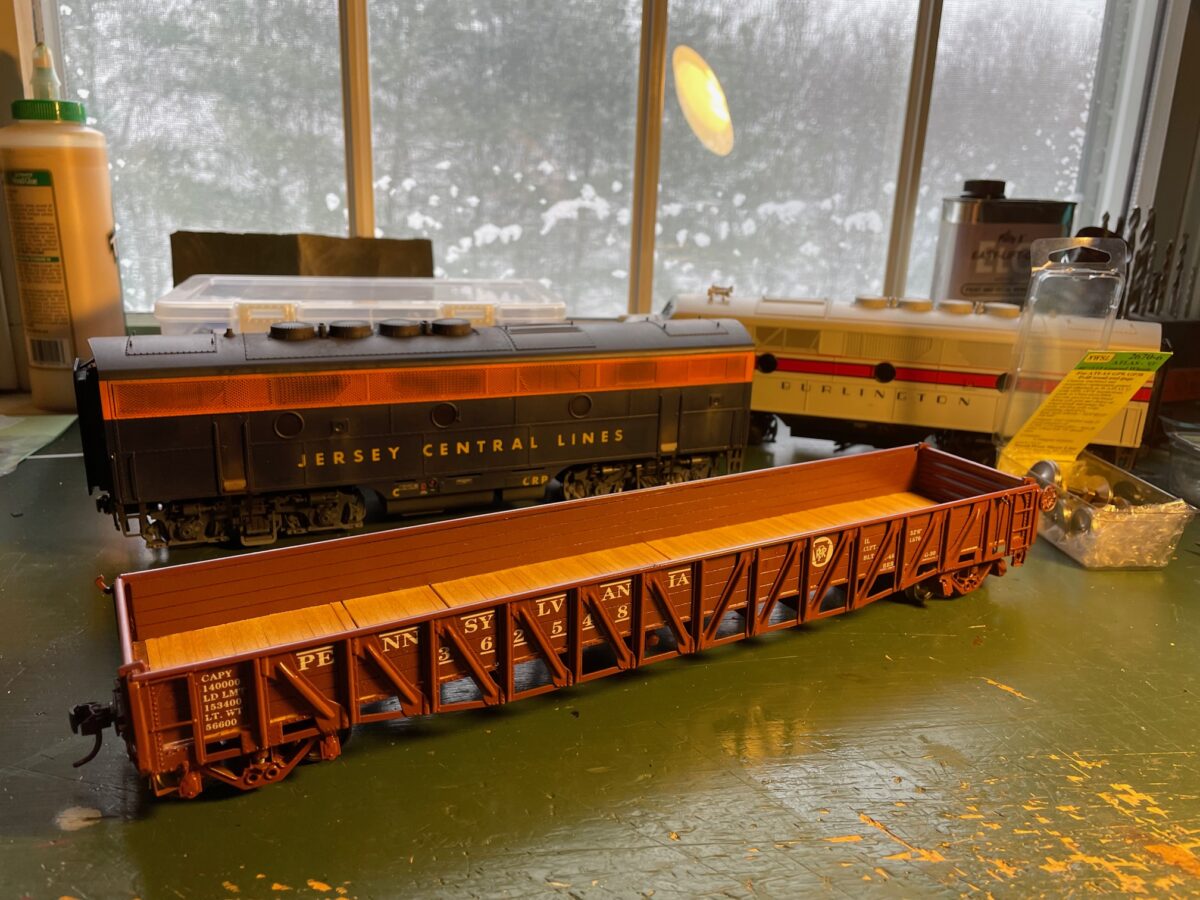
I had a friends model in to have the trucks repaired. That is his Pecos River Brass PRR G30 gondola sitting there on the bench. The springs came out of one of the trucks. It just needed to have the springs re-installed. Simple enough fix.
My friend wants to put this model out on the table at the Chicago show this year, so if you are looking for one of these fire off an email and I’ll pass it on to my friend.
Behind the PRR G30, you can see what remains of this week’s small project. I picked up an Atlas O CNJ F3B dummy at the last Strasburg Show. I was able to aquire a drive donor (the CB&Q F3A), the swap of the two drives went easy enough. Only little hick-up was the position of the front step. The hole for the B-unit location needed to be tapped to allow me to mount the step into the position under the door.
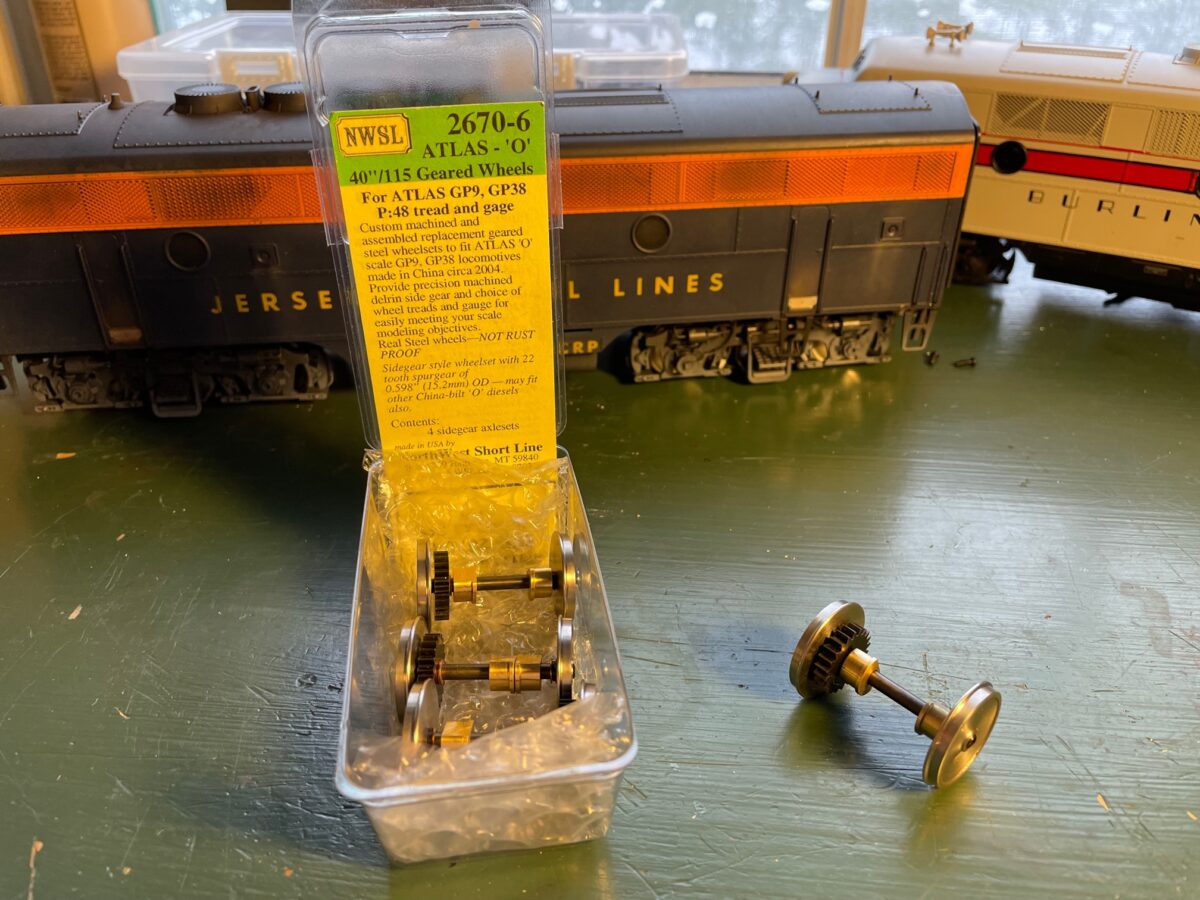
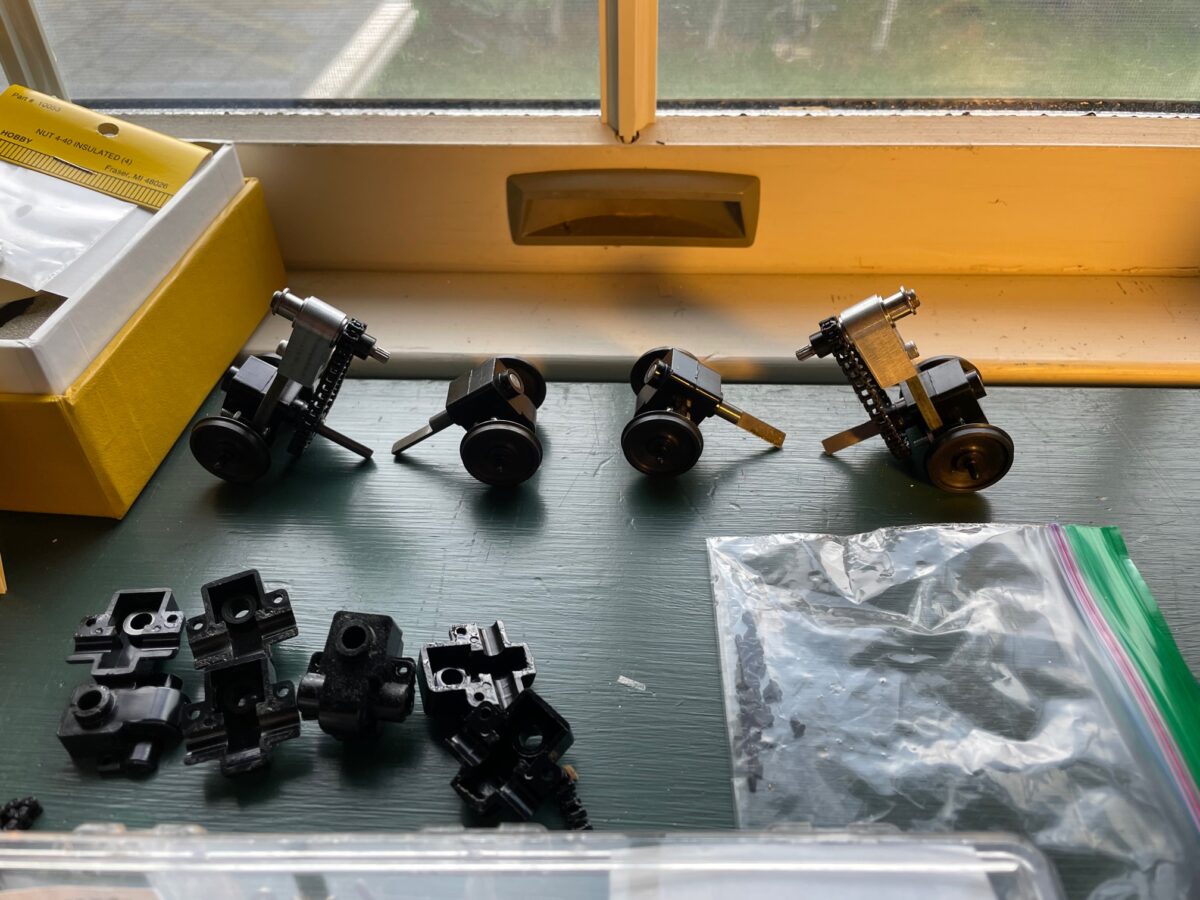
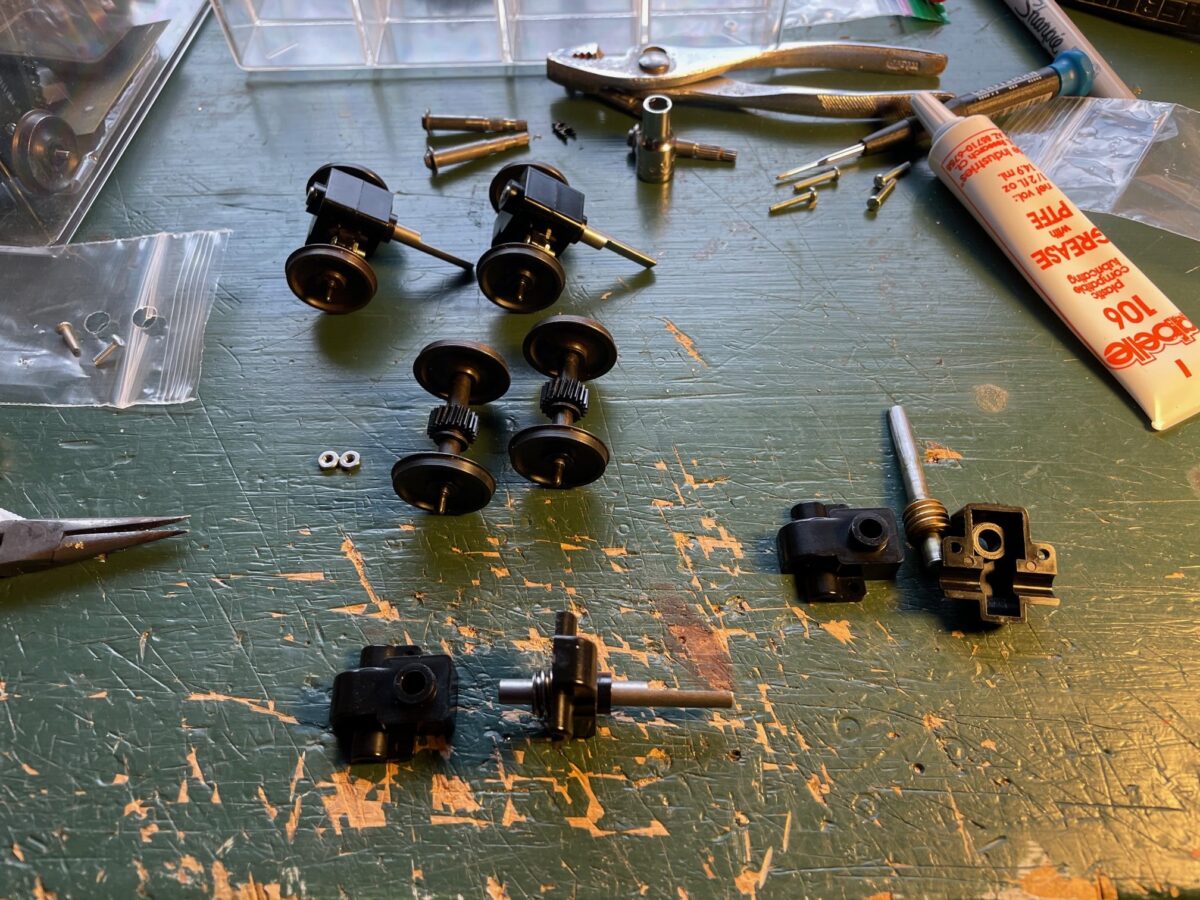
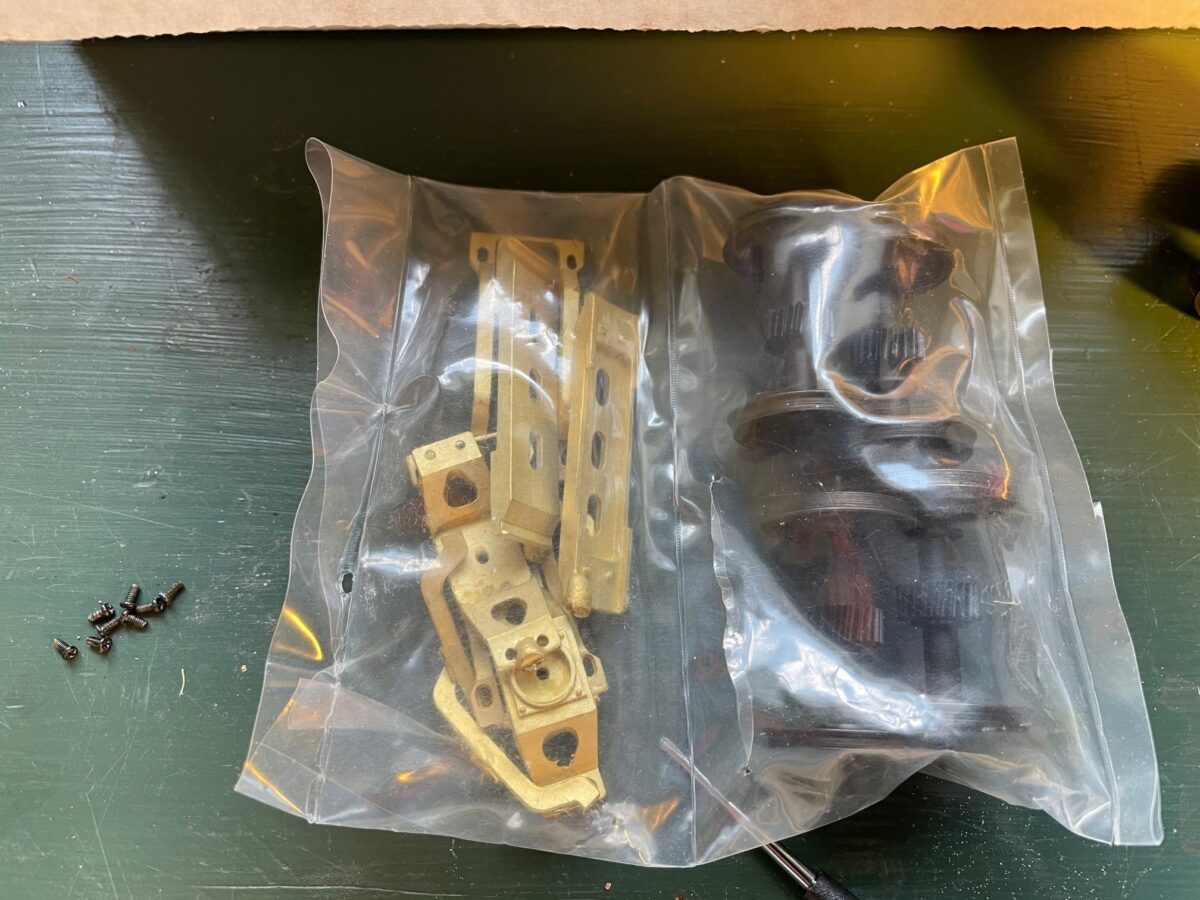
Since it was on the workbench still, I pulled out the conversion set I had purchased from North West Short Line for the Atlas O F3. The idea is that they are meant to be a direct replacement for the O Scale wheelsets.
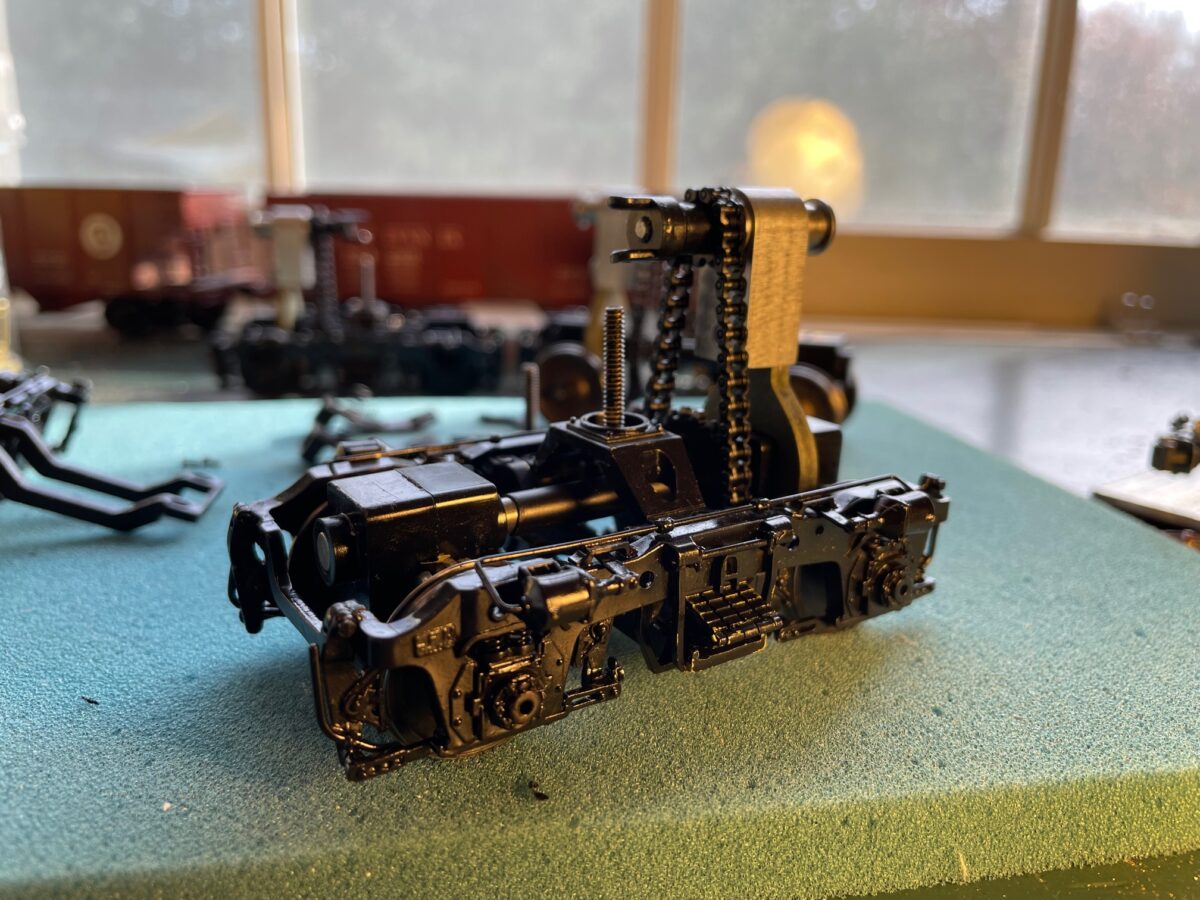
Take off four screws and the cover plate on each axel and replace the wheel set. Simple, Right?
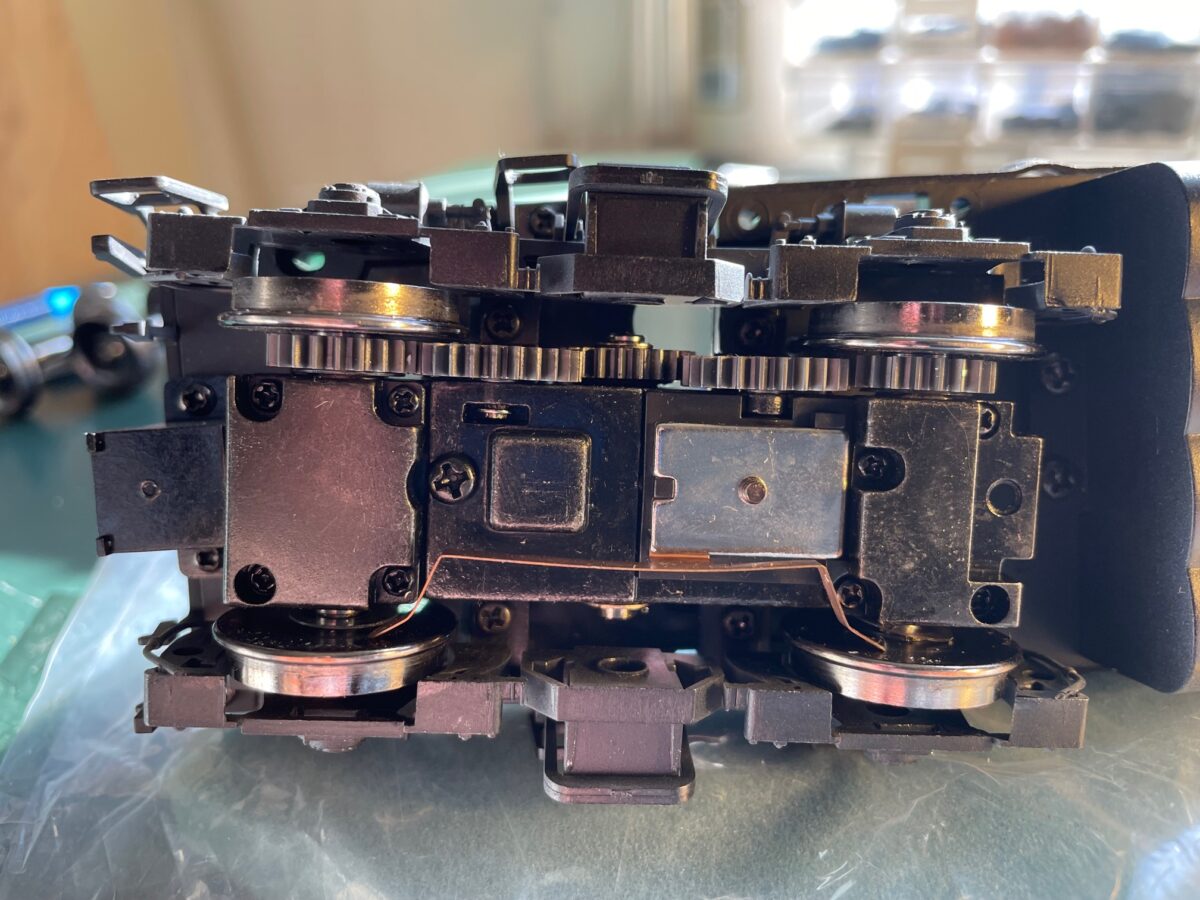
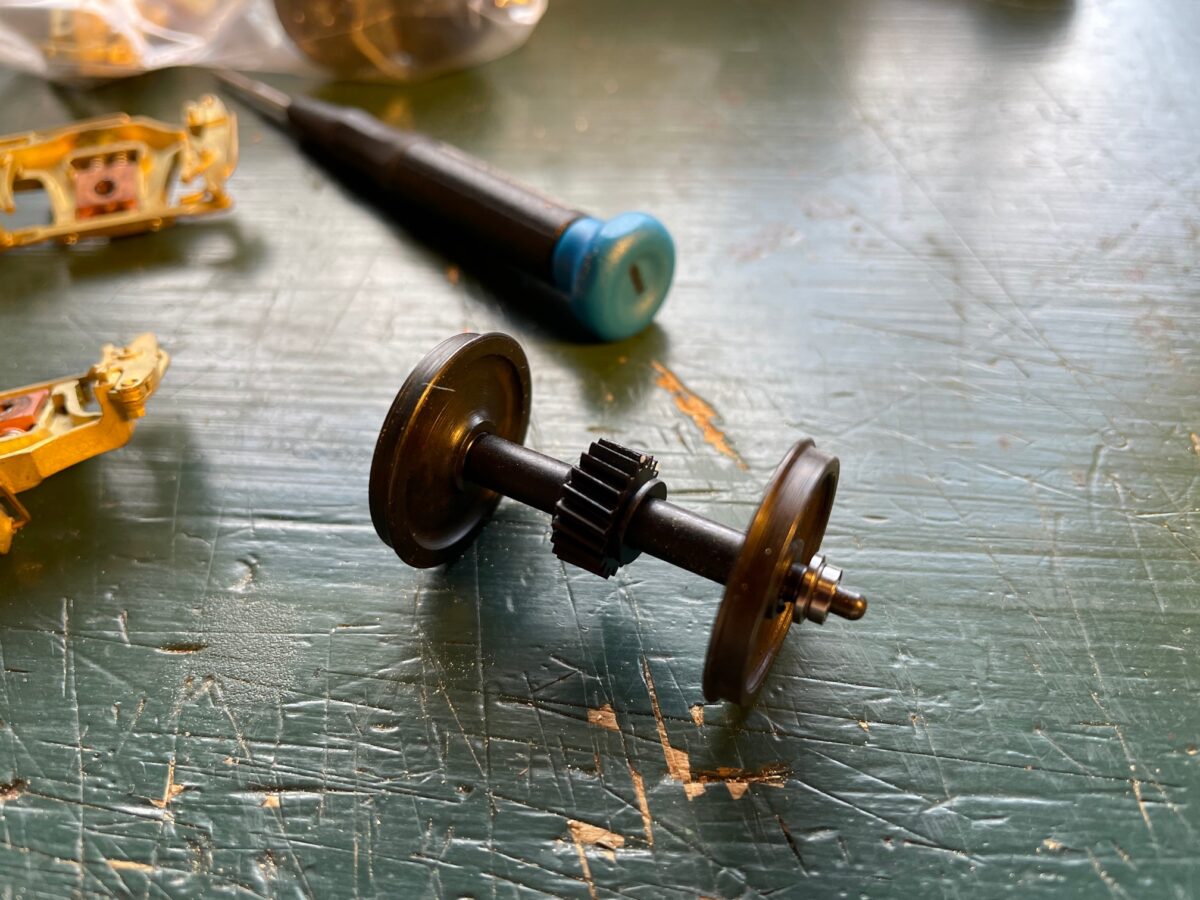
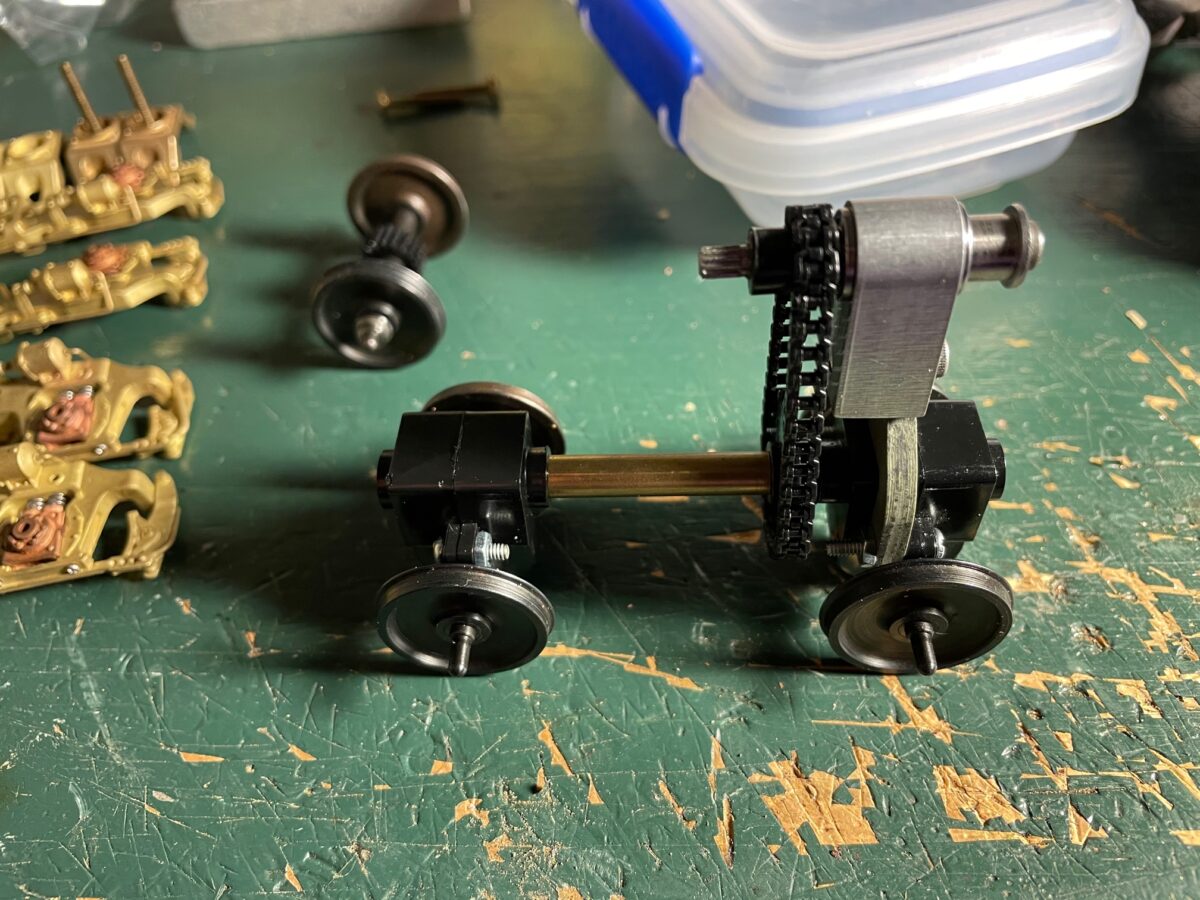
Well it started out that way. You can see the replacement wheels installed on this truck. They were a little tight but I was able to get them into the truck. We won’t talk about the language used to help guide them into the truck.
The second truck was not as simple. The wheels didn’t fit.
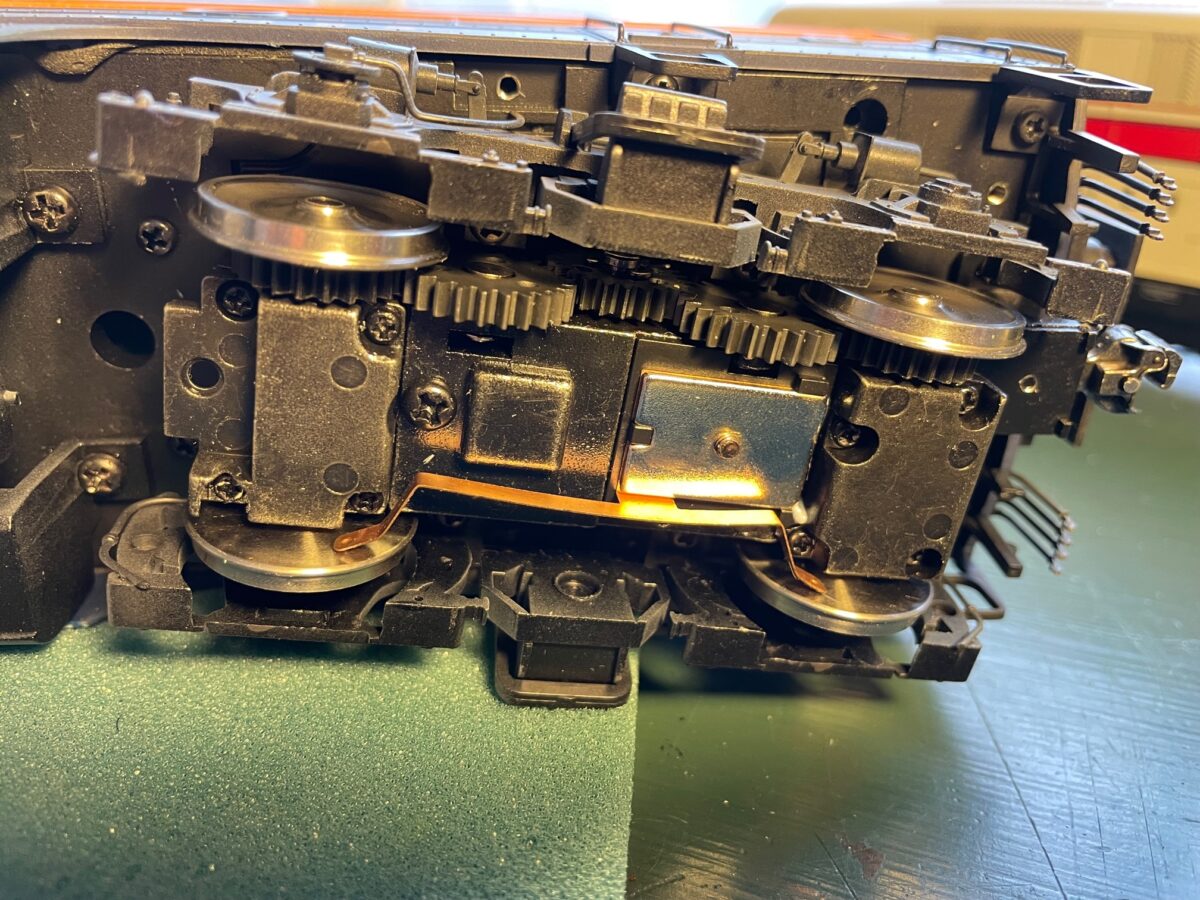
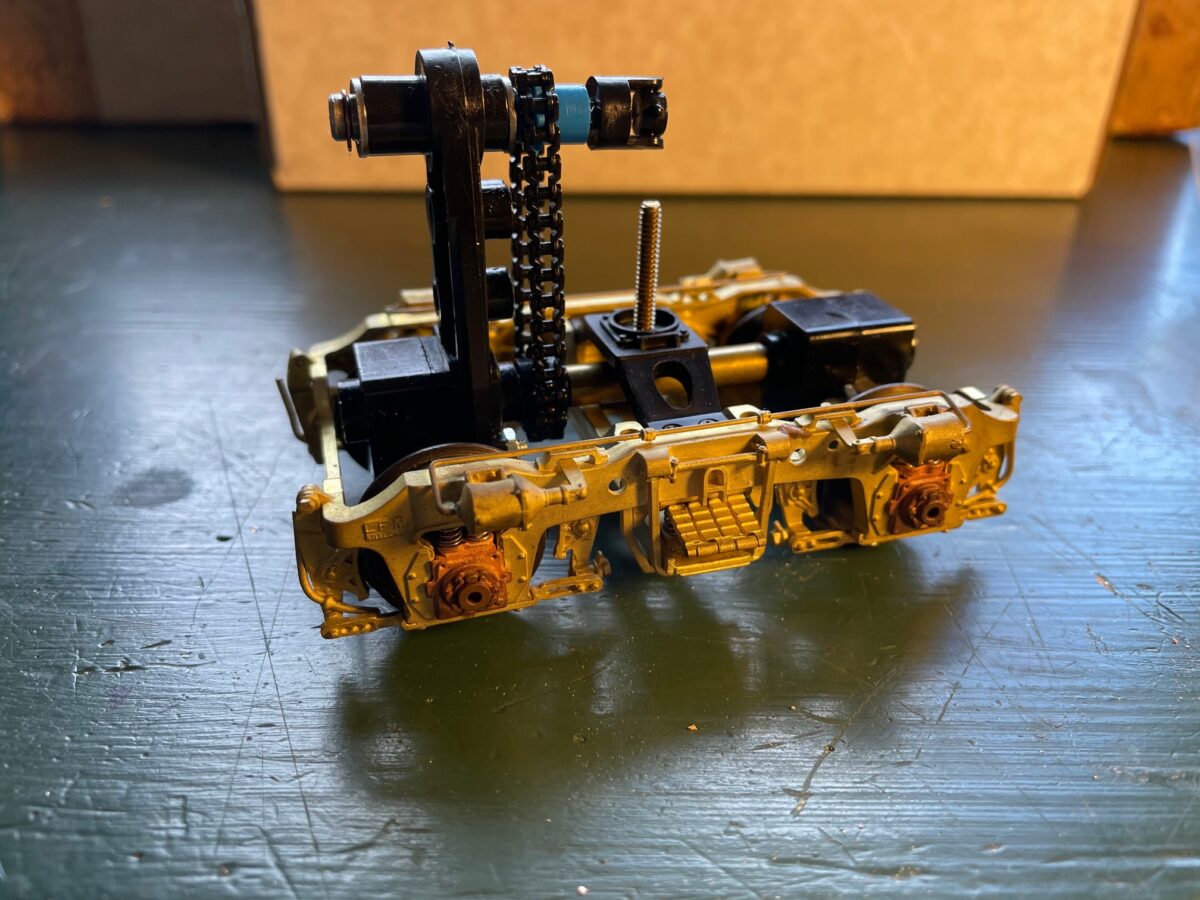
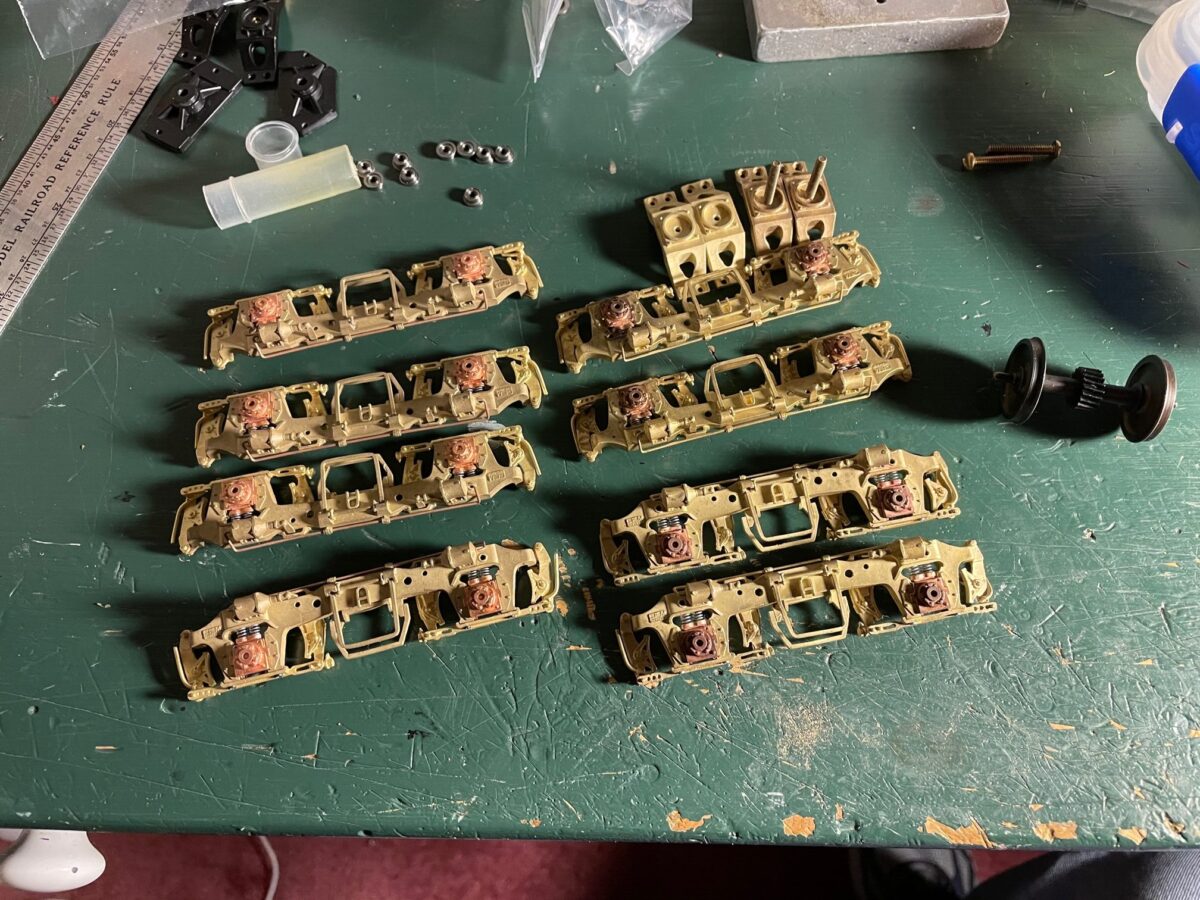
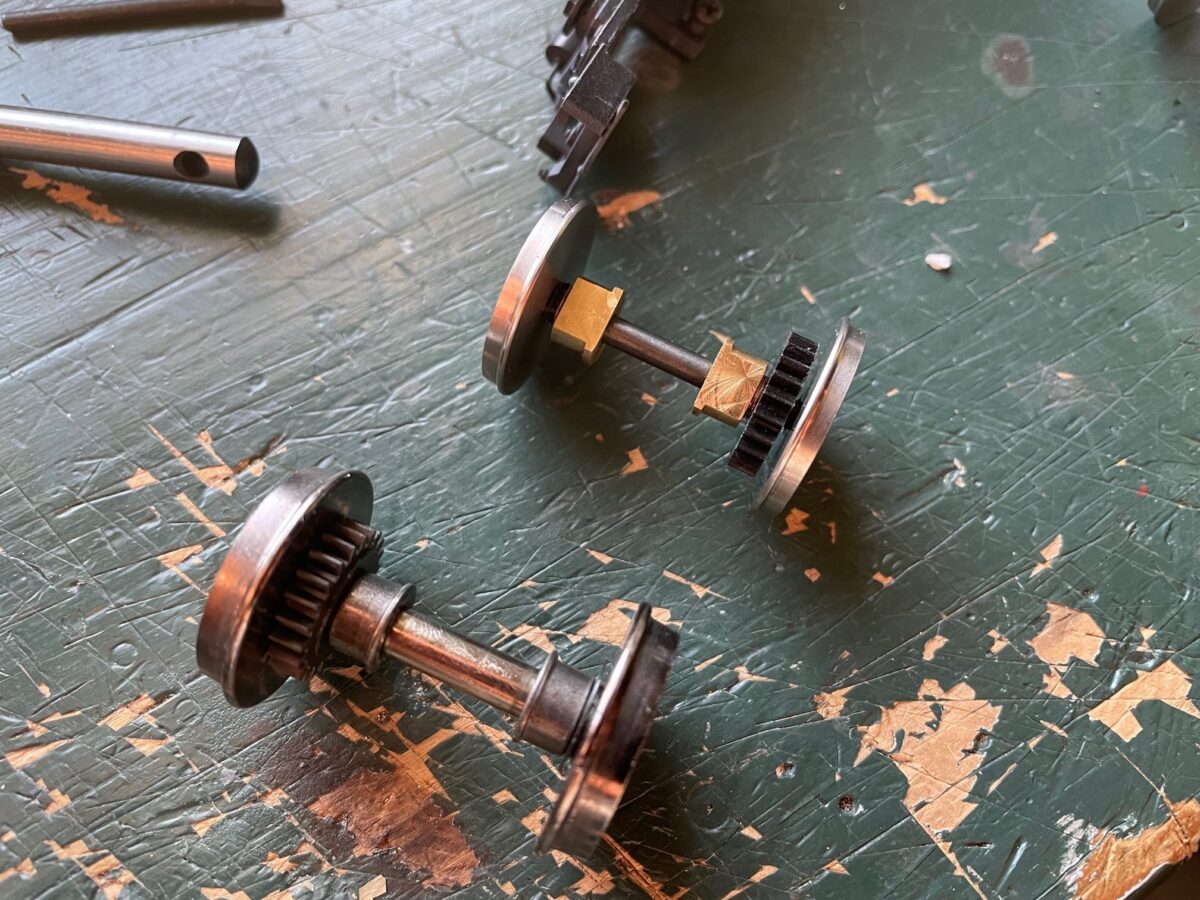
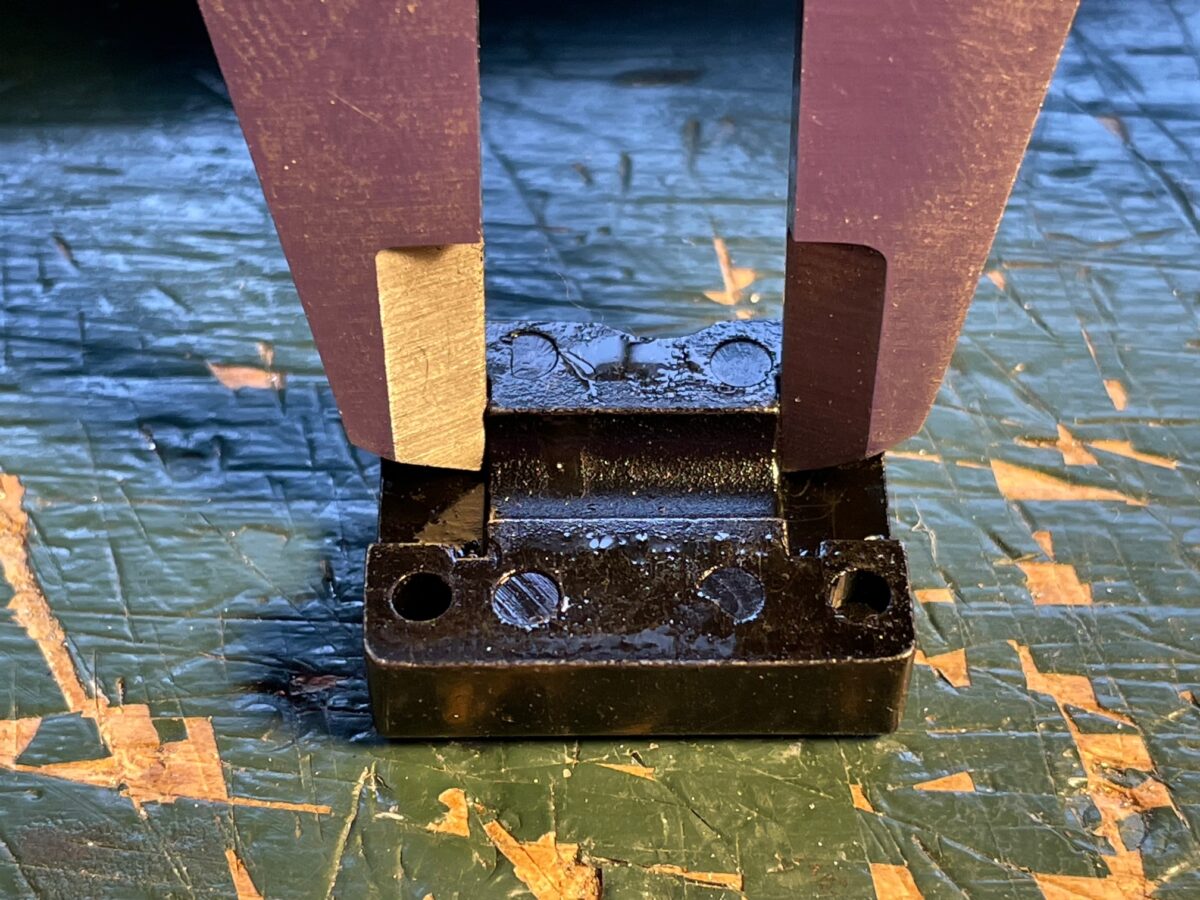
Here you can see the axel cover removed from the Atlas truck. The two brass bushing are meant to fit into the grooves on the cover and also on the truck center.
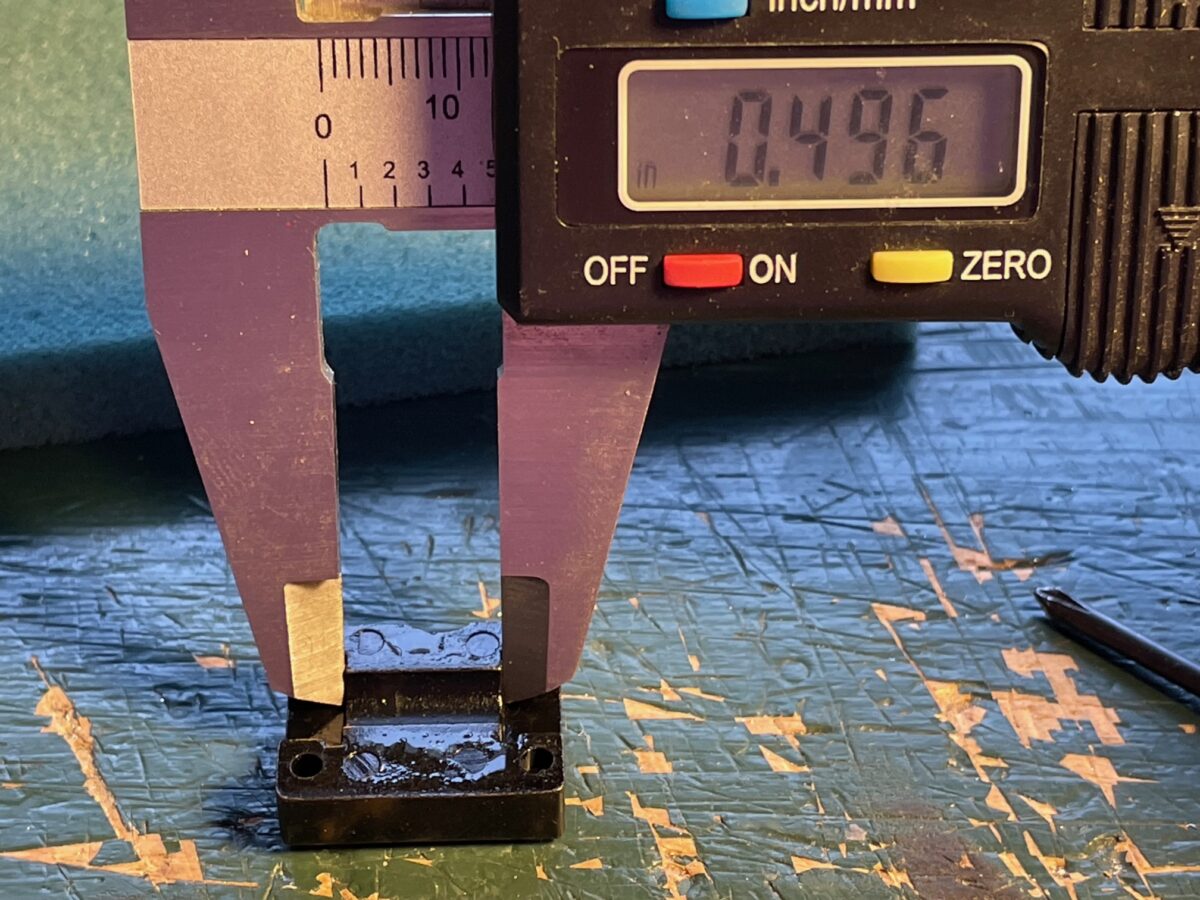
The groove has a back-to-back distance of 0.496″.
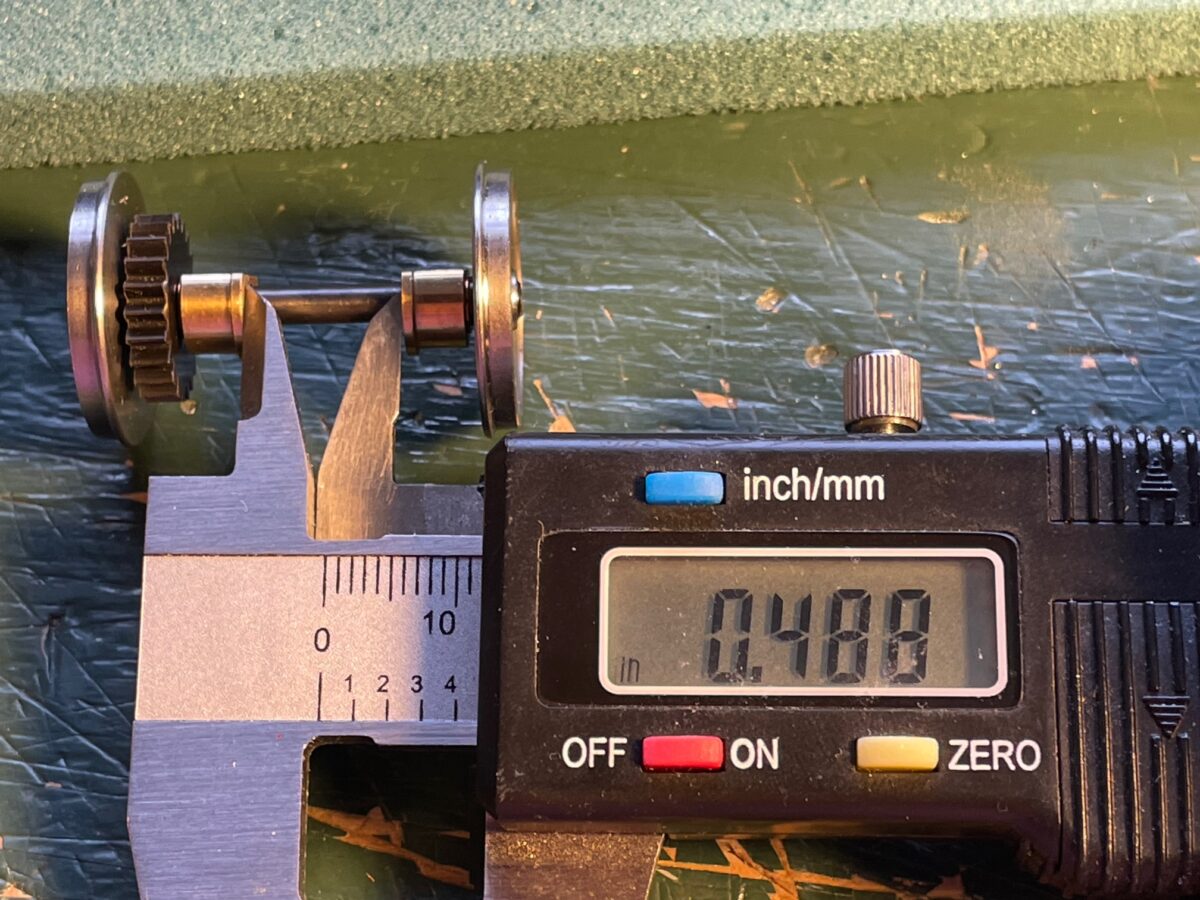
But the bushings on the NWSL conversion wheels had a 0.488 back to back spacing. Looks like they are not so “drop-in” a replacement. There is no way these could EVER fit into that truck.
I can pull the non-geared wheel off, which will allow me to remove the bushings from the axel. Then I should be able to mill down the thickness of the bushings to give me the needed clearence. Then I’ll have to reassemble the axels again.
BUT this ALL should not be needed on what is supposed to be a drop in replacement part. At $64.95 USD (plus shipping) per conversion set they should work as a conversion set and NOT be a conversion PROJECT. I’m not a happy NWSL customer at this point.
For those that want to know. I have two sets of the NWSL Altas O F unit replacement wheelsets. Only two out of the eight axels I measured will actually fit into the Atlas O trucks.